
GTP
Deutsche Pony
- Joined
- May 27, 2015
- Threads
- 267
- Messages
- 6,122
- Reaction score
- 4,106
- Location
- Indy
- Website
- www.BambergAudio.com
- First Name
- Philip
- Vehicle(s)
- 2019 GT PP1 A10 Outrageous Orange HPDE mods
- Thread starter
- #1
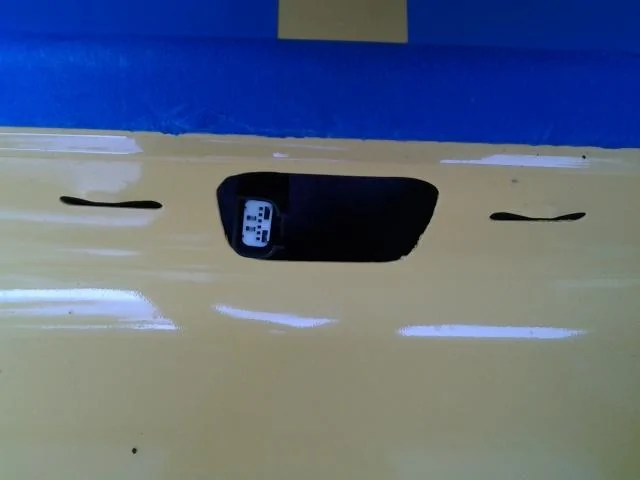
I started a project to make a custom badge to go on my rear black panel. Here are some tips that I think you will find useful for removing both the panel and the badge.
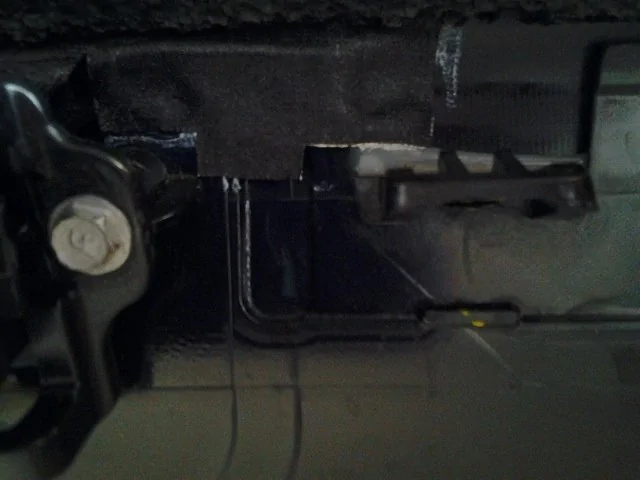
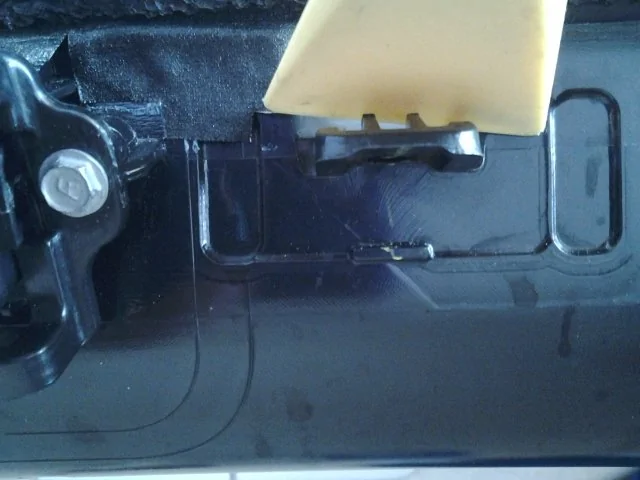
CJ’s video was helpful to learn the basic procedure to remove the panel. However, I really struggled with getting the upper edge clips free from the trunk body. Once the panel was off, I studied what the problem was.
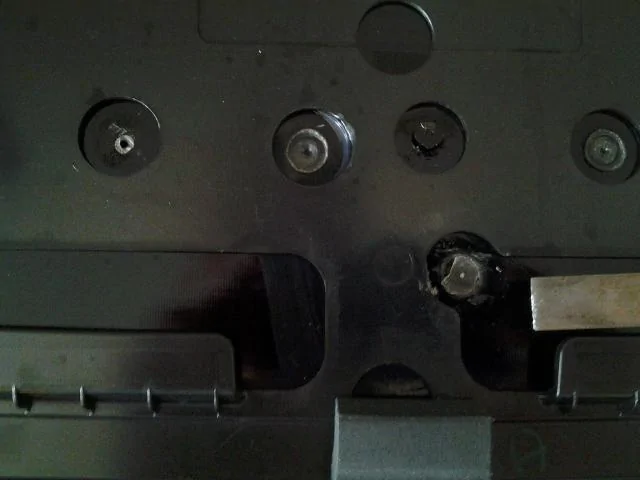
The GT badge aligns to the panel with 4 indexing pins. To remove the badge from the panel, I simply used a 1/2" chisel flipped over backwards (to get a high-angle access to the pins). Then I gently tapped the chisel with a lightweight hammer so as to chisel off the plastic flared ends. See the chisel in the lower right working on one of the pins. The upper left pin is complete – notice its diameter is only 4mm.
If I return to stock with the original badge, I will drill into the center of each pin, and use a small self-tapping screw with oversized washer to hold it back on.

CJ’s video was helpful to learn the basic procedure to remove the panel. However, I really struggled with getting the upper edge clips free from the trunk body. Once the panel was off, I studied what the problem was.
- Yes, tape off the rear edge of the trunk paint with a couple layers of blue masking tape.
- Yes, use 2-3 plastic body panel tools. Use 1 or 2 to pry and keep the upper edge of the panel away from the trunk while using another tool to pop the clip loose.
- BUT - you cannot simply use the twisting motion shown by CJ Bill. Instead center the tool directly on the clip, and then simply push it straight into the clip. The tool will depress the spring tabs to get the clip to release from the trunk. This is especially important for the two inner tabs, i.e. the ones closest to the backup camera.
The GT badge aligns to the panel with 4 indexing pins. To remove the badge from the panel, I simply used a 1/2" chisel flipped over backwards (to get a high-angle access to the pins). Then I gently tapped the chisel with a lightweight hammer so as to chisel off the plastic flared ends. See the chisel in the lower right working on one of the pins. The upper left pin is complete – notice its diameter is only 4mm.
If I return to stock with the original badge, I will drill into the center of each pin, and use a small self-tapping screw with oversized washer to hold it back on.
Sponsored