Evolvd
Instigator
- Joined
- Jan 19, 2015
- Threads
- 186
- Messages
- 6,887
- Reaction score
- 5,902
- Location
- Northwest Florida
- First Name
- Brian
- Vehicle(s)
- 2021 Shelby GT500
- Thread starter
- #1
I ordered these springs a couple months ago and ended up installing the fronts and rears separately. Today I finished the job and here's what my experience was like.
The directions supplied are well written however I took the time to watch a video on CJ Pony Parts and how they tackled their install.
Front springs were pretty simple. My auto hobby shop had a great spring compressor which took a little learning to get everything seated right but once it was secure the top hat retaining nut came off and the spring swap was pretty straightforward. It took the better part of 2 hours to do both sides but I took my time, read the directions and watched the video again just to make sure I was doing it correctly.
The rears were a completely different story! After installing the fronts I moved to the left rear. I had everything removed as recommended by the instructions (to include the rear shock) and for the life of me I could not get the spring unseated from the top rubber isolator. I just couldn't push the cradle down far enough to get the spring unseated. I literally had my buddy hanging on the arm assembly and his 250lbs of hanging dead weight couldn't give us enough room to unseat the spring. We started running out of time before the shop closed so we had to put it all back together. This is where stuff went sideways. I cross threaded on of the bolts on the bottom strut mount and one on the top. So I had to find a tap and die set to rethread the nuts. After 2 hours overall of fighting with the whole thing I had it back together and left for the day.
Today I decided to tackle the install again, but by myself as my buddy is deployed. And wouldn't you know it, everything worked out without a hitch. I dropped the right side first this time and with the help of the shop hand I unseated the spring and it slid out from the front. This time I only removed the top shock bolts as CJPP did in their video. Buttoned it all up and moved over to the left side. I was hesitant to do it as I was afraid I might have damaged the strut nuts but everything worked out well there as well. Overall, it took me 90 minutes to do both sides.
Overall this wasn't an overly complicated task, but for some reason I ran into a snag the first time when installing the rears. Plus the added headache of cross threading two bolts this install took longer than it should have.
Overall Impression: I love the drop! It's perfect for what I wanted. Ride-ability is awesome. I went from Performance Pack springs to these and the rear bounciness is gone now. With the rain today I'm not willing to go test out the handling of this setup just yet but so far everything feels great!
I'd like to thank @David@Steeda for the awesome customer service as always!
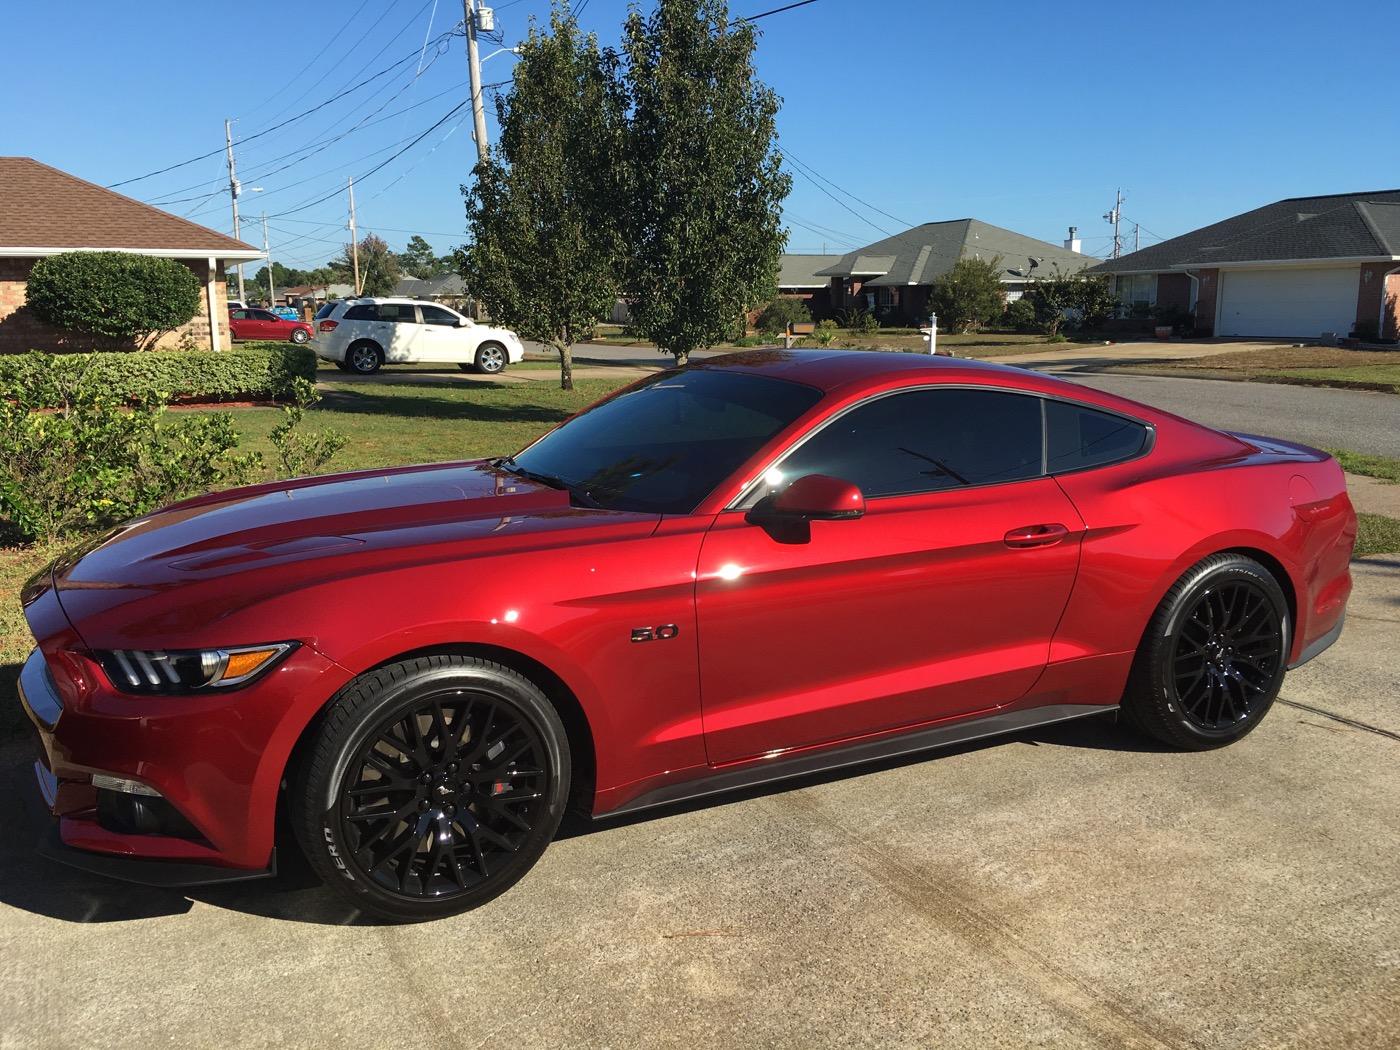
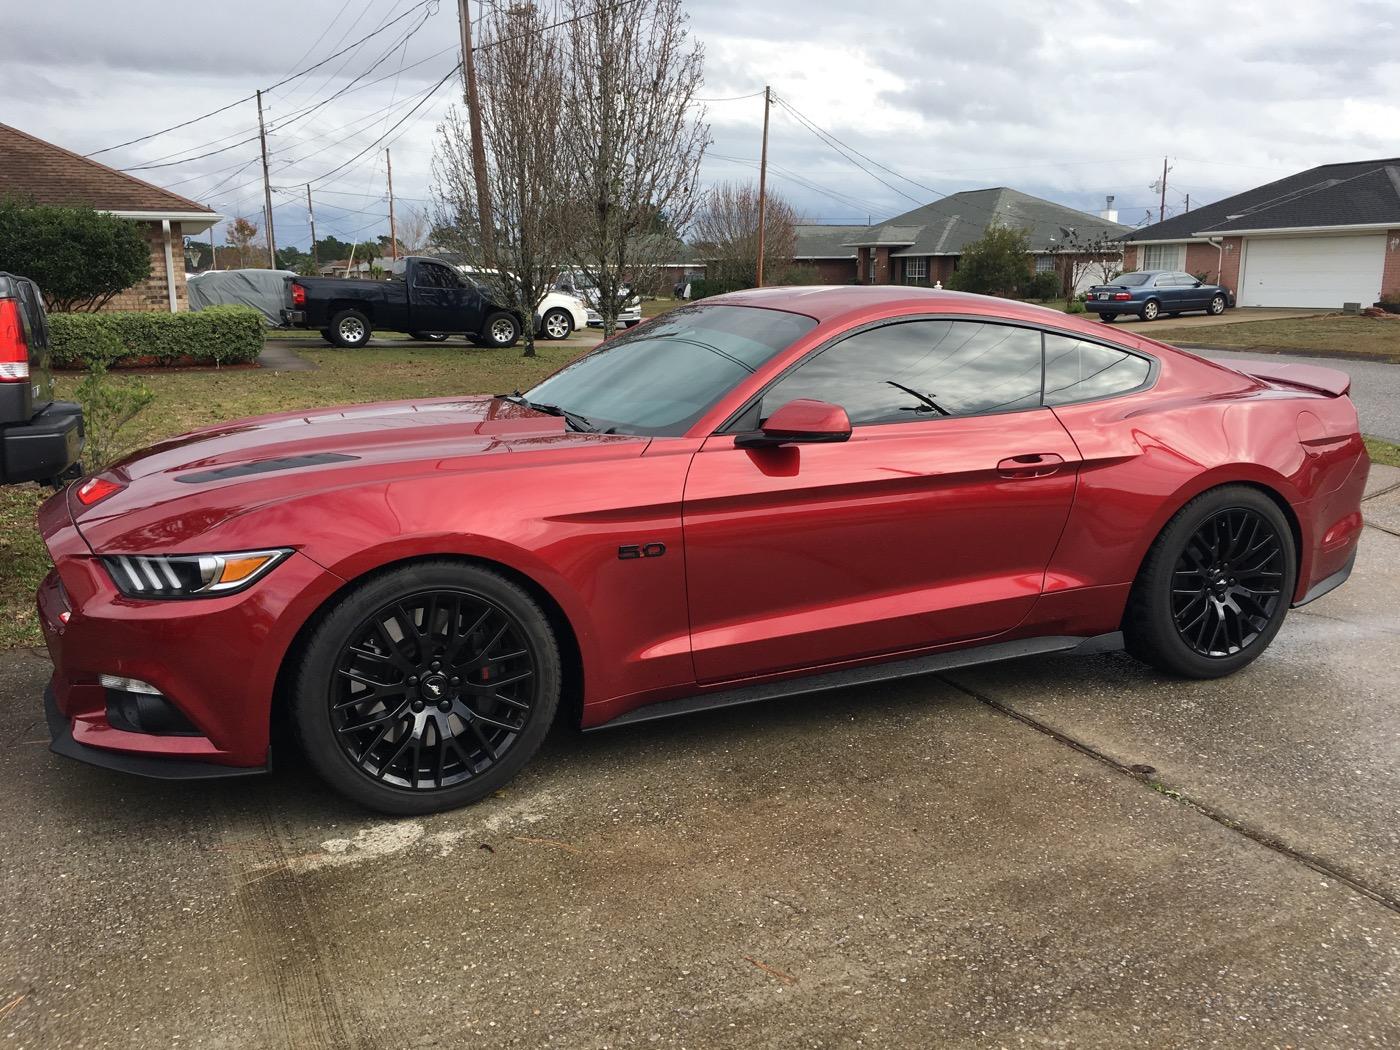
Here are my before and after shots of the install. I have 20mm spacers in the rear and 25mm up front and no rubbing issues noted.

The directions supplied are well written however I took the time to watch a video on CJ Pony Parts and how they tackled their install.
Front springs were pretty simple. My auto hobby shop had a great spring compressor which took a little learning to get everything seated right but once it was secure the top hat retaining nut came off and the spring swap was pretty straightforward. It took the better part of 2 hours to do both sides but I took my time, read the directions and watched the video again just to make sure I was doing it correctly.
The rears were a completely different story! After installing the fronts I moved to the left rear. I had everything removed as recommended by the instructions (to include the rear shock) and for the life of me I could not get the spring unseated from the top rubber isolator. I just couldn't push the cradle down far enough to get the spring unseated. I literally had my buddy hanging on the arm assembly and his 250lbs of hanging dead weight couldn't give us enough room to unseat the spring. We started running out of time before the shop closed so we had to put it all back together. This is where stuff went sideways. I cross threaded on of the bolts on the bottom strut mount and one on the top. So I had to find a tap and die set to rethread the nuts. After 2 hours overall of fighting with the whole thing I had it back together and left for the day.
Today I decided to tackle the install again, but by myself as my buddy is deployed. And wouldn't you know it, everything worked out without a hitch. I dropped the right side first this time and with the help of the shop hand I unseated the spring and it slid out from the front. This time I only removed the top shock bolts as CJPP did in their video. Buttoned it all up and moved over to the left side. I was hesitant to do it as I was afraid I might have damaged the strut nuts but everything worked out well there as well. Overall, it took me 90 minutes to do both sides.
Overall this wasn't an overly complicated task, but for some reason I ran into a snag the first time when installing the rears. Plus the added headache of cross threading two bolts this install took longer than it should have.
Overall Impression: I love the drop! It's perfect for what I wanted. Ride-ability is awesome. I went from Performance Pack springs to these and the rear bounciness is gone now. With the rain today I'm not willing to go test out the handling of this setup just yet but so far everything feels great!
I'd like to thank @David@Steeda for the awesome customer service as always!
Here are my before and after shots of the install. I have 20mm spacers in the rear and 25mm up front and no rubbing issues noted.
Sponsored