Nodster
Well-Known Member
- Thread starter
- #1
My little project kicks off today so dedicating it to @beefcake and the team who helped me with picking a tuner kit and many many questions over the last few months and were so helpful in getting everything shipped safely to the UK, and of course a big thanks as well to @Wengerd Performance for helping with the tuning in this project. ")

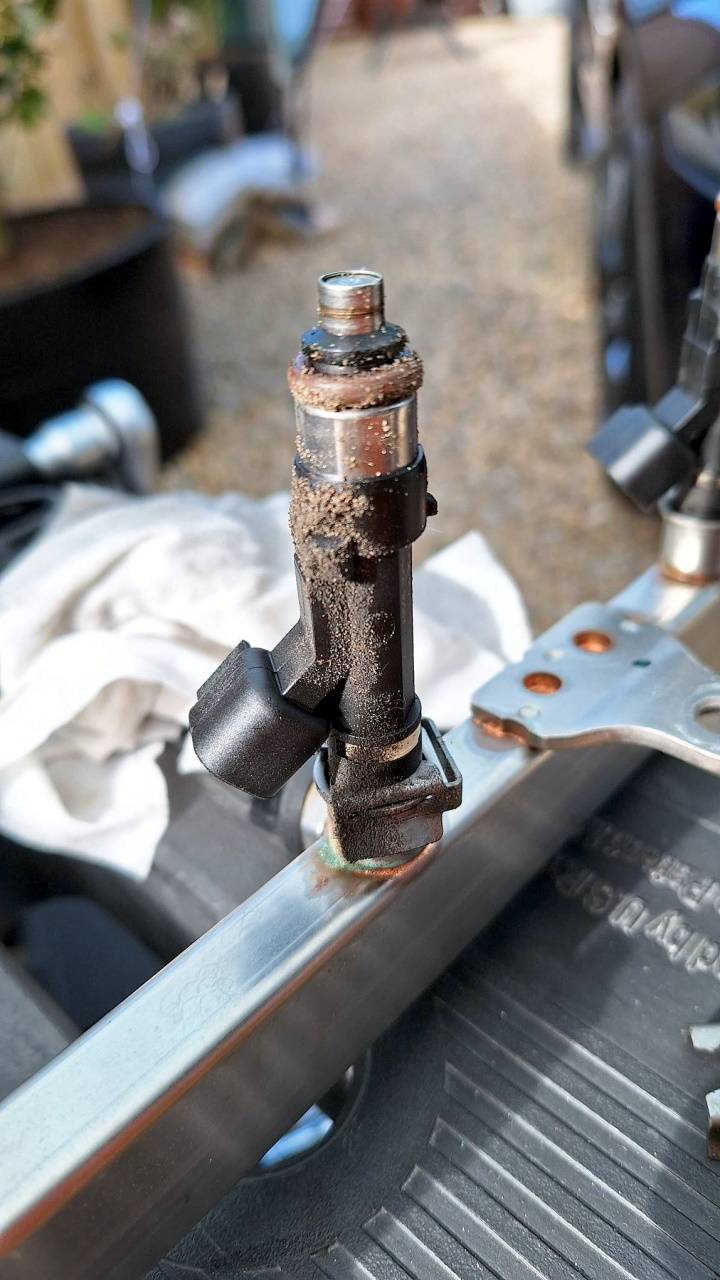
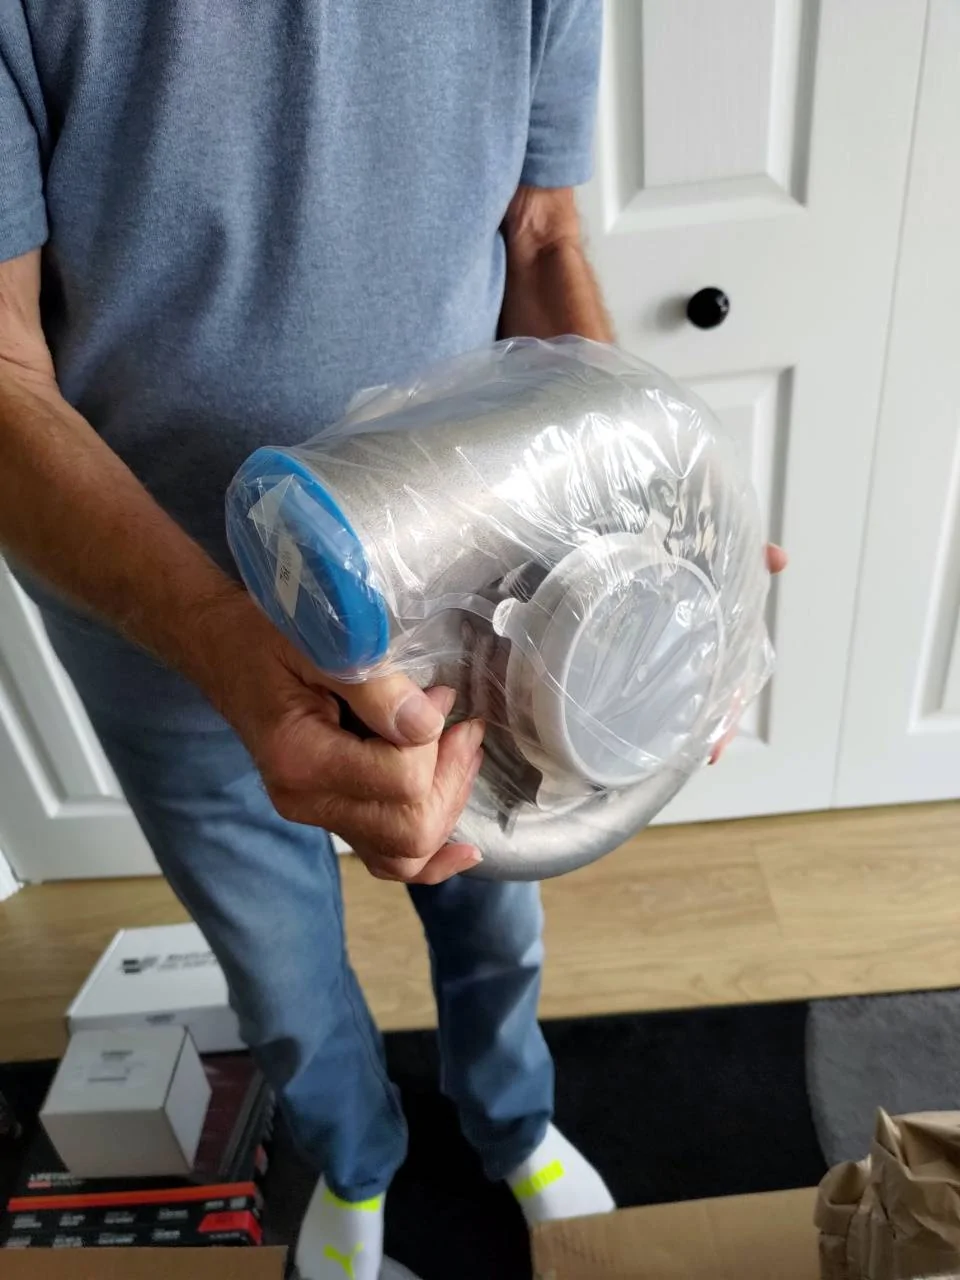
Project Beefy will see my dad and I undertake the installation (from tomorrow) of a V3-JT Vortech Supercharger ( 4FQ218-330JT ) with heritage gears into my 2018 GT. Nothing too exciting. I have the JLT intake to go with the kit and the plug n' play BAP. I opted for the smaller LU47 injectors and I have set of NGK 6510 ( NGK LTR7IX-11 ) spark plugs to fit. So probably what you'd class as a basic level kit? I don't know what to expect haha.
Work done to date on the car to try and help prepare:


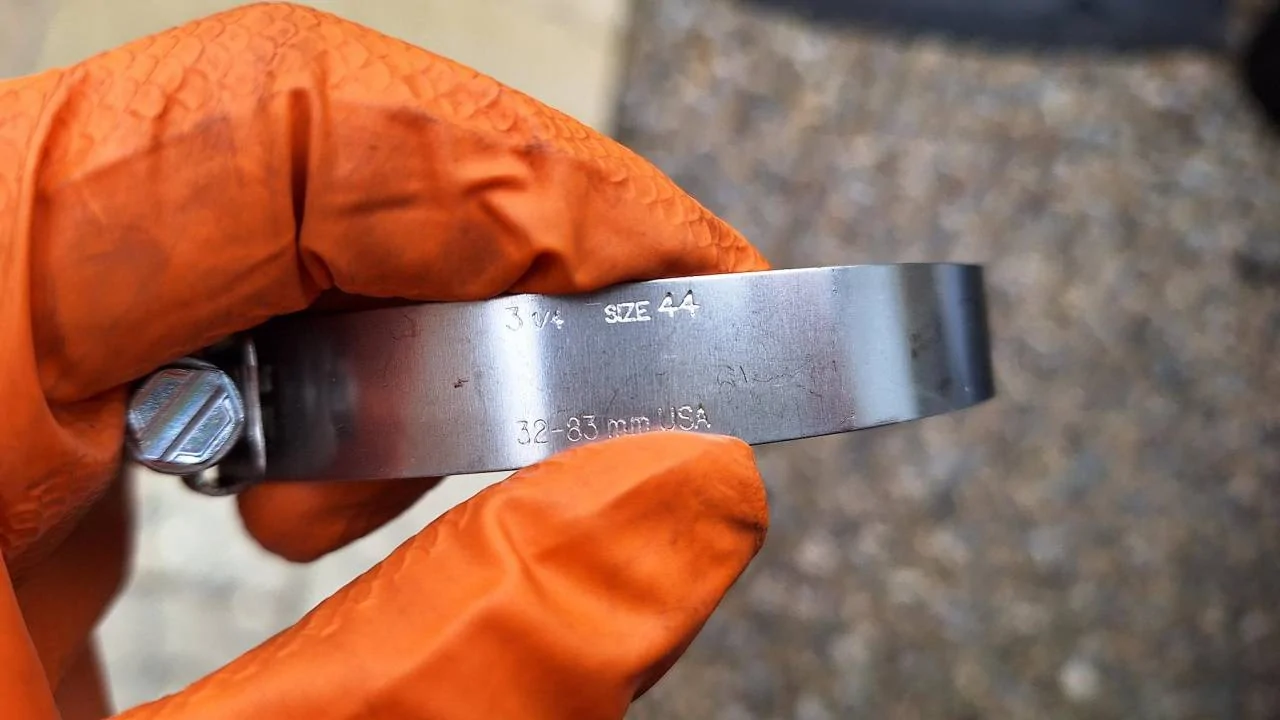
And then some preliminary work on the spark plugs which I've gapped down to 0.028". Wengerd asked for 0.027" so I may give these another check before fitting. There is also an oil change to be done at the end. Exciting.

I'll pop up some pictures along the way of the install.
But the first job today is setting up the "event tent" outside which we picked up from Amazon. I can't remember on the size we bought now, it is either 3x3m or 3.6x3.6m. But it should be big enough and tall enough to stick the front end under, raise on stands whilst having the bonnet (sorry hood) open and still not touch the top. I have some side panels to then zip on to keep everyone protected from the elements and we're also going to modify the feet and anchor them to some sturdy wooden bases (weighted down) just in case the wind decides to pick up - but it isn't forecast.

Here goes nothing!
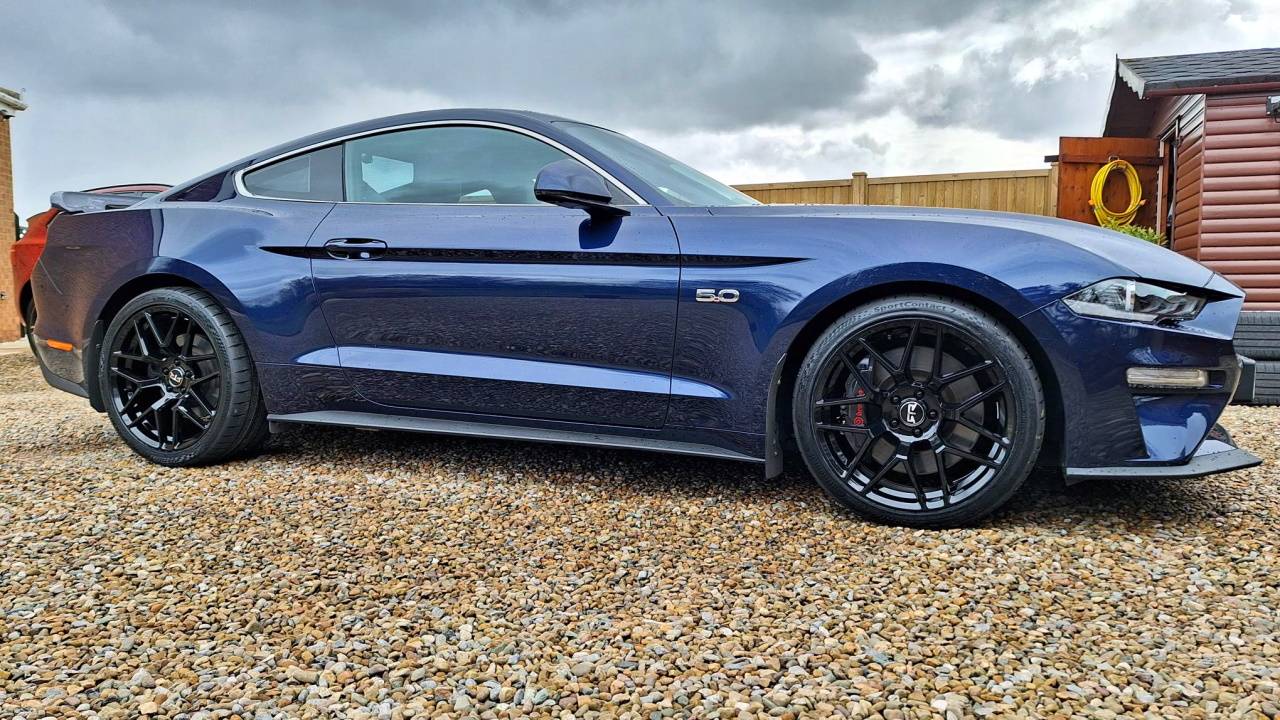
Project Beefy will see my dad and I undertake the installation (from tomorrow) of a V3-JT Vortech Supercharger ( 4FQ218-330JT ) with heritage gears into my 2018 GT. Nothing too exciting. I have the JLT intake to go with the kit and the plug n' play BAP. I opted for the smaller LU47 injectors and I have set of NGK 6510 ( NGK LTR7IX-11 ) spark plugs to fit. So probably what you'd class as a basic level kit? I don't know what to expect haha.
Work done to date on the car to try and help prepare:
- Steeda billet rear vertical links
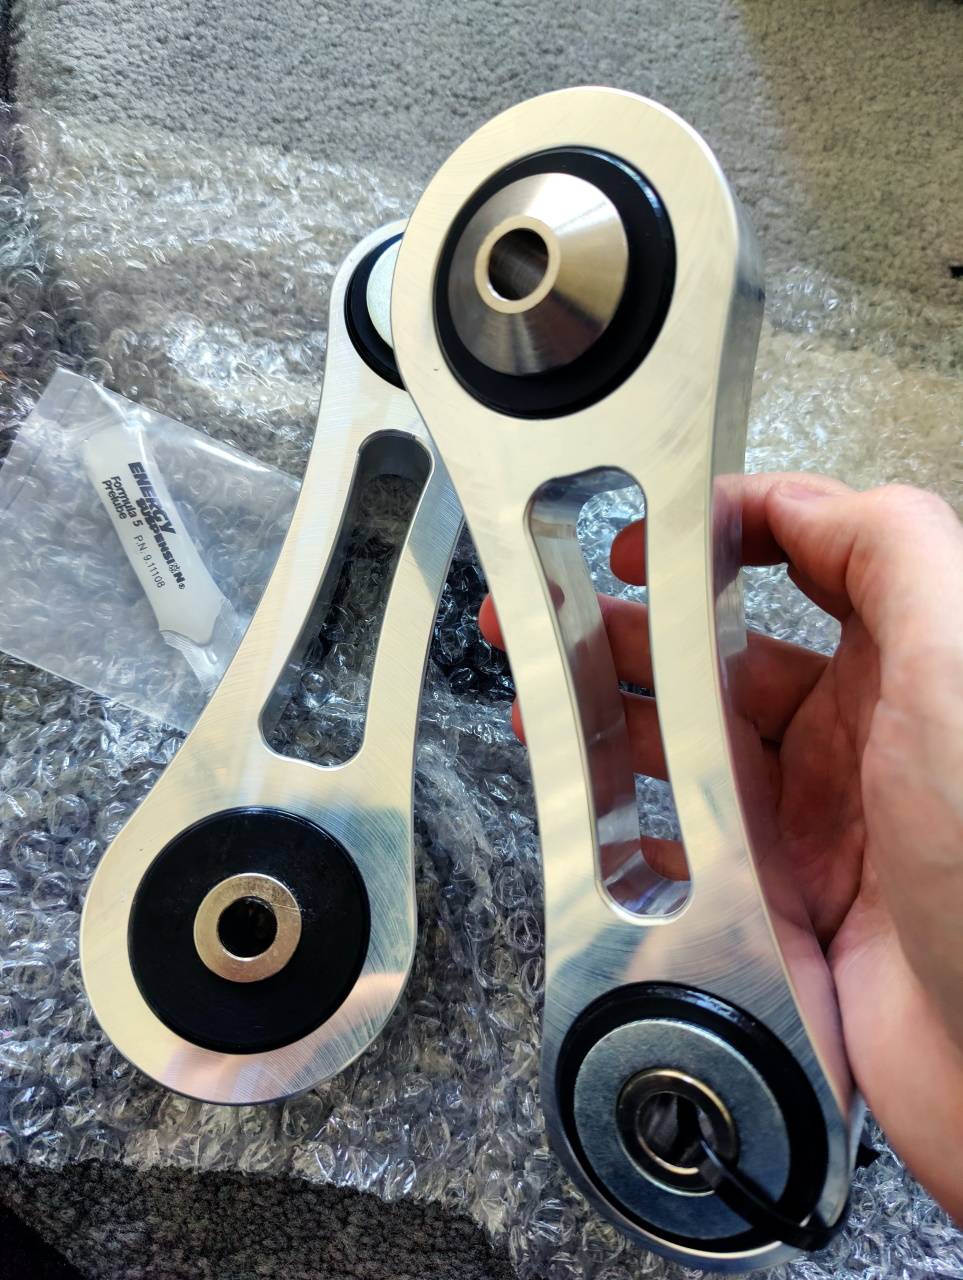
- Steeda full IRS kit

- Steeda front strut brace
- Wider wheels and better tyres (265 front / 305 rear)

And then some preliminary work on the spark plugs which I've gapped down to 0.028". Wengerd asked for 0.027" so I may give these another check before fitting. There is also an oil change to be done at the end. Exciting.


I'll pop up some pictures along the way of the install.
But the first job today is setting up the "event tent" outside which we picked up from Amazon. I can't remember on the size we bought now, it is either 3x3m or 3.6x3.6m. But it should be big enough and tall enough to stick the front end under, raise on stands whilst having the bonnet (sorry hood) open and still not touch the top.
I have some side panels to then zip on to keep everyone protected from the elements and we're also going to modify the feet and anchor them to some sturdy wooden bases (weighted down) just in case the wind decides to pick up - but it isn't forecast.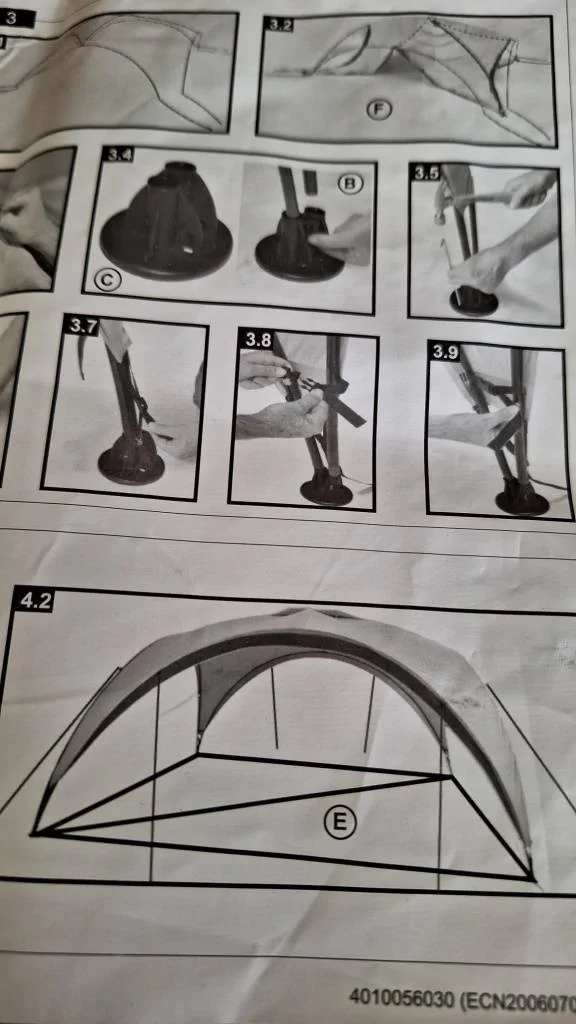
Here goes nothing!
Sponsored
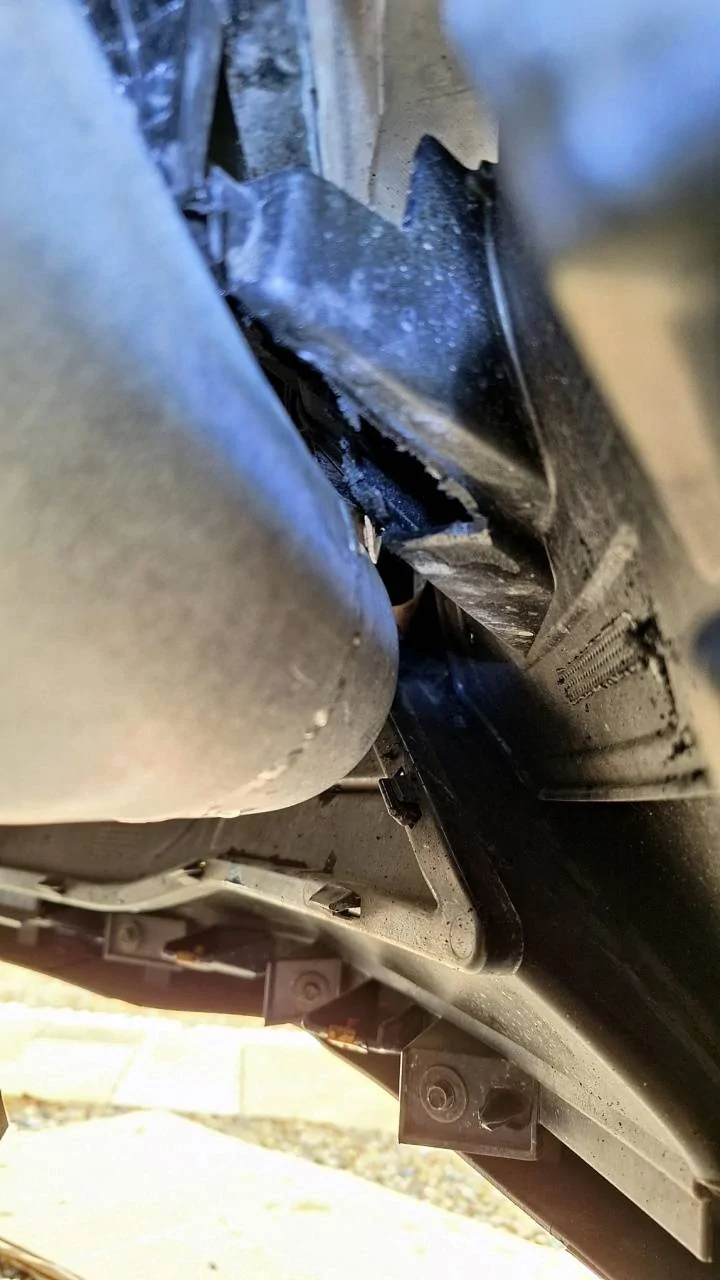
 Dad had made some wooden bases and then bolted the tent to those and then for good measure threw on x2 20KG bags of gravel on to each corner. So it's weighed down by 80KG now. I think it is pretty safe.


 But thankfully managed to find them.


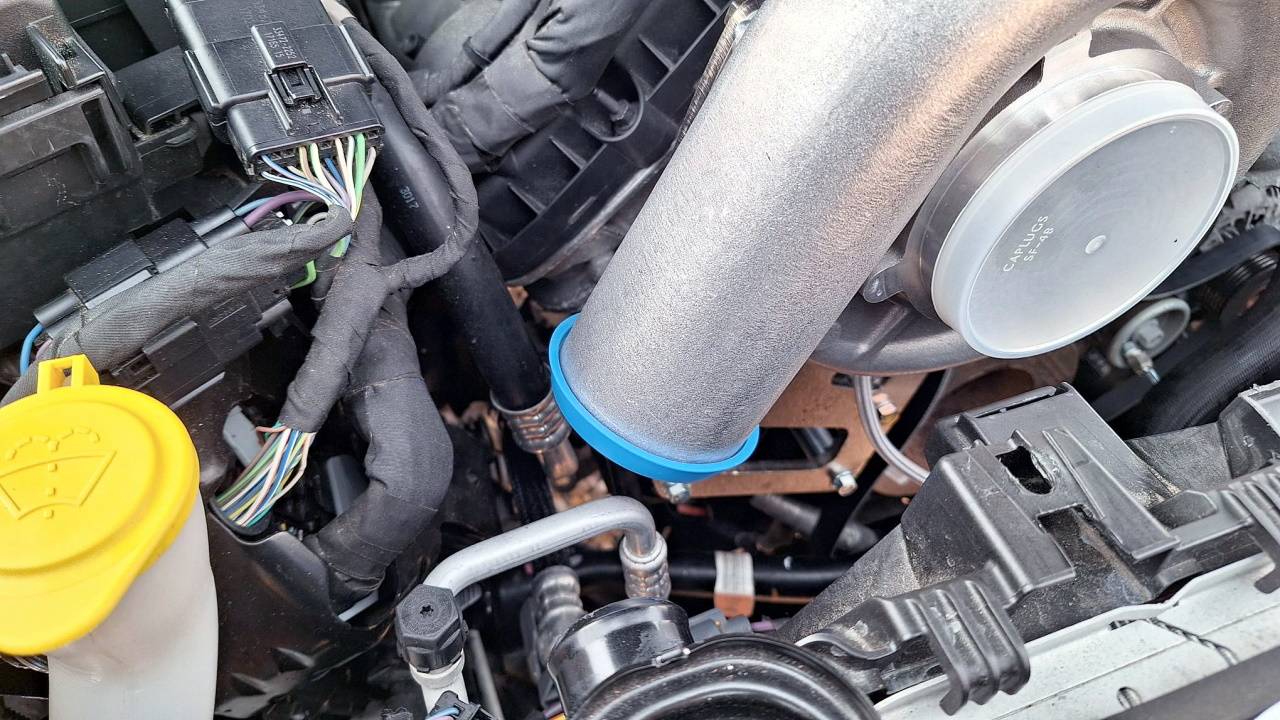


 Finish putting the belt on tomorrow and checking the path / fitment is OK and then on to the next stages of the build. If we finish this tomorrow I'll be amazed. haha.