CO5OTE
Well-Known Member
- Joined
- Nov 3, 2023
- Threads
- 8
- Messages
- 52
- Reaction score
- 45
- Location
- Franklin, WV
- First Name
- Justin
- Vehicle(s)
- 2018 Mustang GT
- Thread starter
- #1
So, I ran upon an old post for a Mach1 diffuser and closeout panel as well as all necessary hardware to install. I have been looking for this for a little while and just wasn’t ready to spend new kit price. Thanks to @fast306stang for the awesome deal and bending over backwards to ship it to me. As you know, a diffuser isn’t the easiest thing to ship so he made a box and drove to two different UPS locations in order to get it to me. Kudos @fast306stang! Took 2-3 days to arrive…

Its’s here, time to see how the package faired in UPS’s hands.
Not too shabby! Everything was unscathed. Time to install…
Before…
Went through the steps to take the rear bumper off. Tail lights, a few screws in the inner fenders and these little bastards. It’s hard to see in the picture but if you know what screw I’m talking about, one on either side 7mm, they are a blast without the right tool. I would suggest a wobble socket if you are taking the rear bumper off. I however don’t have one. 10 second job turned into 10-15 minutes per side. Anyhow, haha, moving on…
Got the bumper off and replaced the OE diffuser with Mach1 unit. I have to admit, I was a little sick after seeing my bumper detached from the car
I forgot to take pictures of the installation of the diffuser, more than likely because I was so into not breaking any of the clips while mustering up an array of choice words that kept the air a consistent blue
I got the bumper reinstalled and realized that my exhaust was too close to the diffuser so I pulled the rear axleback off and bent the hangers to straighten it out and lower it a bit
Very hard to tell because I lost light but I got the exhaust to fit all but perfect.
Installed the mud guard/fender flares, easy peezy..

A couple of shots of the underneath finished. All-in-all, not a bad install. Thanks again to @fast306stang! He’s one solid dude!

Its’s here, time to see how the package faired in UPS’s hands.

Not too shabby! Everything was unscathed. Time to install…

Before…
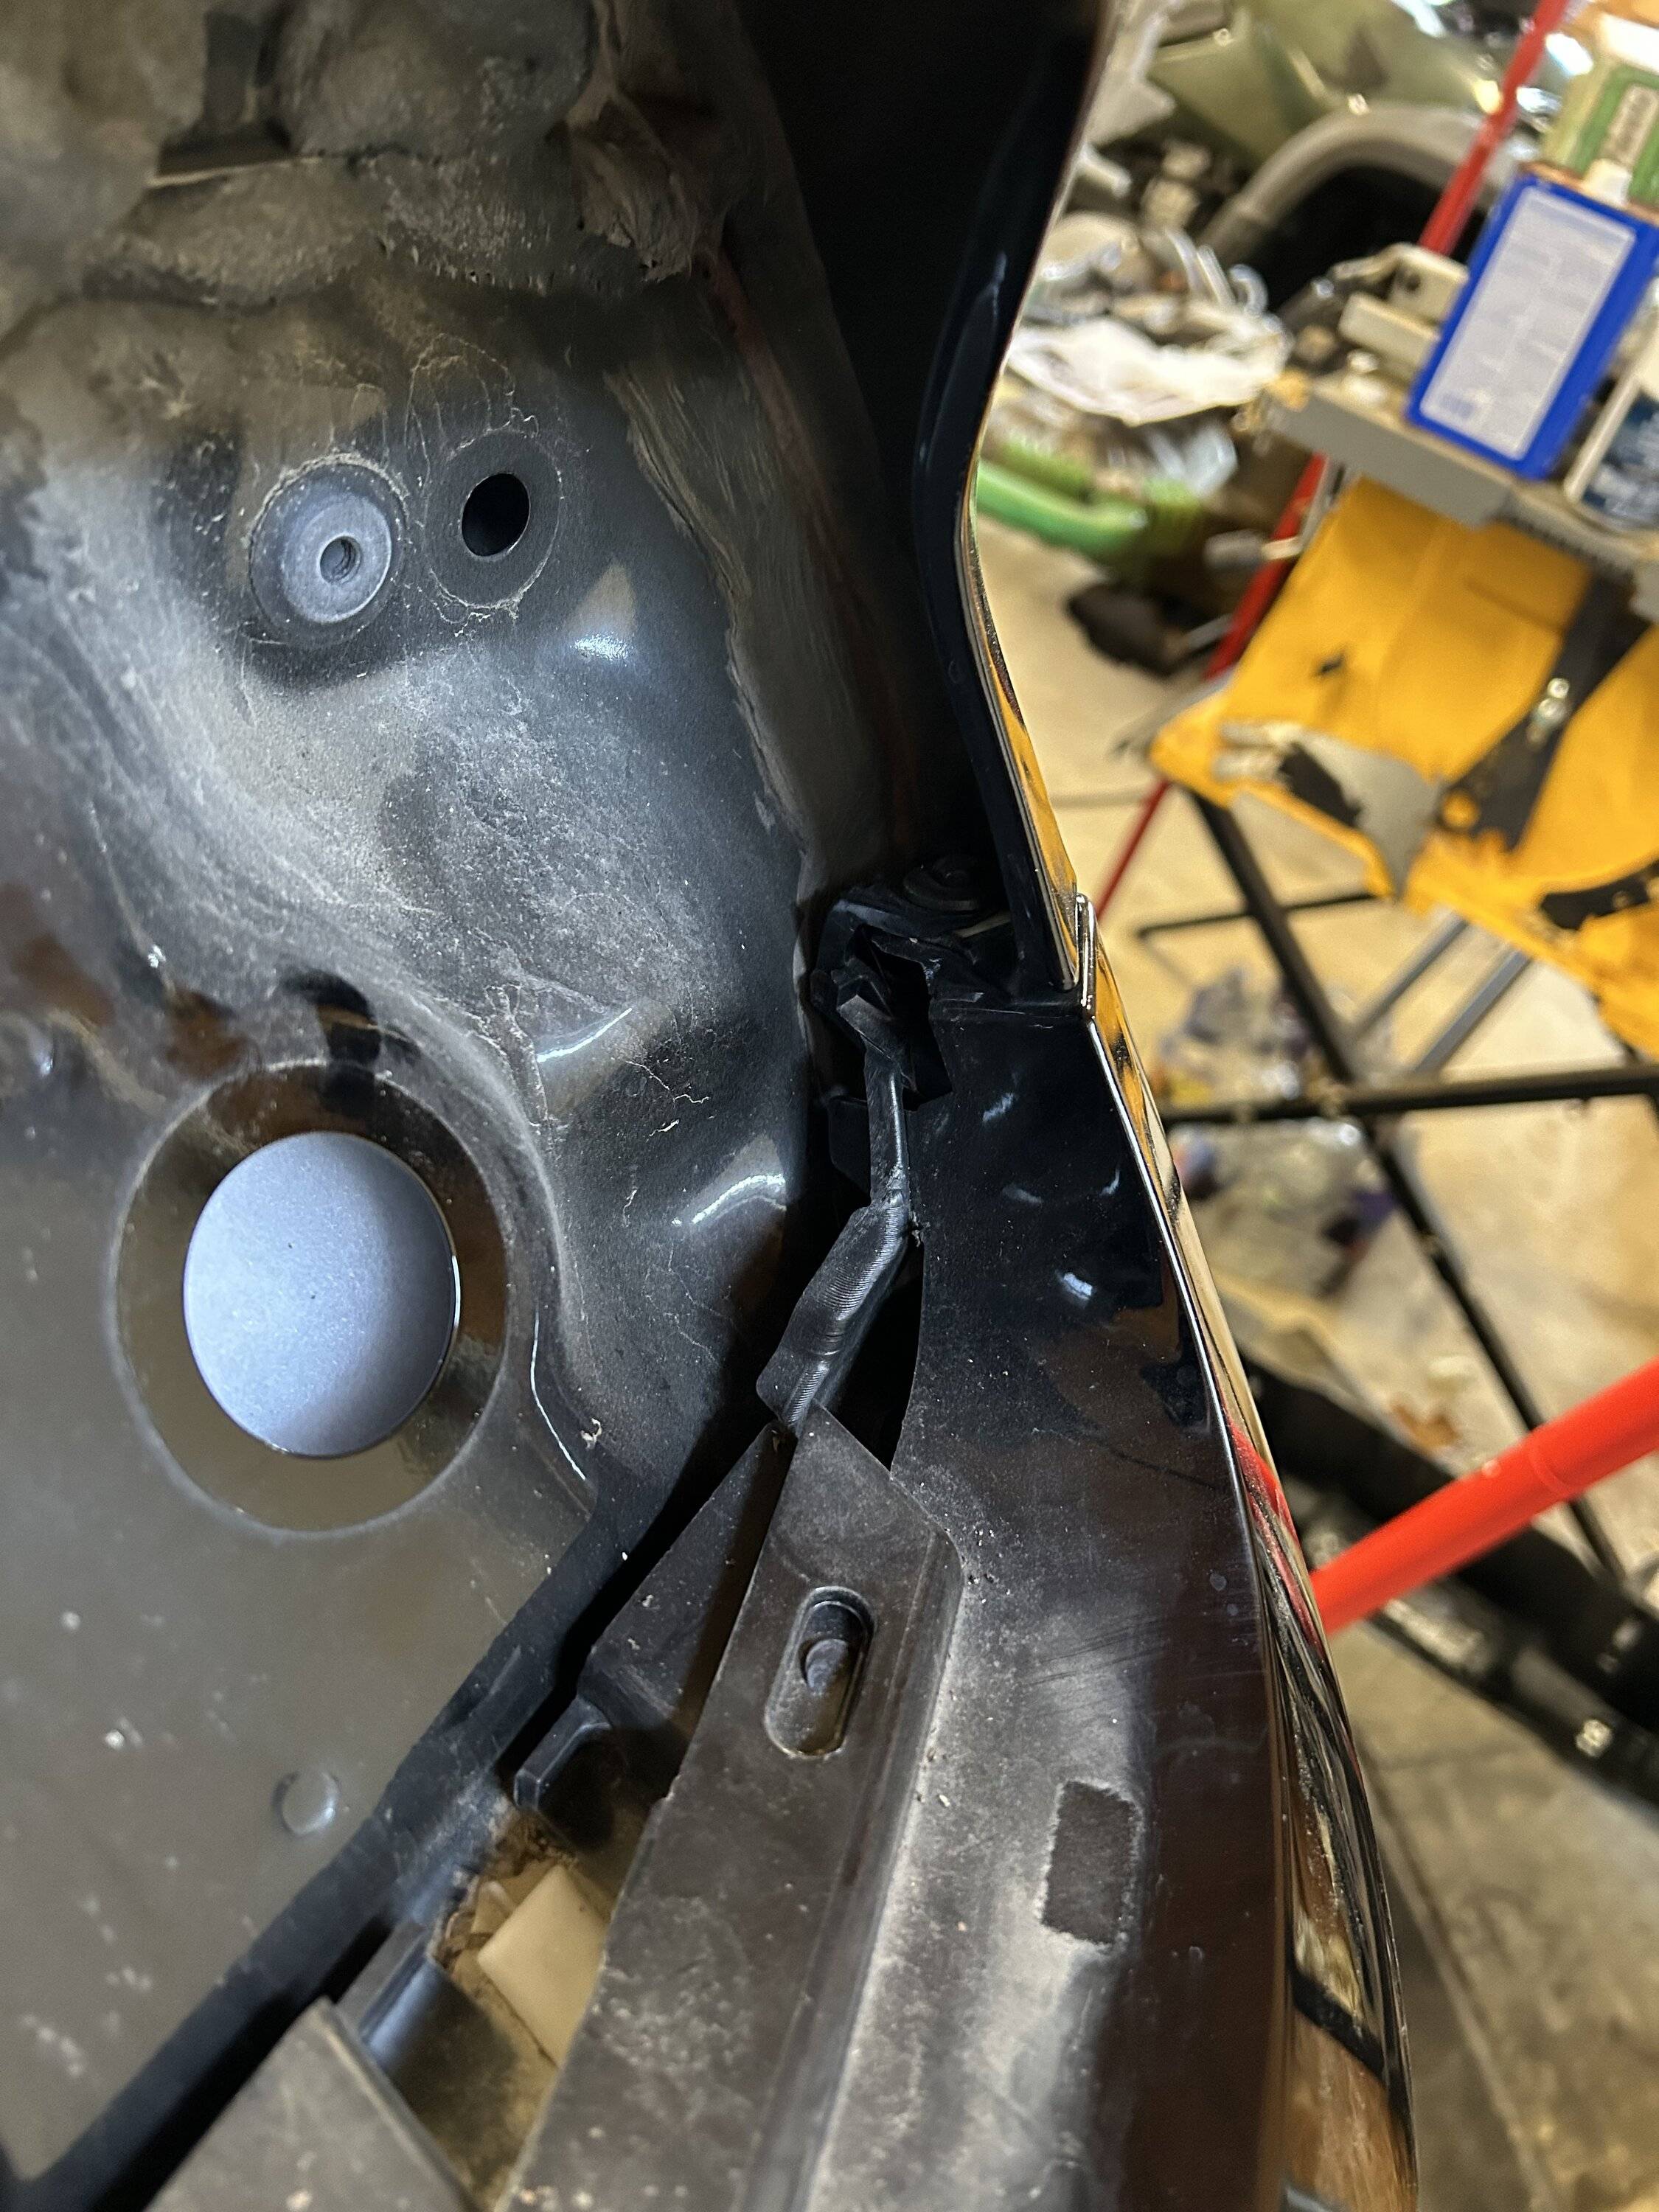
Went through the steps to take the rear bumper off. Tail lights, a few screws in the inner fenders and these little bastards. It’s hard to see in the picture but if you know what screw I’m talking about, one on either side 7mm, they are a blast without the right tool. I would suggest a wobble socket if you are taking the rear bumper off. I however don’t have one. 10 second job turned into 10-15 minutes per side. Anyhow, haha, moving on…

Got the bumper off and replaced the OE diffuser with Mach1 unit. I have to admit, I was a little sick after seeing my bumper detached from the car
I forgot to take pictures of the installation of the diffuser, more than likely because I was so into not breaking any of the clips while mustering up an array of choice words that kept the air a consistent blue

I got the bumper reinstalled and realized that my exhaust was too close to the diffuser so I pulled the rear axleback off and bent the hangers to straighten it out and lower it a bit

Very hard to tell because I lost light but I got the exhaust to fit all but perfect.

Installed the mud guard/fender flares, easy peezy..
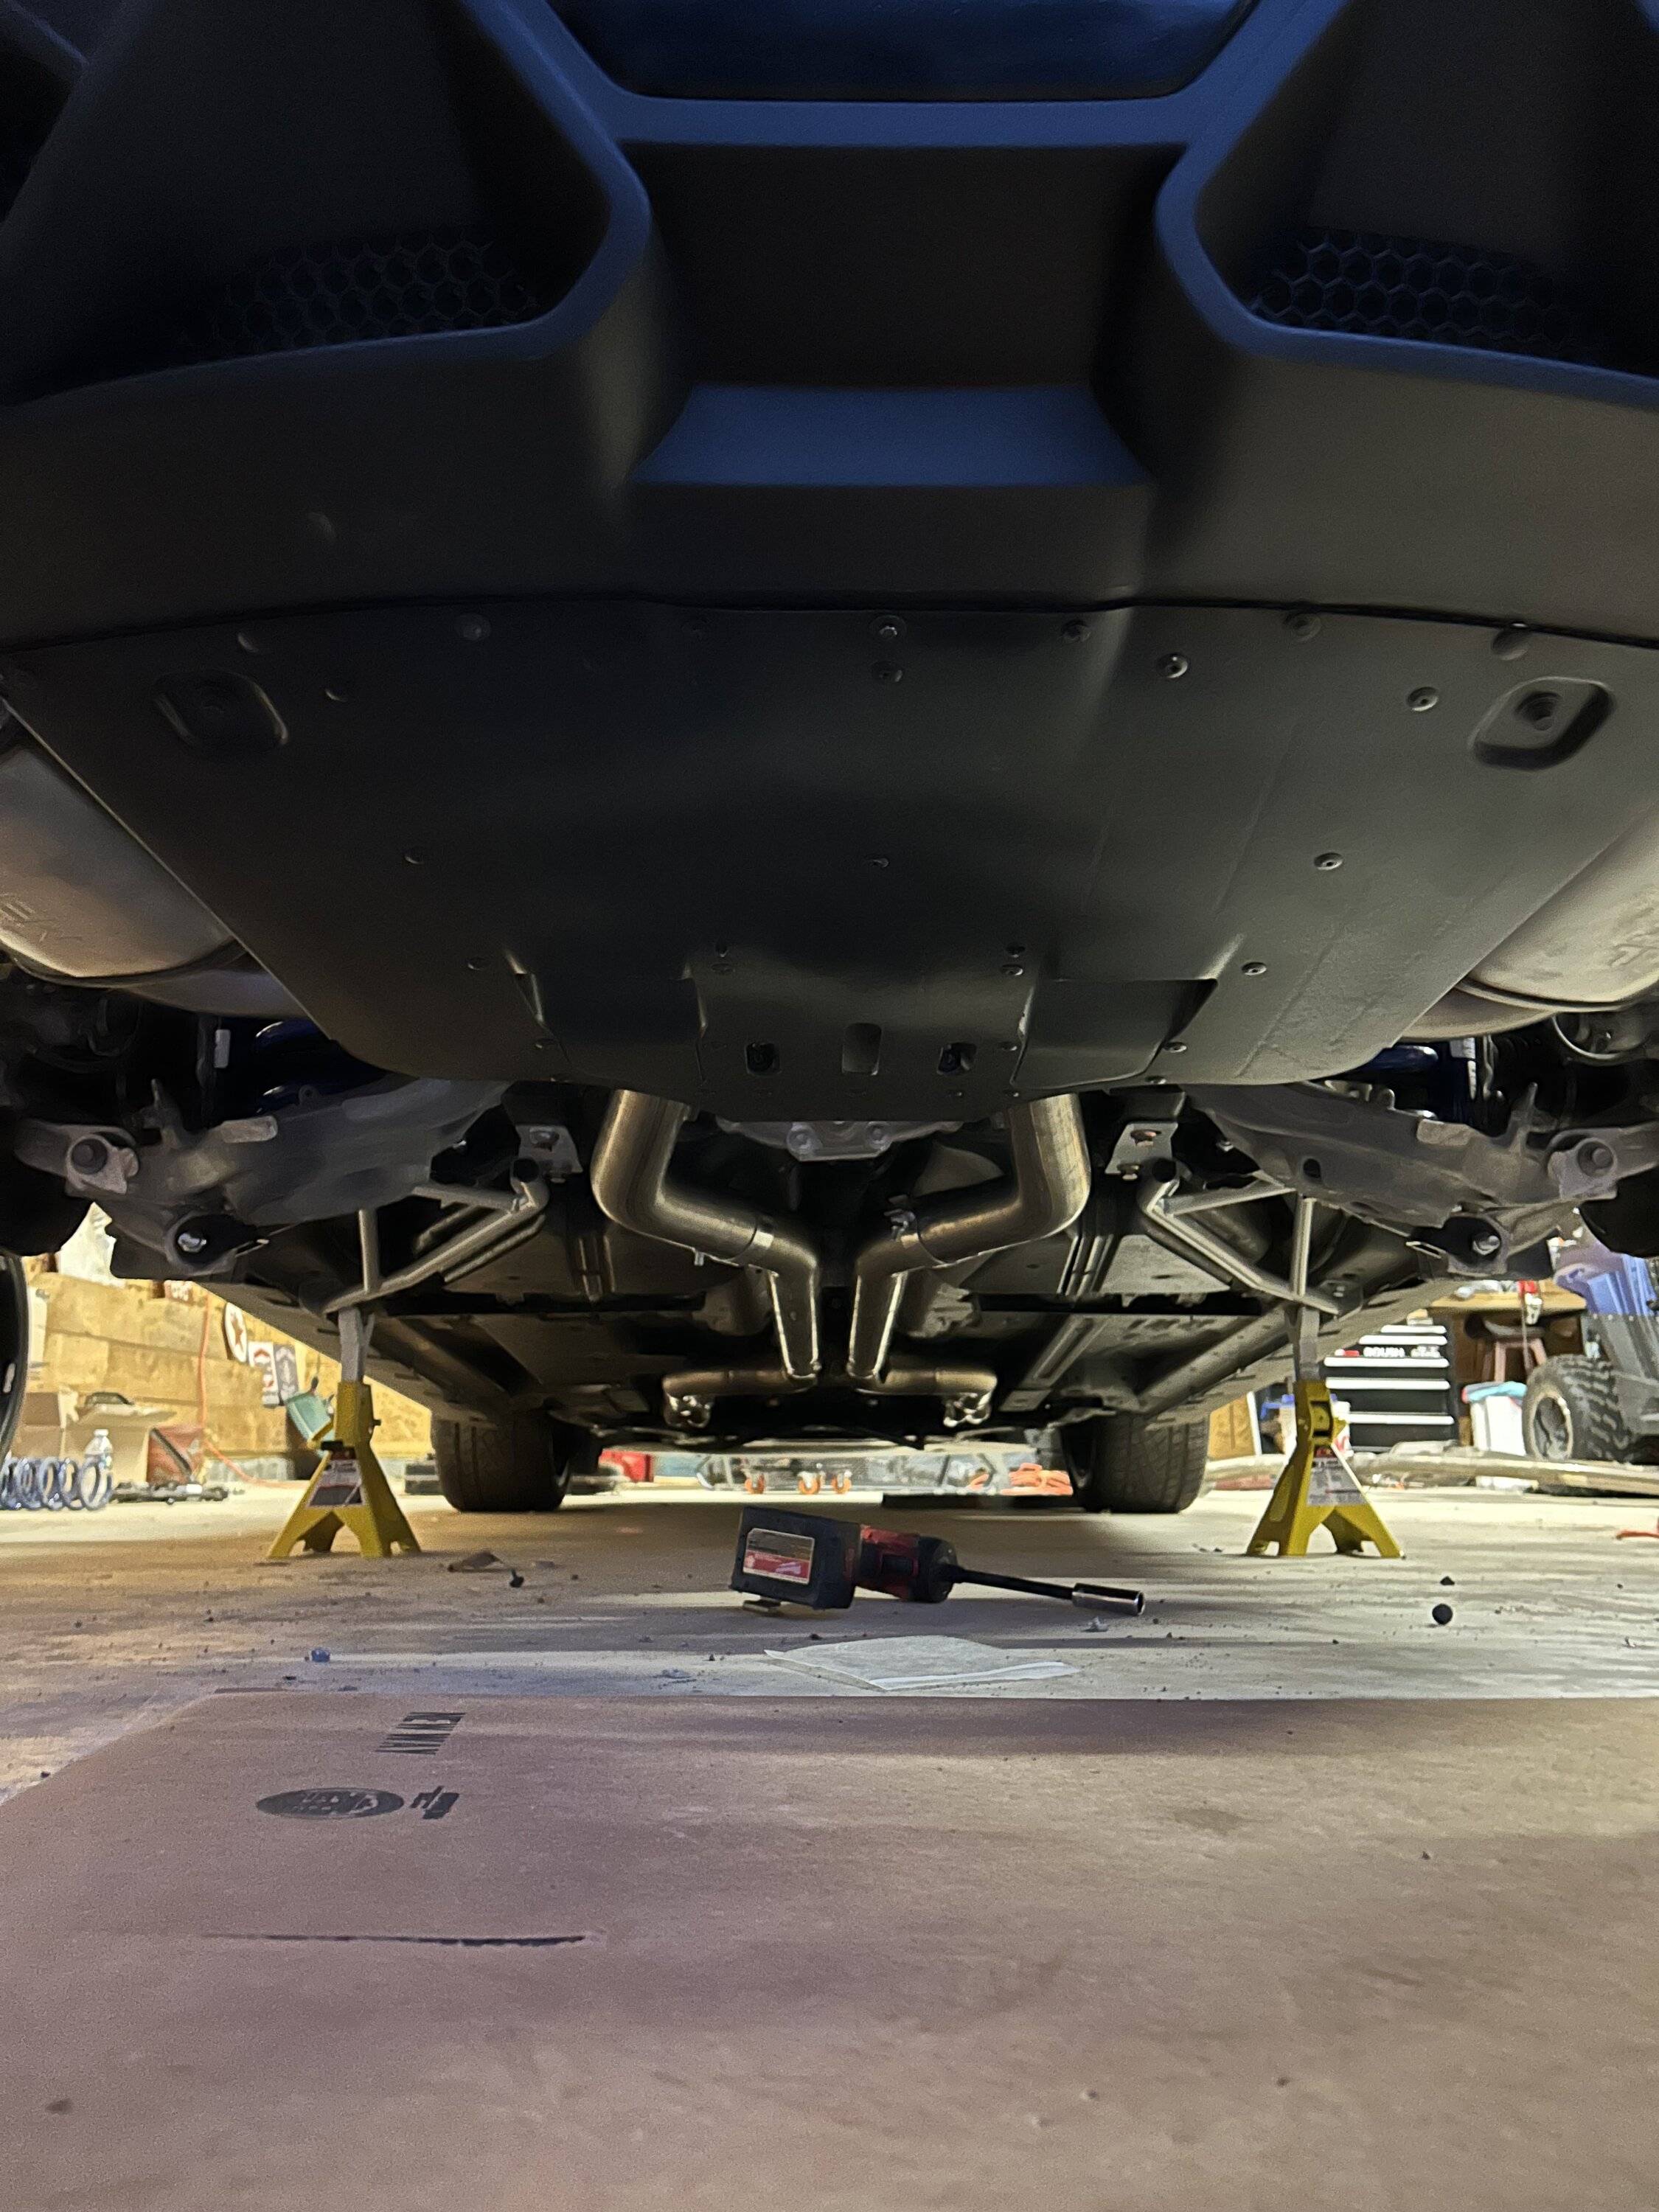
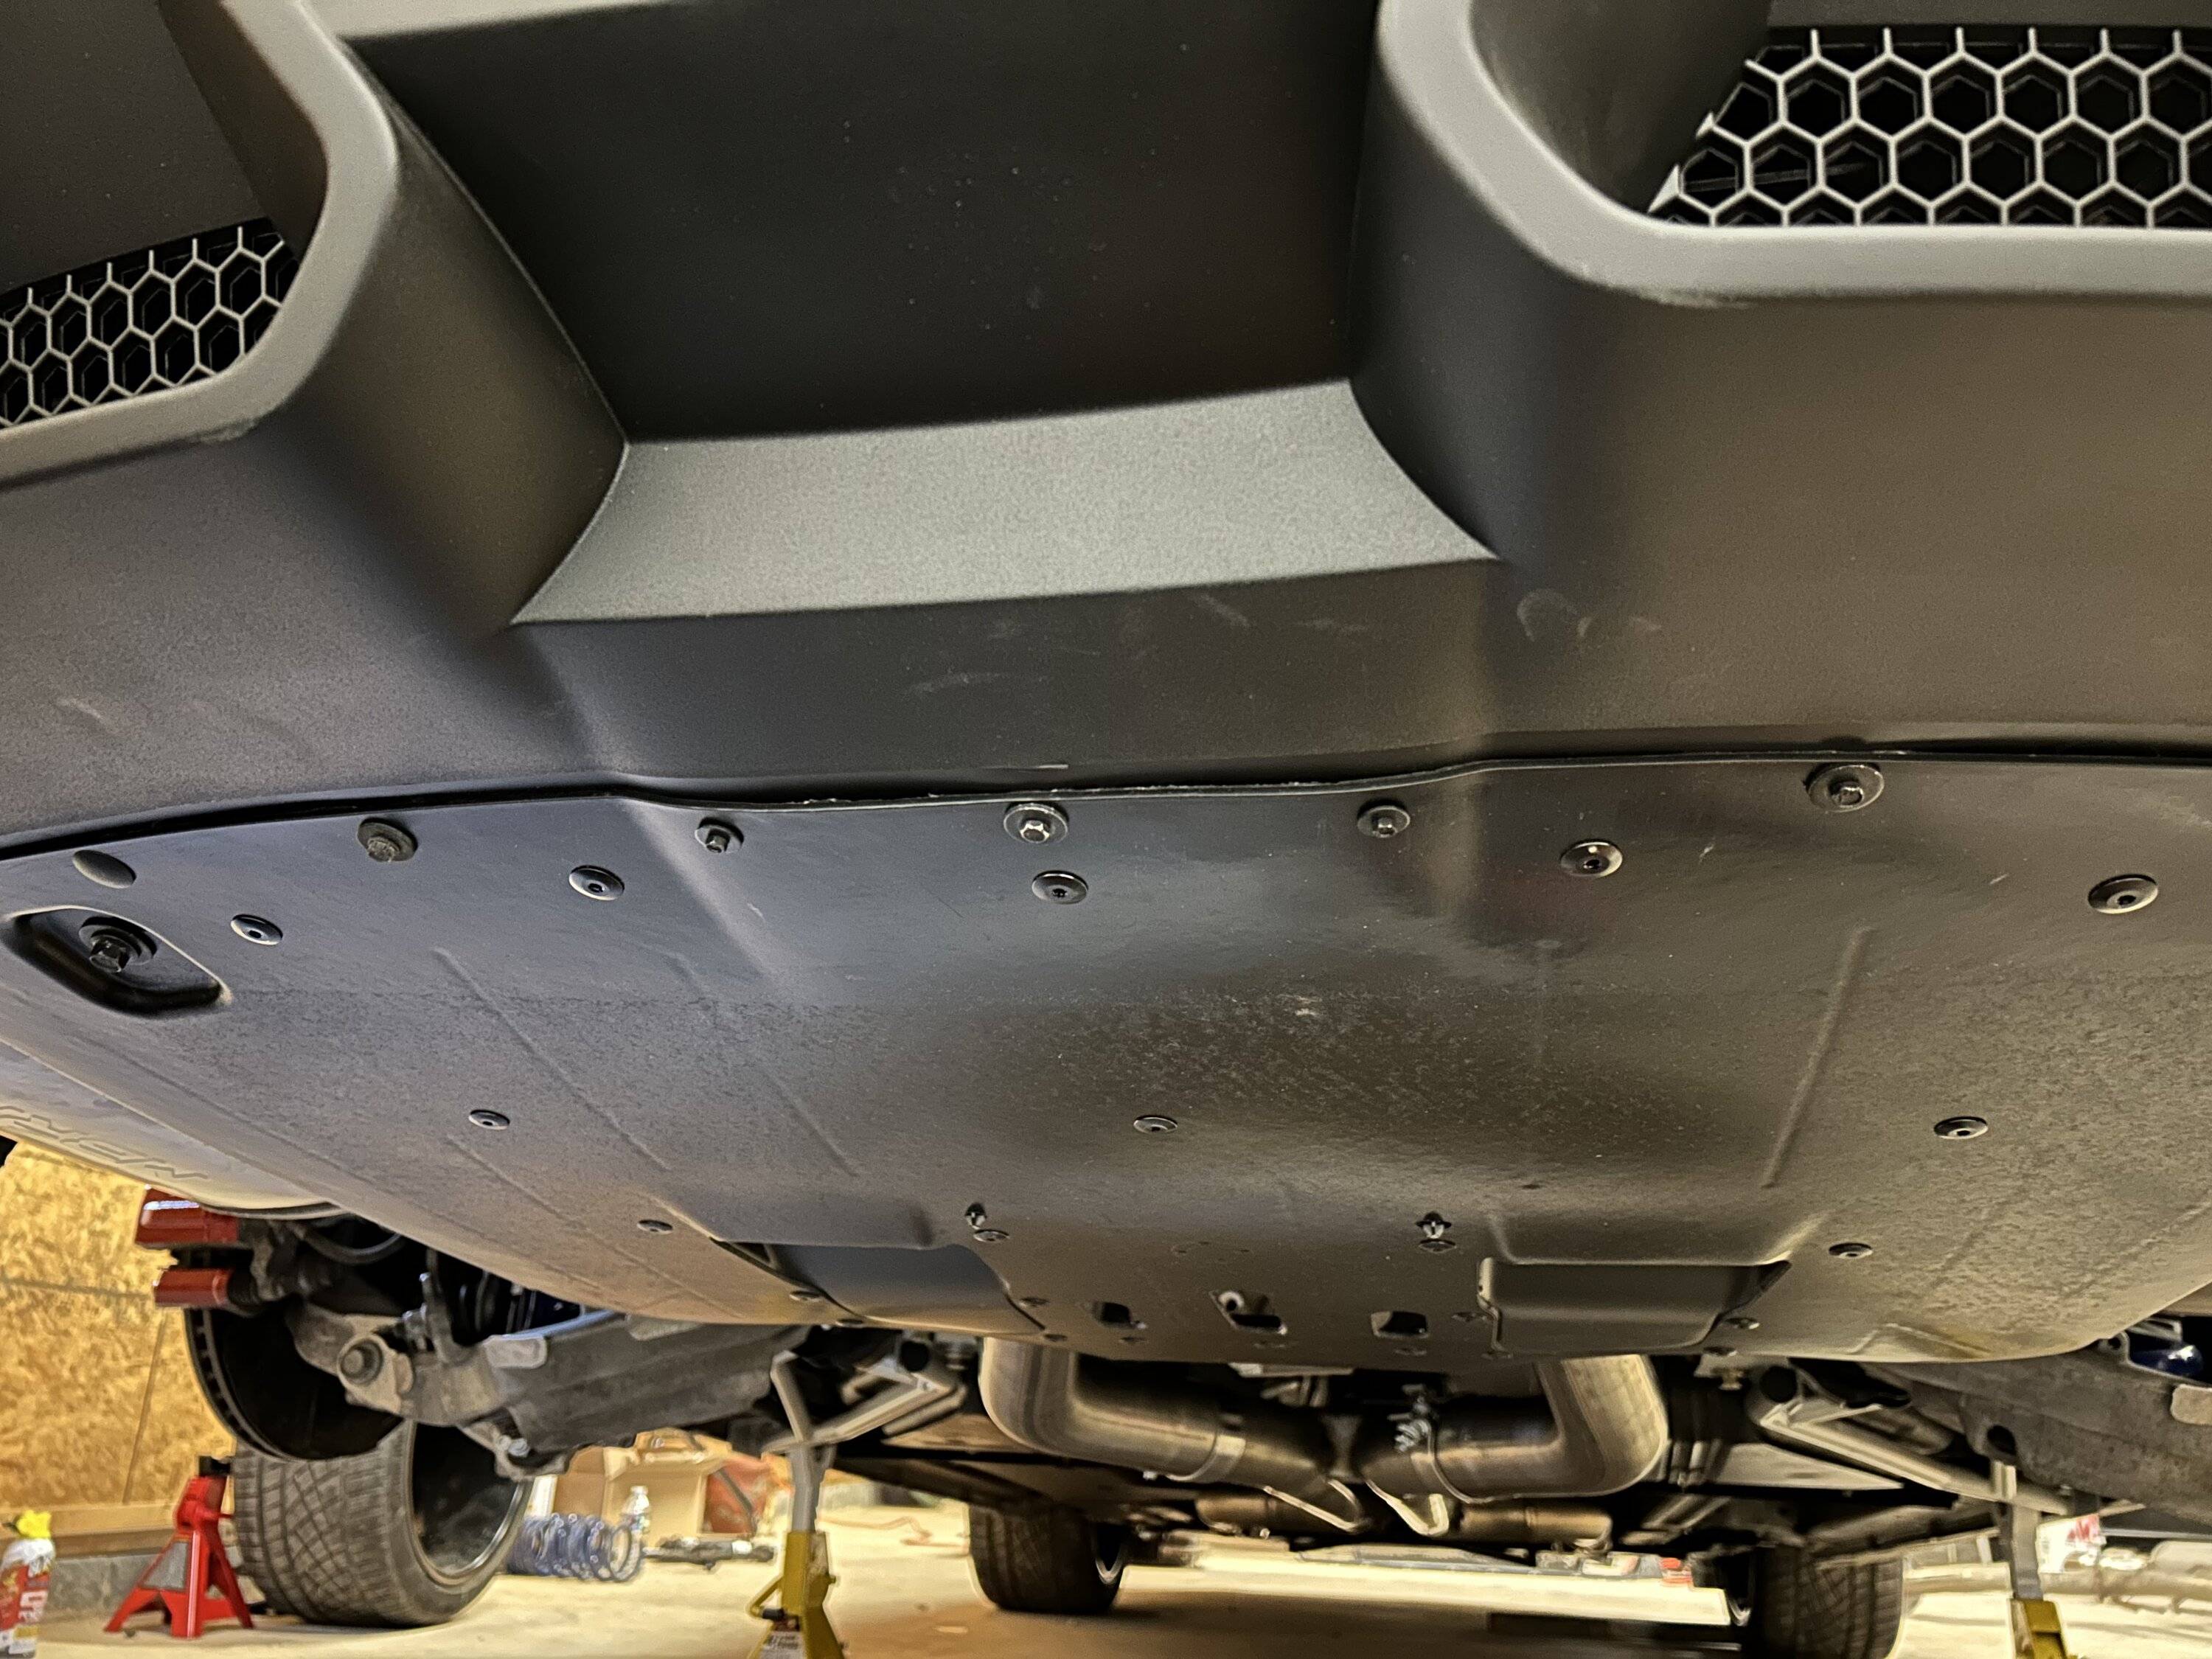
A couple of shots of the underneath finished. All-in-all, not a bad install. Thanks again to @fast306stang! He’s one solid dude!
Sponsored
