TeamGomez
Well-Known Member
- Joined
- Apr 2, 2022
- Threads
- 23
- Messages
- 185
- Reaction score
- 332
- Location
- San Diego
- Website
- www.centripetalsolutions.com
- First Name
- John
- Vehicle(s)
- '18 350, 996 GT-3, E46 M3, SQ5, Tundra
- Thread starter
- #1
Shout out in advance to the gray beards and savvy aficionados of all things *clean and swirl free* who helped propel my car care technology to the 21st century (or in tech speak, I just tossed my flip phone in the campfire...stby for interesting flames from the fire pit lol).
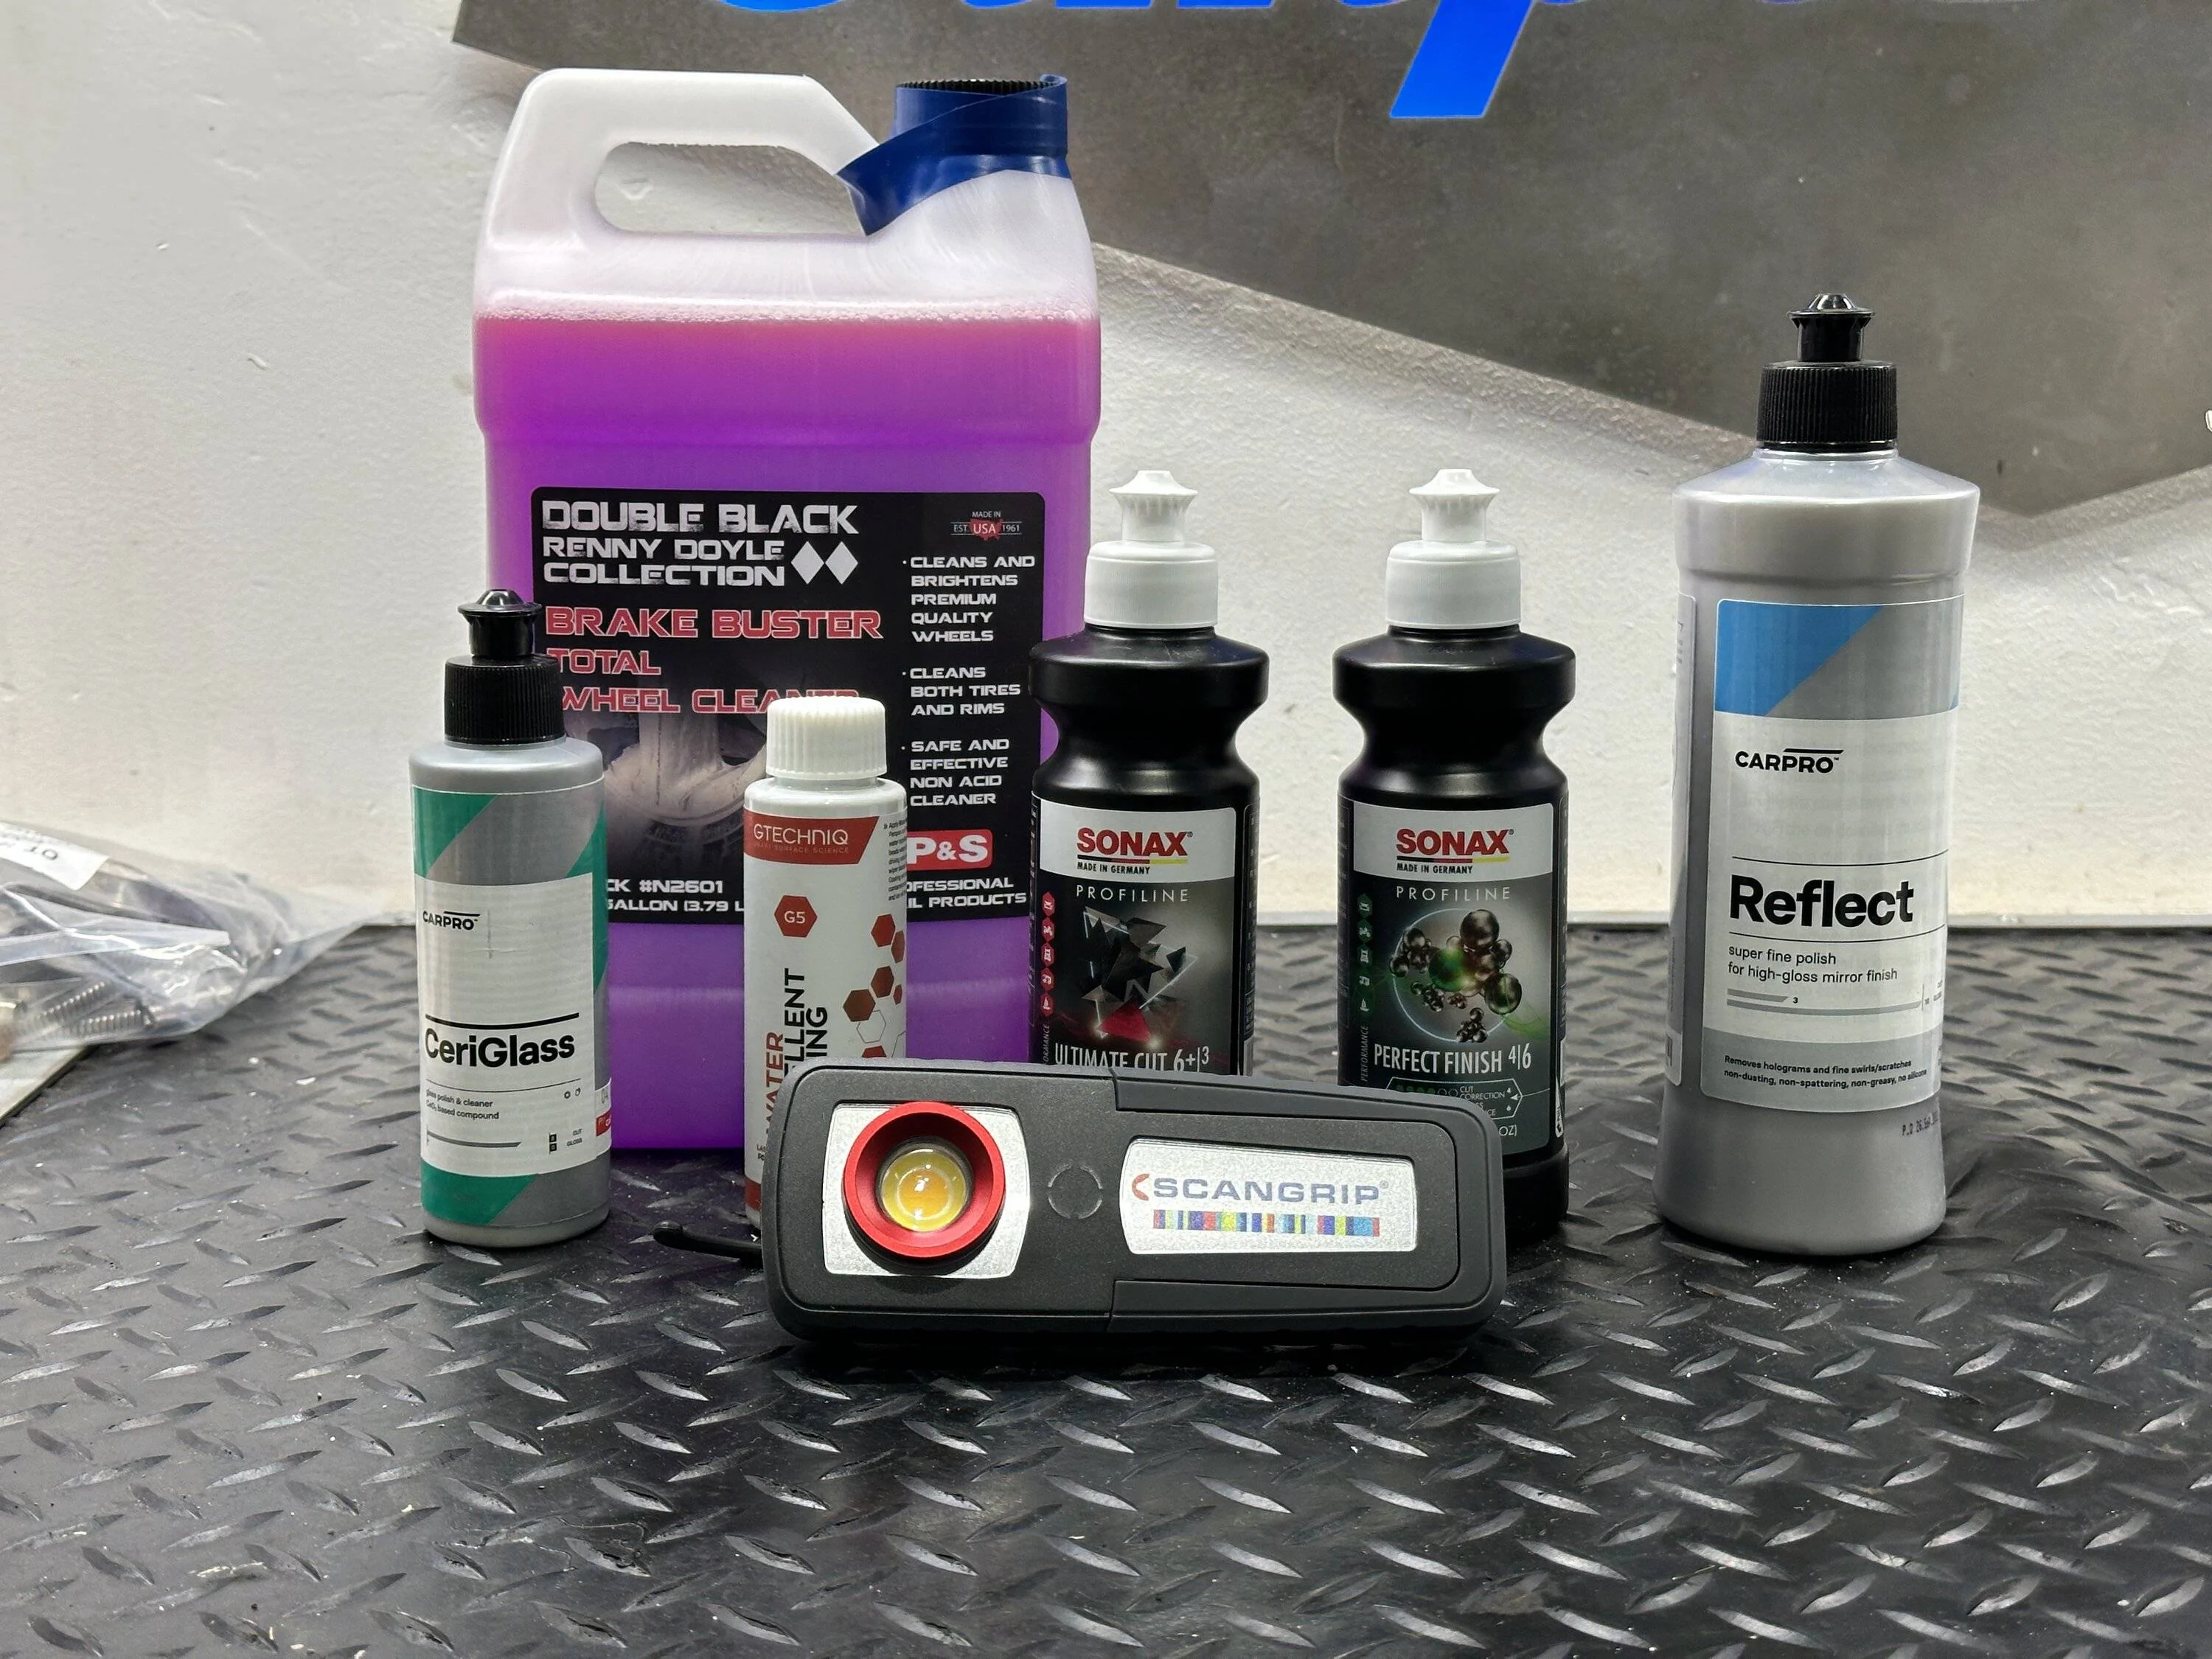
I cut my teeth on the wheels with CP DLUX and got familiar with how the product laid down and buffed off. DFB5.0 educated me on the latest and greatest products for SMR paint correction that really helped me finish off my black car that was giving me fits on the finish phase. Reflect did the job well and I thought I'd see how the Sonax Ultimate Cut/Perfect Finish would do on the Oxford White to prep for my first effort at laying down ceramic.

Bottom Line Up Front: The hardest part is prepping the car, the paint, and having the patience to not rush it.
It took me about 3 days to get 'er done. I worked in 3 (ummm nm...make that 8) phases:
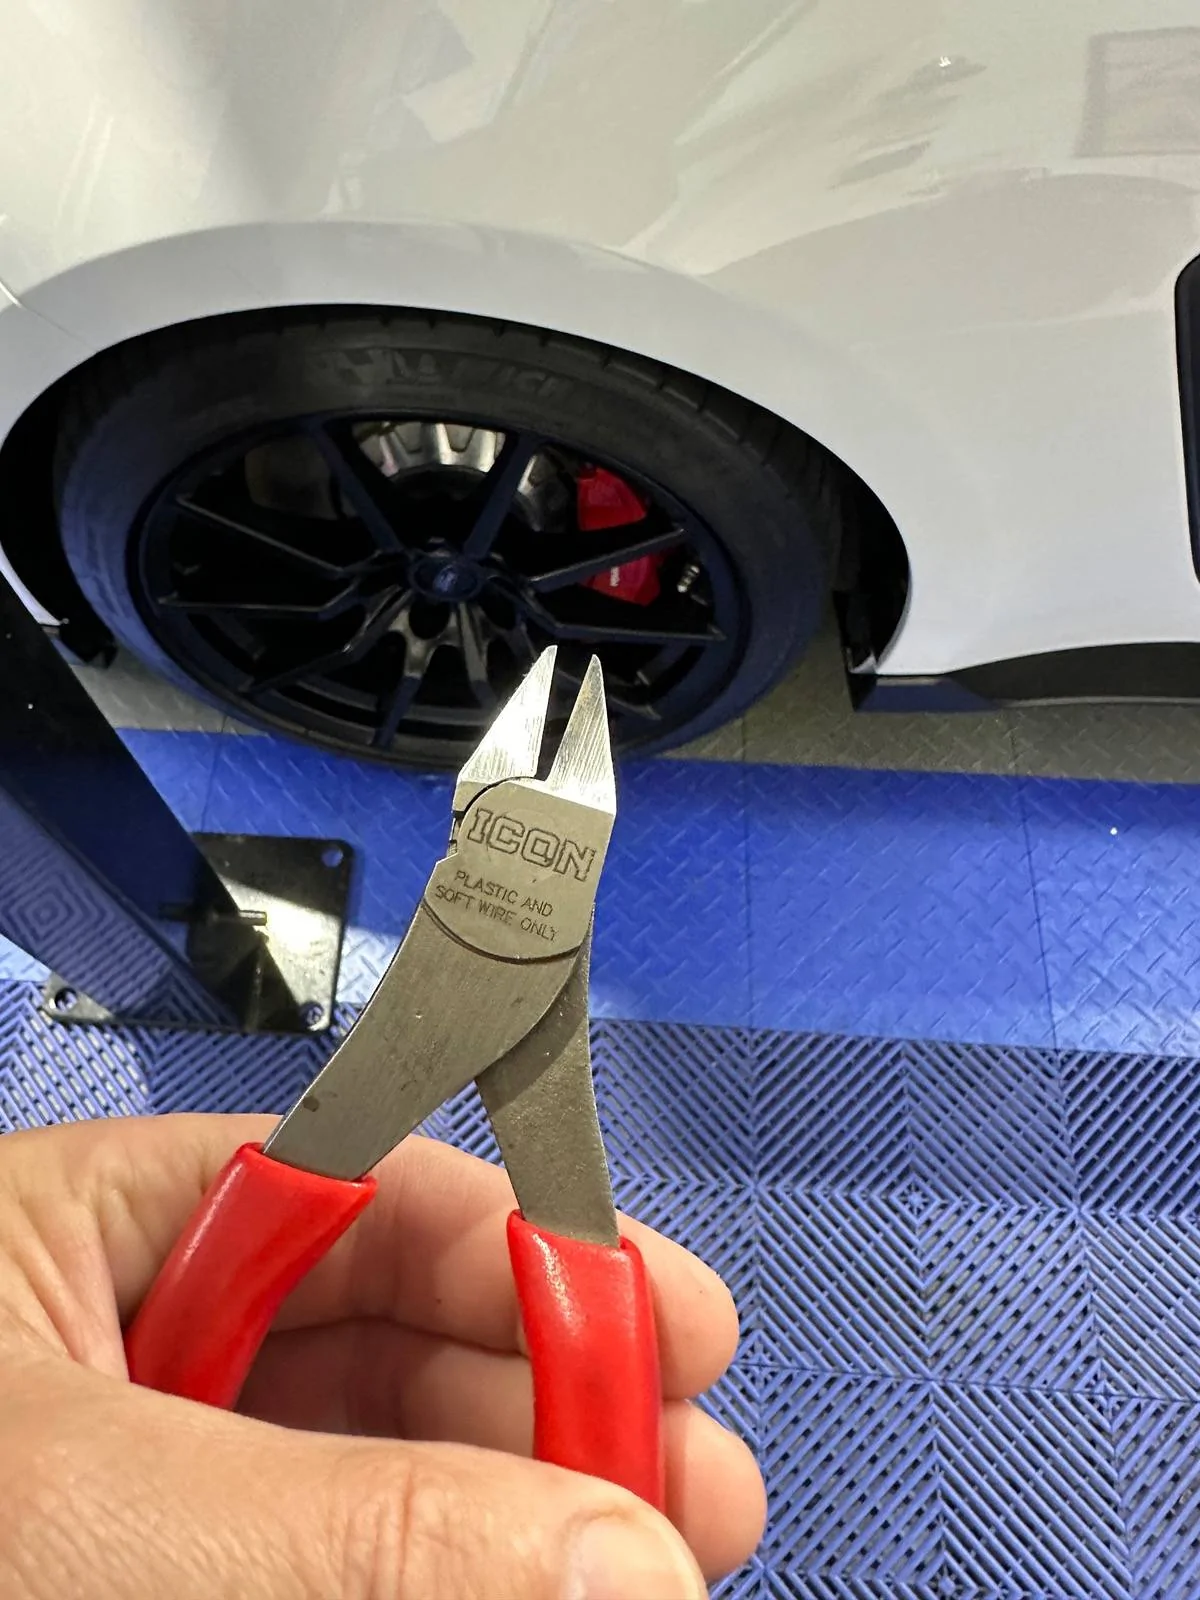
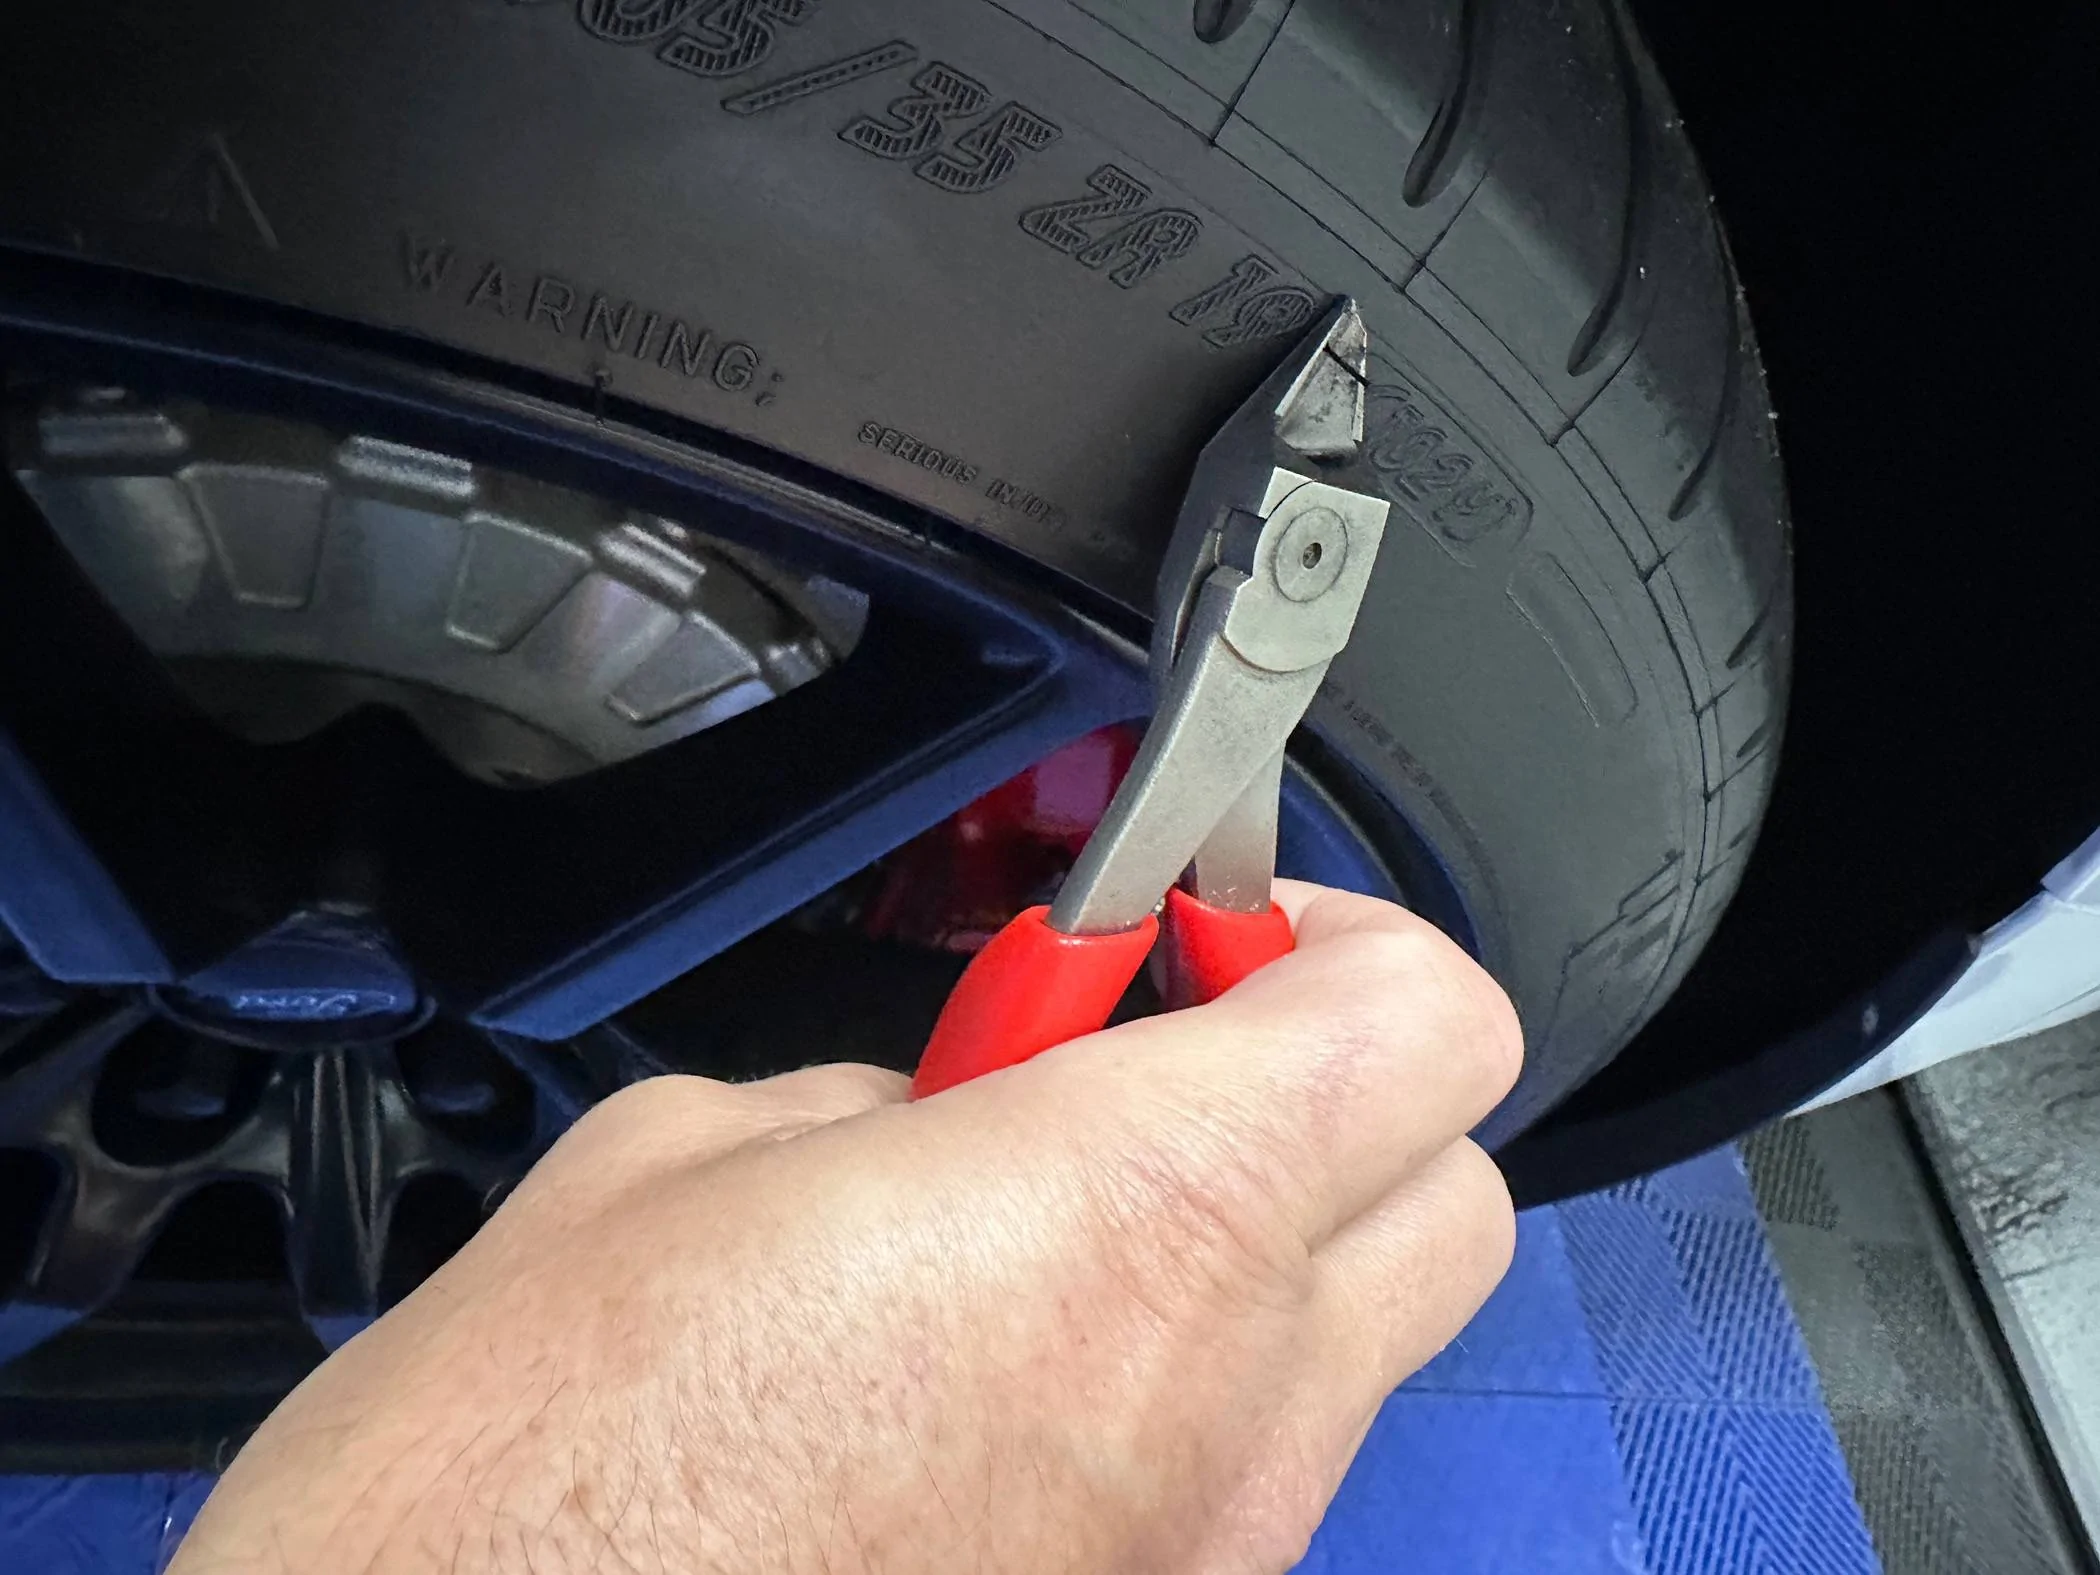
1. Masking off plastics/trim/seals
2. Ultimate Cut to knock down the gnarly stuff
3. Perfect Finish to shine it up.
4. Decontaminate/strip oils
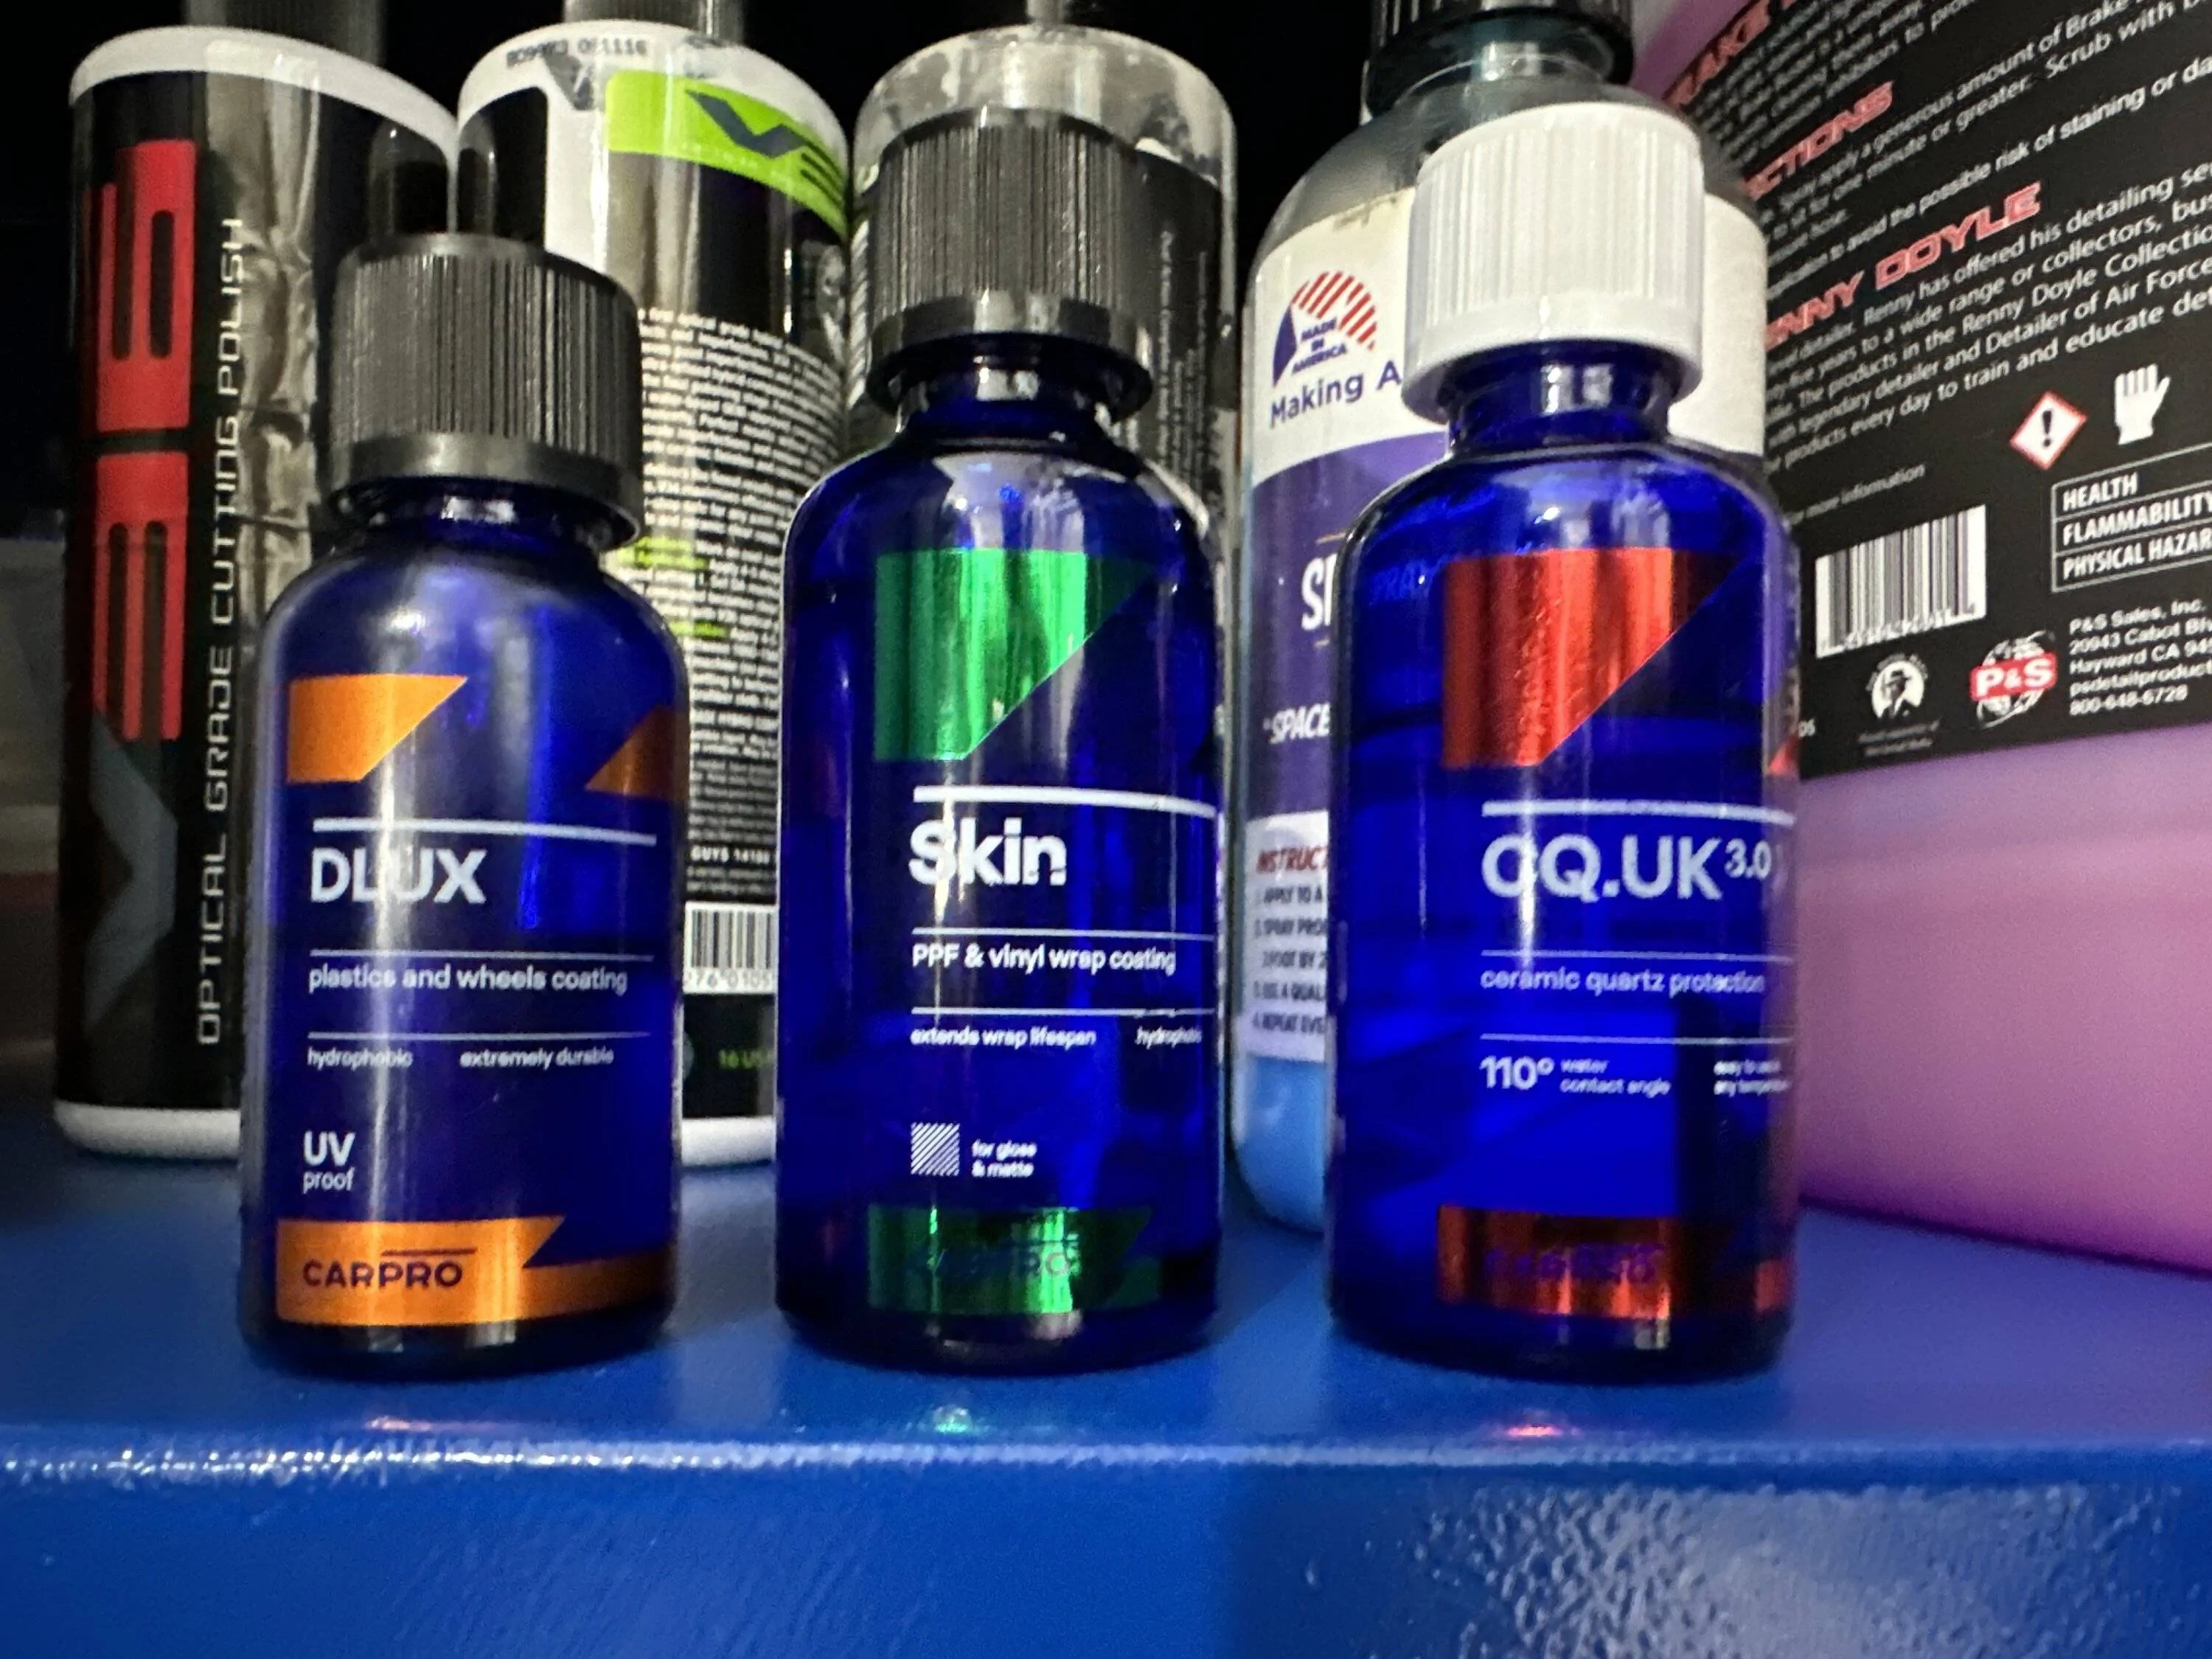
5. CQ.UK on the painted surfaces (2 coats).
6. CP Skin on the vinyl/ppf
7. CP Reload to slick it off
8. DLUX on the plastics
1. Masking. I had no idea what would happen if the CQ.UK got smeared on the unintended surfaces so I taped off the places in jeopardy. Used the 5mm masking tape from a detailing supplier and it was sufficient.
Hindsight: Probably not a factor. The product can be quickly removed on the surfaces I did smudge a little on but I'm sure you must be quick about it.
Oh yeah....forgot to mention...I did wash and clay the car b/f starting the masking portion...so I guess that makes it 9 phases.
2. Ultimate Cut was not as aggressive as I thought it was going to be with a green pad on the 6" Bigfoot & Griot's 3" ROB. Took me about 3 applications to get some of the deeper cuts on the mistress (17k miles when purchased in Nov and paint was in good shape overall with typical 'somebody set shit on it here' scars). Kept the pads clean with a pad brush and washed all the pads at the end of every day.
3. Perfect Finish did exactly that. Of course, it was all in the wrist...
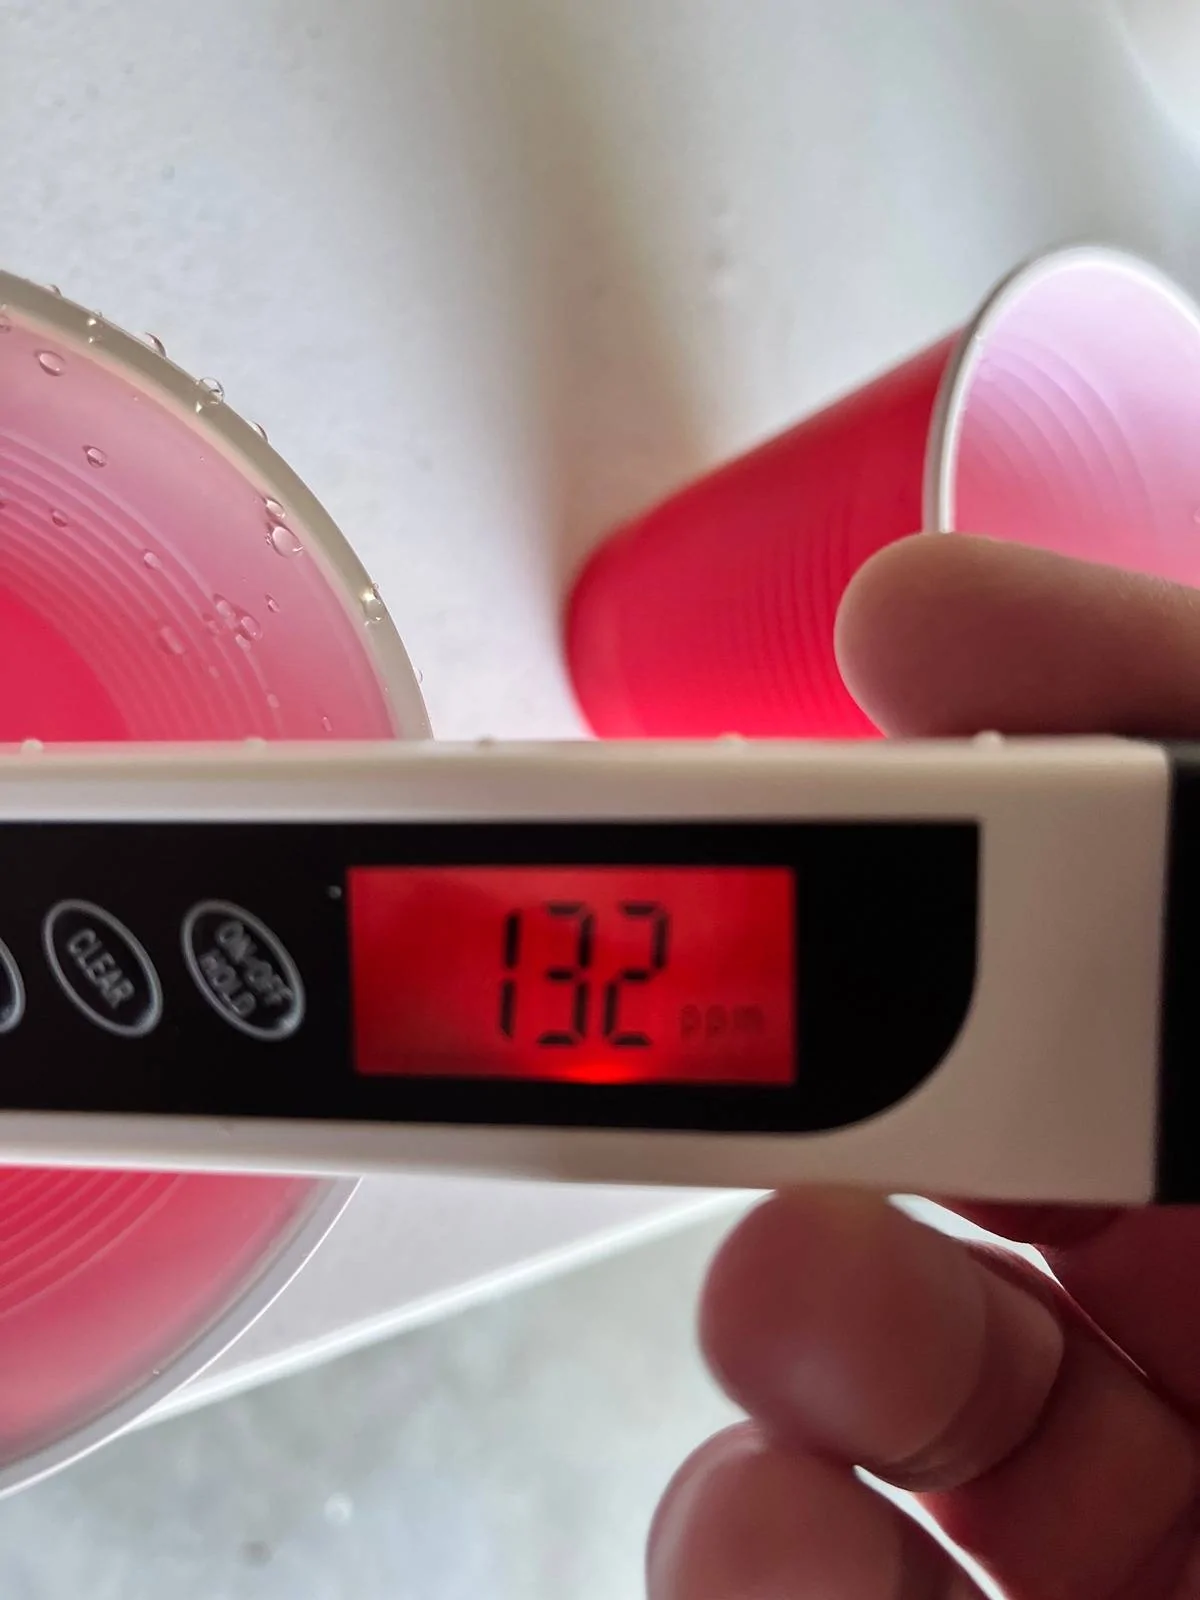
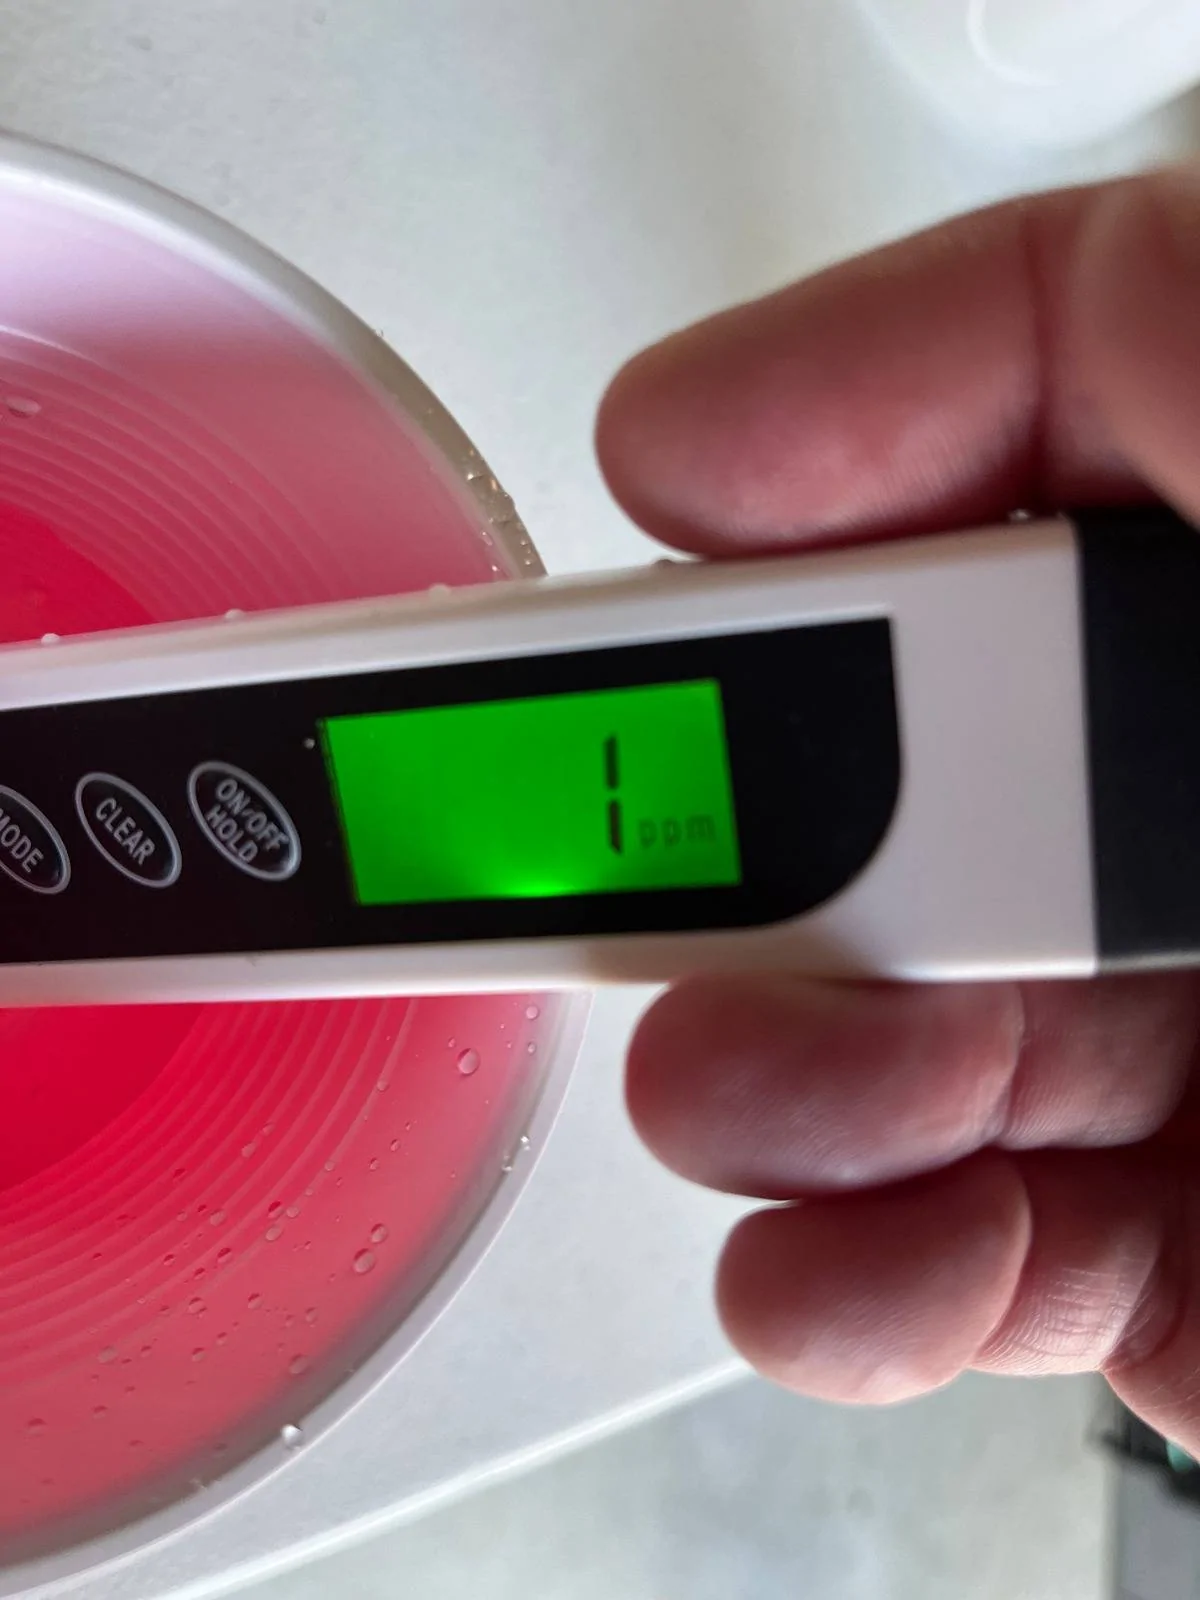
4. I used 30% IPA 70% deionized water solution to decontaminate the entire car. Paint/Vinyl/Plastics.
4. Now for the easy part...after experimenting on a couple smaller spots, I was surprised how easy it was to lay down the ceramic. Almost an identical process to applying Zaino's acrylic product (read: less is more...I used approx 15ml to coat the car twice). I saw how the ceramic flashed (turned rainbowy...that is a word...well, now it is) and it was easiest to use my ceiling mounted UFO LEDs (one 250W, two 90W) to see this. Not as easy with the Scangrip light though it was a huge help in seeing any spots where I didn't completely 'level' the product. I initially just used the CP orange MF towel that comes in the box, but added a 530gm edgeless MF towel for final buff. Laid down two coats on all exterior surfaces plus door jambs/door latch face (essentially the end plate of the door).
Remember- no Miyagi-san wax-on, wax-off rotations. Uni-directional with vertical swipes on the sides and longitudinal on the horizontal/flat surfaces. Very tempting to go side to side on the sides when you're sideways to begin with but there's a refractive reason behind this. Unless you're south of the equator then reverse the wipeology...coriolis forces, you know...
I probably violated CP's marketing department rules on only using the mf applicator for 2 panels...I used one applicator for the entire car and started with a new one for the second coat.
Pro tip: that damned bottle has a curved spout on the inside of the dispensing cap. They were thinking when they designed it...rotate the bottle so it curves up and it lays down a nice line of product on the mf applicator. Flip it 180 degrees and you'll be cussing at why the shit won't come out. My favorite John Wayne quote: "Life's tough. It's tougher when you're stupid..." Lesson learned.

5. CP Skin on the vinyl/ppf. I was not as impressed with this product. I was hoping it was going to assuage some of the micro marring on the vinyl but it did not. It says not to add any other chemicals for 3-5 days after applying and, well, 2 days later I did spray some Reload on it...we'll see if they turn pink and purple, crack, and get ingested by the 5.2.
6. Reload directions says to apply, let sit for a minute, then buff off. Very easy to work with and actually didn't add much 'pop'. Then again, hard to do with white.
7. The DLUX is great stuff. Easy to work with I really like the finish it puts on the plastic trim pieces.
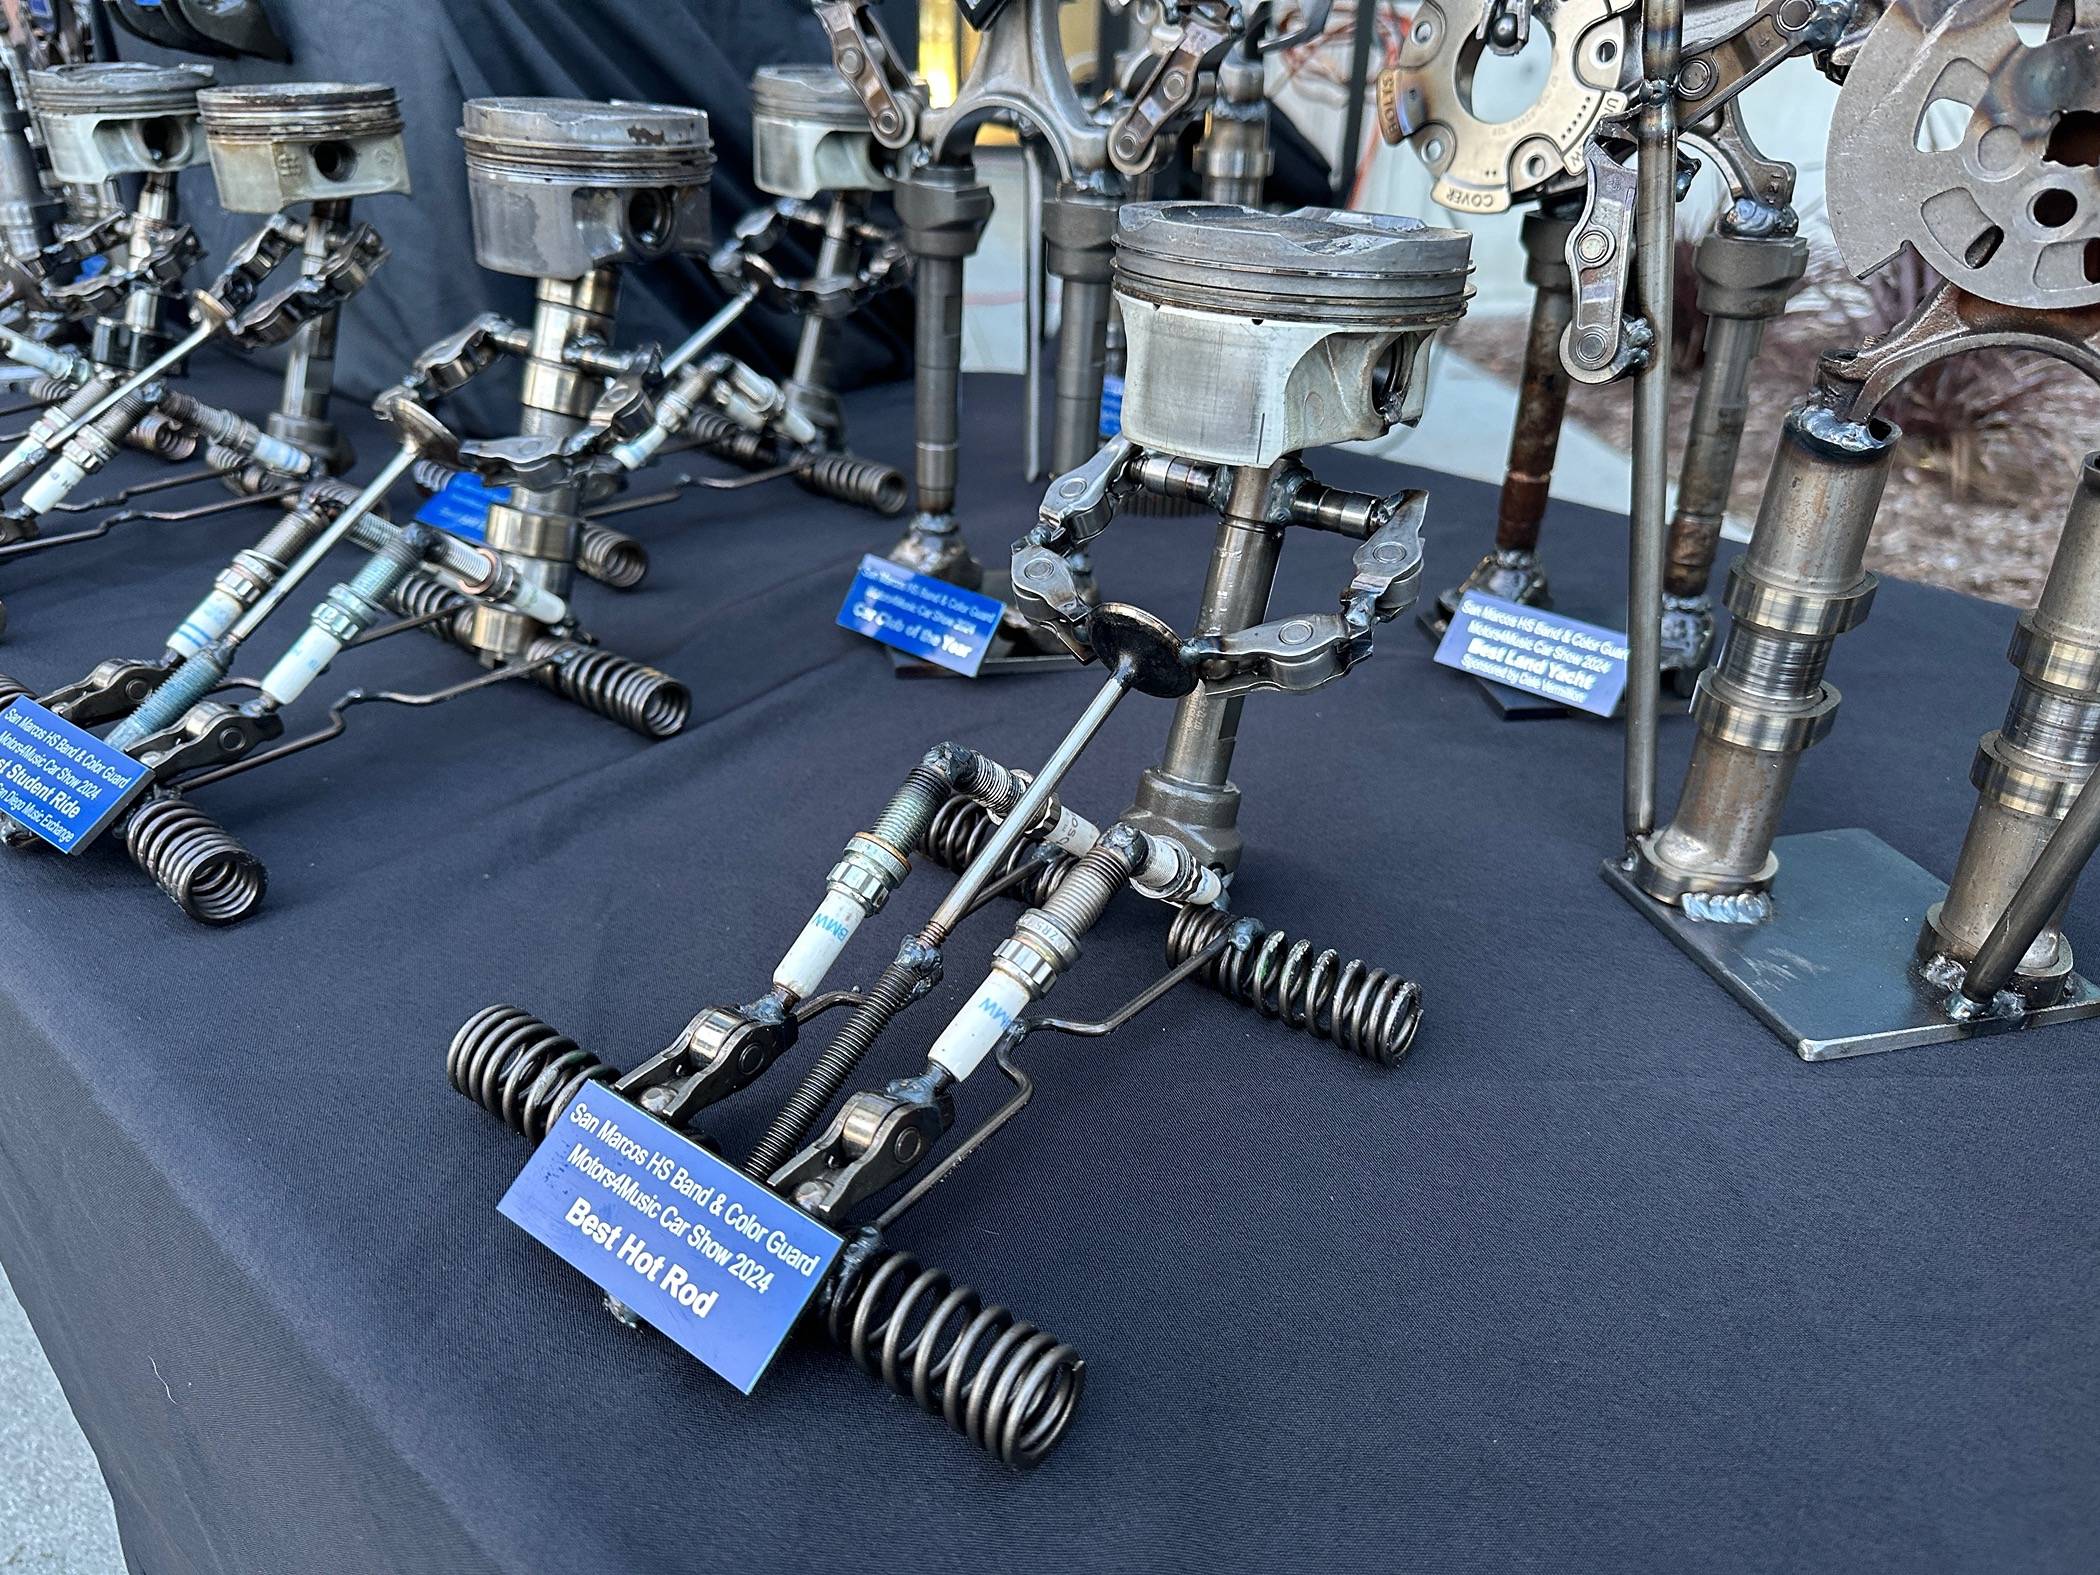
Gonna hit a car show tomm so maybe I'll get some glamor shots of the mistress in her element (one of them, anyhow). Cheers for now.
I cut my teeth on the wheels with CP DLUX and got familiar with how the product laid down and buffed off. DFB5.0 educated me on the latest and greatest products for SMR paint correction that really helped me finish off my black car that was giving me fits on the finish phase. Reflect did the job well and I thought I'd see how the Sonax Ultimate Cut/Perfect Finish would do on the Oxford White to prep for my first effort at laying down ceramic.
Bottom Line Up Front: The hardest part is prepping the car, the paint, and having the patience to not rush it.
It took me about 3 days to get 'er done. I worked in 3 (ummm nm...make that 8) phases:
1. Masking off plastics/trim/seals
2. Ultimate Cut to knock down the gnarly stuff
3. Perfect Finish to shine it up.
4. Decontaminate/strip oils
5. CQ.UK on the painted surfaces (2 coats).
6. CP Skin on the vinyl/ppf
7. CP Reload to slick it off
8. DLUX on the plastics
1. Masking. I had no idea what would happen if the CQ.UK got smeared on the unintended surfaces so I taped off the places in jeopardy. Used the 5mm masking tape from a detailing supplier and it was sufficient.
Hindsight: Probably not a factor. The product can be quickly removed on the surfaces I did smudge a little on but I'm sure you must be quick about it.
Oh yeah....forgot to mention...I did wash and clay the car b/f starting the masking portion...so I guess that makes it 9 phases.

2. Ultimate Cut was not as aggressive as I thought it was going to be with a green pad on the 6" Bigfoot & Griot's 3" ROB. Took me about 3 applications to get some of the deeper cuts on the mistress (17k miles when purchased in Nov and paint was in good shape overall with typical 'somebody set shit on it here' scars). Kept the pads clean with a pad brush and washed all the pads at the end of every day.
3. Perfect Finish did exactly that. Of course, it was all in the wrist...
4. I used 30% IPA 70% deionized water solution to decontaminate the entire car. Paint/Vinyl/Plastics.
4. Now for the easy part...after experimenting on a couple smaller spots, I was surprised how easy it was to lay down the ceramic. Almost an identical process to applying Zaino's acrylic product (read: less is more...I used approx 15ml to coat the car twice). I saw how the ceramic flashed (turned rainbowy...that is a word...well, now it is) and it was easiest to use my ceiling mounted UFO LEDs (one 250W, two 90W) to see this. Not as easy with the Scangrip light though it was a huge help in seeing any spots where I didn't completely 'level' the product. I initially just used the CP orange MF towel that comes in the box, but added a 530gm edgeless MF towel for final buff. Laid down two coats on all exterior surfaces plus door jambs/door latch face (essentially the end plate of the door).
Remember- no Miyagi-san wax-on, wax-off rotations. Uni-directional with vertical swipes on the sides and longitudinal on the horizontal/flat surfaces. Very tempting to go side to side on the sides when you're sideways to begin with but there's a refractive reason behind this. Unless you're south of the equator then reverse the wipeology...coriolis forces, you know...
I probably violated CP's marketing department rules on only using the mf applicator for 2 panels...I used one applicator for the entire car and started with a new one for the second coat.
Pro tip: that damned bottle has a curved spout on the inside of the dispensing cap. They were thinking when they designed it...rotate the bottle so it curves up and it lays down a nice line of product on the mf applicator. Flip it 180 degrees and you'll be cussing at why the shit won't come out. My favorite John Wayne quote: "Life's tough. It's tougher when you're stupid..." Lesson learned.

5. CP Skin on the vinyl/ppf. I was not as impressed with this product. I was hoping it was going to assuage some of the micro marring on the vinyl but it did not. It says not to add any other chemicals for 3-5 days after applying and, well, 2 days later I did spray some Reload on it...we'll see if they turn pink and purple, crack, and get ingested by the 5.2.
6. Reload directions says to apply, let sit for a minute, then buff off. Very easy to work with and actually didn't add much 'pop'. Then again, hard to do with white.
7. The DLUX is great stuff. Easy to work with I really like the finish it puts on the plastic trim pieces.
Gonna hit a car show tomm so maybe I'll get some glamor shots of the mistress in her element (one of them, anyhow). Cheers for now.


Sponsored
Last edited:

 .
.