Jjmoberg
Well-Known Member
How does it look ?Includes sides. My other kit should be here Friday
Sponsored
How does it look ?Includes sides. My other kit should be here Friday
I wasn’t happy with the quality and returned it. I orderer the mustang carbon one.How does it look ?
Well hell. Its much more expensiveI wasn’t happy with the quality and returned it. I orderer the mustang carbon one.
What was wrong with it?? Alex has been very responsive over email and those first pics you listed looked great. If i gave them a try im afraid i would get the parts you just returned.I wasn’t happy with the quality and returned it. I orderer the mustang carbon one.
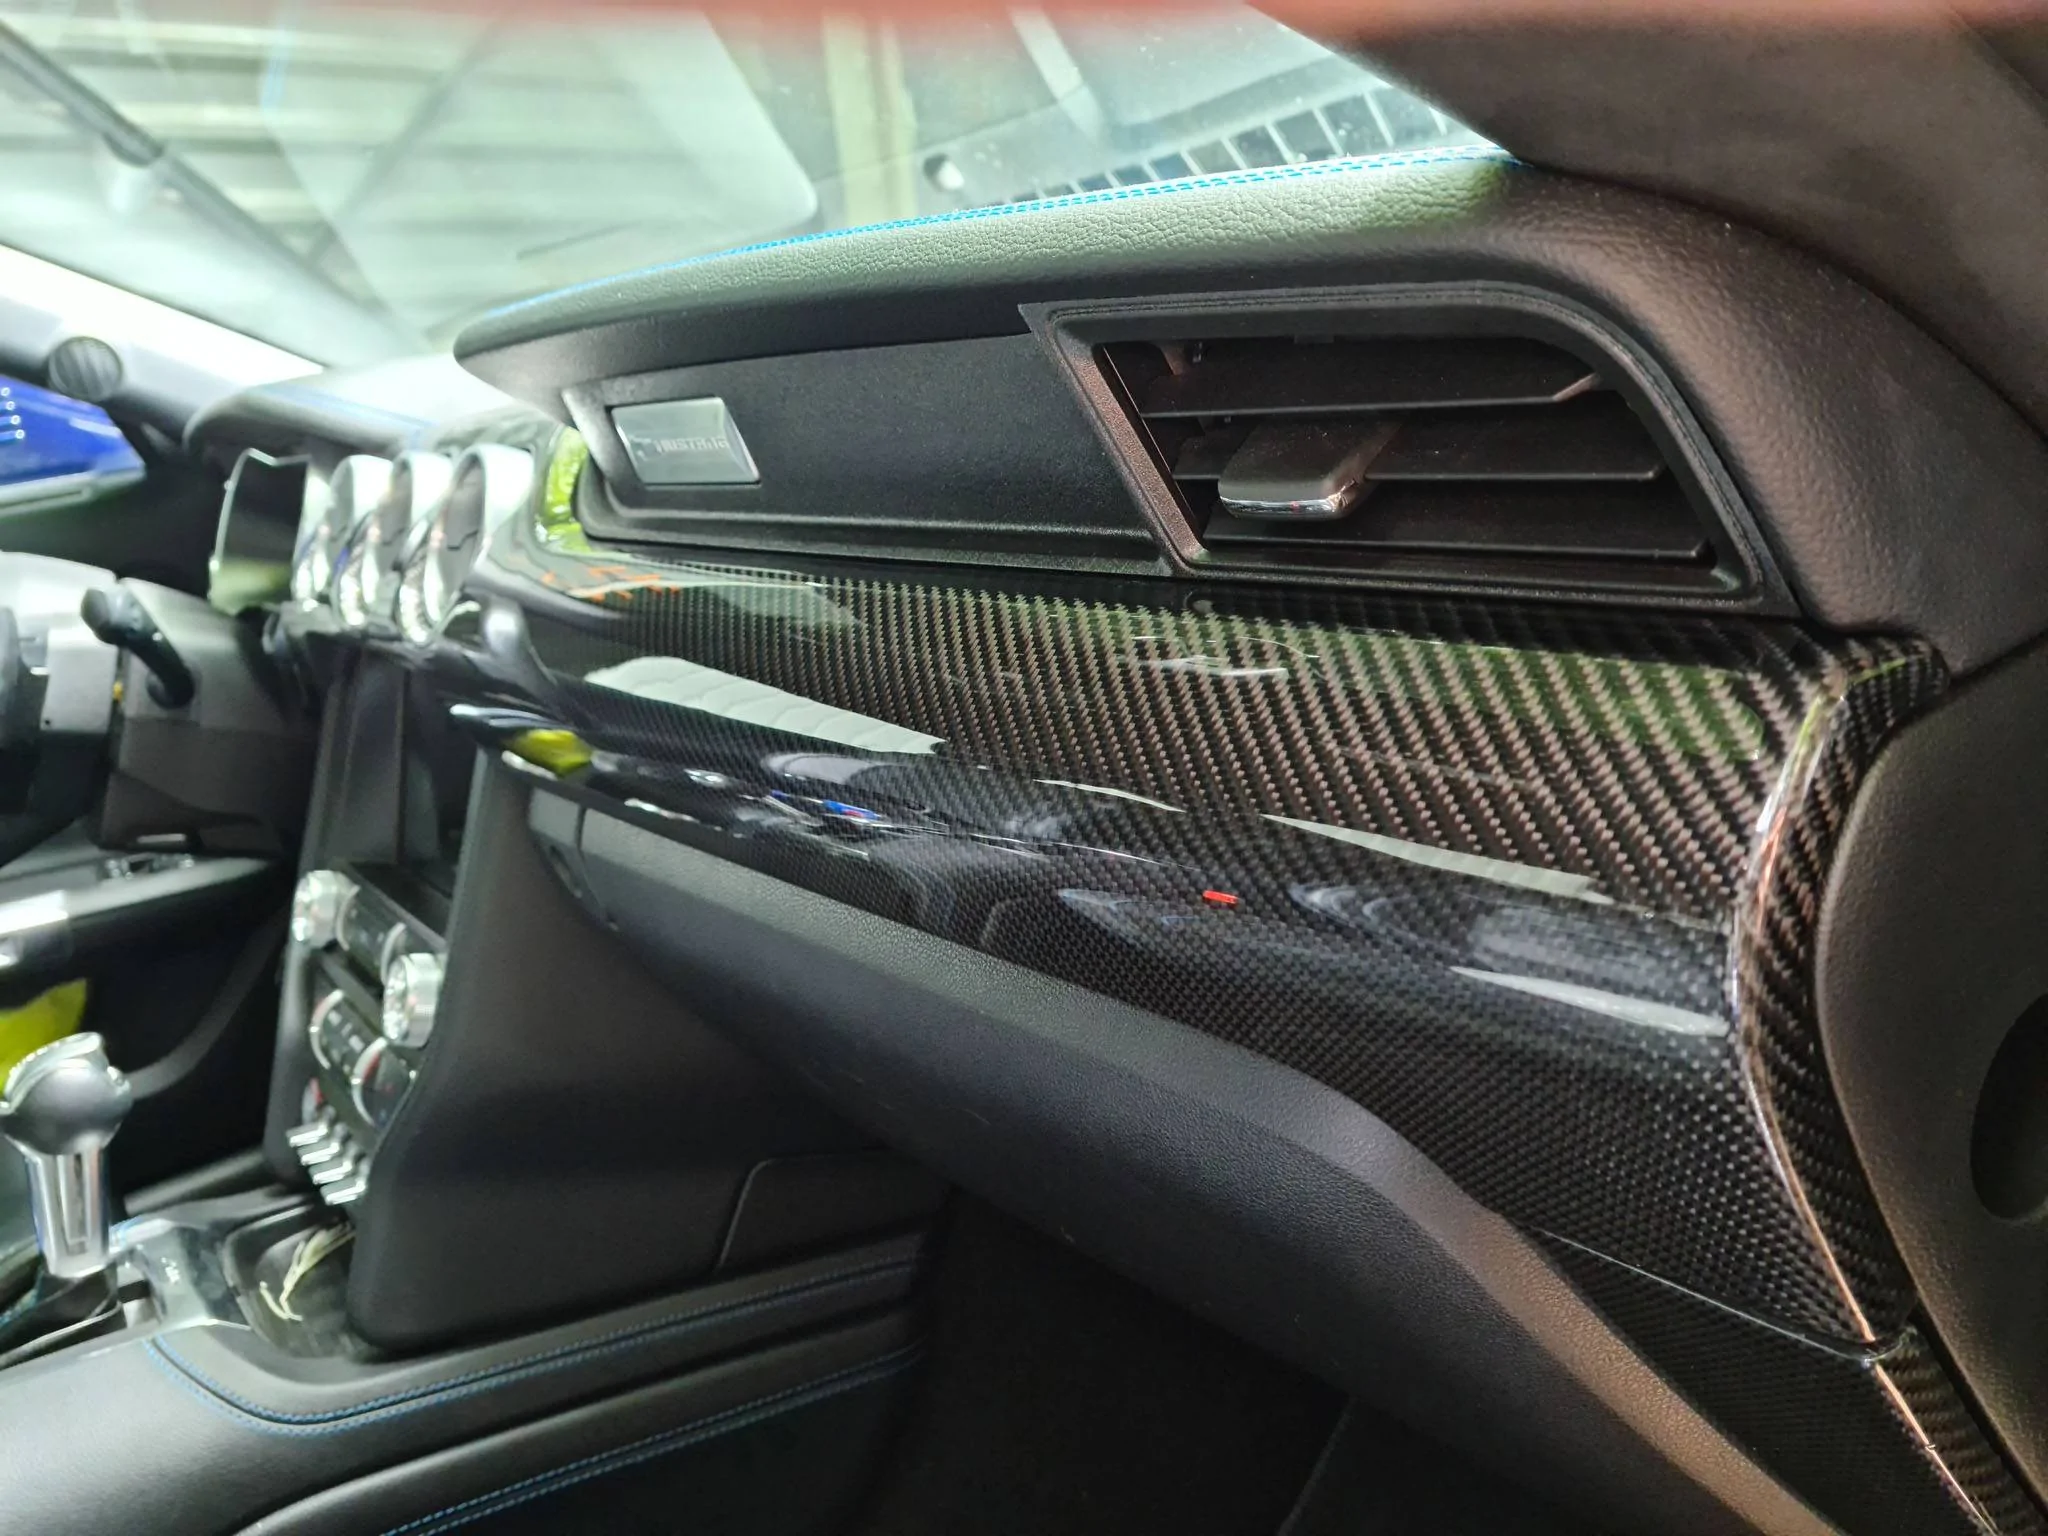


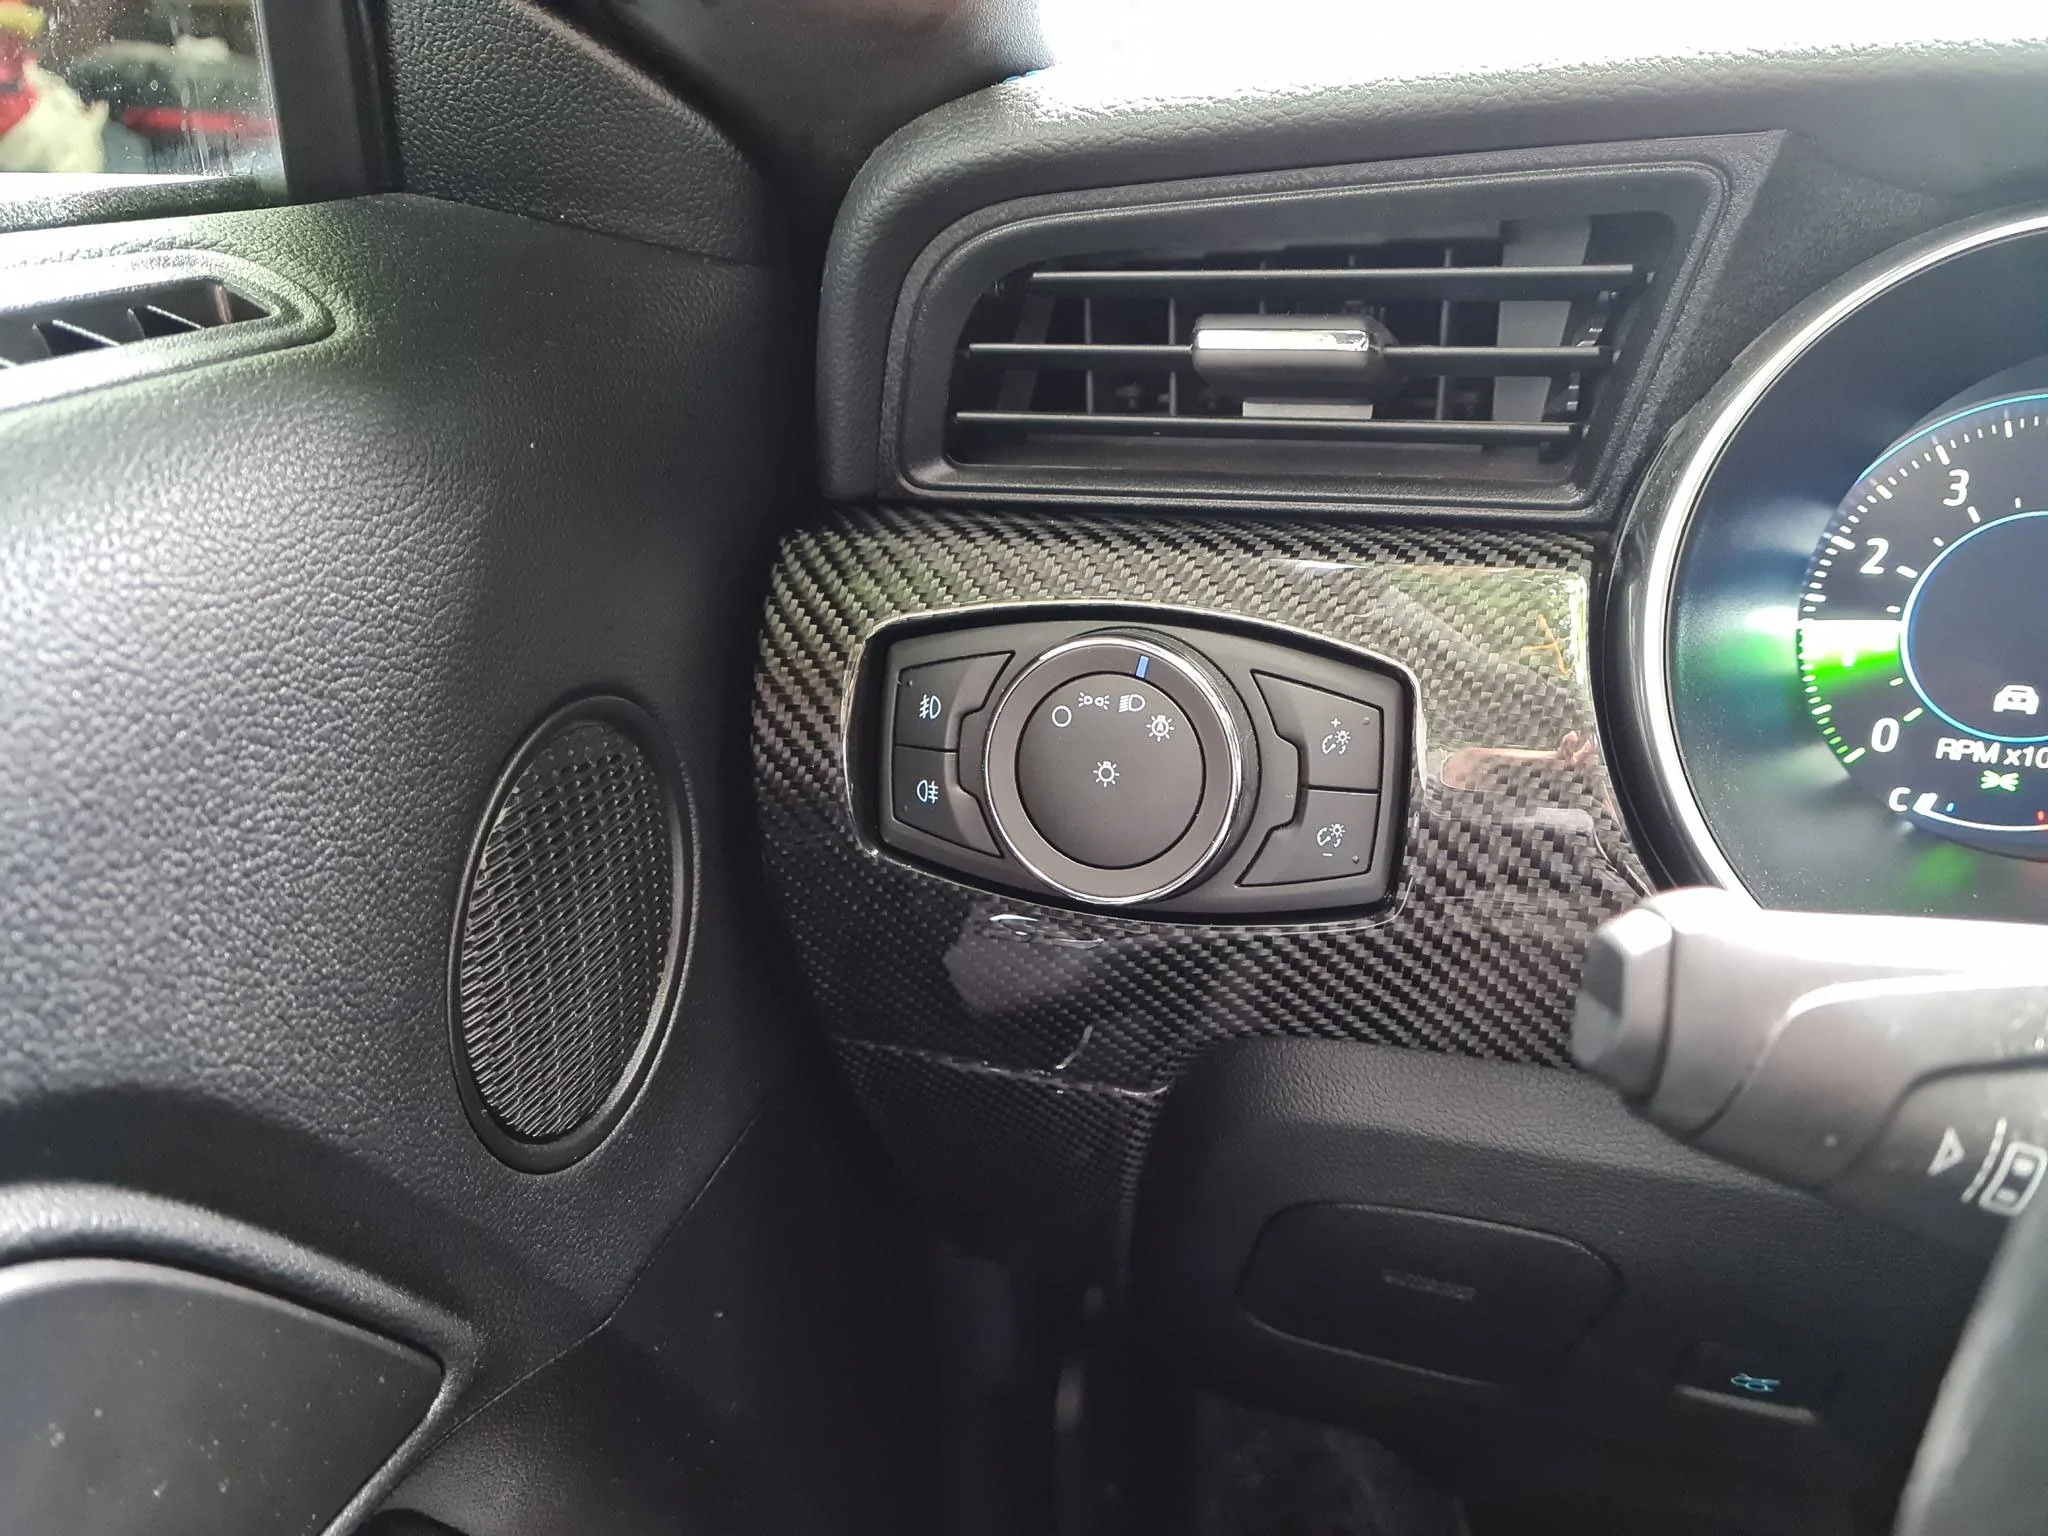
Did you use vacuum bagging, or only rely on adhesion and mechanical (hand) massaging the fabric into the sticky base epoxy? I also see that you used a black additive to your plastic-to-fabric bonding. It didn't look like you had any bleed-through...which may have occurred if you used vacuum bagging. I would not have thought to add the black dye seeing the parts are black. What are your thoughts on that in hindsight?Hello guys, I have recently finished my little project and finally had my dashboard carbon skinned so I thought (and some other guys on the forum) maybe it will be helpfull for someone if I share some pics with you. It is not really that hard. I just had to remove the aluminum cover plate and use the plastic OEM part as a base. Aluminium cover plate wasn't even glued to that plastic part. I lost two plastic clips when I was pulling out the main part, and ended up ordering 20 spare from Ali (they are exact replacement). You just have to be careful with the small headlight switch button housing as there is one screw at the bottom area, so it is better to take off the lower cover first and then this one. Overall cost was 530 EUR for all 4 pieces and the result was just amazing with minimum effort. There is one layer of carbon fiber and four layers of clear coat on this one. There were absolutely no issues refitting it back, as it is still OEM dashboard, just with carbon instead of aluminium.

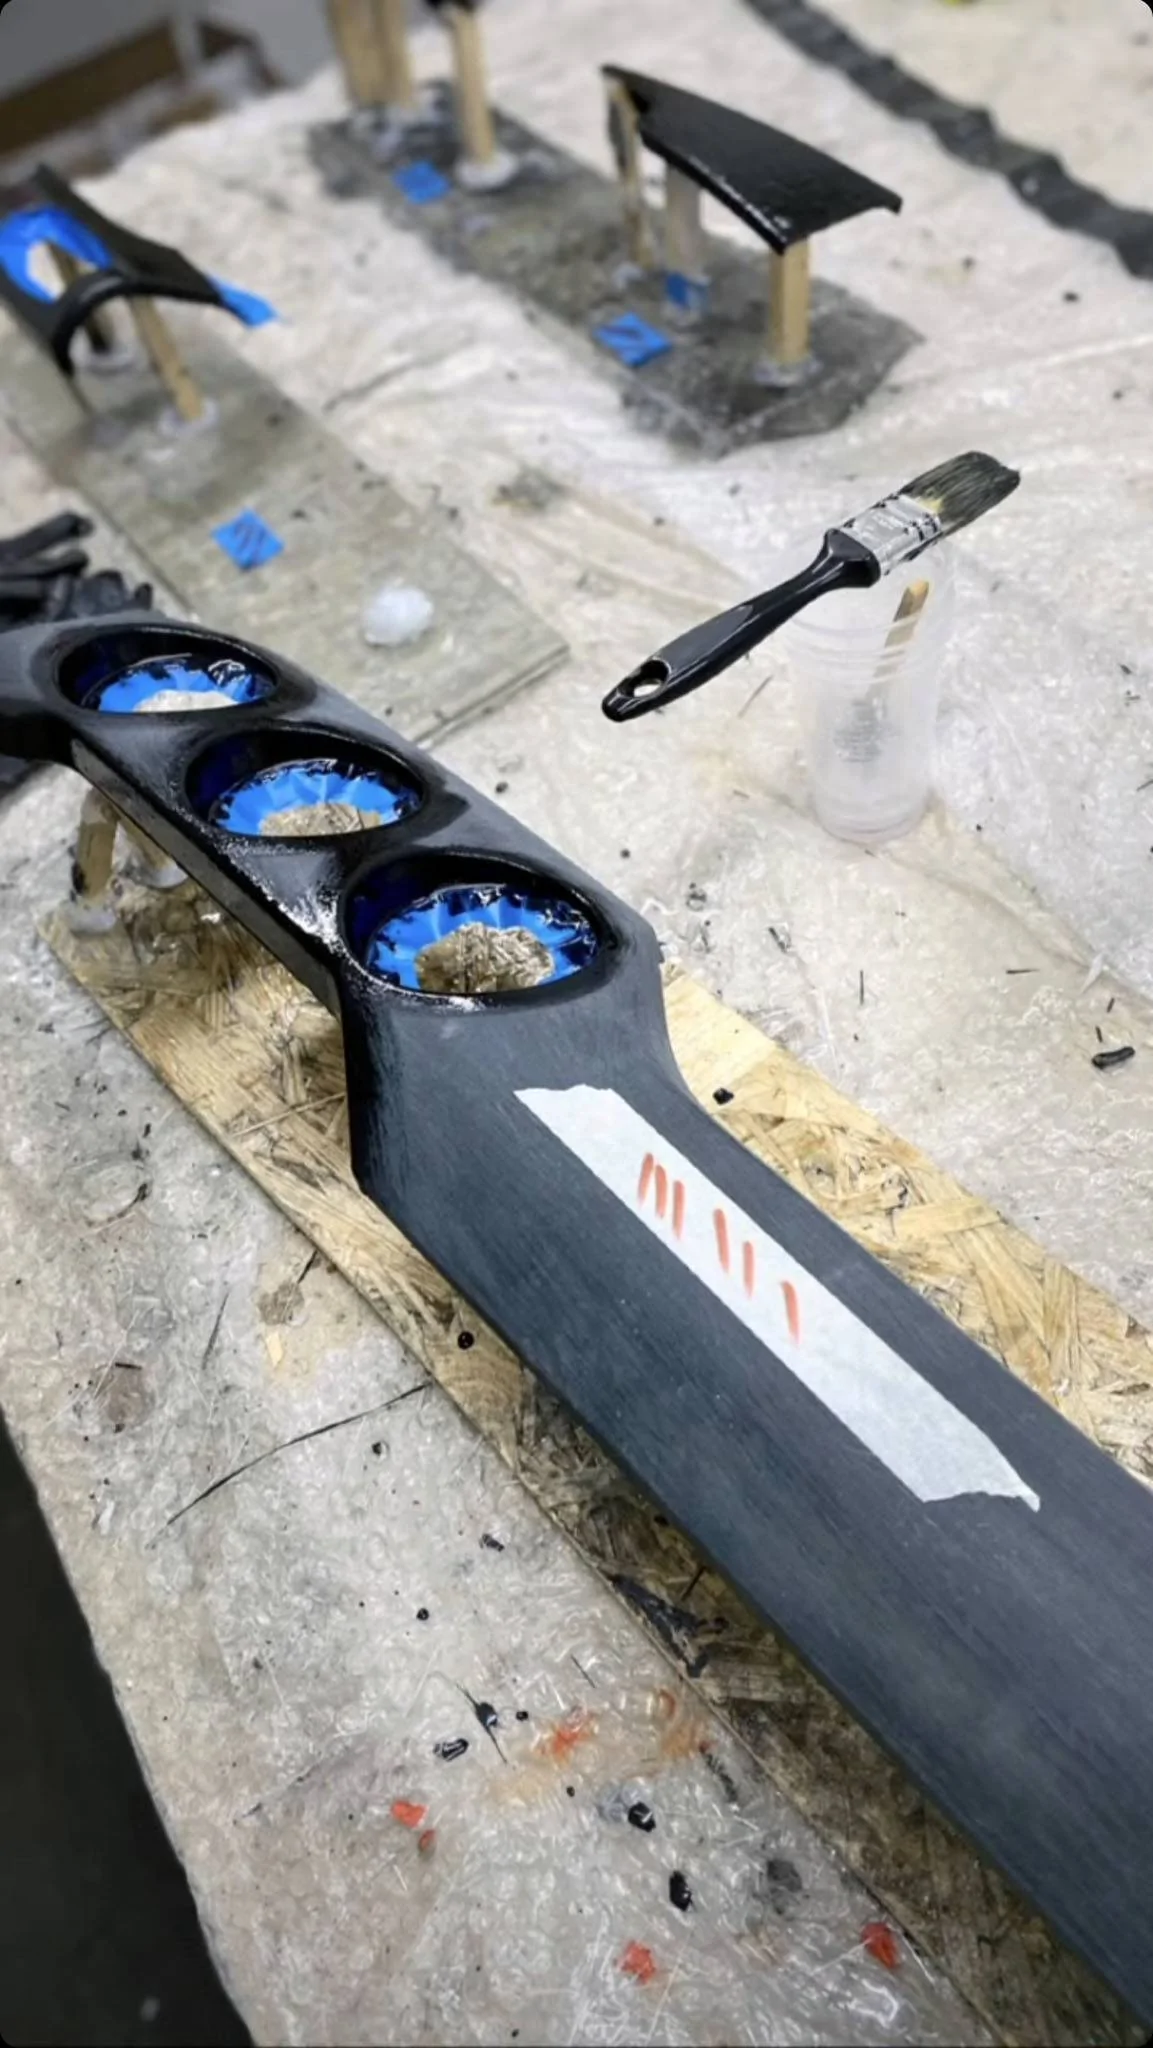
Process:


Good eye. I didn't use vacuum bagging. While there were many helpful YT videos on carbon skinning, I asked guys who were doing it this way for the last three years for Brabus and Porsche and they said that this is the easiest way to do it with reliable results. The black dye was to avoid any discoloration in case the fibers would stretch in some areas, but I have no idea how it would look like if I didn't use it. It was my first and only carbon skinning so I don't know if I was just lucky with the results or if it really does some jobDid you use vacuum bagging, or only rely on adhesion and mechanical (hand) massaging the fabric into the sticky base epoxy? I also see that you used a black additive to your plastic-to-fabric bonding. It didn't look like you had any bleed-through...which may have occurred if you used vacuum bagging. I would not have thought to add the black dye seeing the parts are black. What are your thoughts on that in hindsight?
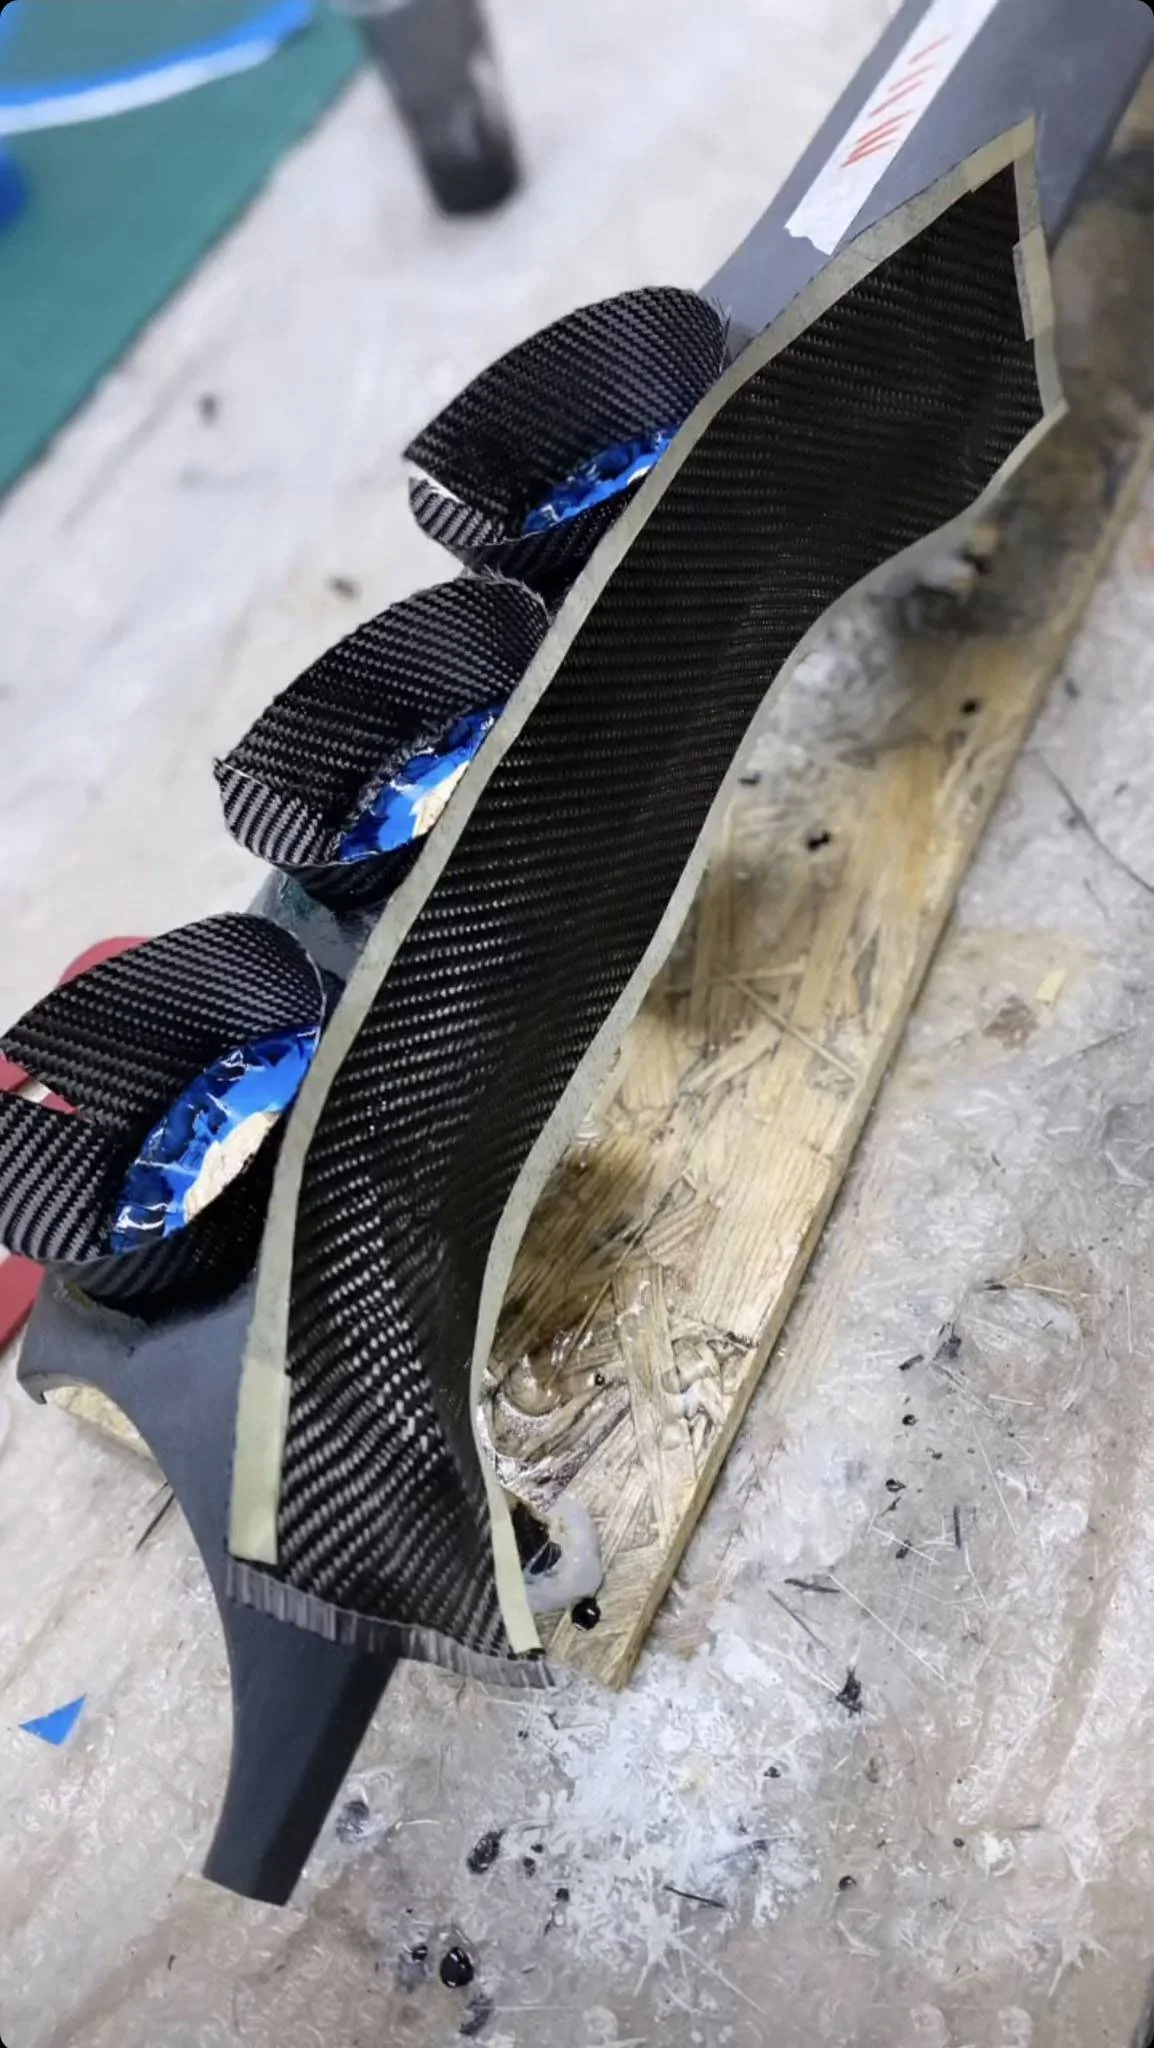
Good treatment of edges. Until I saw your process of overlaying the vent recesses individually first in your process, I wasn't sure how I'd get the face fabric to form into the vent holes. But seeing that you got a great edge meet-up, transitioning from the part face to the vent recesses fabric, I'm impressed and will try the same method.
In all, you inspired me to go ahead and proceed with my project. Thanks for sharing.

Thanks for the details. Great thoughts. Awesome results, especially for being your first job.Good eye. I didn't use vacuum bagging. While there were many helpful YT videos on carbon skinning, I asked guys who were doing it this way for the last three years for Brabus and Porsche and they said that this is the easiest way to do it with reliable results. The black dye was to avoid any discoloration in case the fibers would stretch in some areas, but I have no idea how it would look like if I didn't use it. It was my first and only carbon skinning so I don't know if I was just lucky with the results or if it really does some job
The vent edges were hit or miss. First I was thinking about stretching the fabric over the edges, cutting it in the middle etc. like I would do that with lets say leather or other softer materials. But the guys told me, that the principle is the same as with wood veneer and that it is safer to lay the fabric in the vent holes and overlap them on the top side, that is hidden under the vents anyways. This way it was easy to match the patterns so they look like they run over the edges.
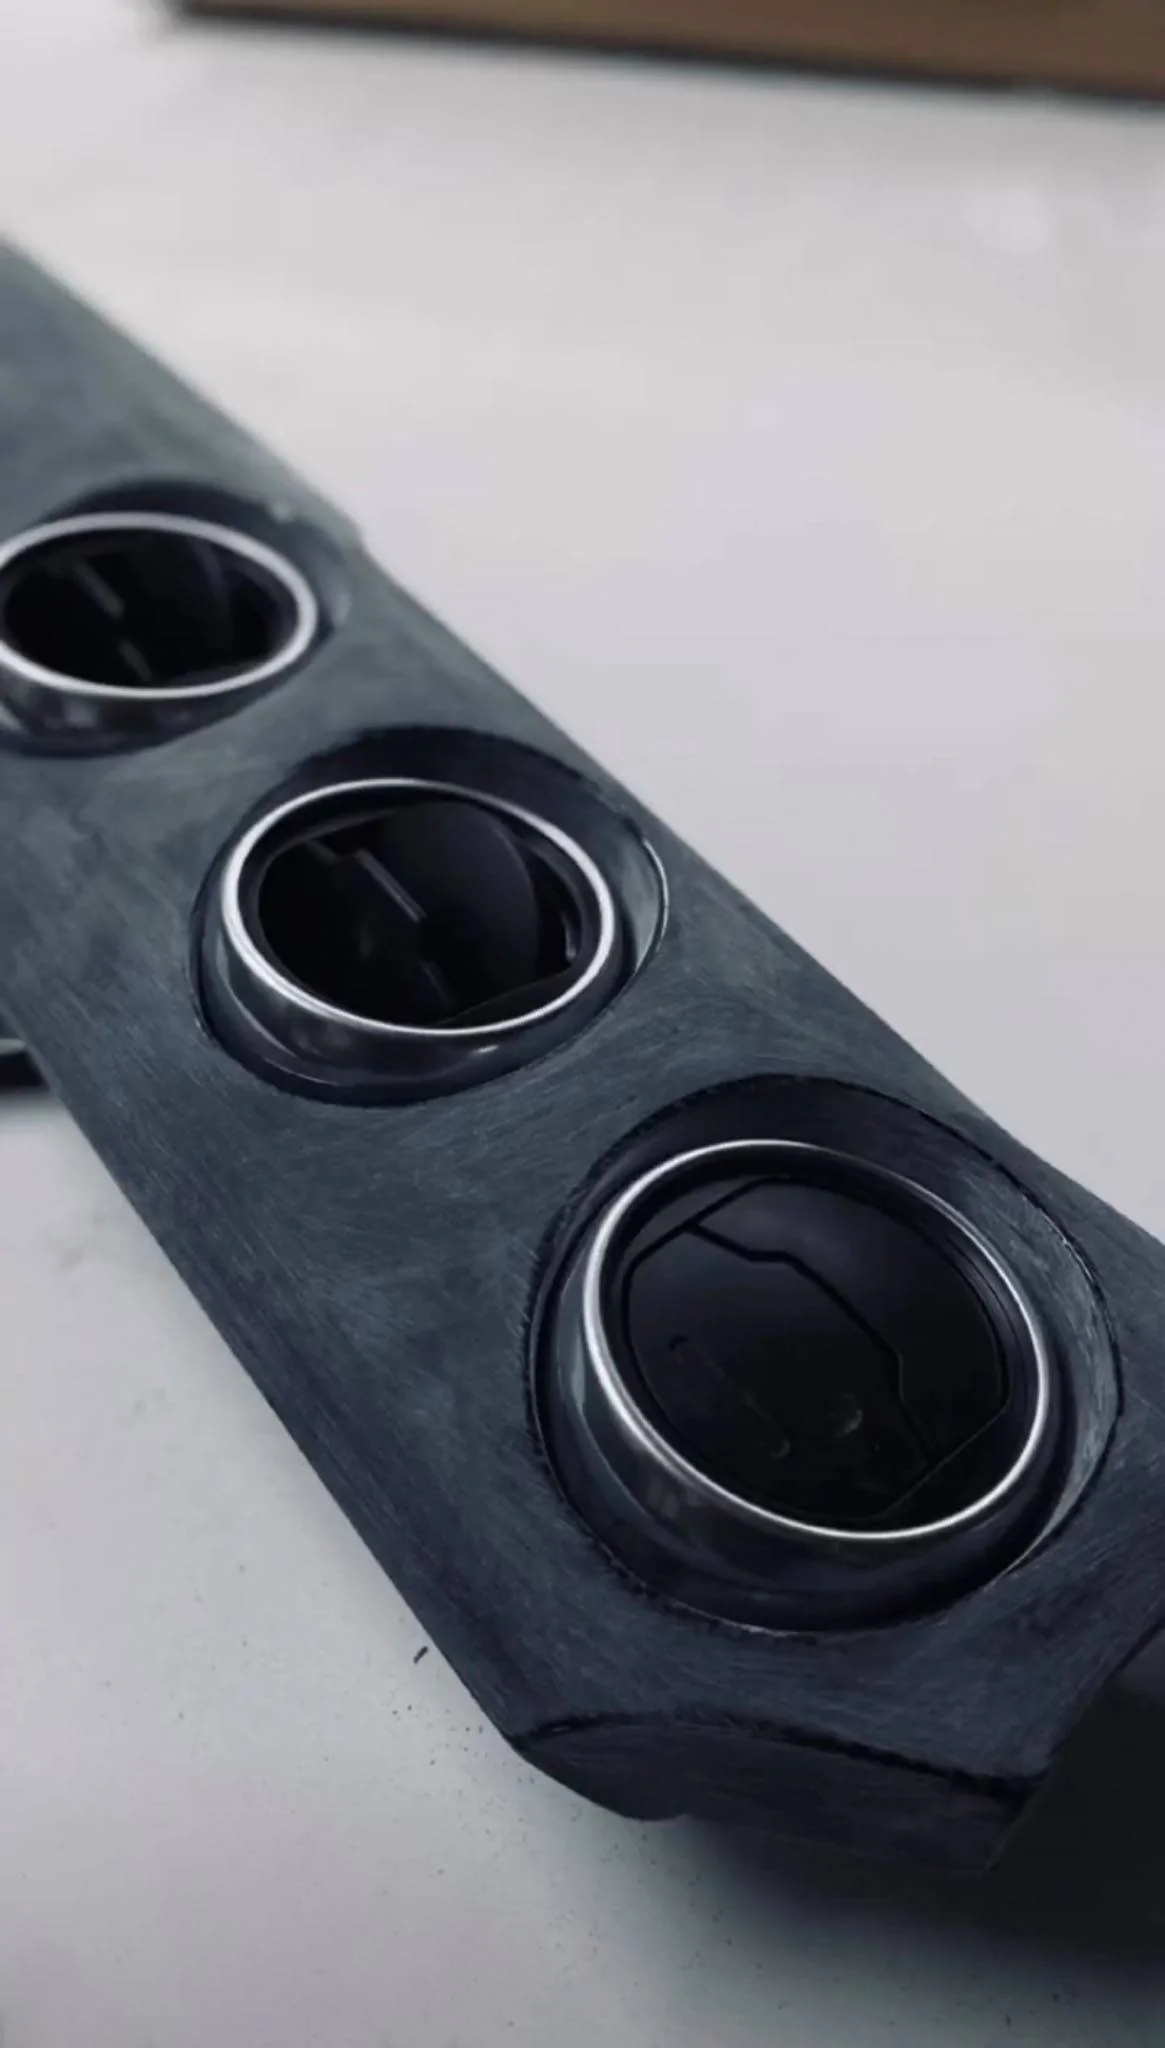
The hardest part was fitting in the vents after epoxy. You will have to adjust them because of the excess epoxy, so they click in the same holders, but that is like sub-one hour job with micro dremel. Not a big deal.
Mustang-carbon dash with bezels installed
Mustang-carbon dash with bezels installed
Actually one thing impresses me about what Mustang-Carbon.com does. They apply two separate layers of carbon fiber fabric over the dash panel part. I can tell you first hand, the benefit of that, as I overlayed fabric on a side splitter. Because I only applied one layer, the material more easily flexed and separated from the base material, creating a noticeable bubble in the fabric. That extra step MC takes in my mind would be worth the higher price. (That part is right in your face if you have such defects).What was wrong with it?? Alex has been very responsive over email and those first pics you listed looked great. If i gave them a try im afraid i would get the parts you just returned.
I asked Mustang Carbon if they remove the chrome/aluminum off of the base black plastic before they lay the CF. I dont want to add any thickness to my pieces. The pic of the headlight switch area makes me think the dont remove the outer layer cause it looked pretty thick there, making the bezel look recessed.
Actually one thing impresses me about what Mustang-Carbon.com does. They apply two separate layers of carbon fiber fabric over the dash panel part. I can tell you first hand, the benefit of that, as I overlayed fabric on a side splitter. Because I only applied one layer, the material more easily flexed and separated from the base material, creating a noticeable bubble in the fabric. That extra step MC takes in my mind would be worth the higher price. (That part is right in your face if you have such defects).
Also, I noticed that they were careful not cover the air vent latching features with carbon fabric or epoxy. When I attempt my CF overlay, I'll follow their lead on that.
Concerning a question raised about Mustang-Carbon.com removing the OEM aluminum face material. I sure wouldn't attempt to bond to the aluminum face material. I'd be surprised if MC attempts bonding to the aluminum as well. We'll wait and see what their response is.
Anyway, I have booked marked their website as I am very impressed with their products.
Makes sense, but I sincerely doubt they would add two add'l layers of fabric over the aluminum. In fact, I would almost bet a company like them has a contract with Ford to obtain parts without the aluminum cladding.They will not give out any details on their proprietary process
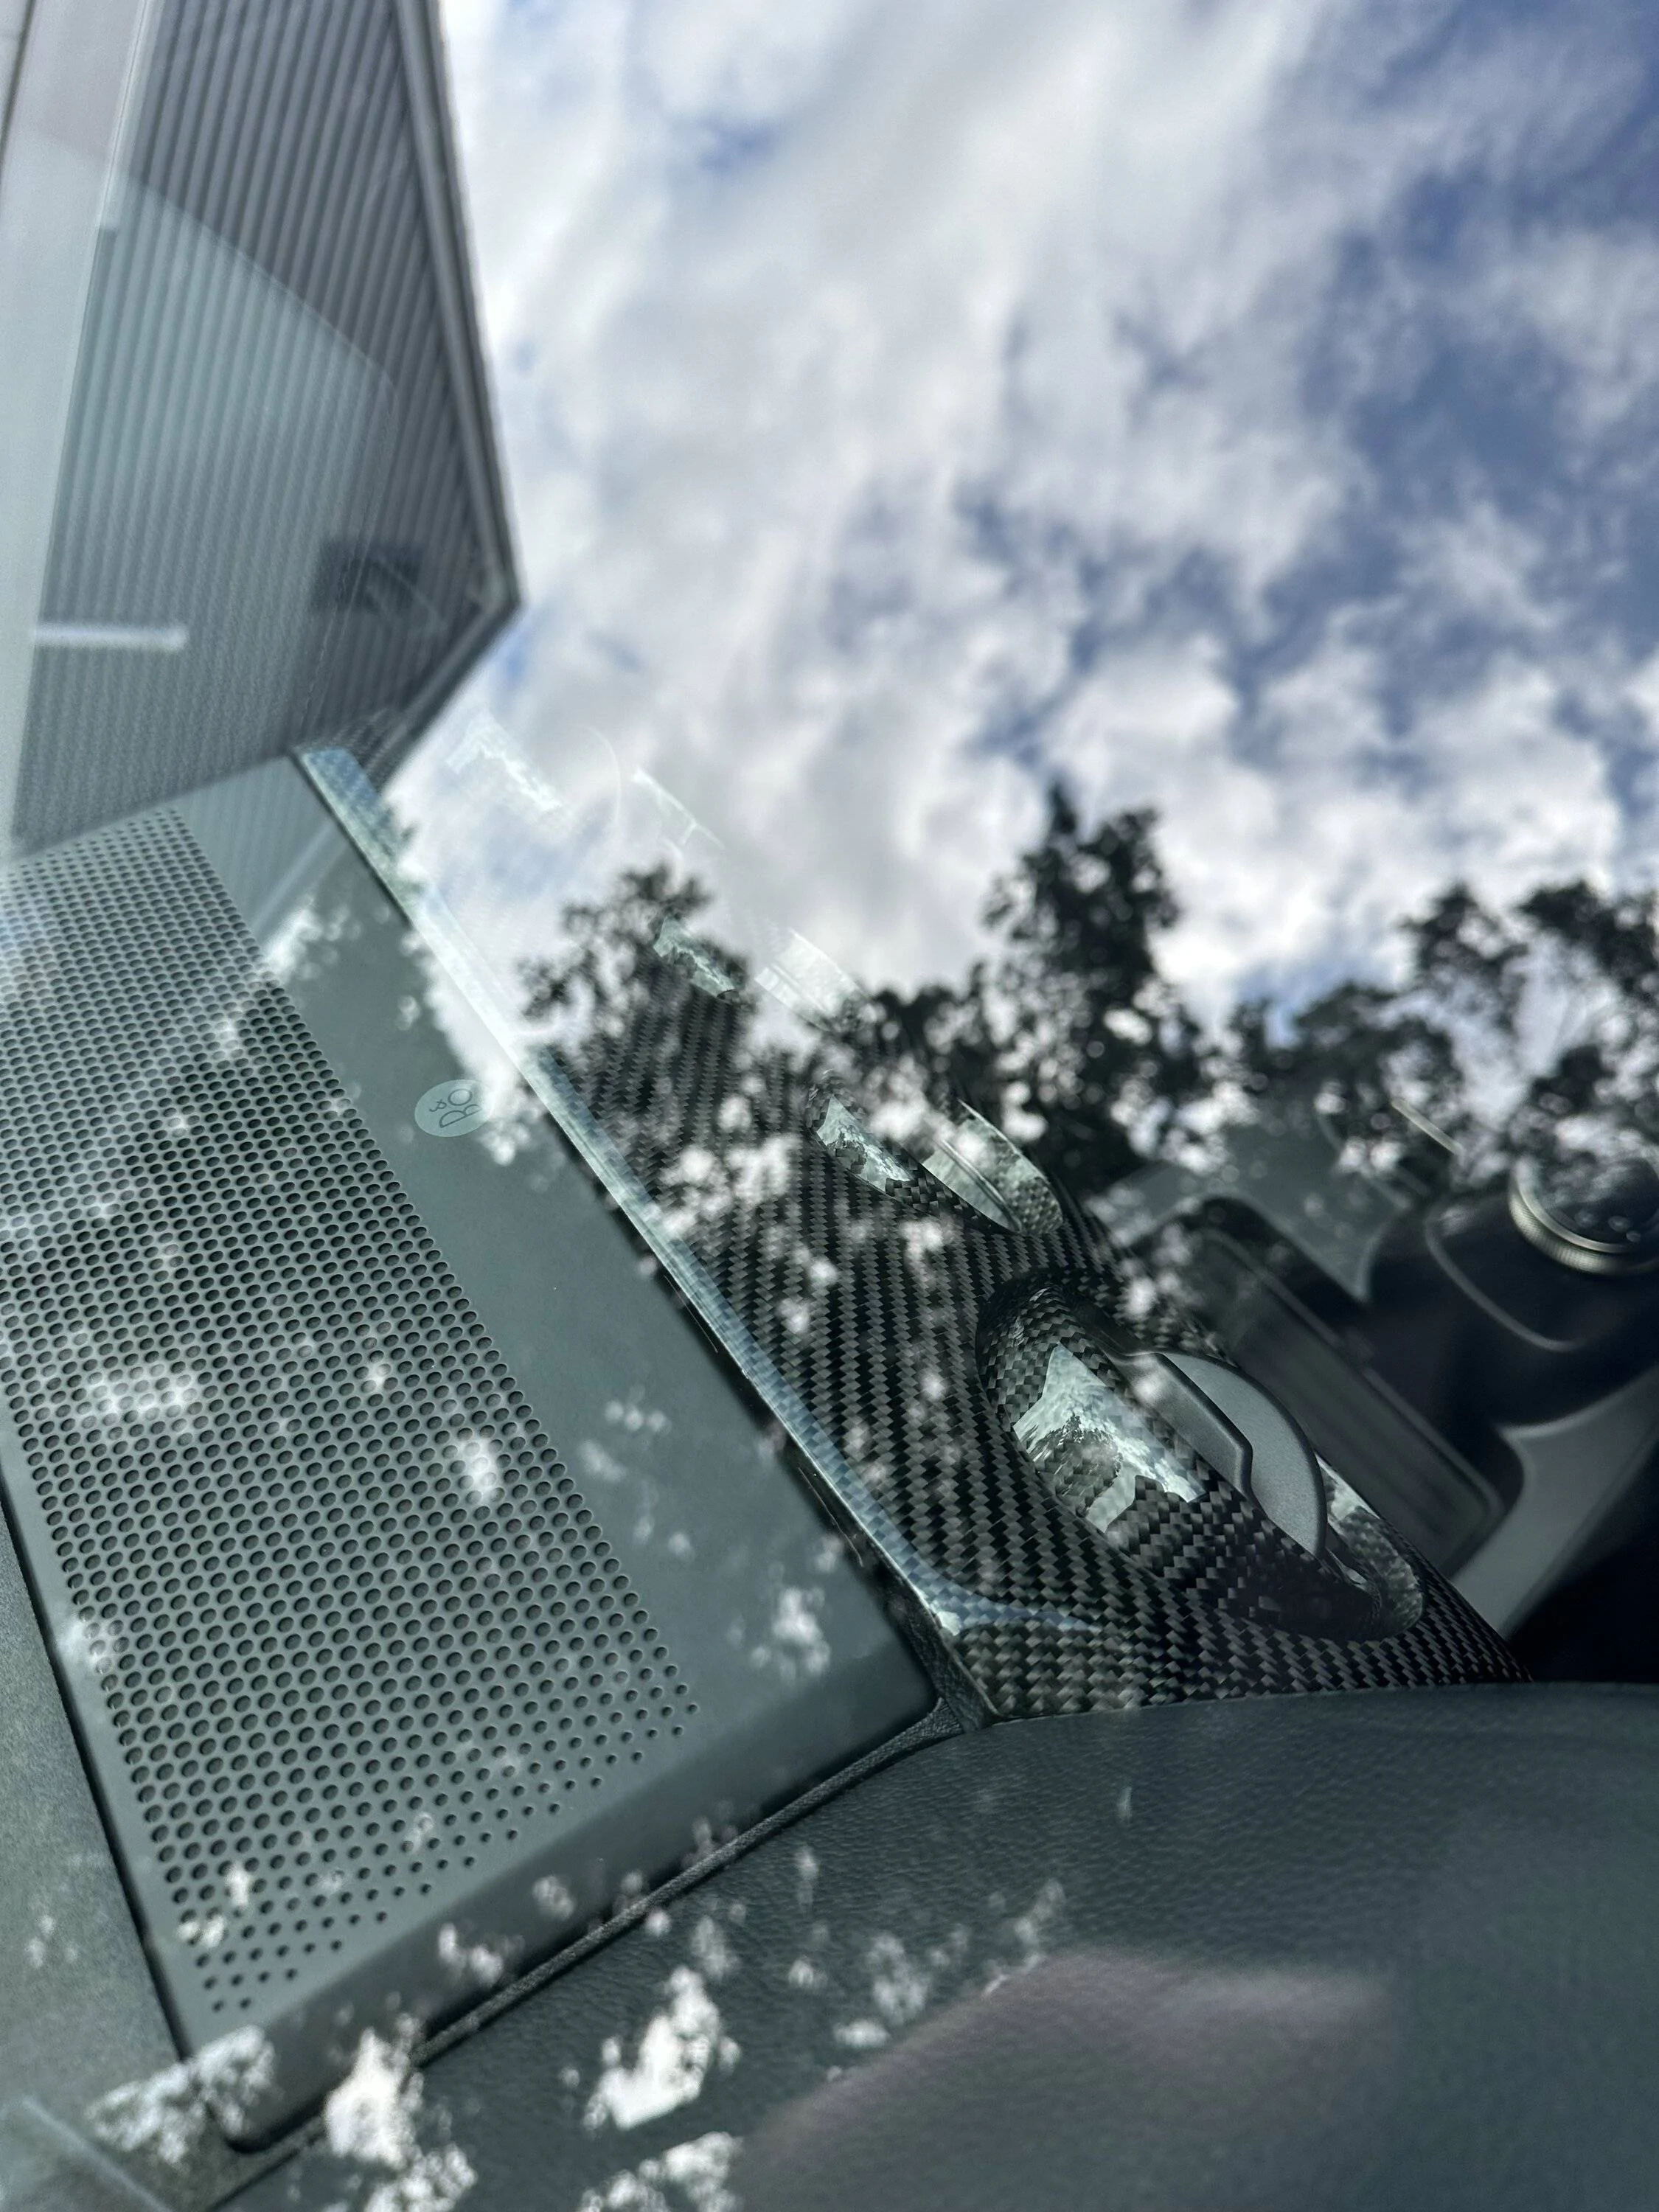
It should be a simple install but I’m being told it’s not the dash itself and me and how I’m installing it. It’s pretty straight forward and stock dash I’ve taken on and off 10+ times with no issues.So here’s the installed mustang-carbon dash and I’m happy with the quality but the fitment is bothering me. There’s a gap on the top left corner I can’t seem to get rid of no matter what I do. I seams at this point I have to accept it because I can’t return it.
