Sponsored

What did you do to your S550 Mustang today?!

B0SS603

@dib_5.0
Joined
Aug 28, 2015
Threads
12
Messages
271
Reaction score
144
Location
Ft. Worth, TX
First Name
Jacques
Vehicle(s)
2015 GT Premium Deep Impact Blue
Vehicle Showcase
1
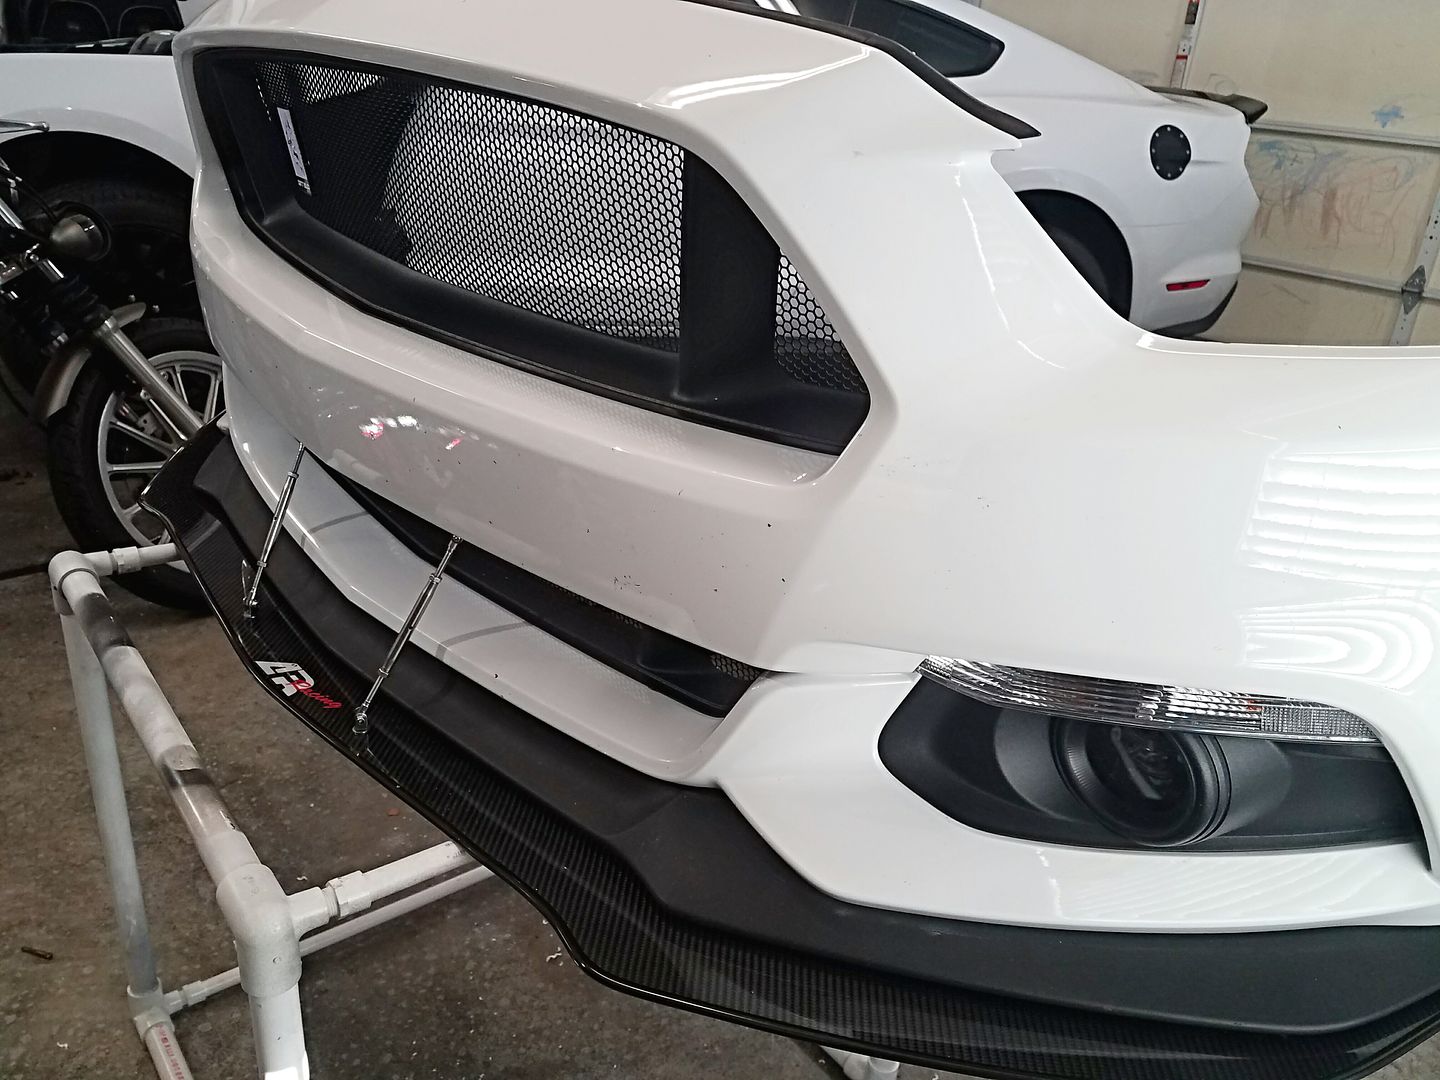
I installed a pp front splitter on my base, with the base belly pan. Literally took 15 minutes, with one small modification. whoever said you needed a $300 pp belly pan to install the splitter needs to go back to licking windows.
Please do share! I'd love to know how to install the PP splitter without the belly pan. Also did you remove the "rubber lip" on the base belly pan? That thing drives me nuts whenever I can see it, it's so ugly!
Sponsored


Elvis66

Banned
Banned
Banned
Joined
Sep 17, 2016
Threads
16
Messages
1,498
Reaction score
1,585
Location
High Desert California
First Name
Brandon
Vehicle(s)
2019 mustang GT ..2014 Camaro ..72 Chevelle ..67 LeMans..97 4runner..2001 tundra
Please do share! I'd love to know how to install the PP splitter without the belly pan. Also did you remove the "rubber lip" on the base belly pan? That thing drives me nuts whenever I can see it, it's so ugly!
I totally agree with you man
 

Elvis66

Banned
Banned
Banned
Joined
Sep 17, 2016
Threads
16
Messages
1,498
Reaction score
1,585
Location
High Desert California
First Name
Brandon
Vehicle(s)
2019 mustang GT ..2014 Camaro ..72 Chevelle ..67 LeMans..97 4runner..2001 tundra
Yeah when you can get back to us and let us know what part that you needed to do the chin spoiler upgrade
 

GuardGT

is currently pooping
Joined
Nov 16, 2015
Threads
8
Messages
331
Reaction score
122
Location
CA
Vehicle(s)
2018 Crimson GT 10r80
Step 1. Rip off all the stock shit.
Step 2. Install the pp splitter. Some holes are a little different, so you might need to use different hardware than the stupid pop button plastic junk. Mine came With new encapsulated nuts and screws, I used those.
Step 3. Cut the crap in the pics off the pp belly pan. Dremel works great. If you look at the belly pan as it would be installed, there's a little vertical lip across the front, this is the part that doesn't fit into the pp splitter. Cut from the vertical lip, across the splitter, as closet to the "humps" with the small screw holes. Don't worry about making it look nice, it's fully hidden.
Step whatever: slap it back on, most of the holes line up... enough to secure the pan without issues.
If you want to get fancy, there's one part where the pan doesn't fully reach the splitter because of the different shape(kinda under the fog light area). I used 2 self tapping screws to secure the pan to the bumper itself.
http://m.imgur.com/gallery/OSfQj4S
http://m.imgur.com/gallery/Z1T70qM
http://m.imgur.com/gallery/pHKzsDf
 

B0SS603

@dib_5.0
Joined
Aug 28, 2015
Threads
12
Messages
271
Reaction score
144
Location
Ft. Worth, TX
First Name
Jacques
Vehicle(s)
2015 GT Premium Deep Impact Blue
Vehicle Showcase
1
Step 1. Rip off all the stock shit.
Step 2. Install the pp splitter. Some holes are a little different, so you might need to use different hardware than the stupid pop button plastic junk. Mine came With new encapsulated nuts and screws, I used those.
Step 3. Cut the crap in the pics off the pp belly pan. Dremel works great. If you look at the belly pan as it would be installed, there's a little vertical lip across the front, this is the part that doesn't fit into the pp splitter. Cut from the vertical lip, across the splitter, as closet to the "humps" with the small screw holes. Don't worry about making it look nice, it's fully hidden.
Step whatever: slap it back on, most of the holes line up... enough to secure the pan without issues.
If you want to get fancy, there's one part where the pan doesn't fully reach the splitter because of the different shape(kinda under the fog light area). I used 2 self tapping screws to secure the pan to the bumper itself.
http://m.imgur.com/gallery/OSfQj4S
http://m.imgur.com/gallery/Z1T70qM
http://m.imgur.com/gallery/pHKzsDf
Thanks! Mind sharing where you picked up the PP splitter?
 

Sponsored

GuardGT

is currently pooping
Joined
Nov 16, 2015
Threads
8
Messages
331
Reaction score
122
Location
CA
Vehicle(s)
2018 Crimson GT 10r80
Thanks! Mind sharing where you picked up the PP splitter?
Some weird site that used to get them as new take offs, but last I heard they are out. Mine was a blem piece, got it for $40. I can't recall the name
 

Smarz1018

ScubaSteve
Joined
Jun 16, 2015
Threads
17
Messages
455
Reaction score
204
Location
Long Island
Vehicle(s)
'15 Mustang Eco-boost
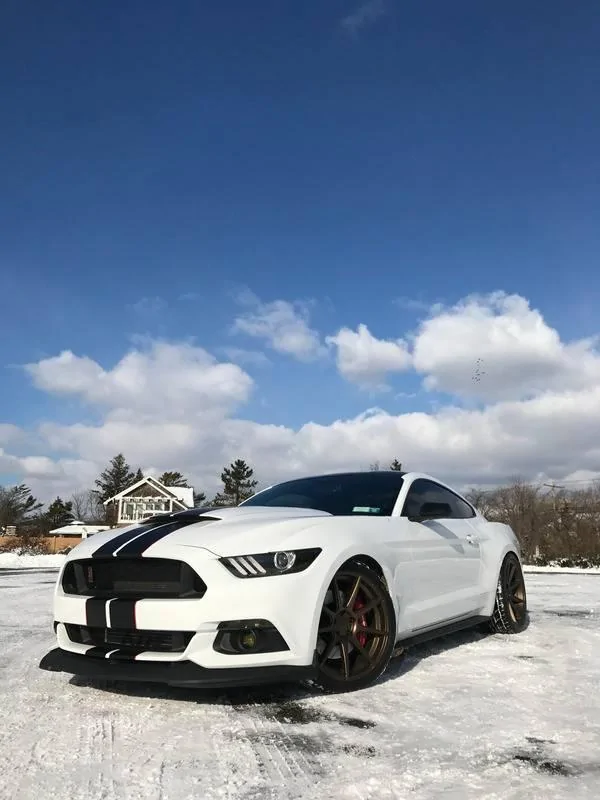
Stripes and rotors done.


AB597DC8-E5B3-48C9-B636-7D267A392456_zpsdcexymr4.webp


350Mike

Well-Known Member
Joined
Jun 27, 2015
Threads
12
Messages
642
Reaction score
164
Location
NorCal
Vehicle(s)
1967 C10 2021 GT PP M6
I installed a pp front splitter on my base, with the base belly pan. Literally took 15 minutes, with one small modification. whoever said you needed a $300 pp belly pan to install the splitter needs to go back to licking windows.
Wow I only paid 1/2 that for mine and $99 for the splitter. The PP belly pan is nice because of the brake ducts and it's aero effects. I wonder why they charge so much for a piece of plastic.
 

Chad11491

Well-Known Member
Joined
Nov 9, 2015
Threads
5
Messages
765
Reaction score
364
Location
Roswell, GA
Vehicle(s)
17 Lightning Blue GT Premium PP
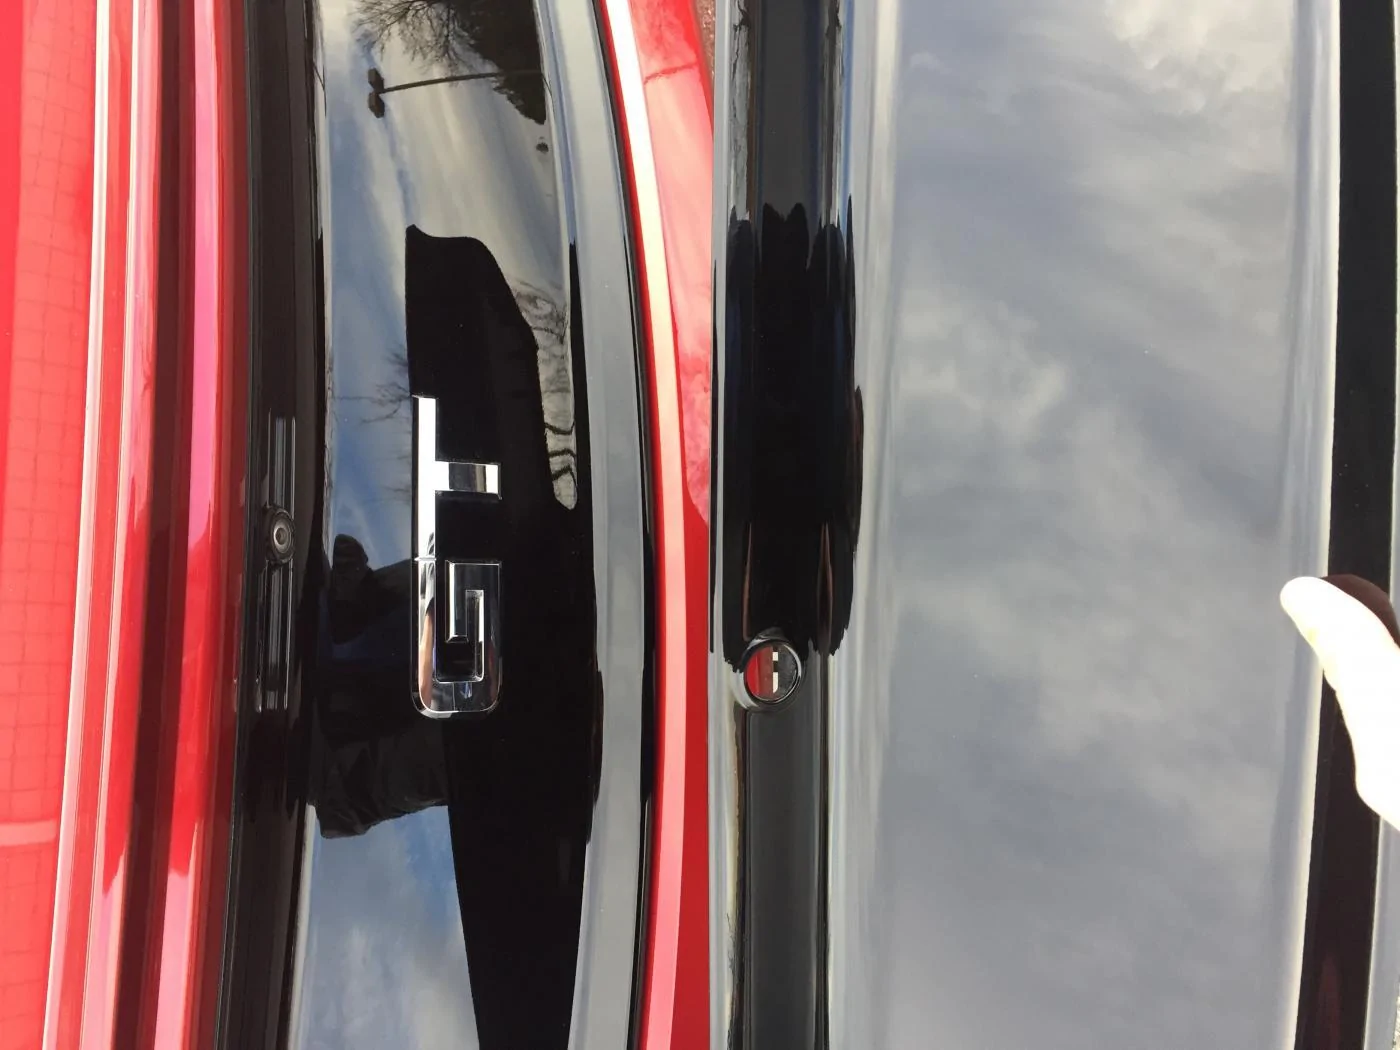
Got my MMD decklid painted a few days ago! I'm going to let it sit and cure a little inside for a few more days before I slap it on in freezing temps. It'd probably be ok but I'm just being paranoid.


IMG_3860.webp
 

Sponsored

Sini5ter08

Well-Known Member
Joined
Oct 22, 2016
Threads
11
Messages
194
Reaction score
47
Location
Cary, NC
Vehicle(s)
2016 Mustang GT PP
Got my MMD decklid painted a few days ago! I'm going to let it sit and cure a little inside for a few more days before I slap it on in freezing temps. It'd probably be ok but I'm just being paranoid.


IMG_3860.webp
Nice! How much to paint? Post pics after you install it.
 

Chad11491

Well-Known Member
Joined
Nov 9, 2015
Threads
5
Messages
765
Reaction score
364
Location
Roswell, GA
Vehicle(s)
17 Lightning Blue GT Premium PP
Nice! How much to paint? Post pics after you install it.
Well, they were already painting a gloss black car that day so cut me a "deal". Was 2hrs of labor and was 88 bucks. About what I expected at ~100. The ford racing panel would probably be a better deal if you could get it around 200, but I feel like the paint will hold up better and not scratch so ridiculously easy as the stock decklid. Idk, may be wrong.
 

SidewaysMike

Well-Known Member
Joined
Oct 28, 2014
Threads
13
Messages
425
Reaction score
100
Location
Somehwhere in the Med
First Name
Mike
Vehicle(s)
2016 GT PP
Got my MMD decklid painted a few days ago! I'm going to let it sit and cure a little inside for a few more days before I slap it on in freezing temps. It'd probably be ok but I'm just being paranoid.


IMG_3860.webp
Great job! Can't even see any dimples like people complained about the FRPP ones. When I first saw these on AM I also thought painting these gloss black would work fine. Now we have proof :cheers:
Sponsored


Top