Sponsored

Steeda Differential support bracket which through bolts and bushings

NGOT8R

Well-Known Member
Joined
Jul 19, 2020
Threads
117
Messages
6,166
Reaction score
4,204
Location
Florida
First Name
Adrian
Vehicle(s)
2019 Bullitt
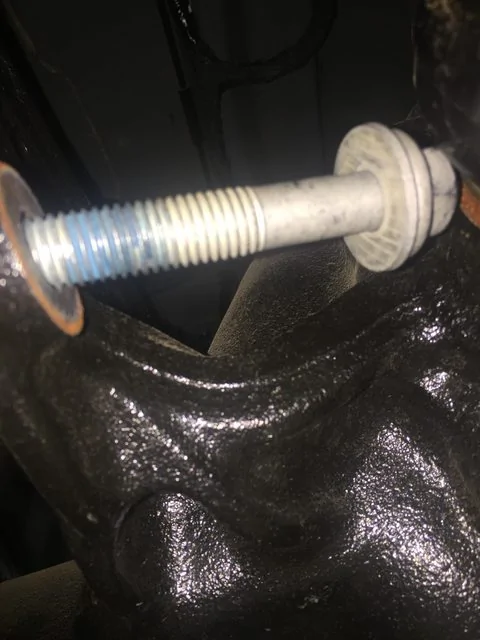
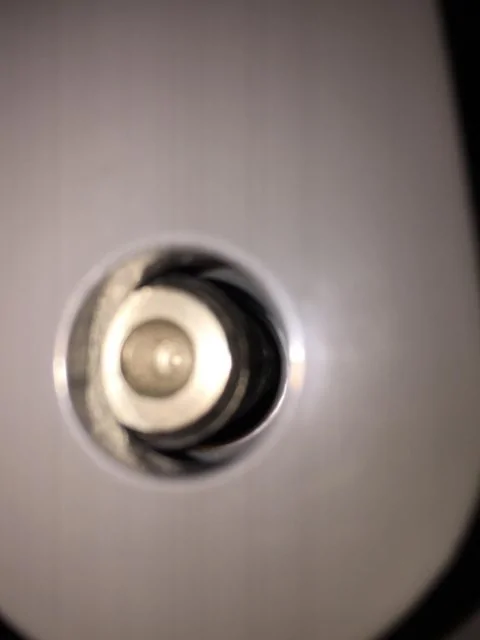
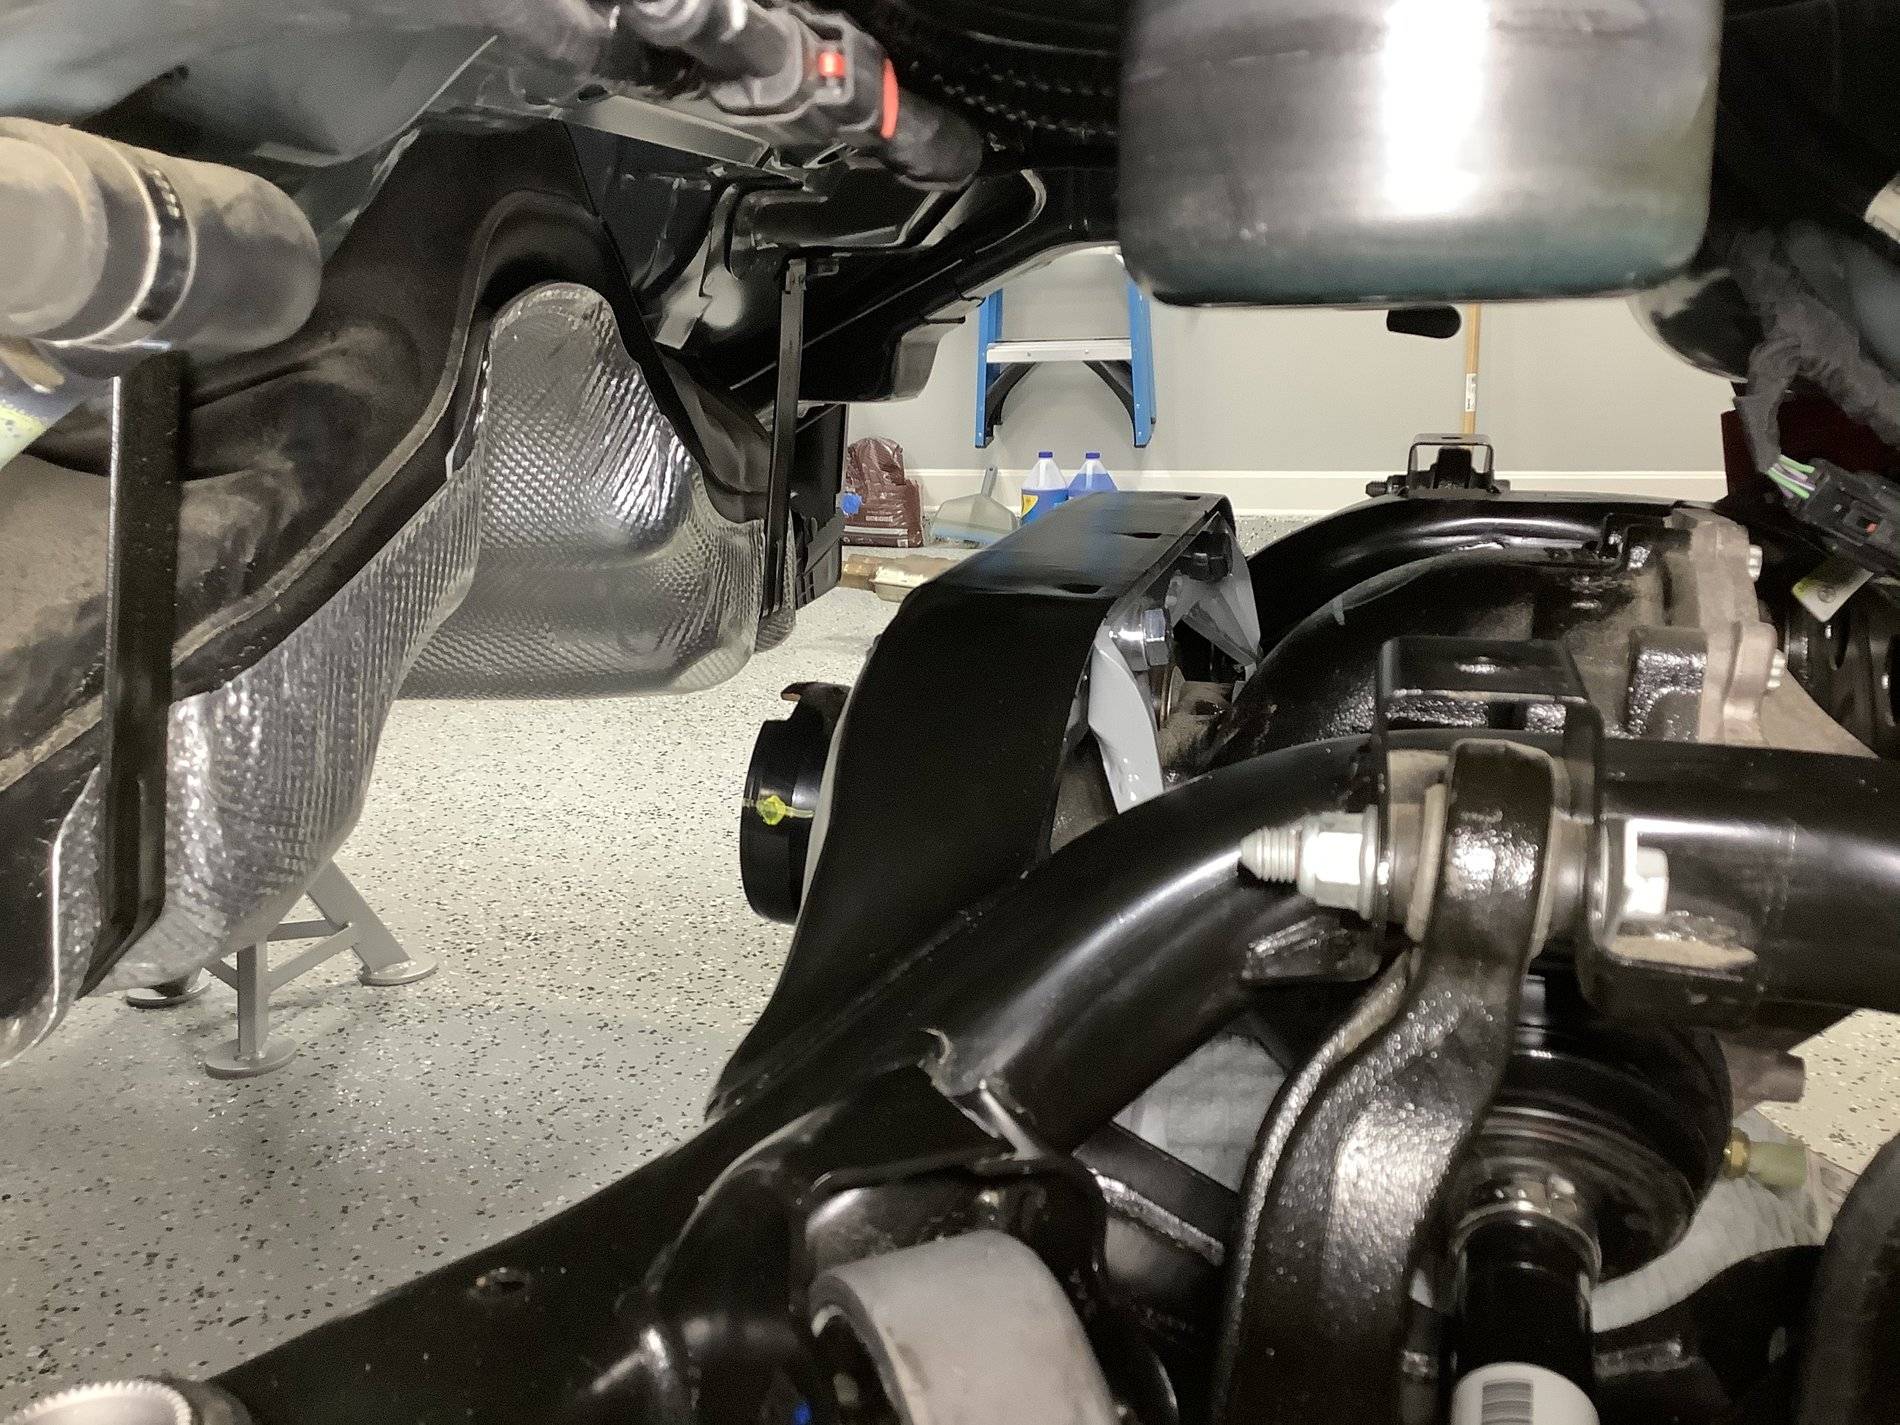
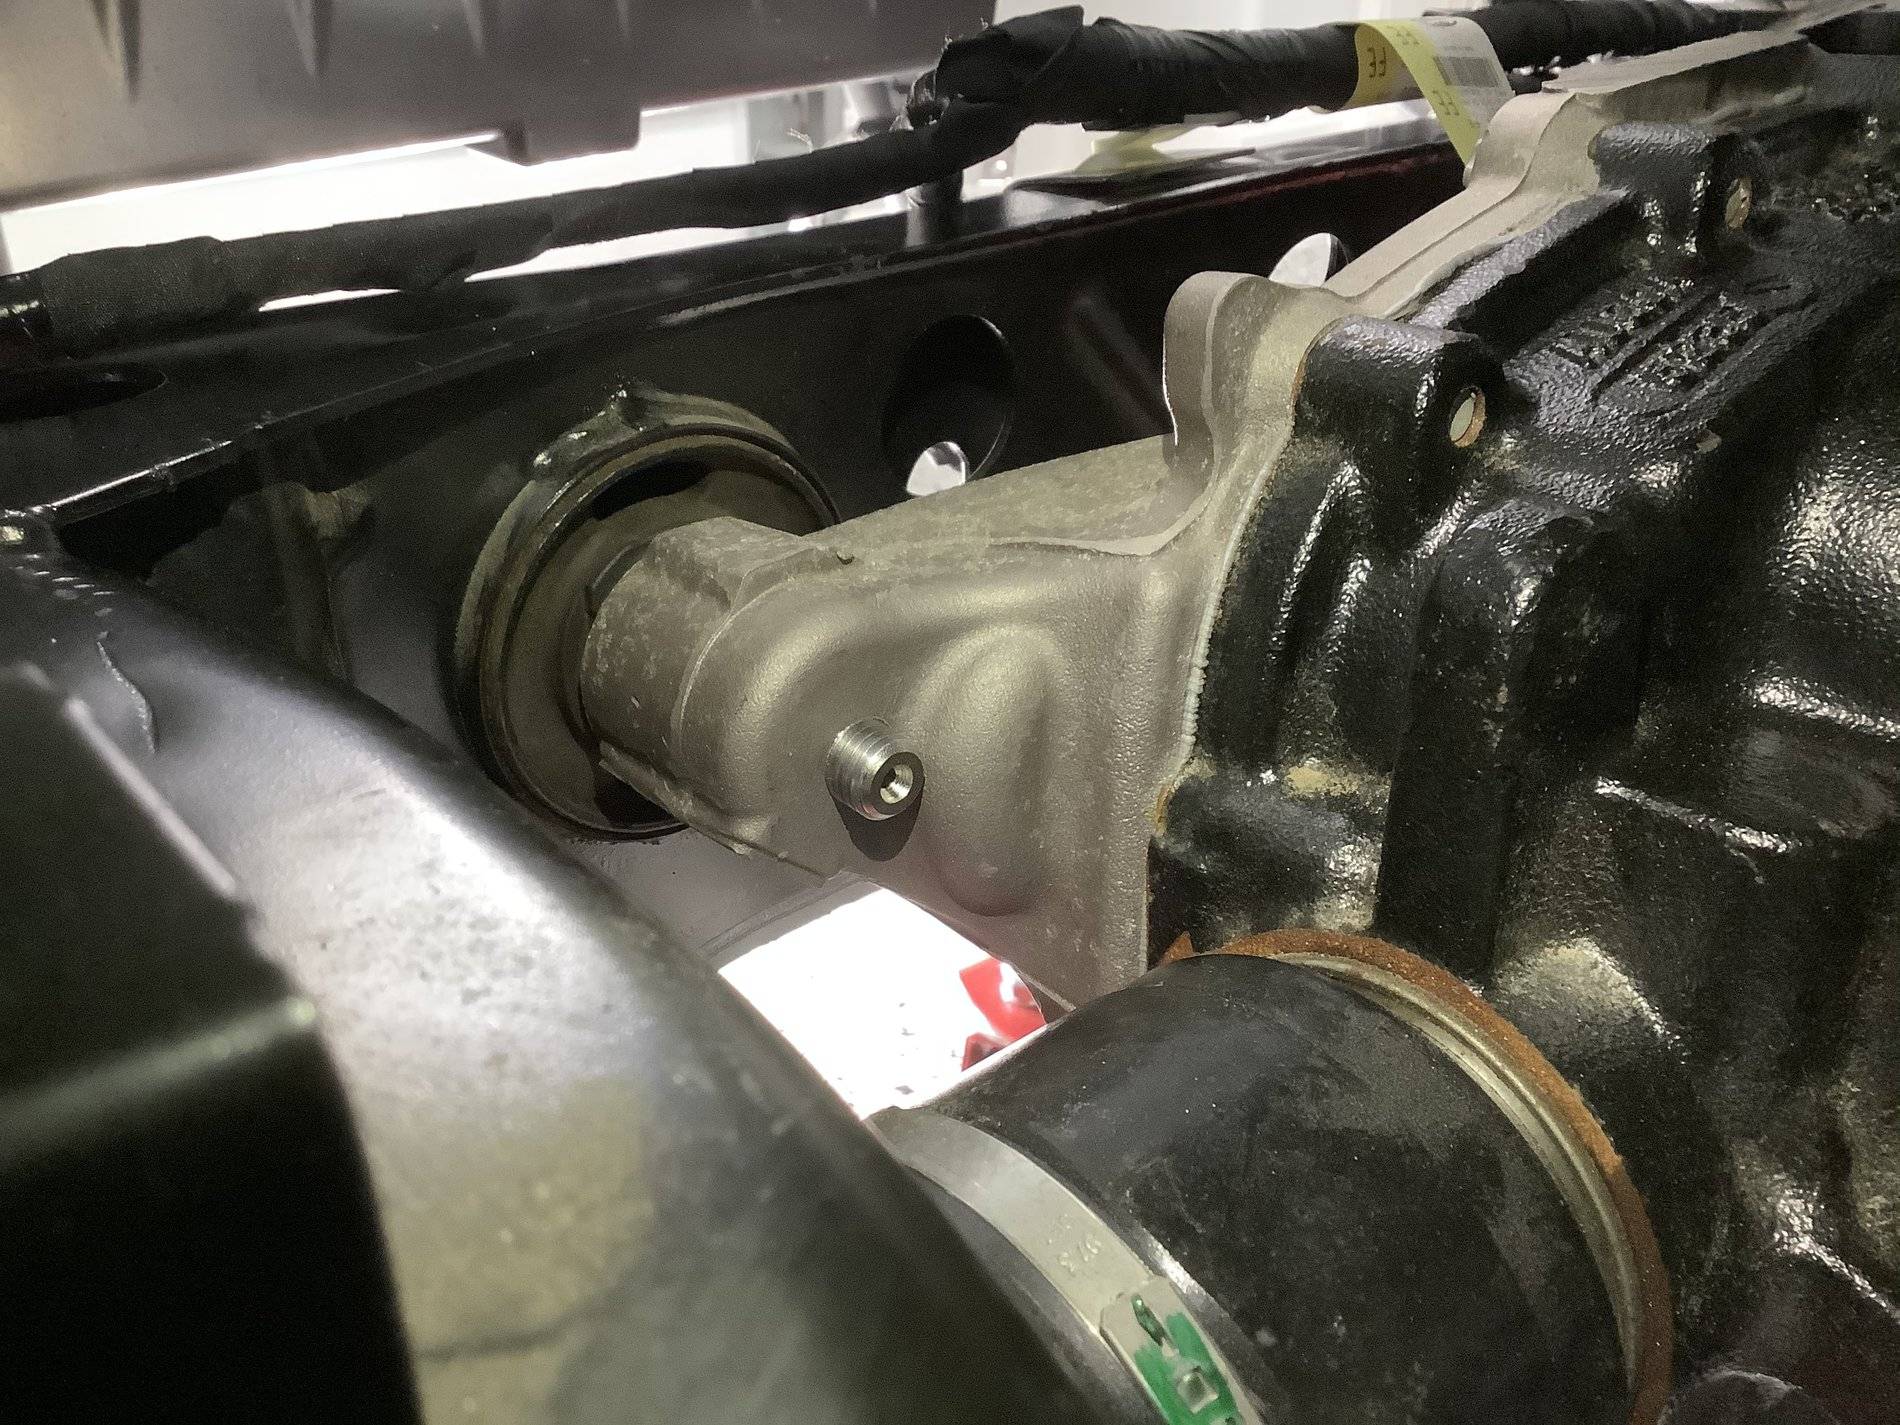
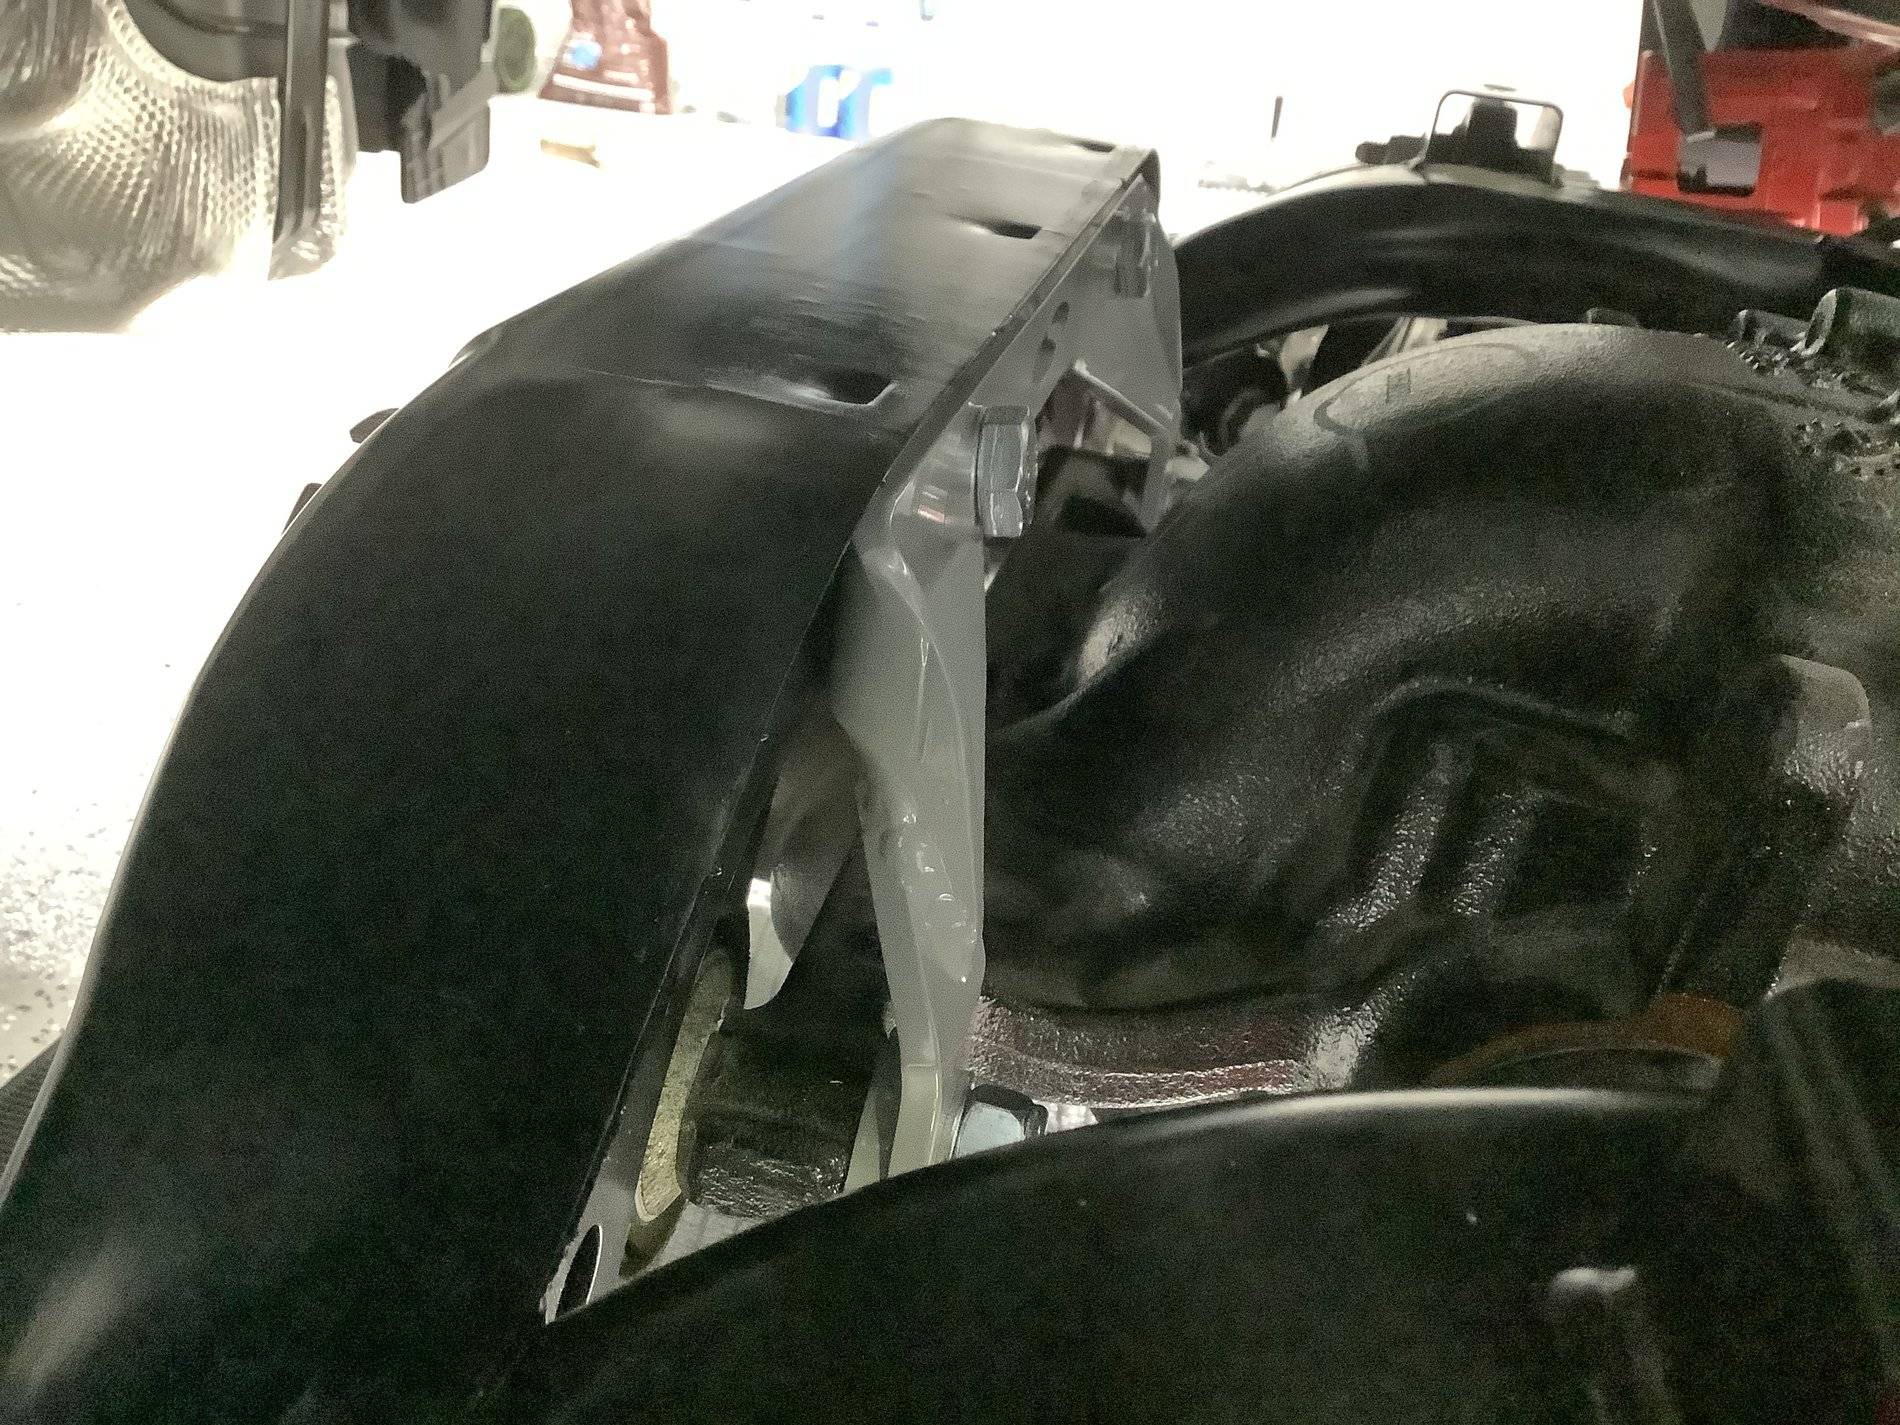
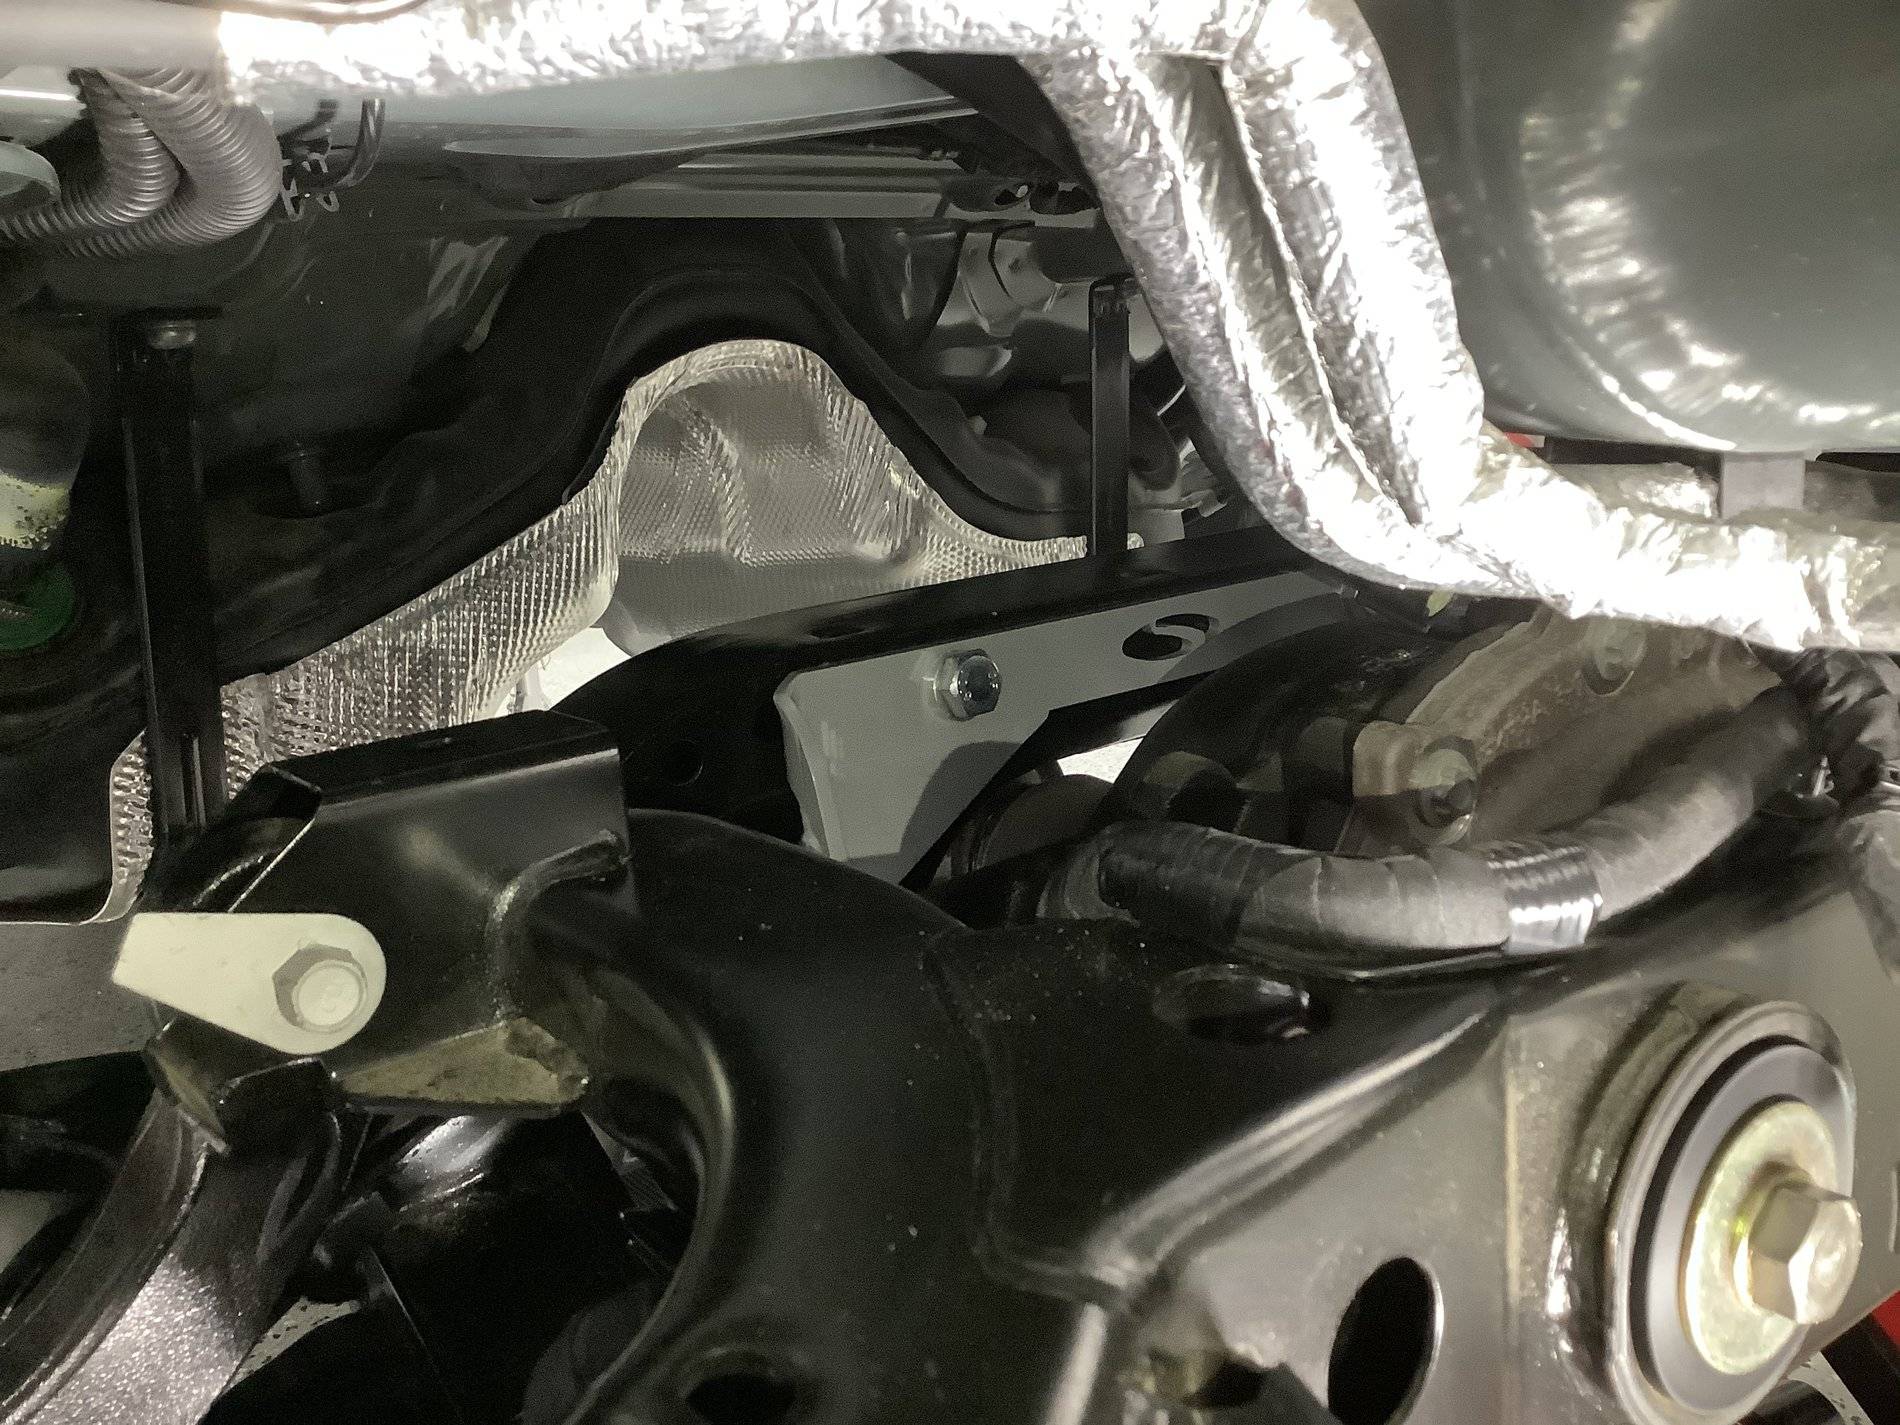
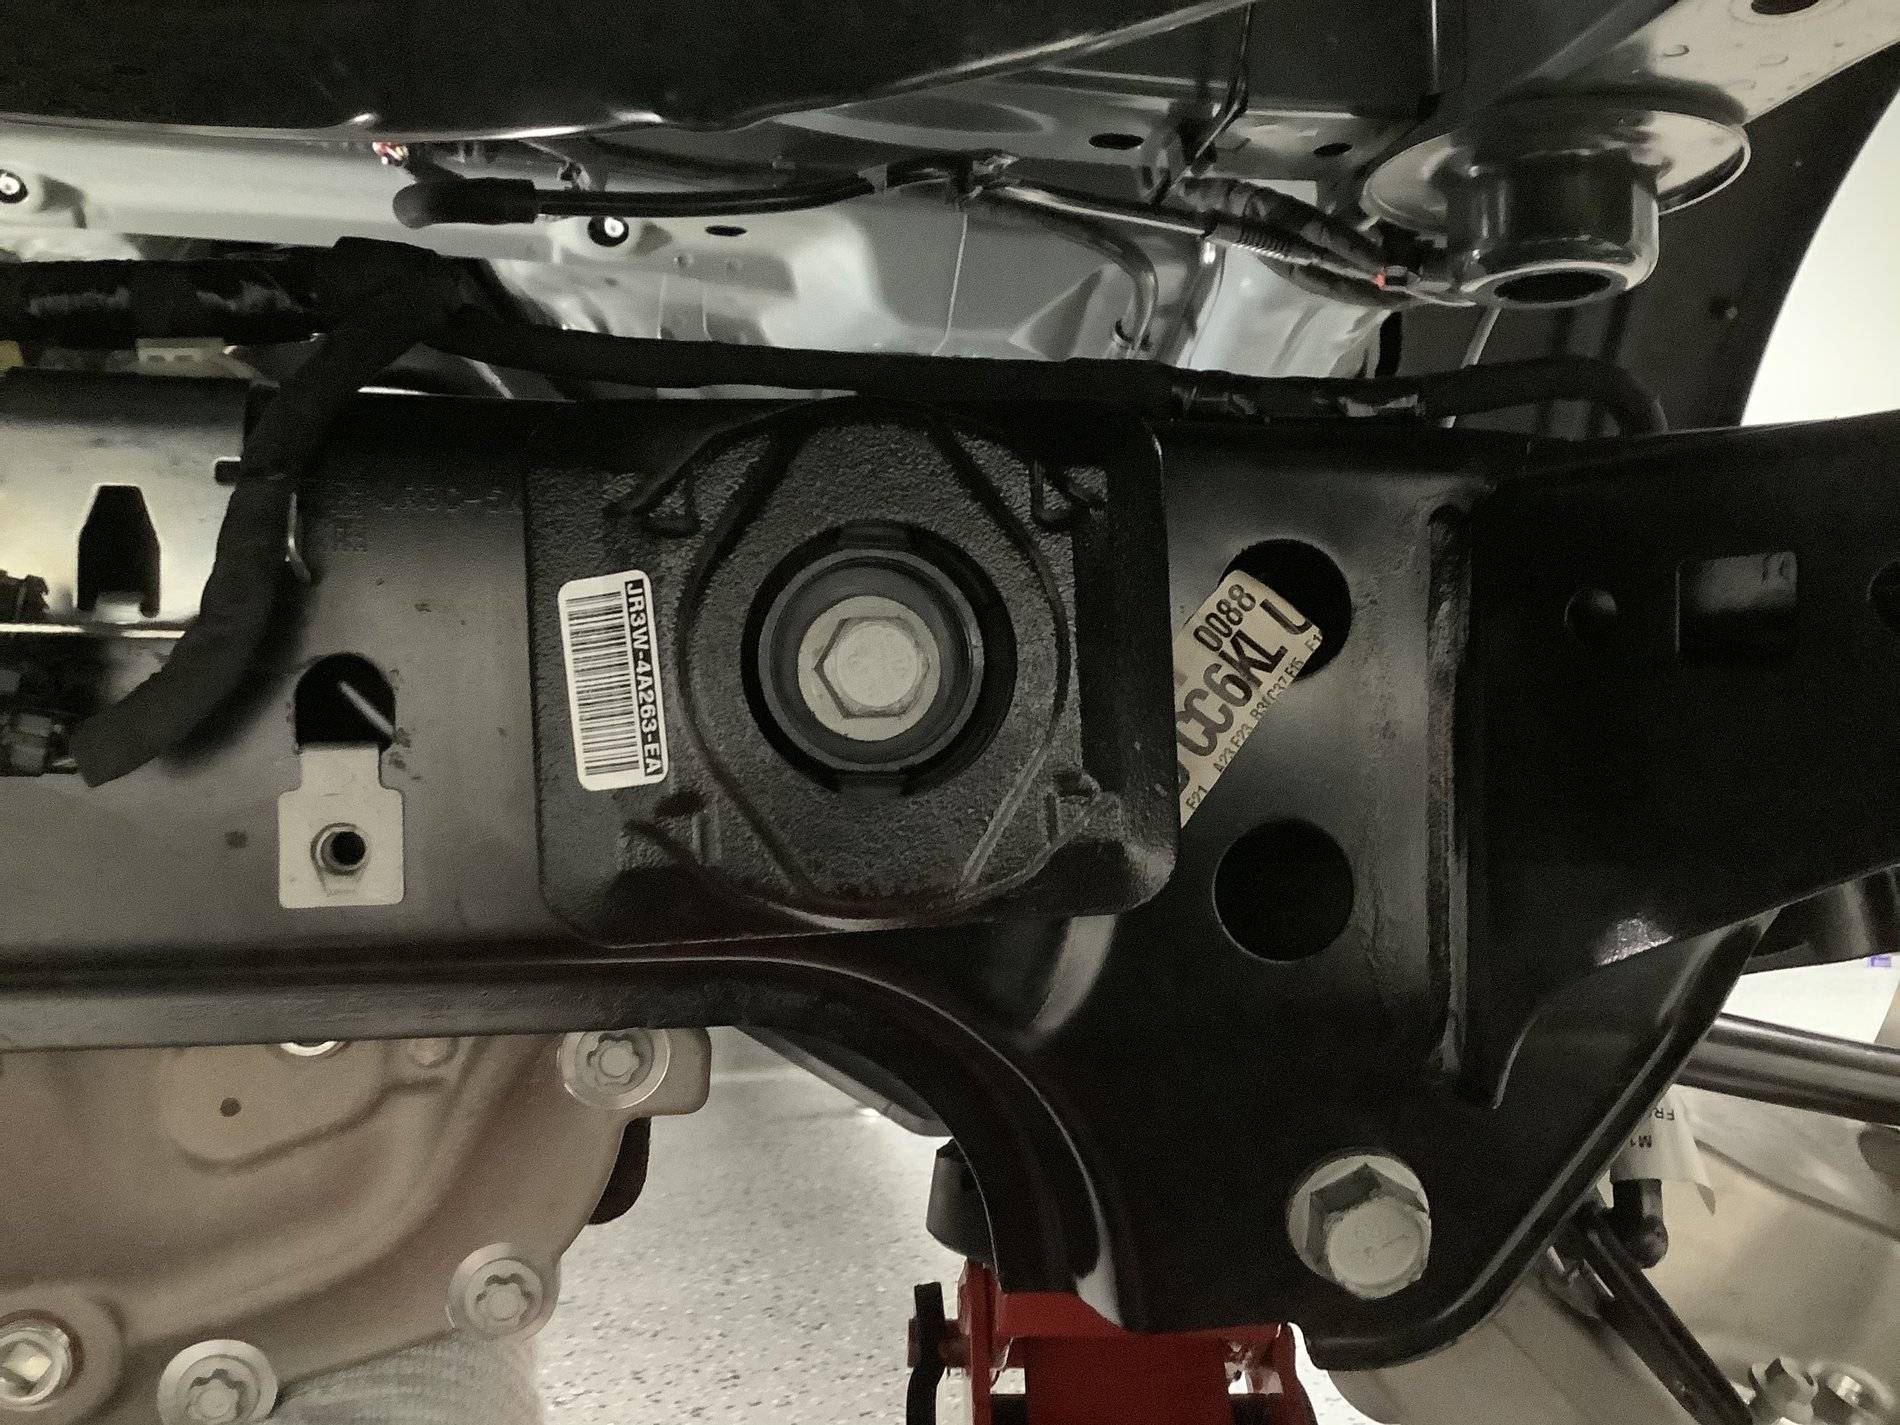
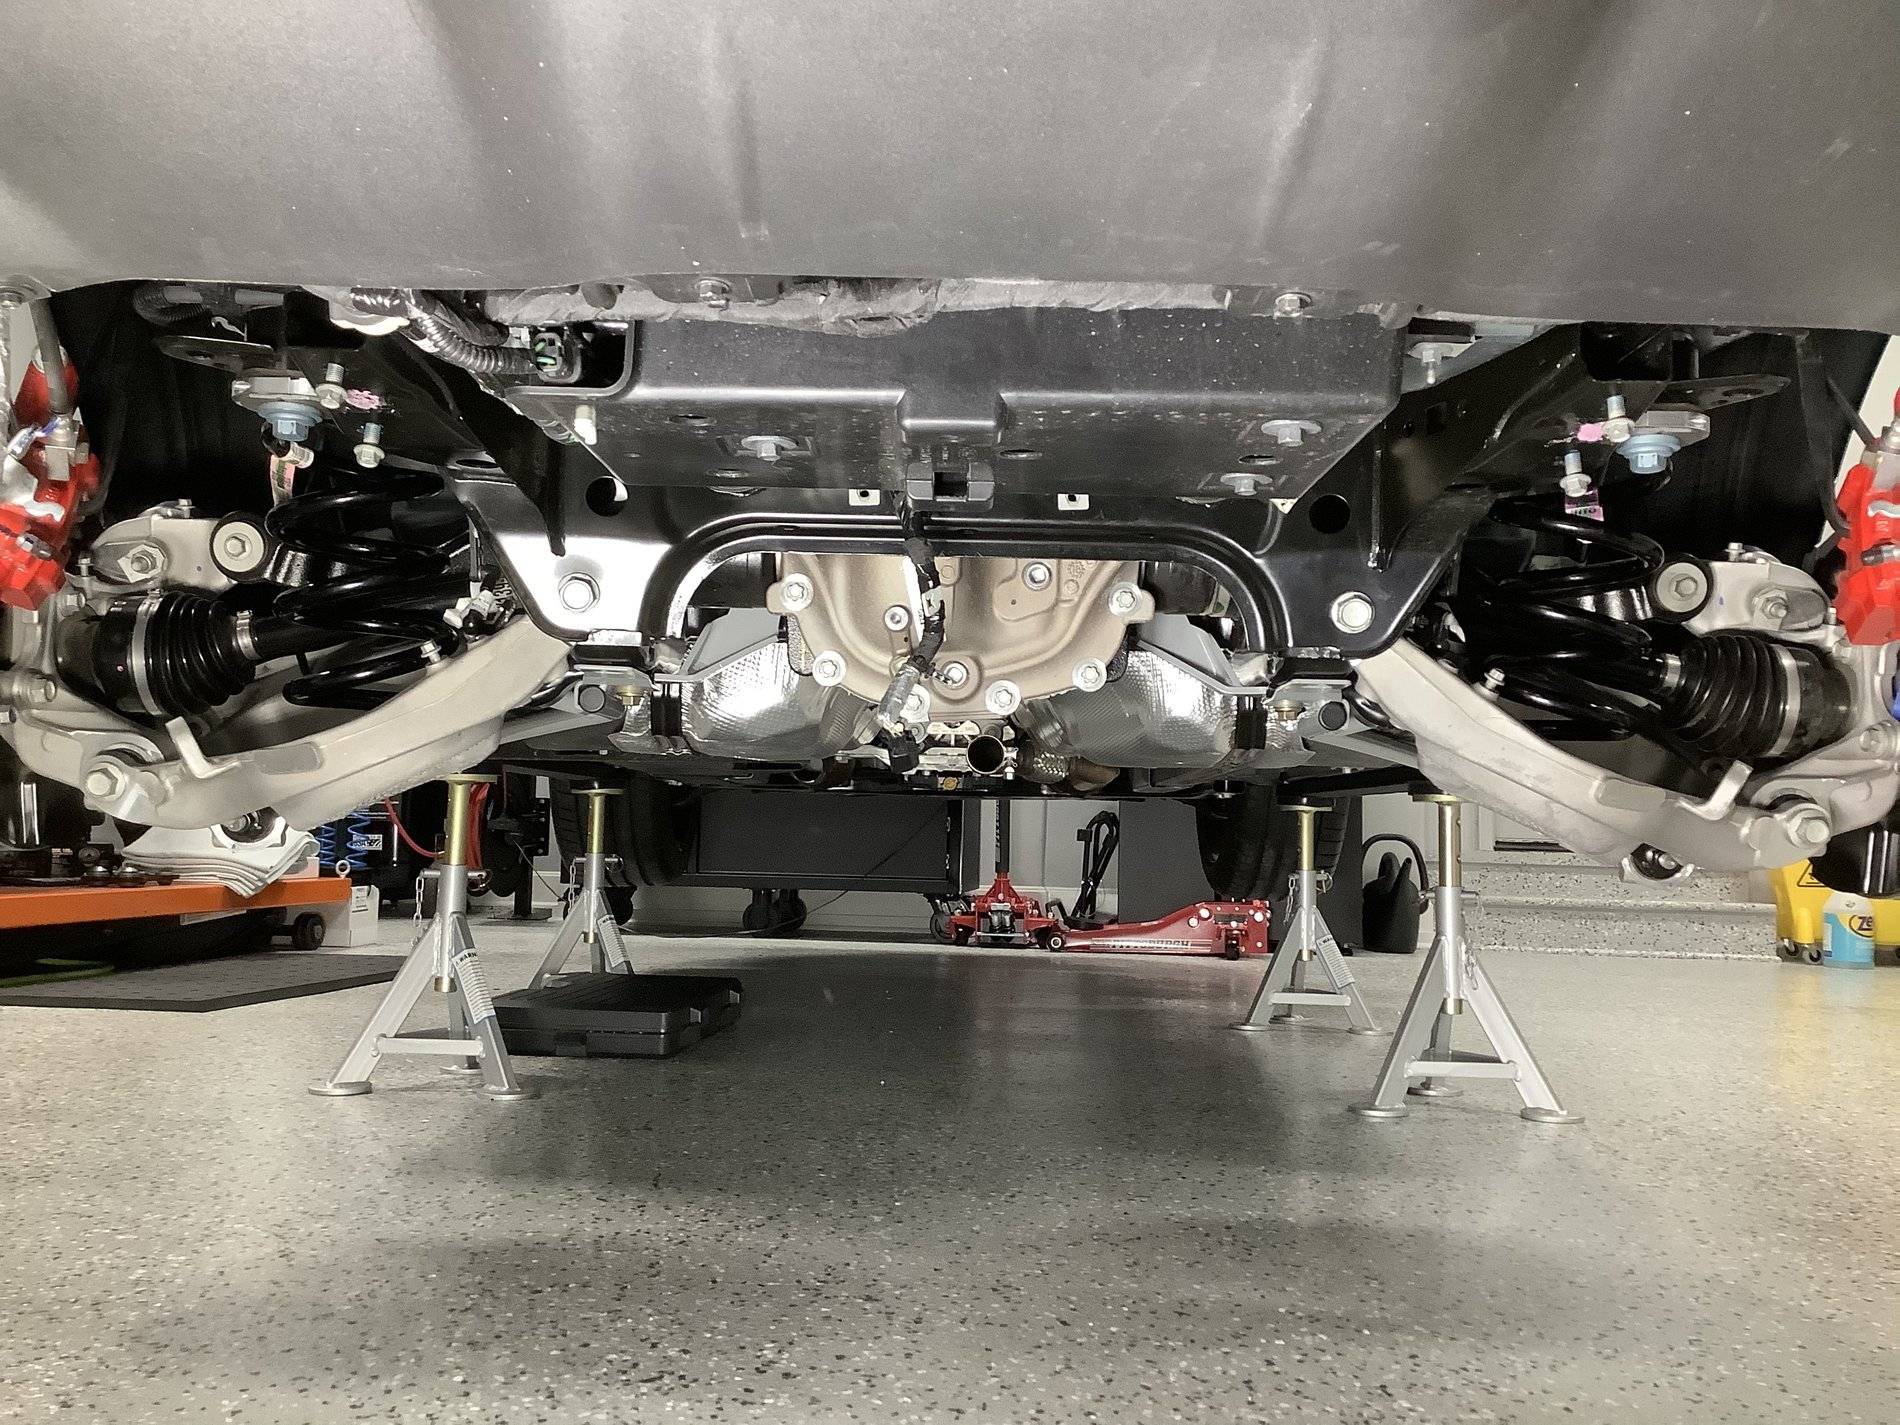
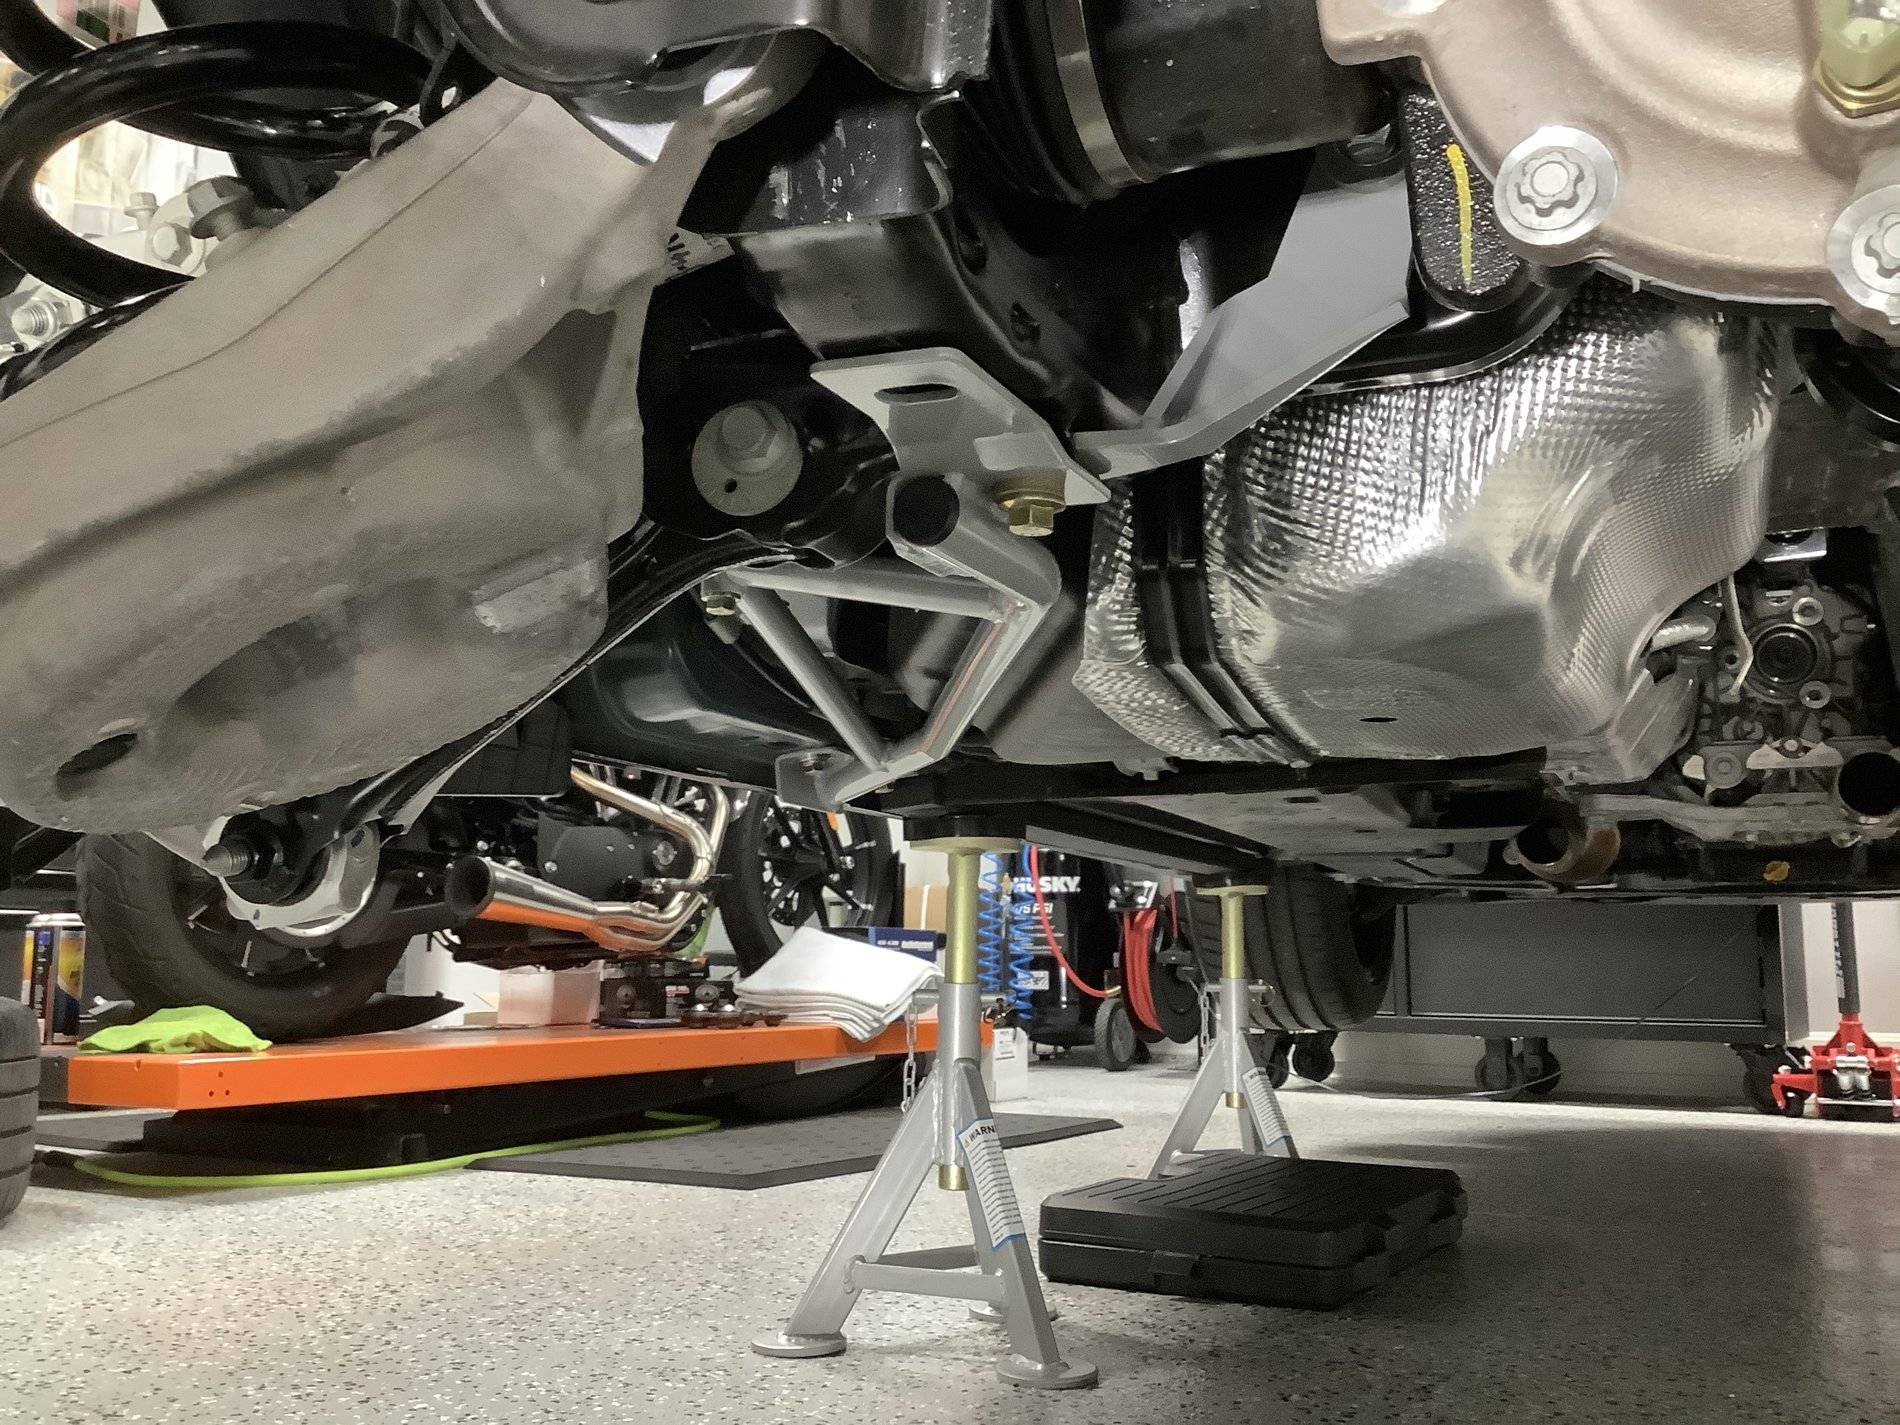
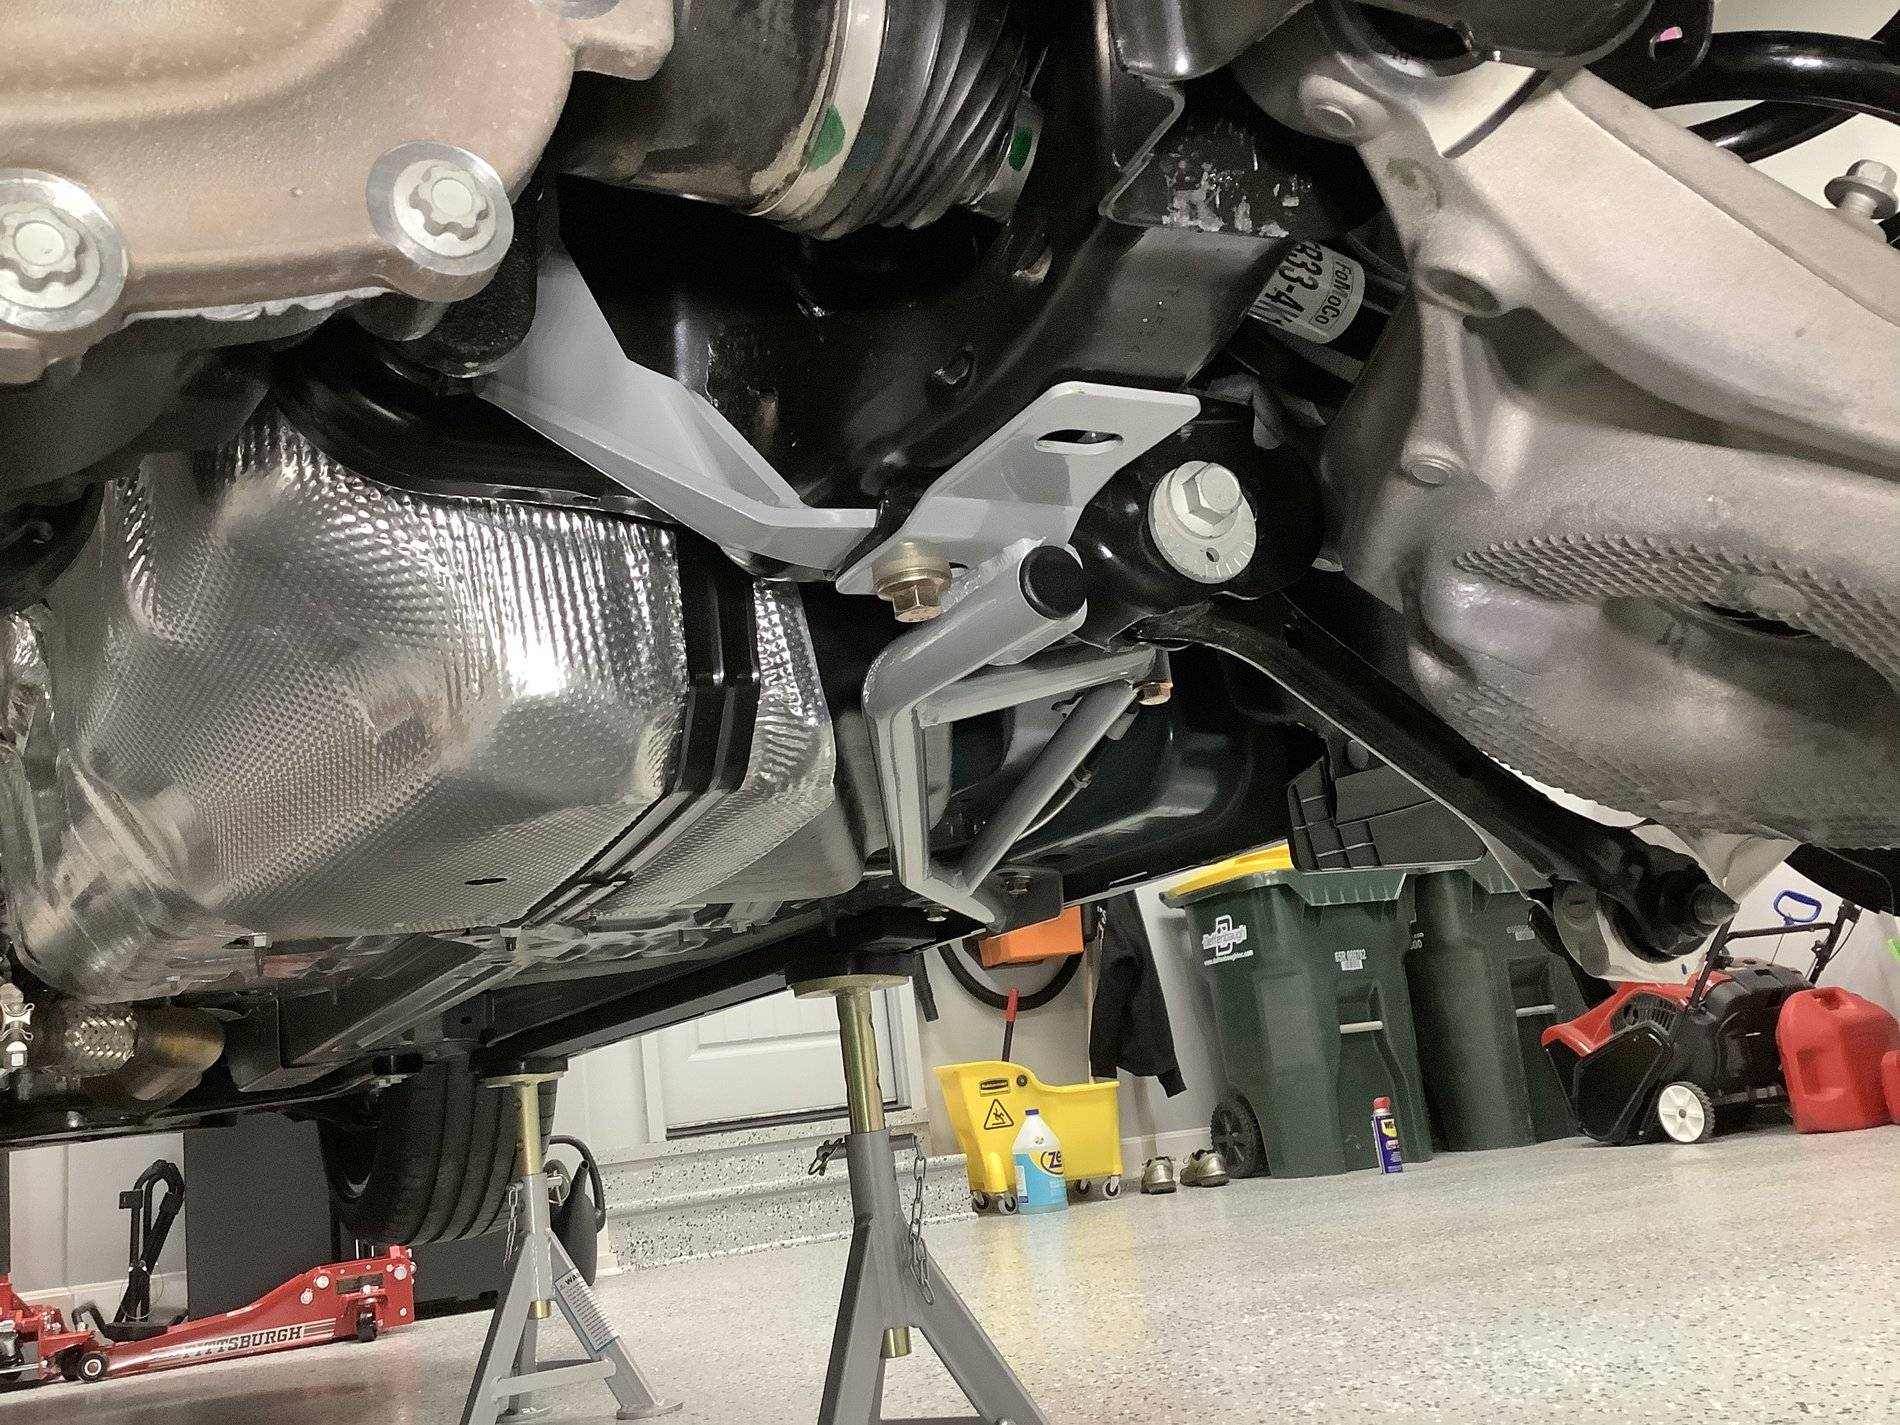
I am about to begin installing the last of (at least for now) my rear suspension mods today which will consist of the Steeda differential support bracket (black bushings), through bolt kit and subframe support braces. It looks like I am going to have to drop the entire cradle, so that I can run the front bolts through the bushings from front to rear. Steedaā€™s instructions donā€™t mention having to drop the cradle, but if people are having issues getting the two bolt setup installed on the driverā€™s side, there is no way I am getting a bolt that is slightly longer than 5ā€ through without dropping it. Iā€™ll admit, I am a little apprehensive about completely dropping the cradle because I know it is going to be some serious work (although not impossible), for me to do alone. I have an idea how I am going to approach this, but if anyone else that has done this mod reads this and can share some tips, I would be very grateful. Otherwise, Iā€™m going for it and will report back with photos and how it turns out.
Sponsored

 
OP
OP
NGOT8R

NGOT8R

Well-Known Member
Joined
Jul 19, 2020
Threads
117
Messages
6,166
Reaction score
4,204
Location
Florida
First Name
Adrian
Vehicle(s)
2019 Bullitt
Ok folks, here is where I am thus far. I lowered the cradle 10 1/2ā€ and that provided more than enough clearance to remove the stock bolts install the Steeda fully threaded through bolts (from front to rear) and bushings. Note: You will notice in the pics that the stock bolts hit the halfshafts during removal, but donā€™t worry, just angle them to the side and they will come out easily, so no need to cut them like I have seen done in other bushing install videos. A couple of additional things to note are; I made sure to disconnect the differential vent line and unclip the wiring harness which is held to the body with a push pin and runs down to the differential, where it plugs into the sensor on the diff. Now, here is where things got a little interesting.

When I went to fit the Steeda differential bracket over the top of the diff. and over the through bolts that were protruding from the diff. ears, I immediately noticed that one of the holes in the bracket was off and would not line up with the through bolts. This put me at a stand still momentarily, until I can run out and purchase a step drill bit. I think the best course of action is to drill each hole to the next size up, rather than just slotting one side or the other, so that this portion of the bracket will be centered on the through bolts and I can then install washers and nuts to torque them down. While I donā€™t think this will be a huge deal, it is something that I wish I didnā€™t have to contend with, given the difficulty already involved. Here are a few pics.

FHmUOxll.jpg

oP19mB7l.jpg

azMgnQAl.jpg

bzlt7mZl.jpg

DQqgklhl.jpg


s7sXZwgl.jpg
 

BluePonyGT

Well-Known Member
Joined
Mar 24, 2018
Threads
39
Messages
540
Reaction score
270
Location
Seattle, WA
First Name
Corey
Vehicle(s)
2017 Grabber Blue GT Premium 6MT
Interesting. I set out to do this back in June, but I didn't drop the entire subframe. I managed to get the bushing hardware front and back into the subframe around the differential by allowing the subframe to drop with the subframe bolds front or rear still in and using a heavy duty 1 ton transmission jack. There was some yelling, cussing and scrambling around involved, but I managed to get them in (I used reds) and get everything torqued to spec.

I *was* planning on putting the differential support bracket in at the same time here, but what I saw when it came time to put it in the half-shafts were in the way. I was planning on slipping them in while I had the bolts out and had room above the differential, but I didn't notice that the holes didn't line up. So I resigned to hold off installing it until I jump to the heavier duty ford performance half shafts later. So it's sitting in a box with the hardware waiting for when that happens...
 
OP
OP
NGOT8R

NGOT8R

Well-Known Member
Joined
Jul 19, 2020
Threads
117
Messages
6,166
Reaction score
4,204
Location
Florida
First Name
Adrian
Vehicle(s)
2019 Bullitt
Here is what I ended up doing to get around the issue with the holes in the top bracket:

- Purchased a step drill and drilled both holes to 11/16 on both sides of the bracket. Thankfully, I managed to do it without even damaging the finish at all and it turned out perfectly. The only other thing I noticed is the rear differential ears have a bump on the inside which prevents installing nyloc nuts on the through bolts.
37150BA9-7016-4D1E-A5B3-A1C3827DD17C.jpeg
707AC76B-9605-47B3-8DC8-ED4D50E36959.jpeg
814E4F76-E17D-4D6C-8C2A-9318264C1853.jpeg
86362675-F5BF-4D91-BBED-FB6DD23F17AA.jpeg
34CB8E5F-0D85-4C7F-AA9E-3E0CDE08664A.jpeg
C7D64B12-4BC8-4047-BD97-4989A8CAF559.jpeg
6E65D50E-A34B-4DEF-BDE4-0ECDB415AB2D.jpeg
Now comes the fun part; lifting and bolting the cradle back in place. Here are some pics of the overall install.

F8C6C367-0037-4D7E-8211-D492CDDFC9D3.jpeg
 
OP
OP
NGOT8R

NGOT8R

Well-Known Member
Joined
Jul 19, 2020
Threads
117
Messages
6,166
Reaction score
4,204
Location
Florida
First Name
Adrian
Vehicle(s)
2019 Bullitt
Finally, after working all day on the car, I am happy to report that the IRS cradle is back in the car! Surprisingly, it went up without a single issue. I inched it up a little at a time and worked the scissor jack underneath the diff. to pivot the diff. when needed and that helped make it very easy. while I was under the car, I figured I might as well install the subframe support braces which tie in with the diff. support bracket. I love it when things go right!

DFDB577B-0714-49CA-A530-6CA4FEAD30EA.jpeg
3D957177-CAEC-4C10-A0AC-5FDBF4F7C848.jpeg
EB3363DC-CD30-49EA-BB58-124D3FFBB6E6.jpeg
 

Sponsored

BluePonyGT

Well-Known Member
Joined
Mar 24, 2018
Threads
39
Messages
540
Reaction score
270
Location
Seattle, WA
First Name
Corey
Vehicle(s)
2017 Grabber Blue GT Premium 6MT
That's awesome. I need to keep this thread handy....

Nice work.
 
OP
OP
NGOT8R

NGOT8R

Well-Known Member
Joined
Jul 19, 2020
Threads
117
Messages
6,166
Reaction score
4,204
Location
Florida
First Name
Adrian
Vehicle(s)
2019 Bullitt
Thanks BluePonyGT! Now itā€™s time to get started on the LT header install and order up a couple of more suspension parts for the front end while Iā€™m working in that area.
 

ponie1992

Well-Known Member
Joined
Jan 4, 2016
Threads
93
Messages
1,550
Reaction score
414
Location
Elgin, SC
Vehicle(s)
2016 Ruby Red PP GT
The Steeda instructions call for grinding on the rear diff ears to clearance for the nuts and washers. I ran my front bolts from the rear to the front. Imo it would be better to pull an axle vs dropping the cradle if I ever need to remove those front bolts. Also, I did not have to open up the holes in the brace. Not sure why you had to do that. Great job on the install, though. It's no simple task.
 
OP
OP
NGOT8R

NGOT8R

Well-Known Member
Joined
Jul 19, 2020
Threads
117
Messages
6,166
Reaction score
4,204
Location
Florida
First Name
Adrian
Vehicle(s)
2019 Bullitt
Thanks ponie1992! It was definitely a lot of work and not something I would like to do again tomorrow (maybe the day after tomorrow) LOL.!

Have you checked the torque on your bushing bolts since instsllation? I was just curious as to how well theyā€˜re holding torque? I am going to have my buddy weld me up special wrench to make checking the torque a breeze while the cradle is back in the car. I will stay on top of checking that regularly once the car is on the road.
 

ponie1992

Well-Known Member
Joined
Jan 4, 2016
Threads
93
Messages
1,550
Reaction score
414
Location
Elgin, SC
Vehicle(s)
2016 Ruby Red PP GT
Thanks ponie1992! It was definitely a lot of work and not something I would like to do again tomorrow (maybe the day after tomorrow) LOL.!

Have you checked the torque on your bushing bolts since instsllation? I was just curious as to how well theyā€˜re holding torque? I am going to have my buddy weld me up special wrench to make checking the torque a breeze while the cradle is back in the car. I will stay on top of checking that regularly once the car is on the road.
I have not checked torque since I reinstalled the cradle, as I've had very little drive time. I did jack up the car and take a look at things though. All appears well. I will check everything again once I get a few more miles on er. Let me know how that wrench works out, I may want one lol.
 

Sponsored

Proshop

Well-Known Member
Joined
Jun 7, 2021
Threads
18
Messages
2,340
Reaction score
2,523
Location
Florida
First Name
Billy
Vehicle(s)
2021 Ford Mustang GT
Any thoughts on how you like the kit? Mainly the black bushings over the red? On the fence which ones to install when my kit comes in.
 
OP
OP
NGOT8R

NGOT8R

Well-Known Member
Joined
Jul 19, 2020
Threads
117
Messages
6,166
Reaction score
4,204
Location
Florida
First Name
Adrian
Vehicle(s)
2019 Bullitt
Any thoughts on how you like the kit? Mainly the black bushings over the red? On the fence which ones to install when my kit comes in.
I love the kit with the black bushings! I just hit 3K miles on the car and I donā€™t have one bad thing to say about the bushing kit. My car is very quiet and feels more solid now. No more unnecessary flex.
Sponsored


Top