Dizaster
Active Member
- Joined
- Nov 6, 2015
- Threads
- 15
- Messages
- 38
- Reaction score
- 1
- Location
- West Palm Beach, FL
- Vehicle(s)
- 2015 Mustang GT
- Thread starter
- #1
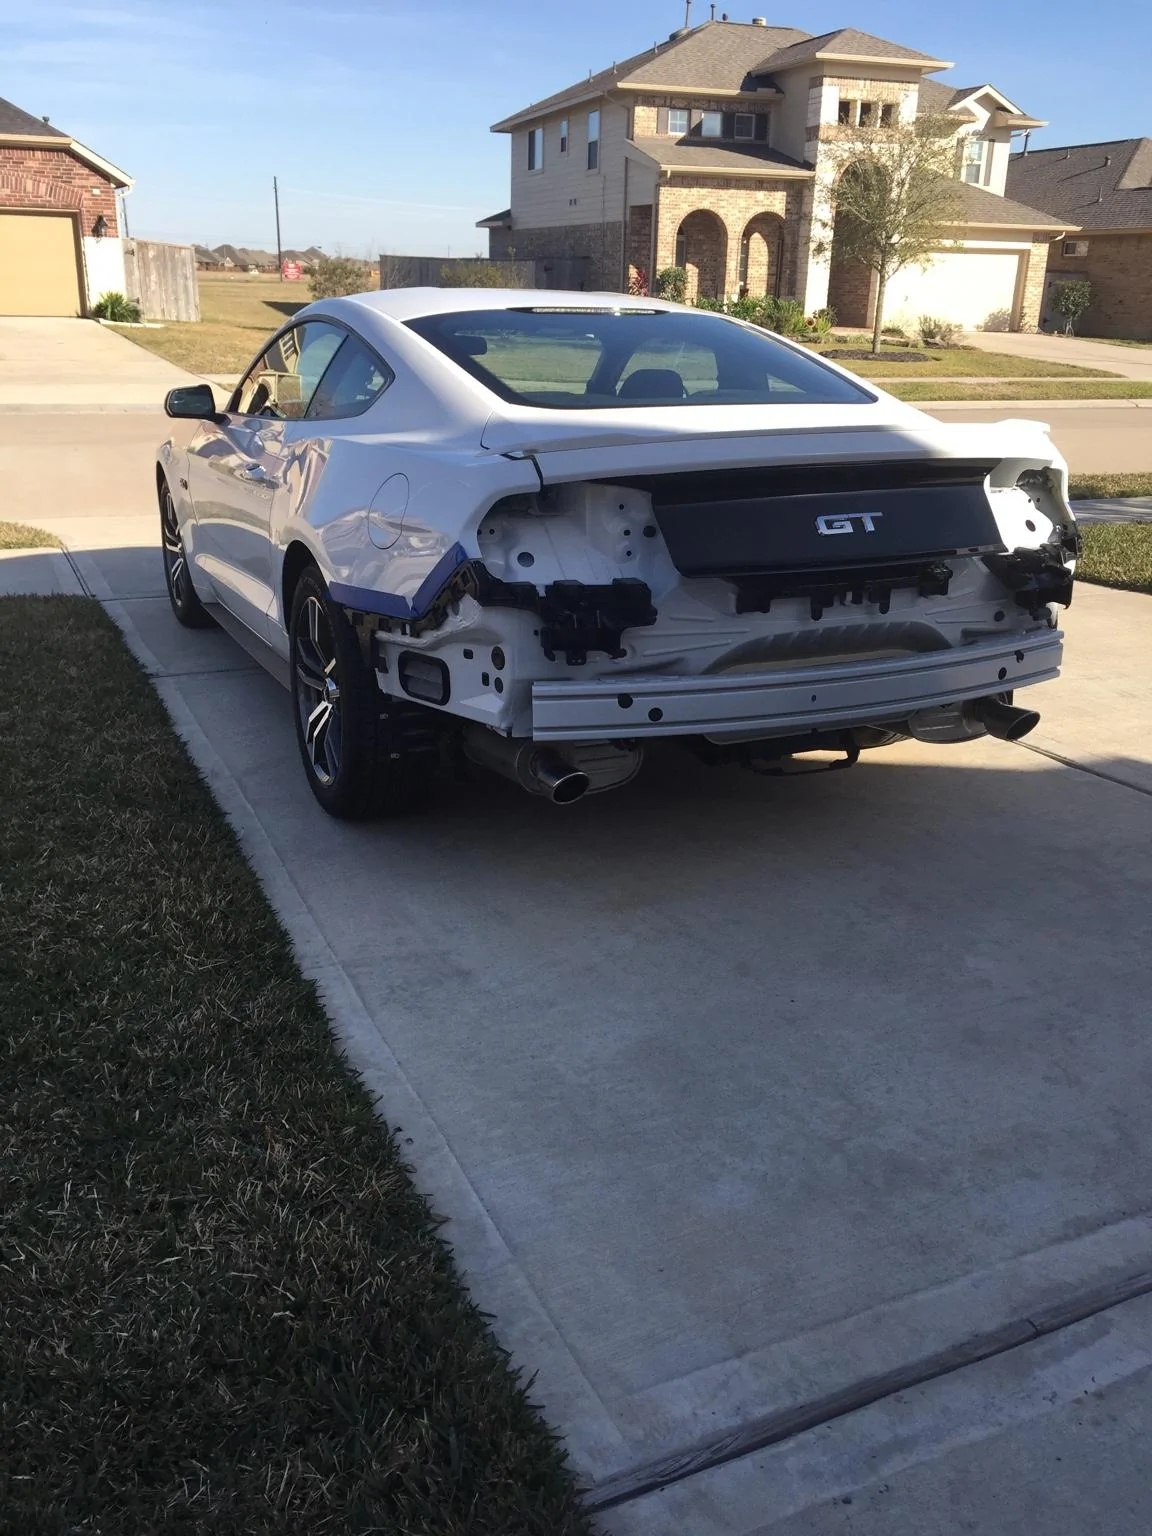
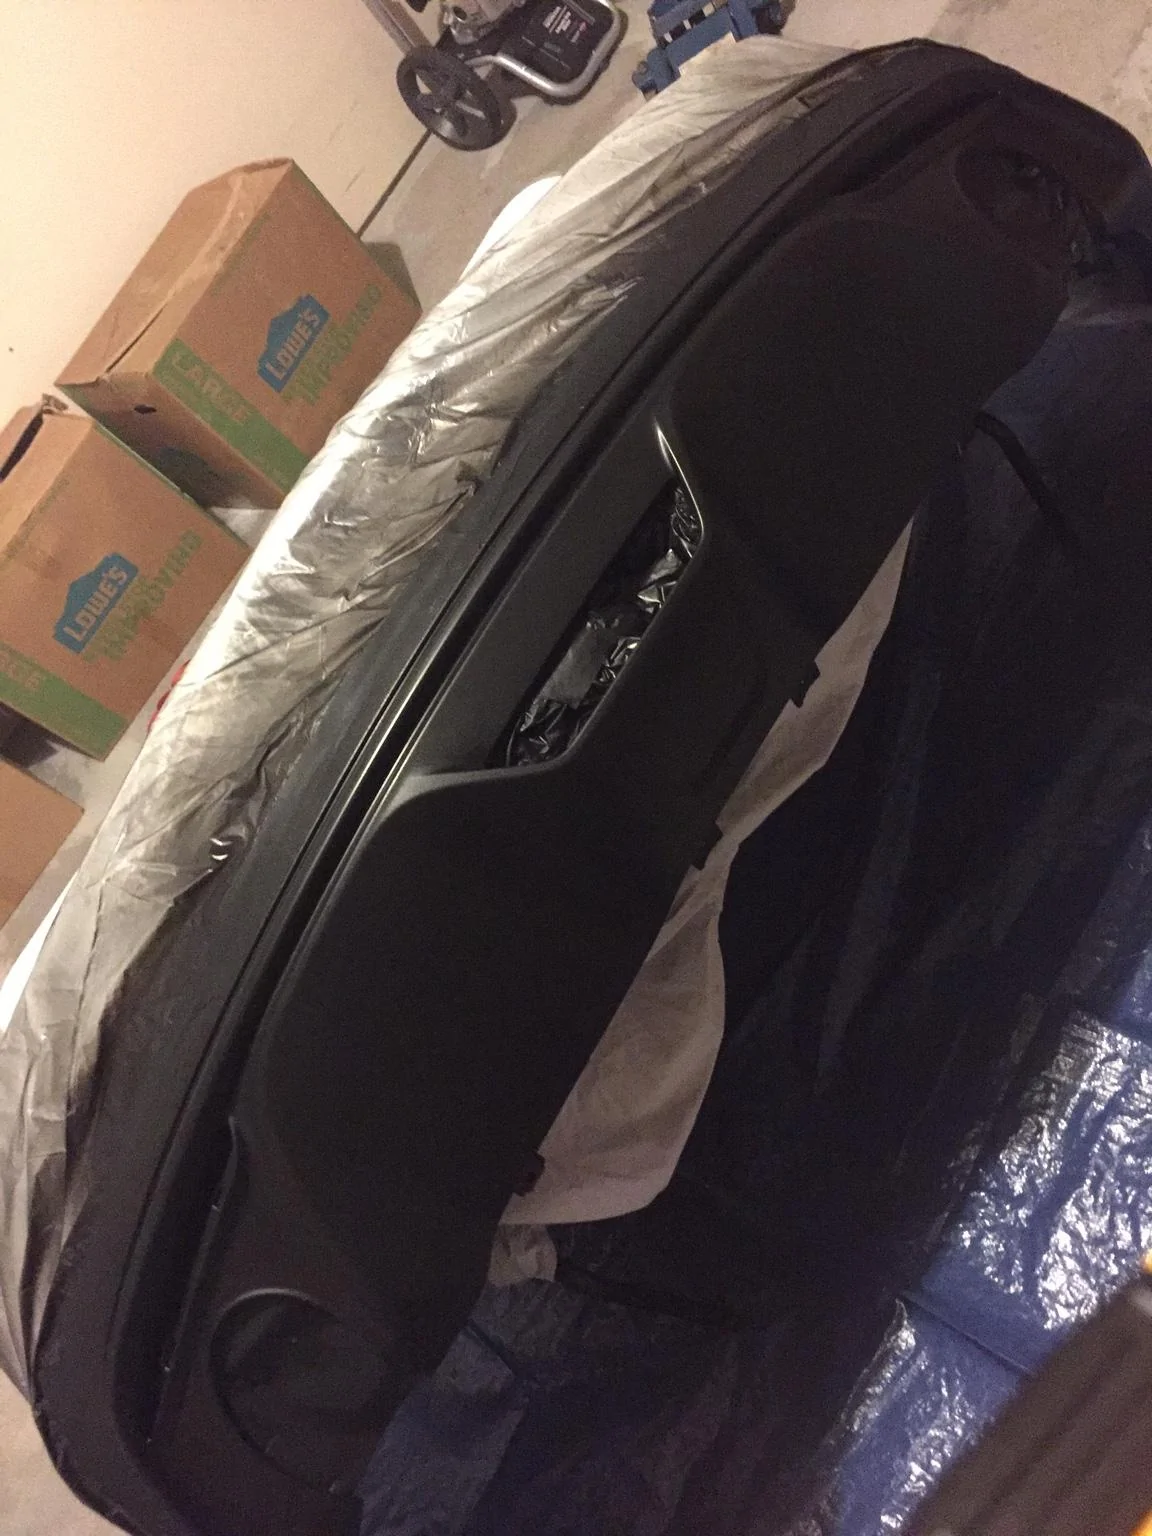
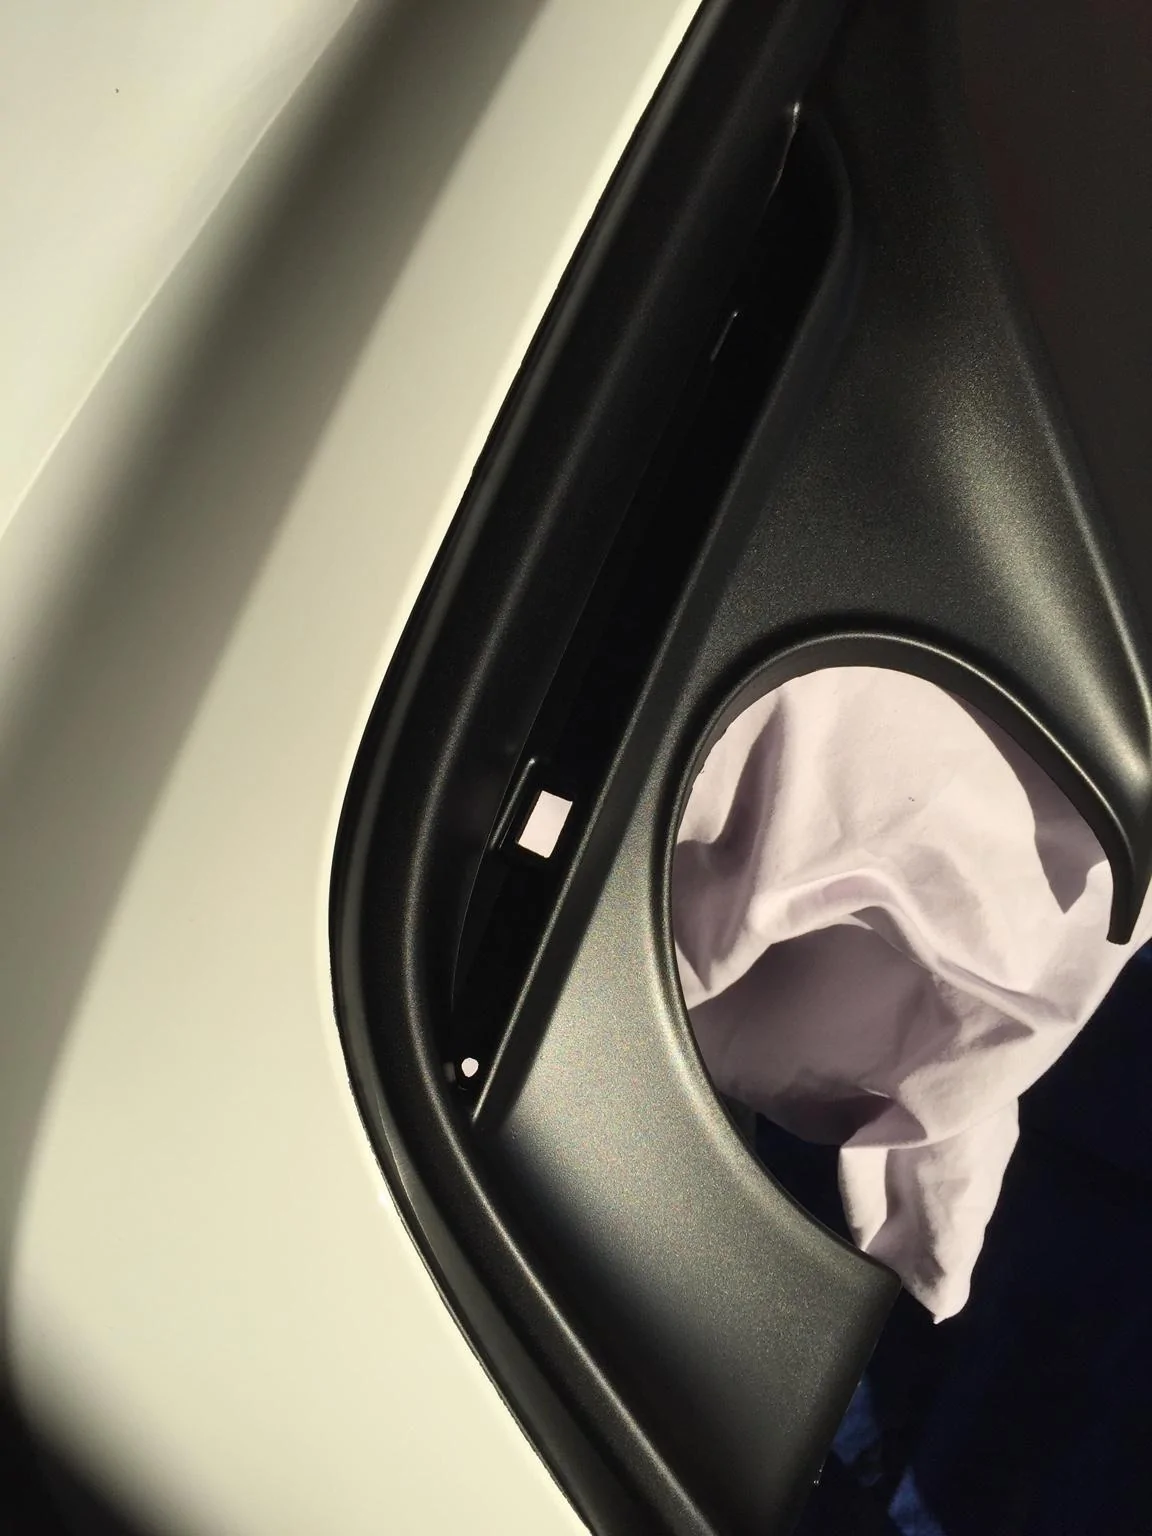
I've seen some people do it themselves but is there a DIY guide? I want to switch up to the plastic premium valance & possibly an rtr diffuser, if anyone knows how I'd really appreciate it
Sponsored