Cochise
Member
- Joined
- Jun 2, 2019
- Threads
- 10
- Messages
- 22
- Reaction score
- 10
- Location
- Austin, TX
- First Name
- Pete
- Vehicle(s)
- 2019 Fastback EBPP
- Thread starter
- #1
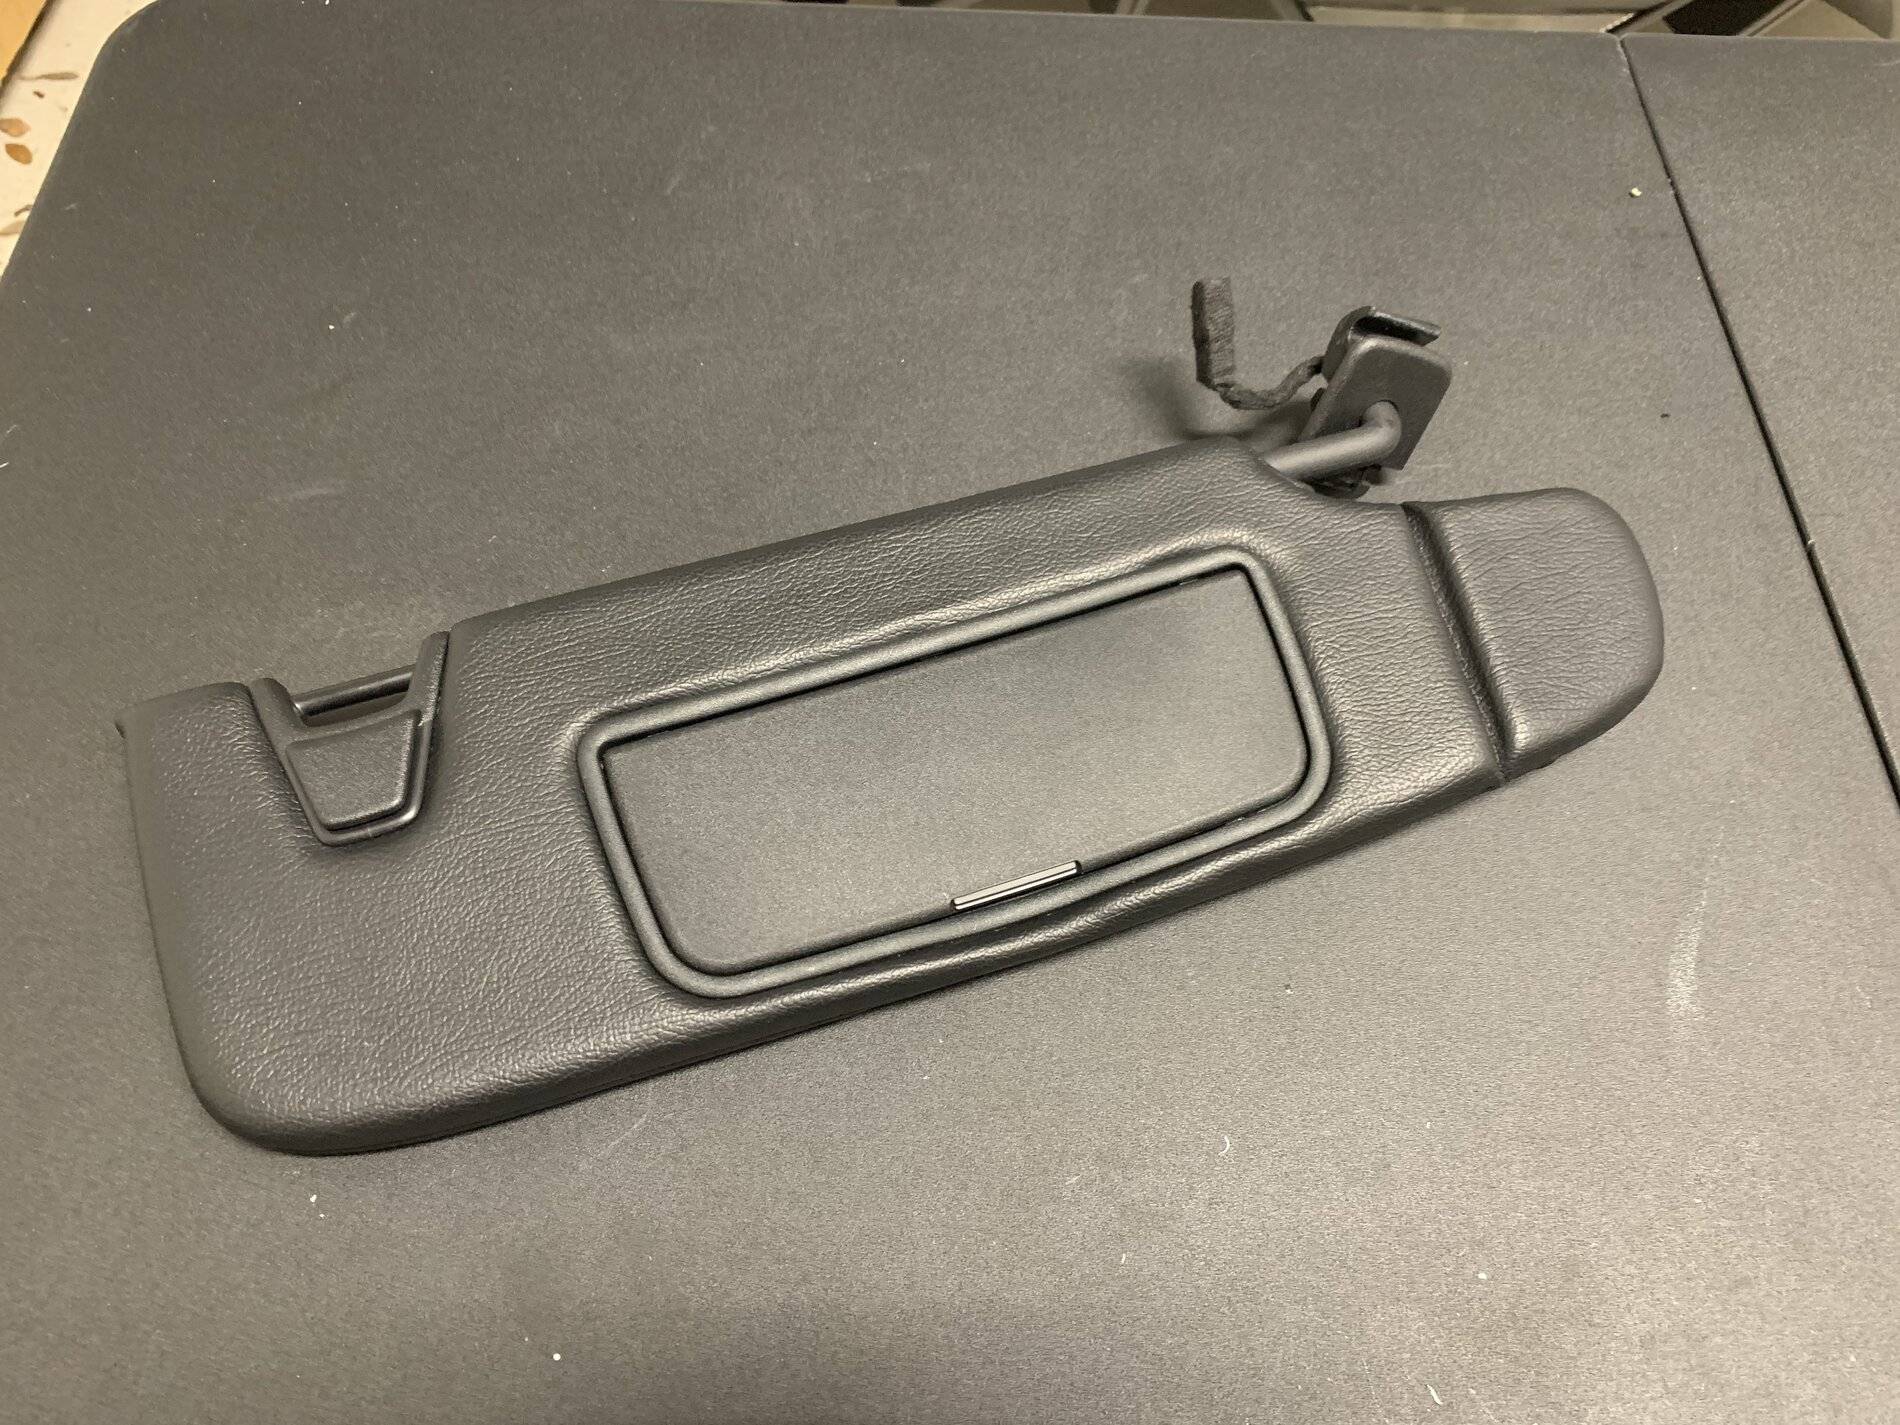
I took the airbag labels off of my visors about a year ago, got tired of looking at the bit of residue left on the fabric so I decided to wrap them in vinyl. I took pictures when I did the second visor so that I could share. Took about an hour, cost about $20.
The nice part is, no adhesive or sewing is required and this should work with just about any fabric you would like. (Probably -!) Mine is a yard of Katzkin black vinyl by the yard from autoseatskins.com. It is almost a perfect match in grain, feel, gloss and color.
First off - NOT RESPONSIBLE IF YOU MESS UP YOUR VERY EXPENSIVE VISORS!! GET A SECOND SET FROM EBAY IF YOU ARE NOT CONFIDENT
First step is to remove the visor from the car, it is pretty straightforward. A cap pops off to reveal a spring clip, squeeze this and swing the visor down, then remove the clip from the roof, and unplug the connector.
Next pop the lens covers off, see Diode Dynamics install videos for this. (great time to upgrade to LEDS, highly recommend DD!). Unscrew the two screws, close the lid and pop the mirror housing out from the top.

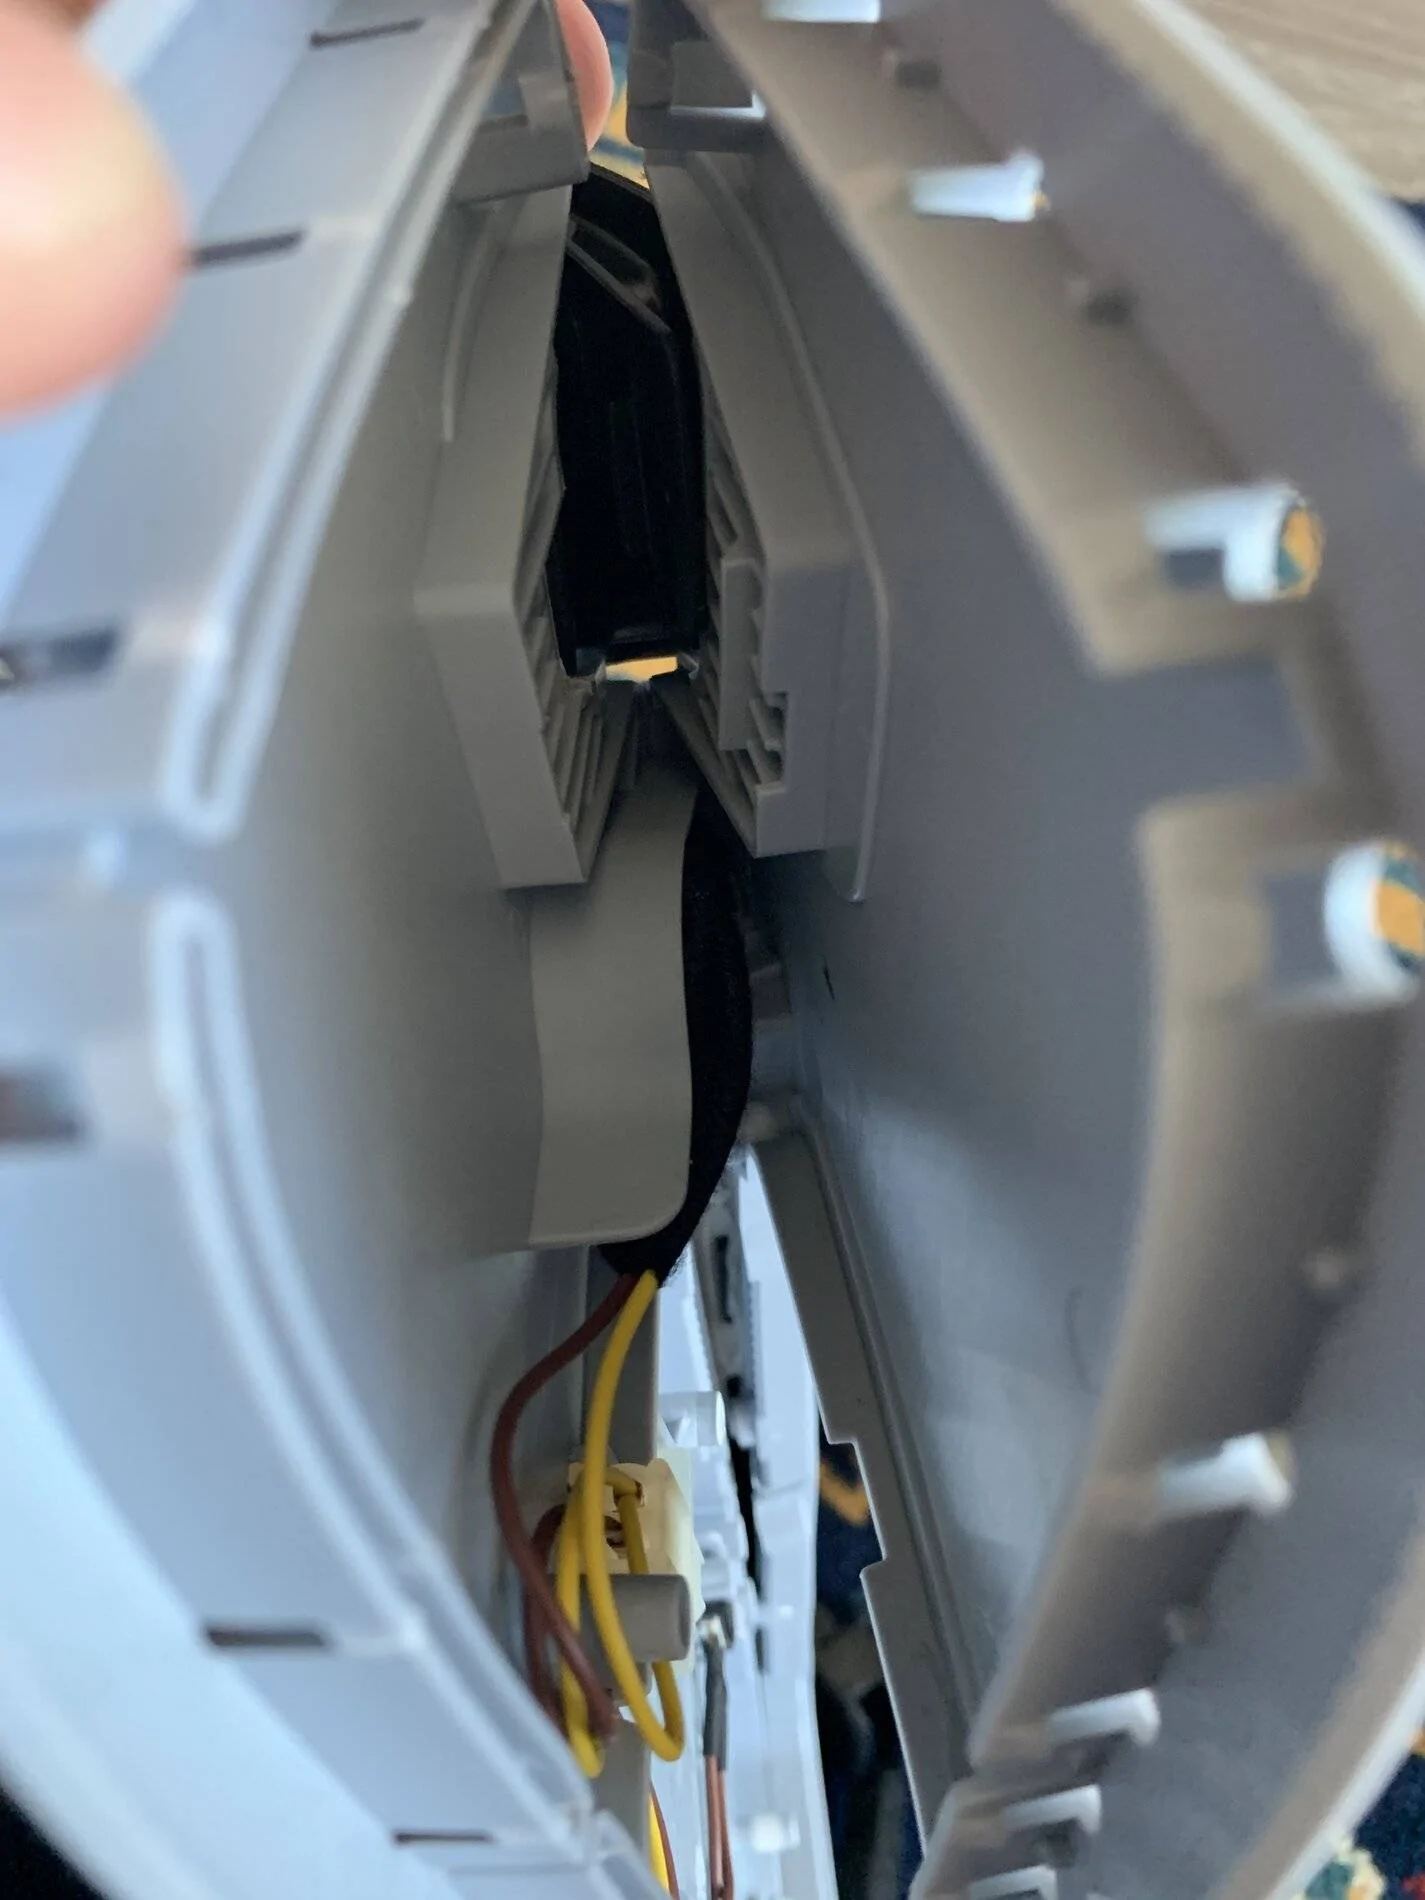
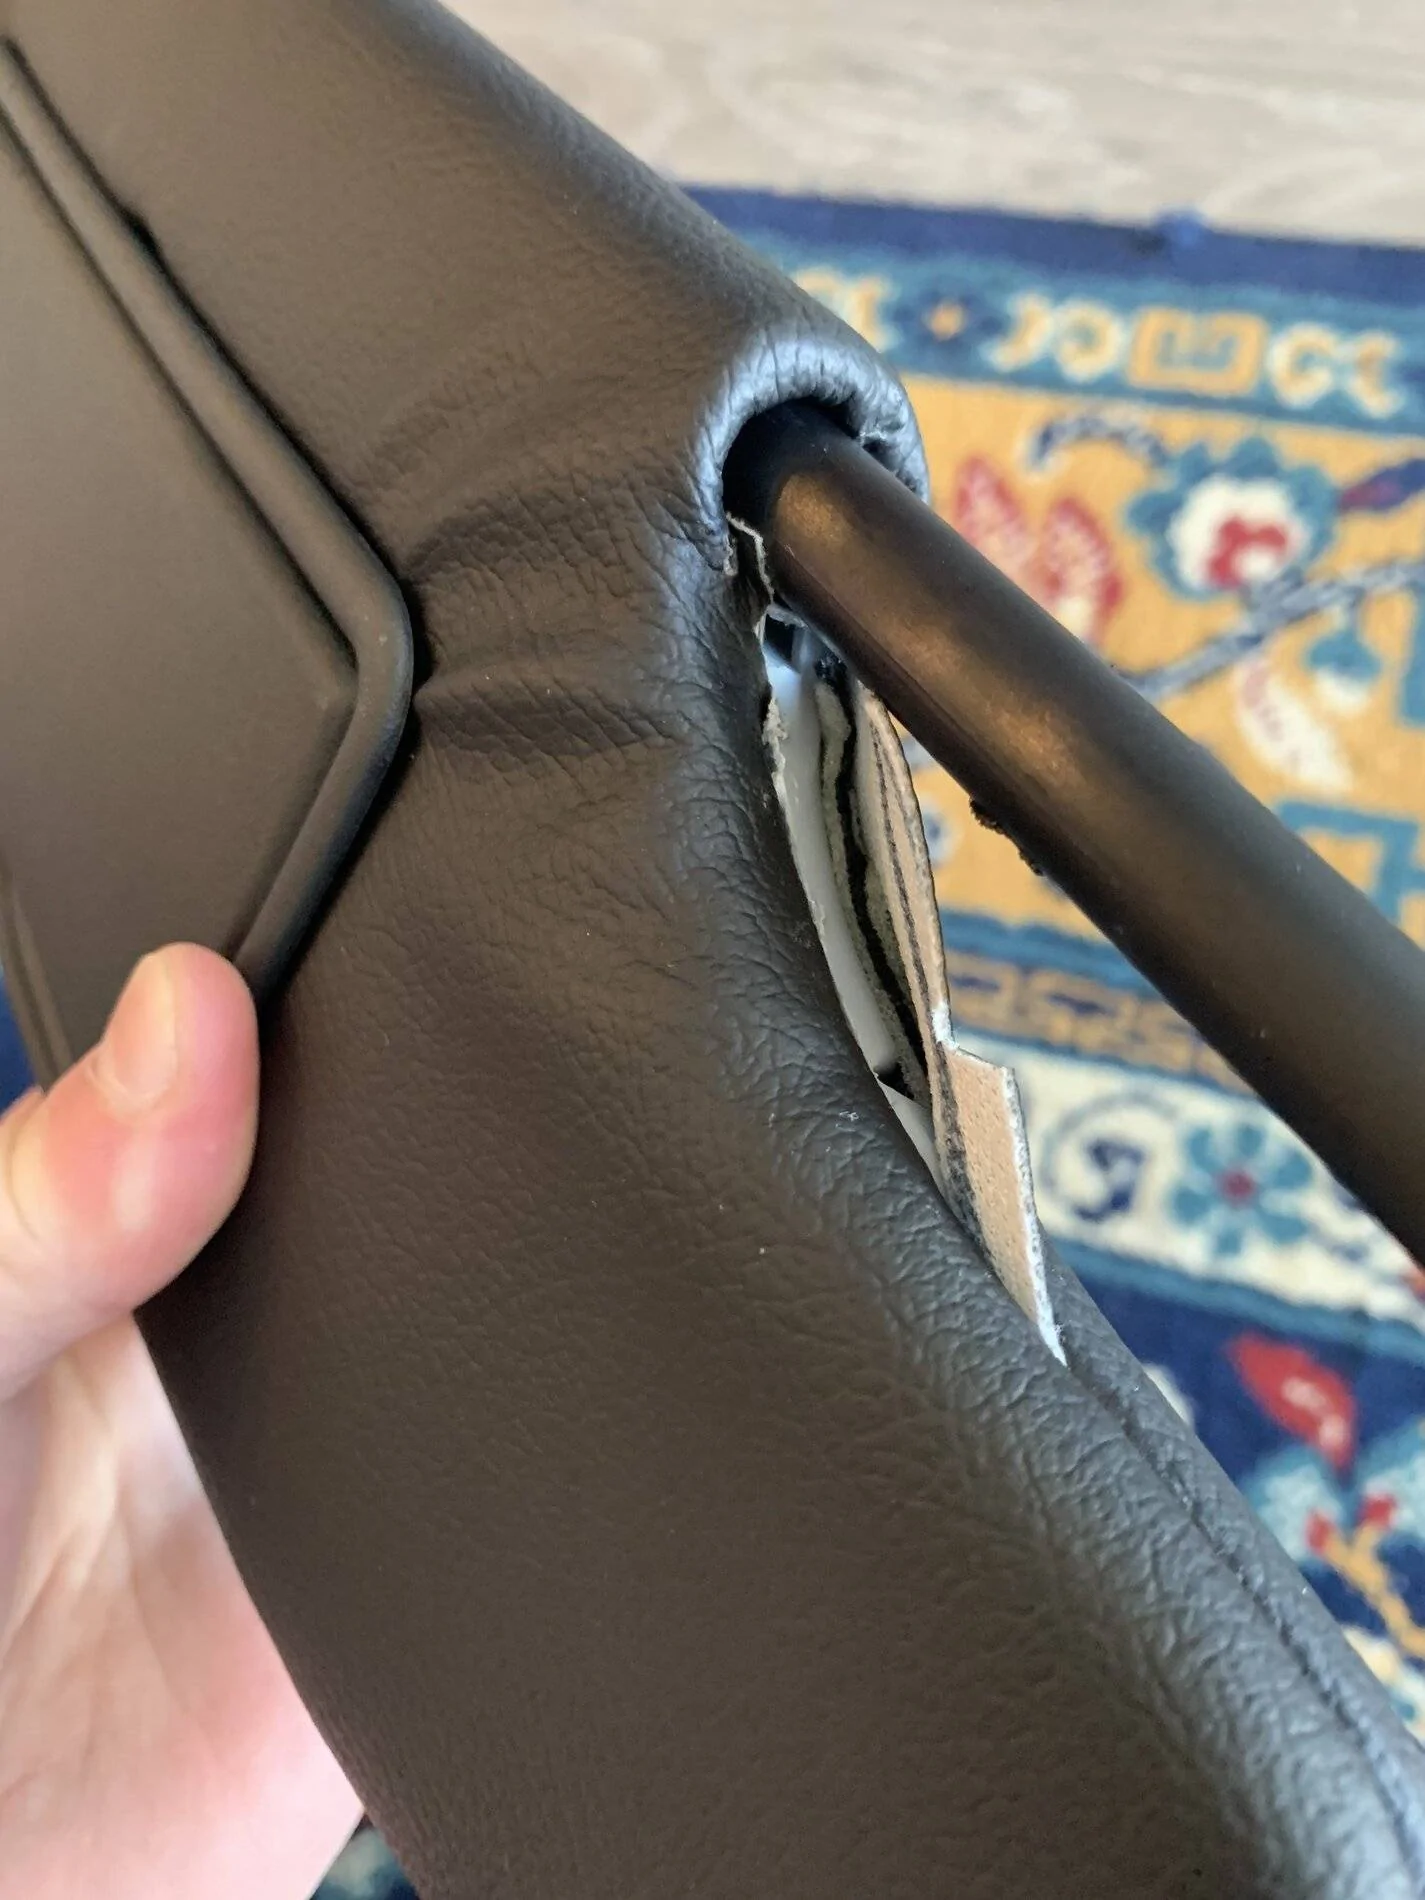
Next pull the cloth out from the blind cleat all the way around. Cut the stitching on the clip end, and pull the cover off the arm end. It takes a little effort to pull it out from under the clip but it won’t rip.
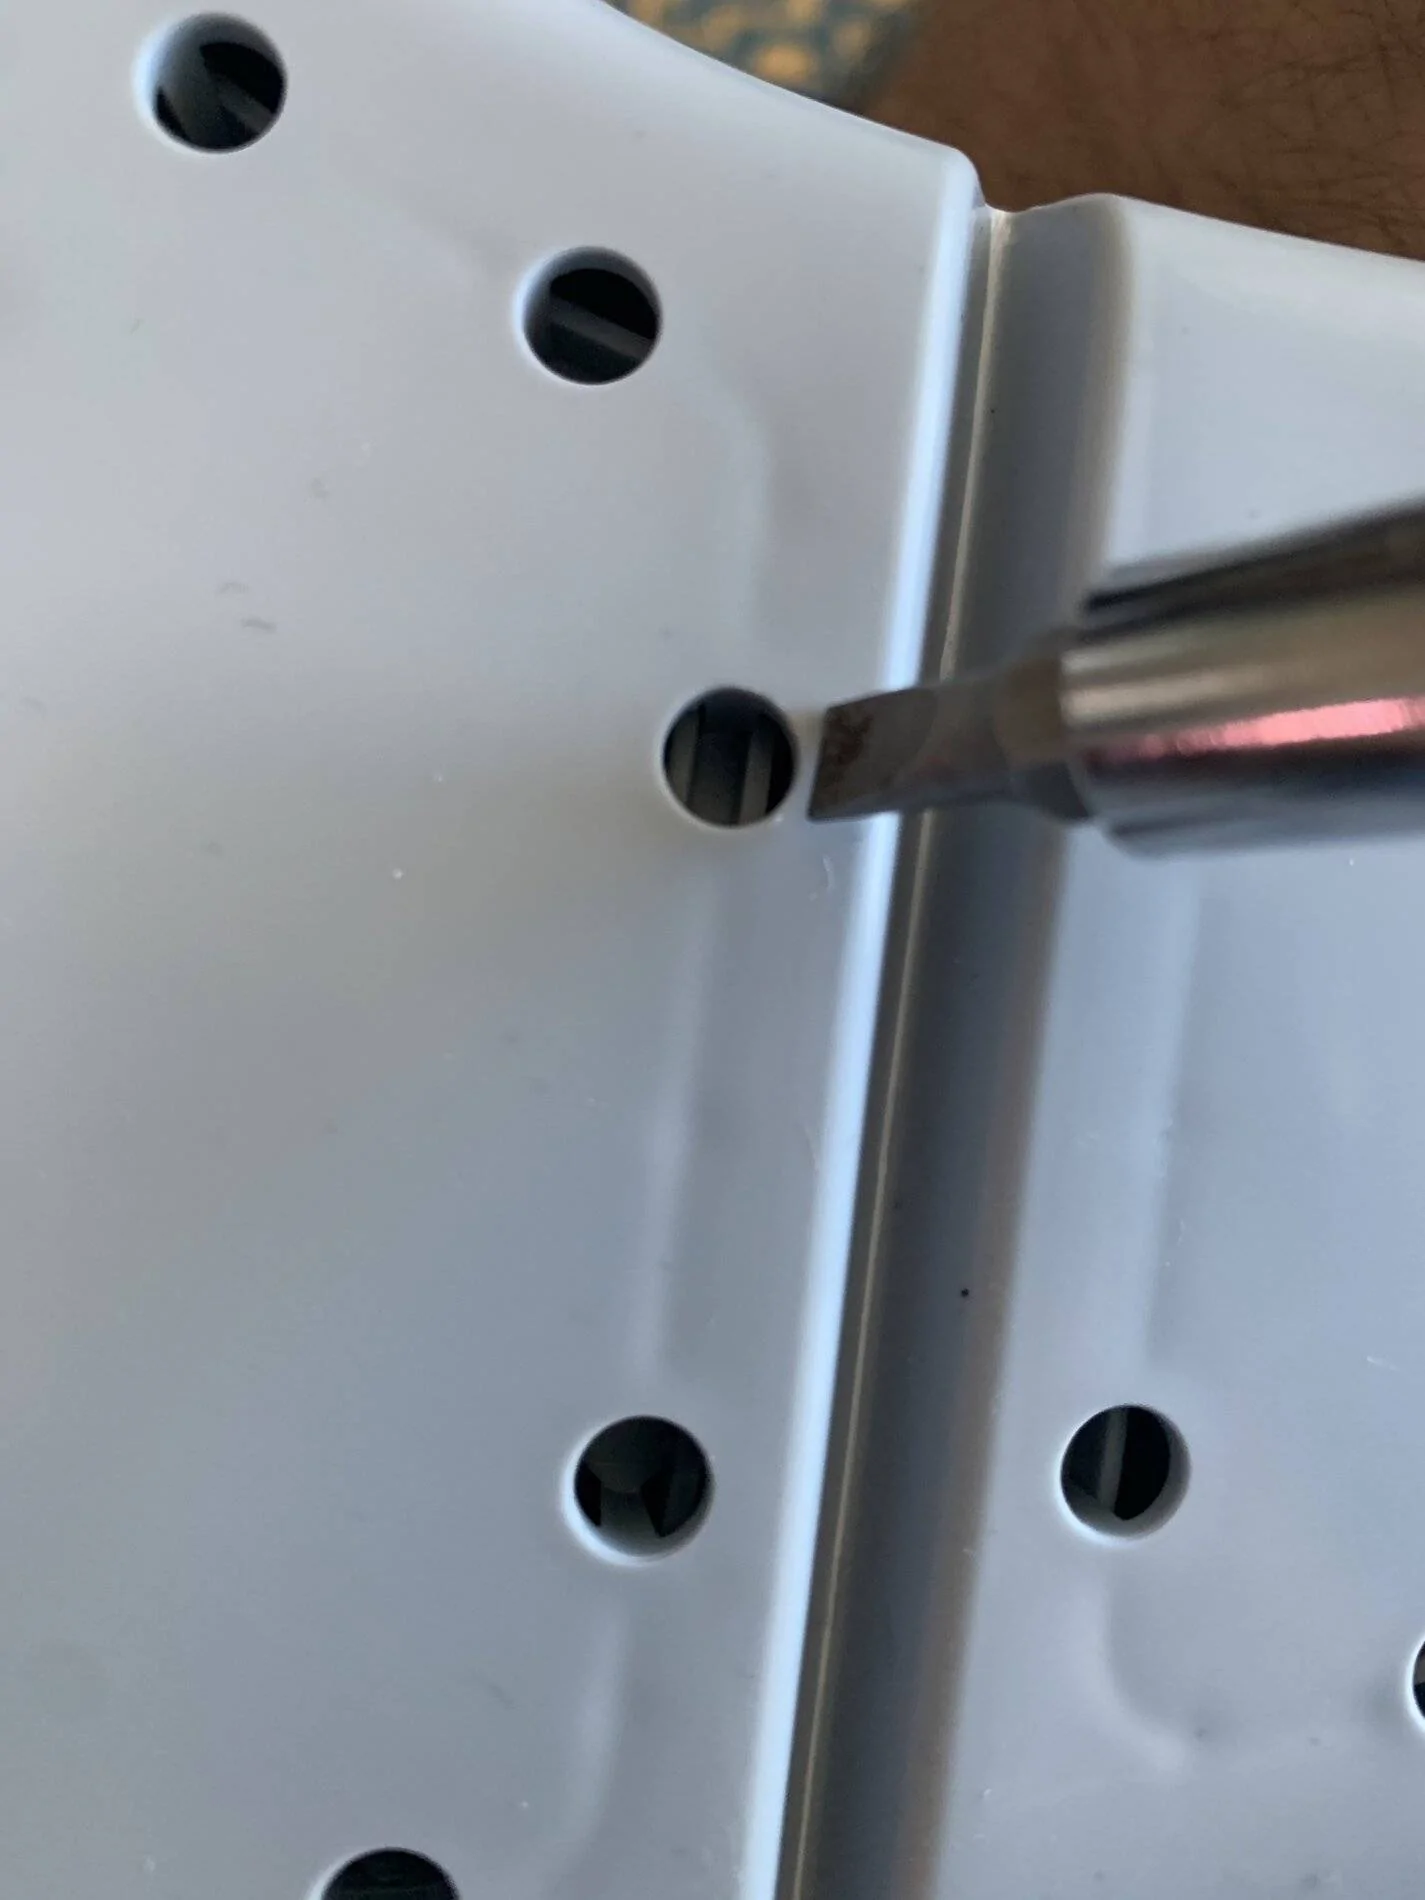
Now you will need to separate the case to remove the clip and arm trim. Remove the 3 screws on the back. Take a flat screw driver and insert into each hole from the top, twist the screwdriver while applying gentle pressure to pull the case apart. Starting in the middle (bottom where the mirror opens) helps. Both the clip and trim piece should fall out easily if you have the case open enough. Snap the case back together and replace the 3 screws.
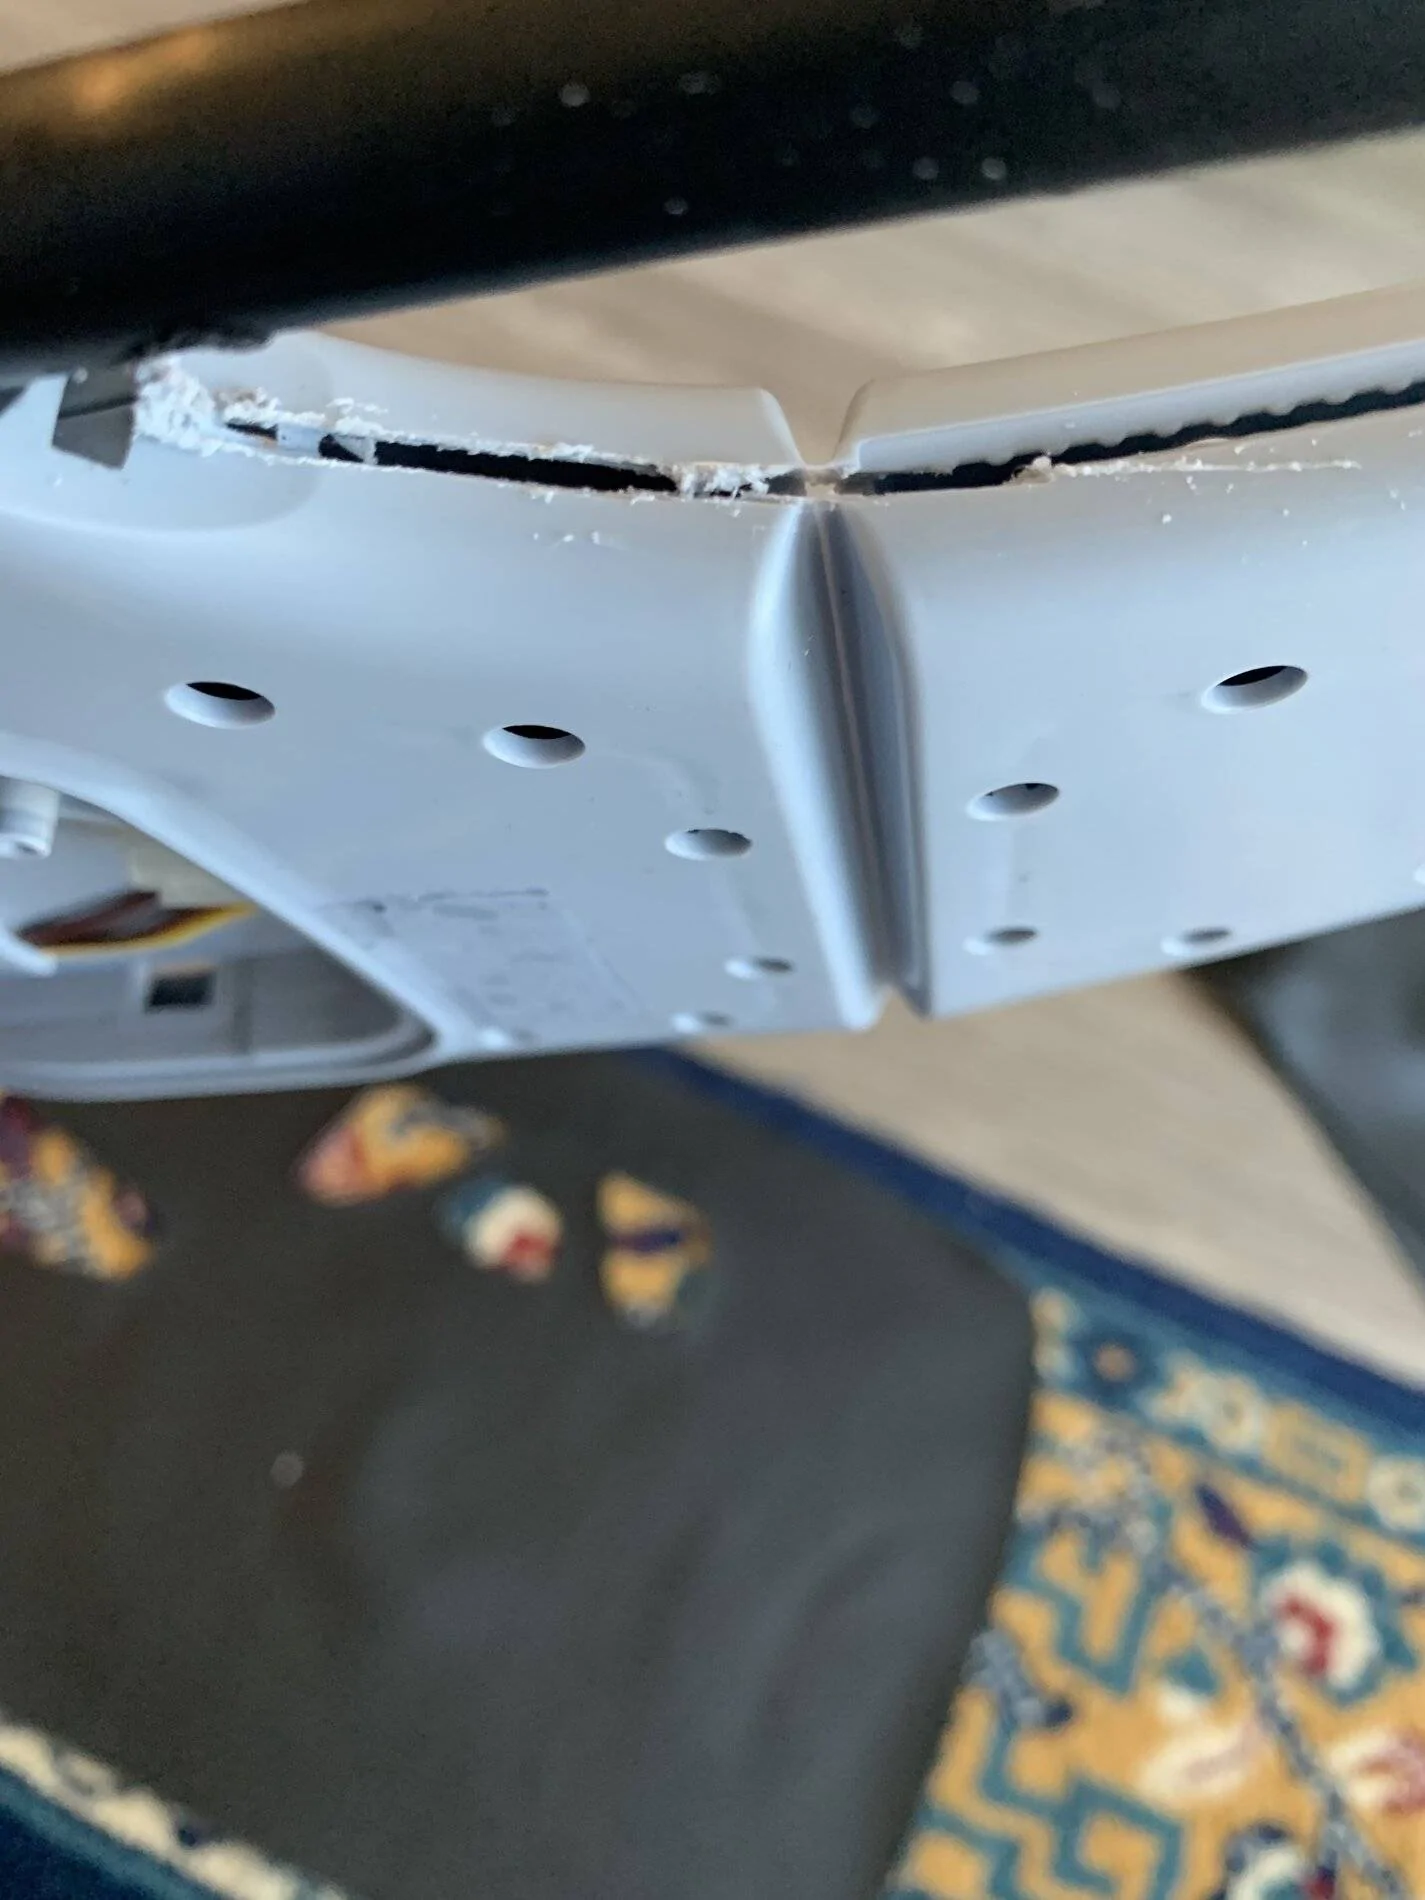
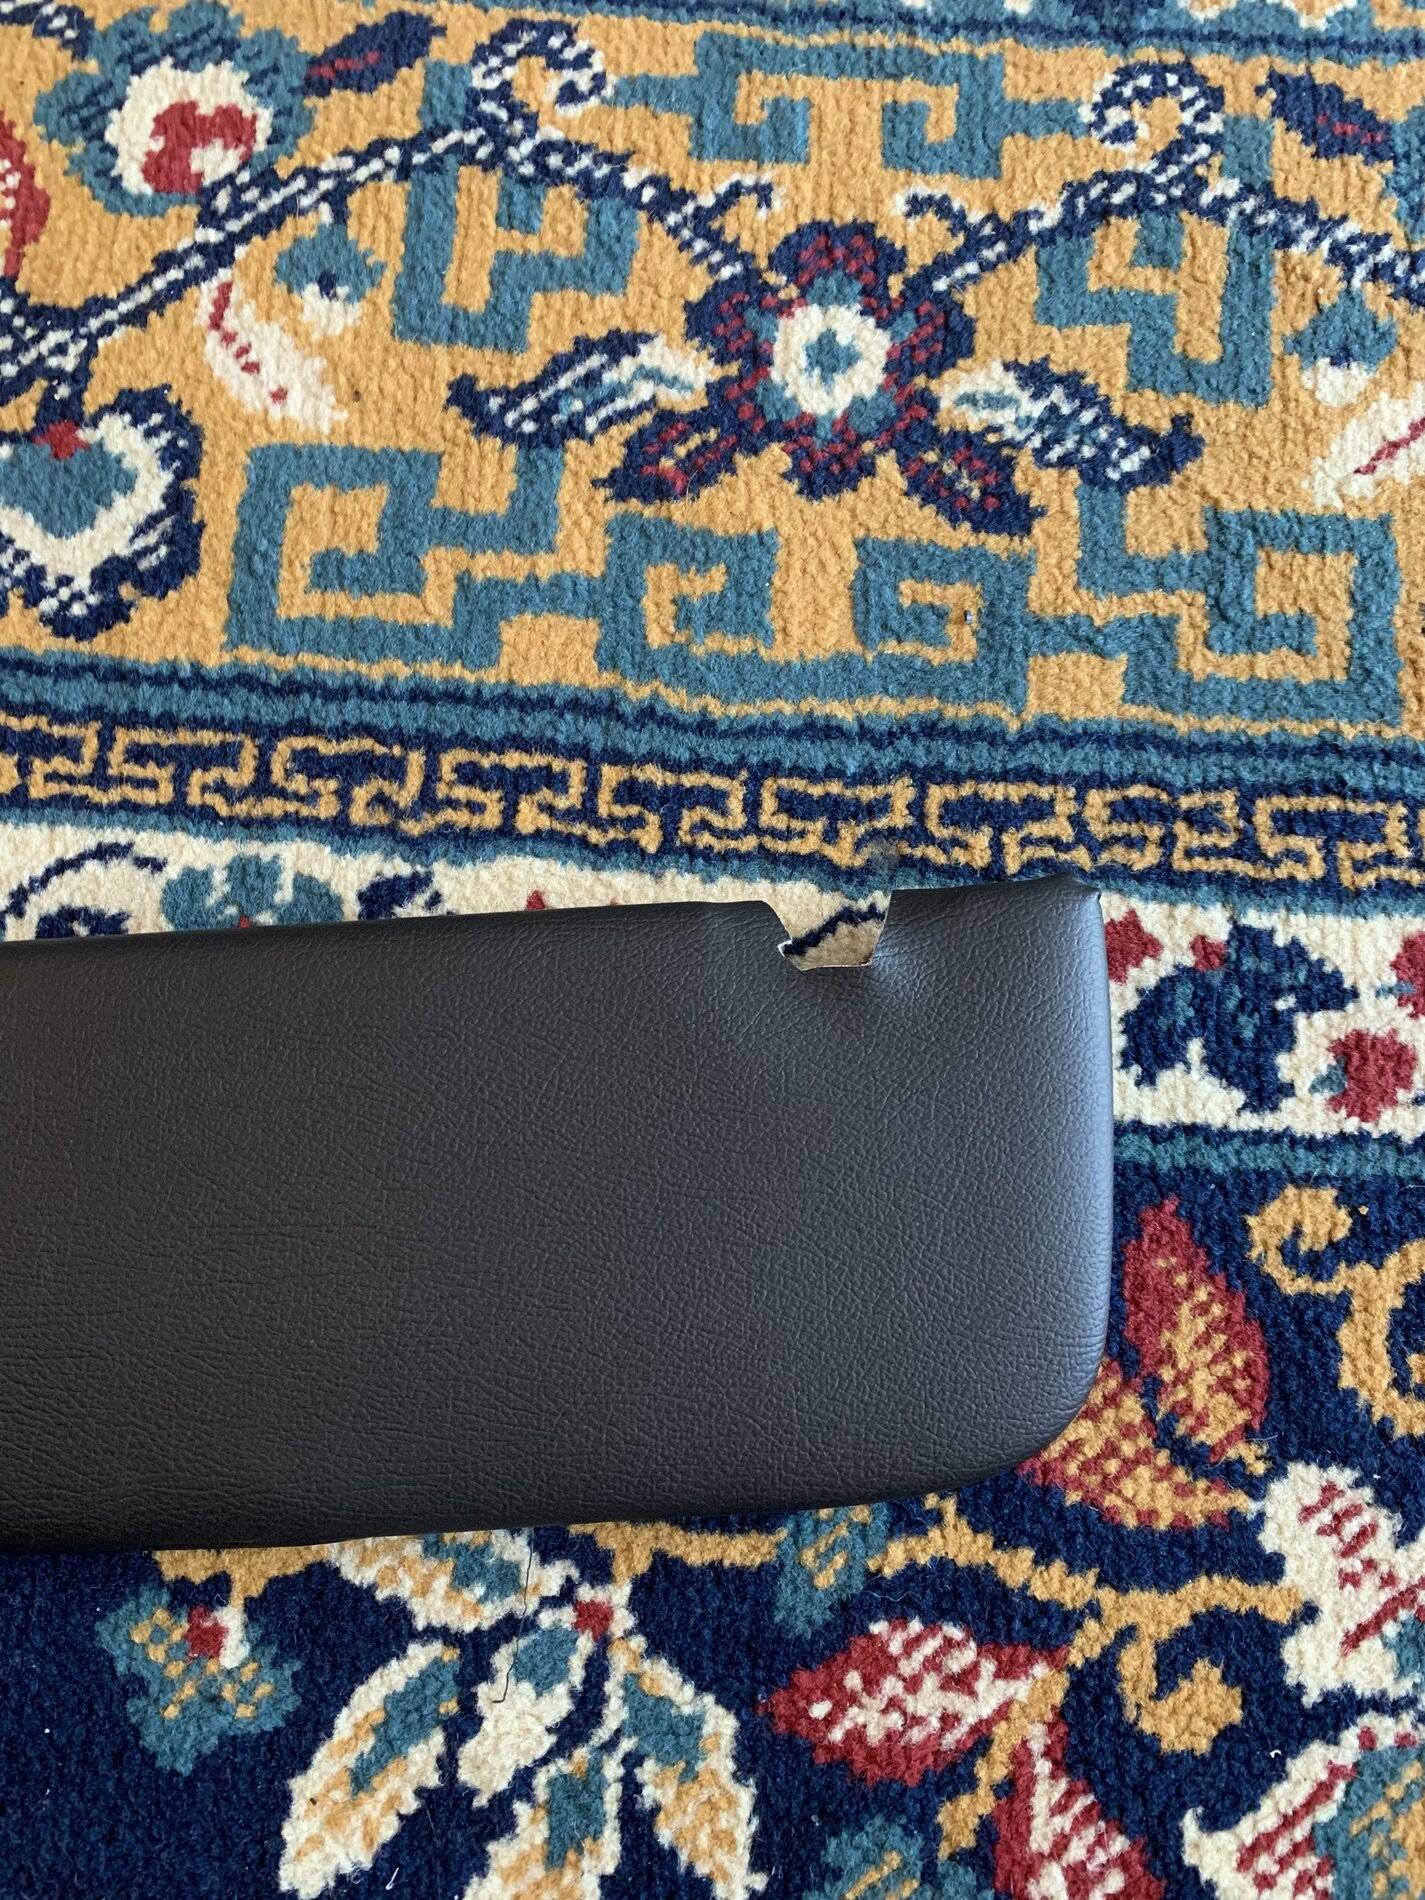
Next, use a dremel with a cutoff wheel to extend the cleat slot by the arm.
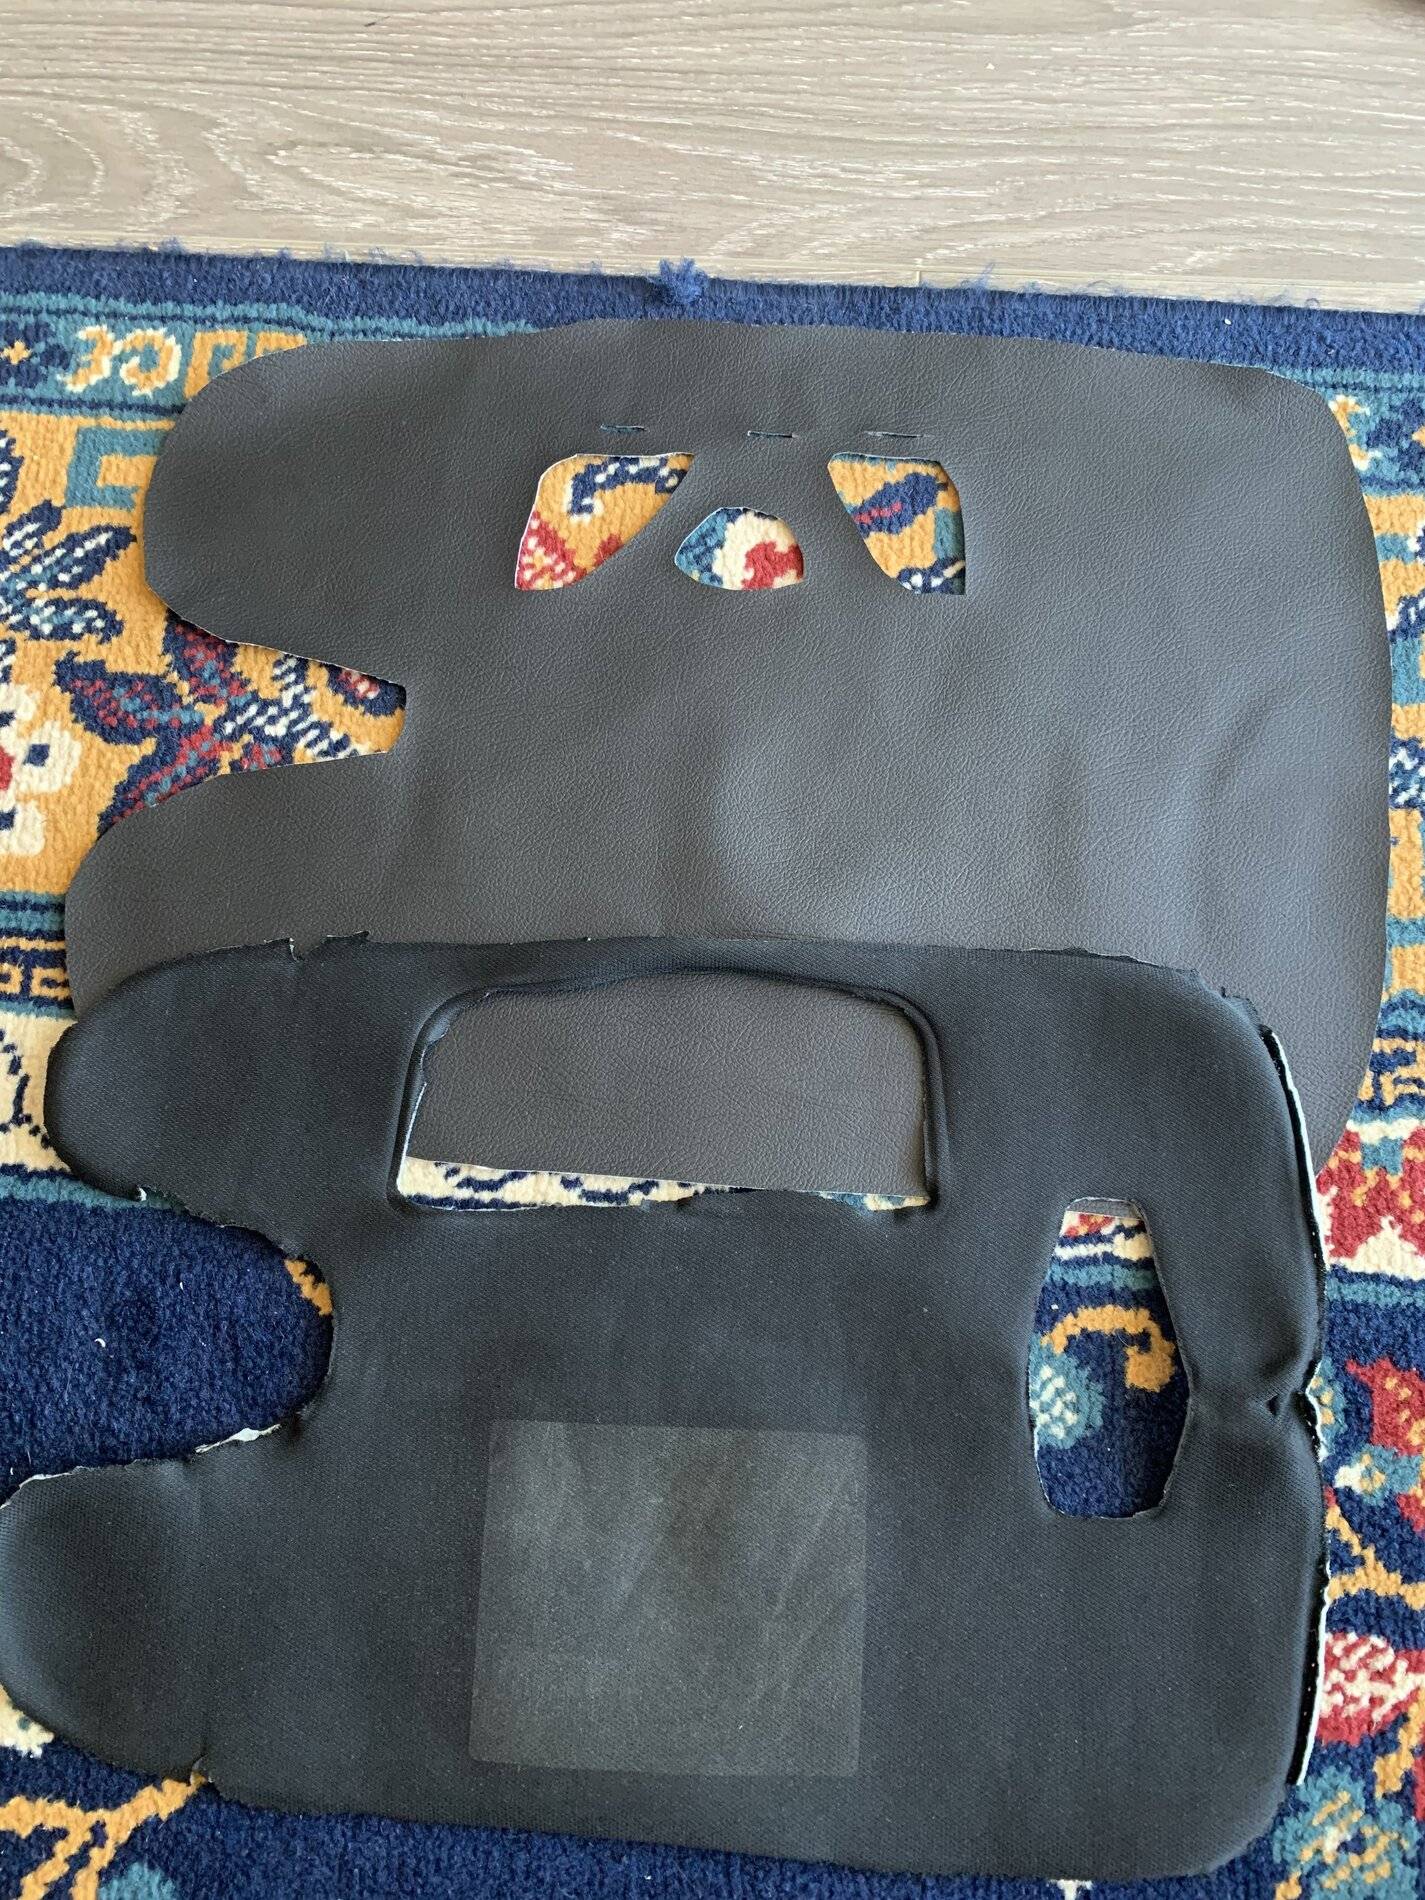
Trace the cloth onto your material, leave an extra 1/4” around the outside. Trim the extra bits of cloth from the mirror cutout, plus from under the clip and arm trim. DO NOT trace the clip cutout.
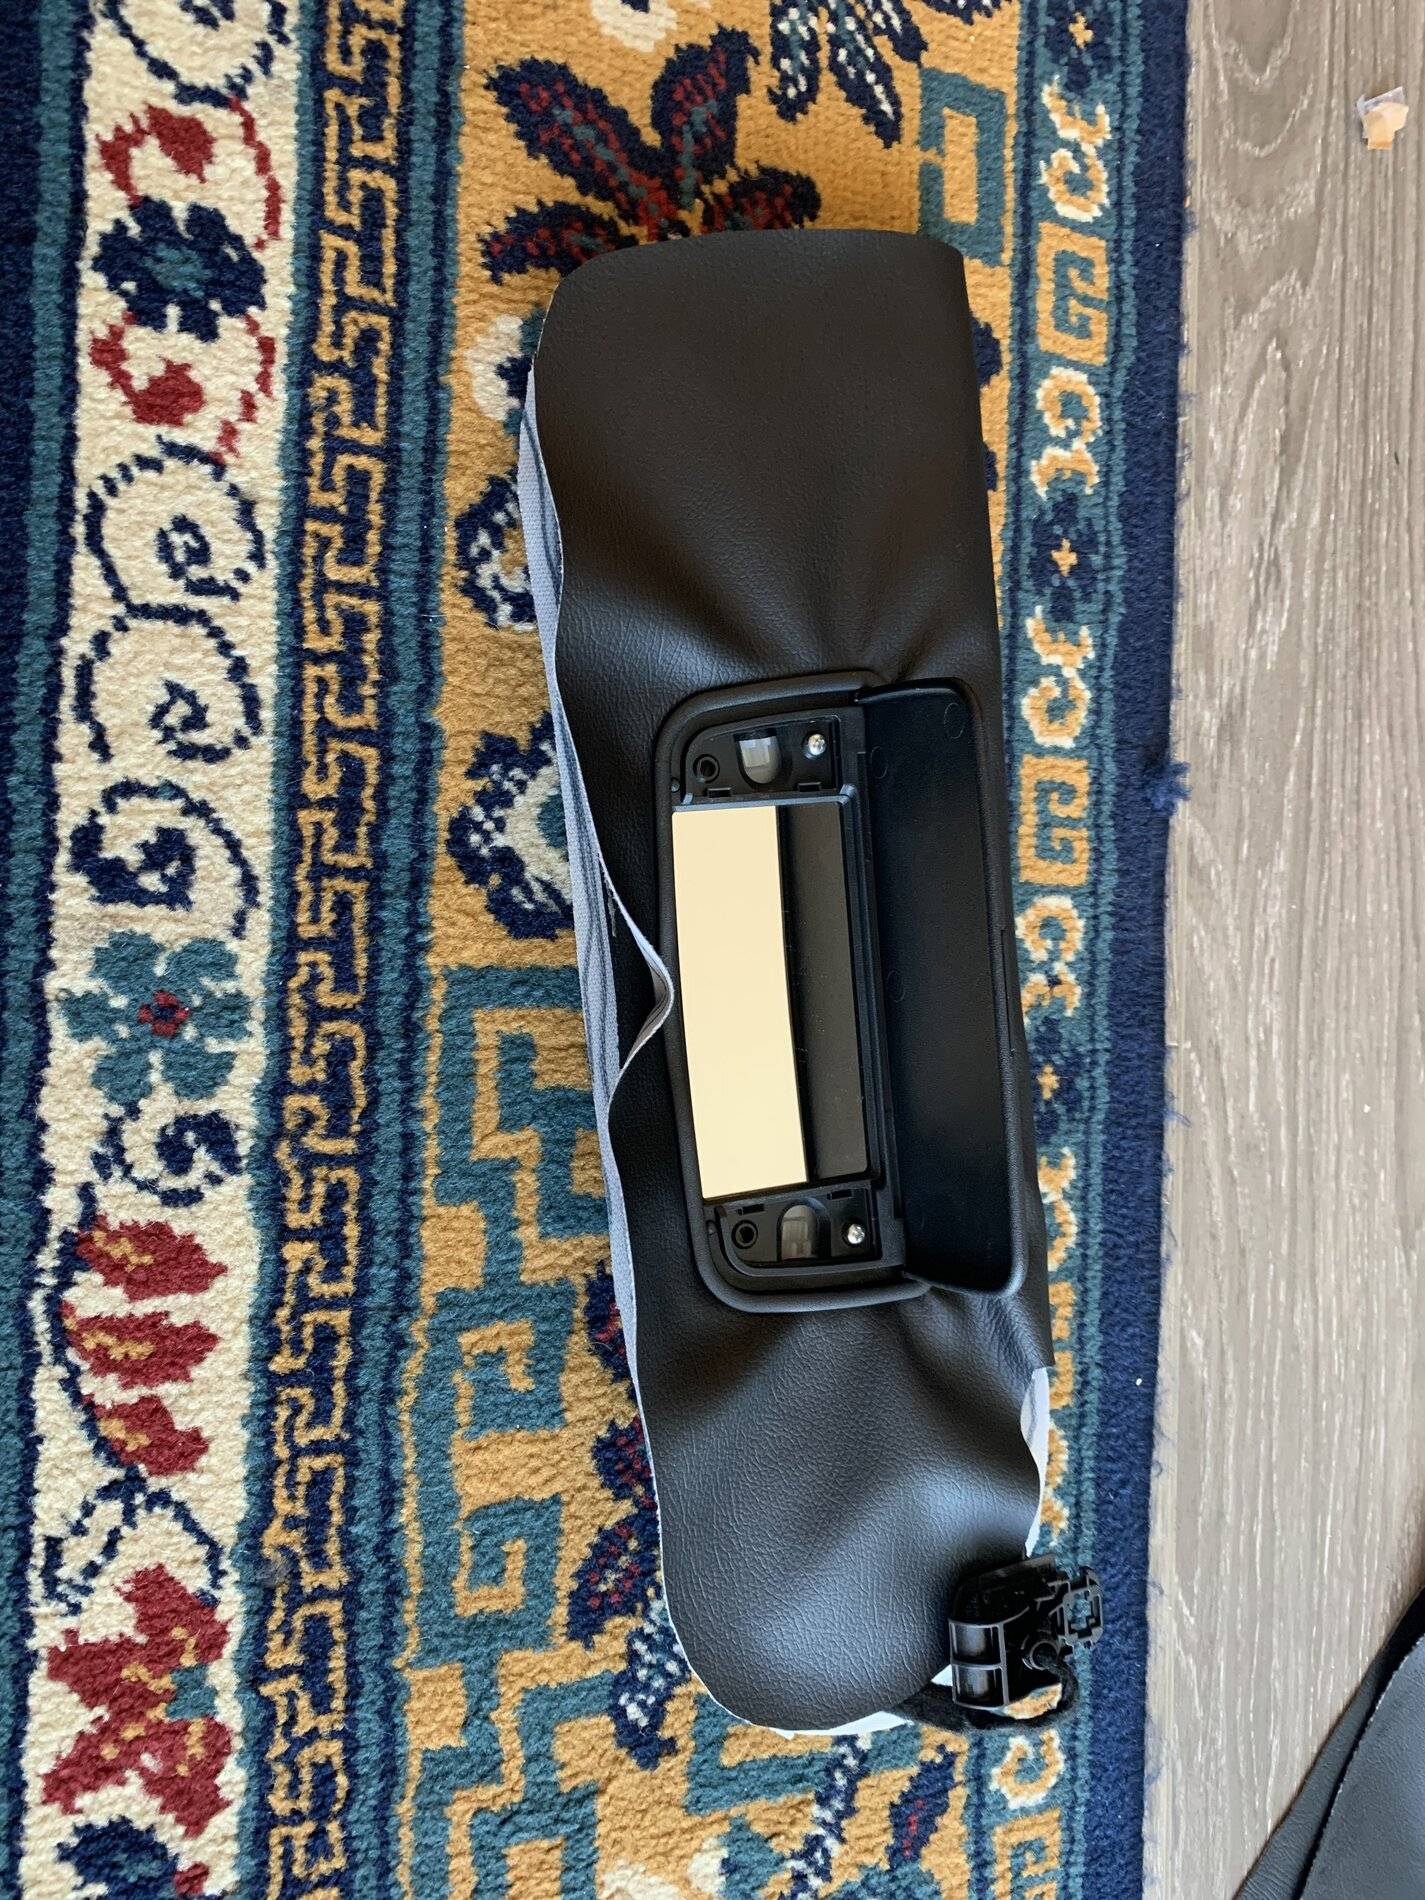
Reinstall the mirror assembly. Install the screws tight enough to hold the fabric but not too tight that it can’t move with force.
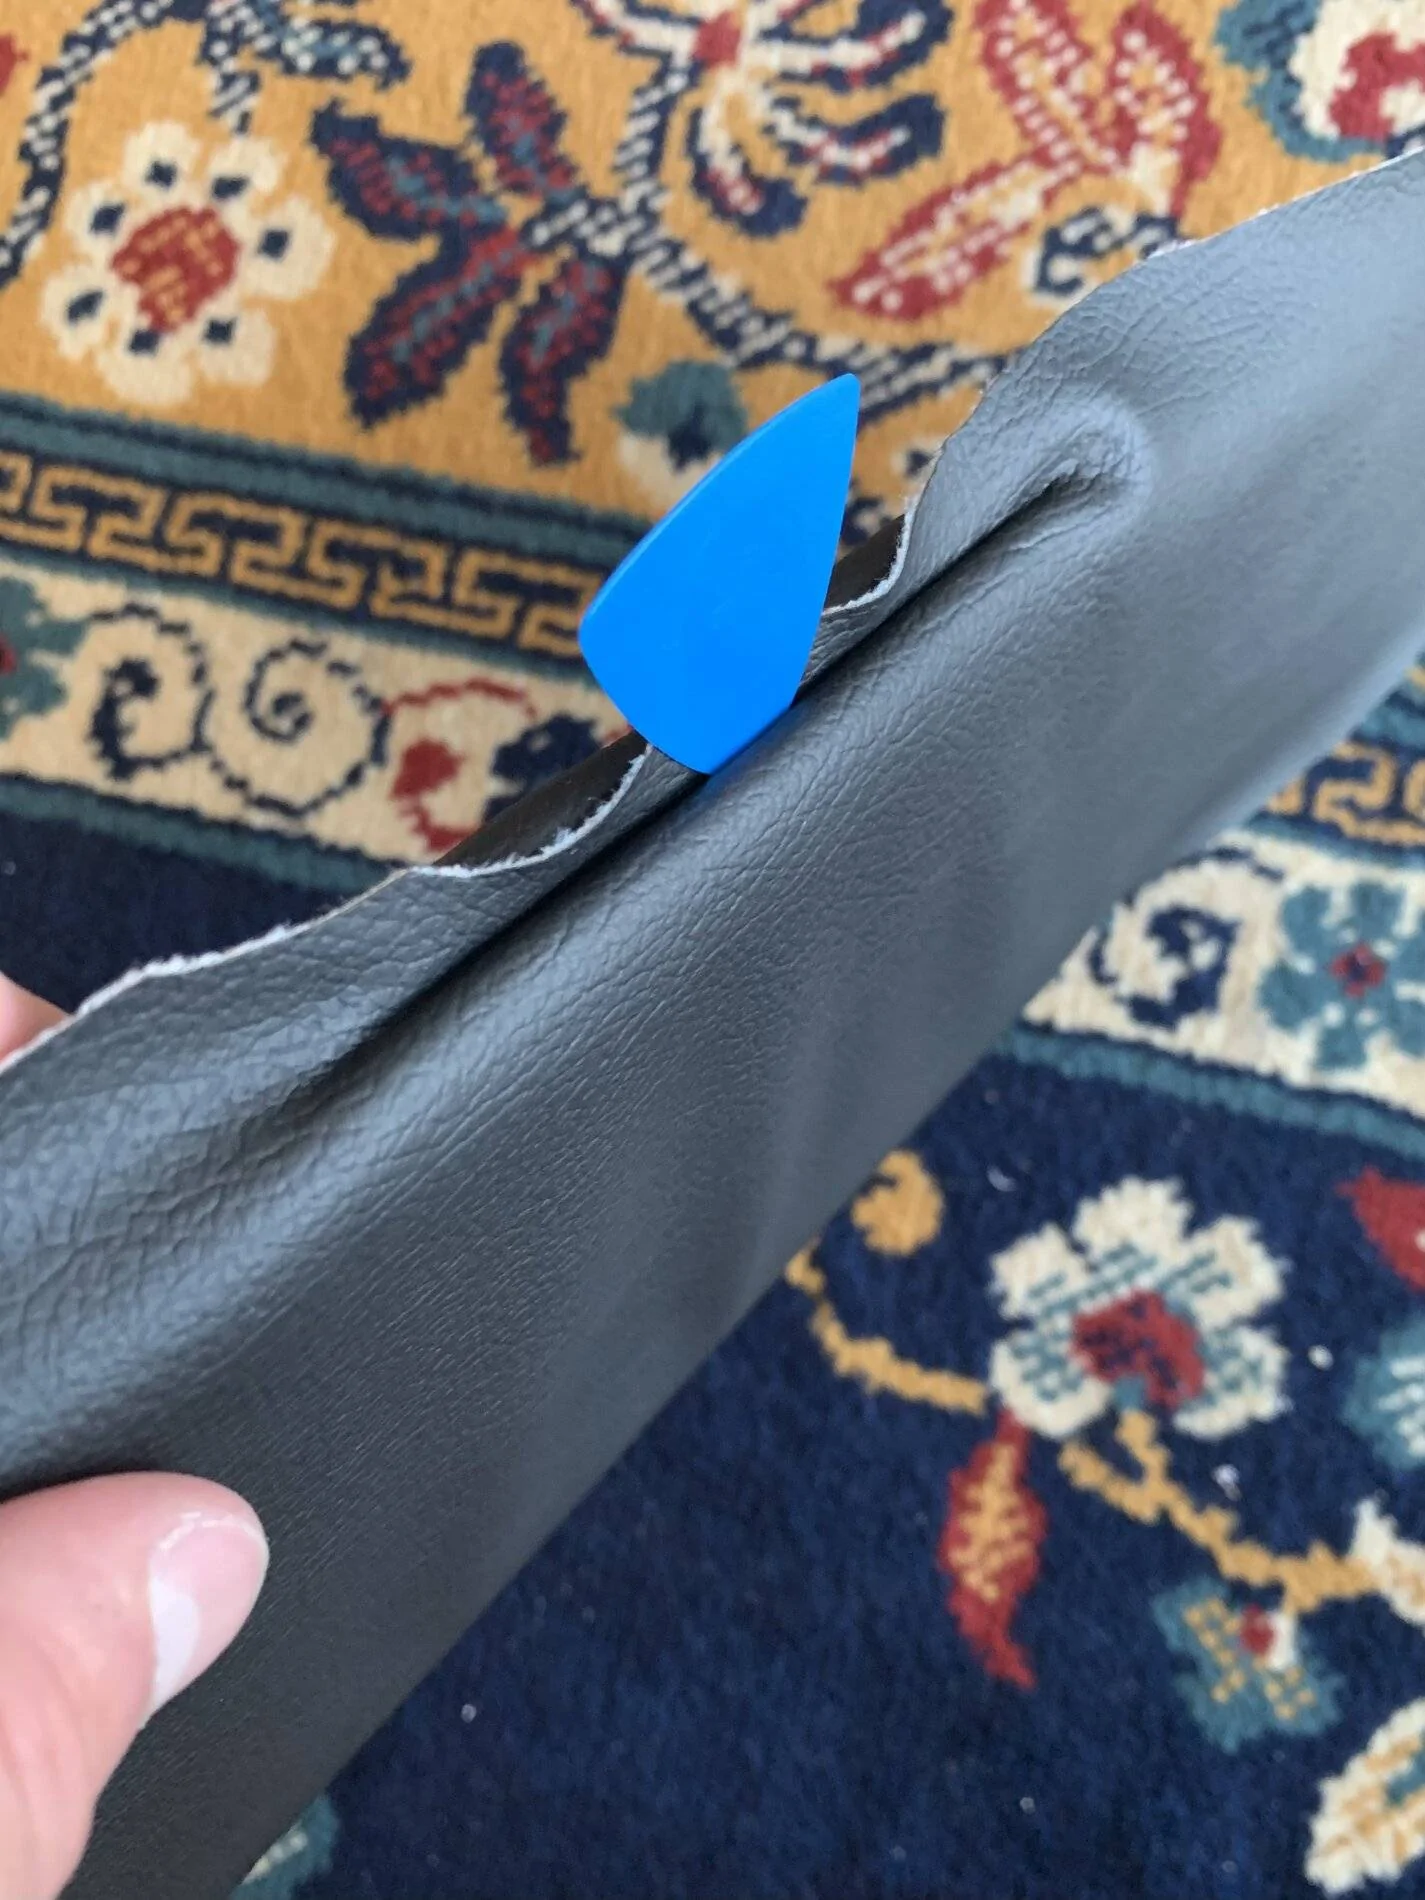
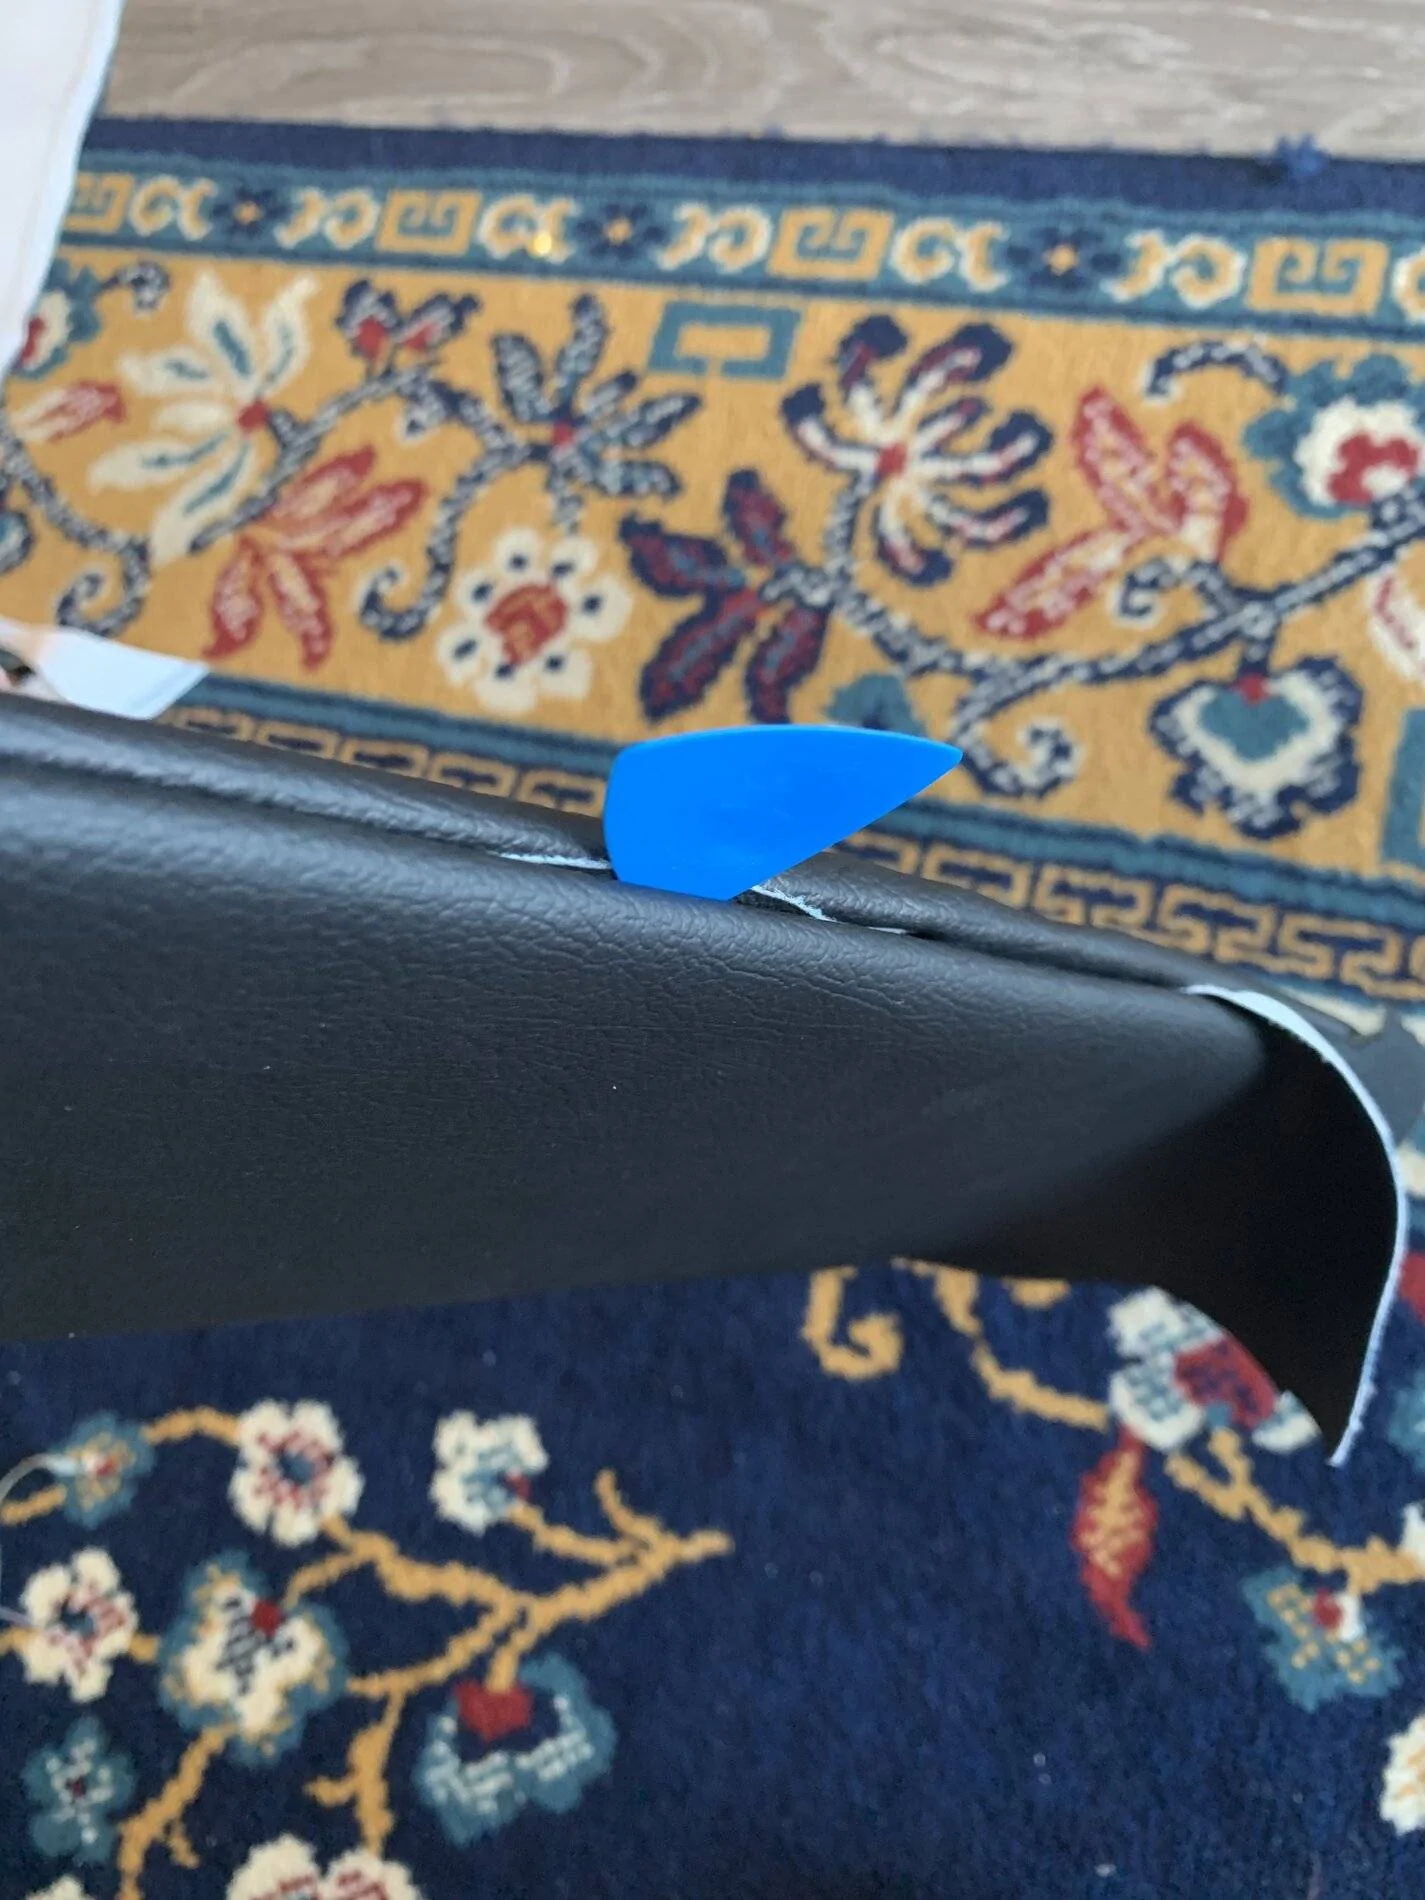
Use something like a guitar pic to work the fabric into the cleat, pulling tight as you go. When you get to the clip end, double it back to form a nice end. Use a small screwdriver to tuck the fabric into the gab between the visor and arm.
Trim a small amount of fabric for the clip hole. Install the clip.
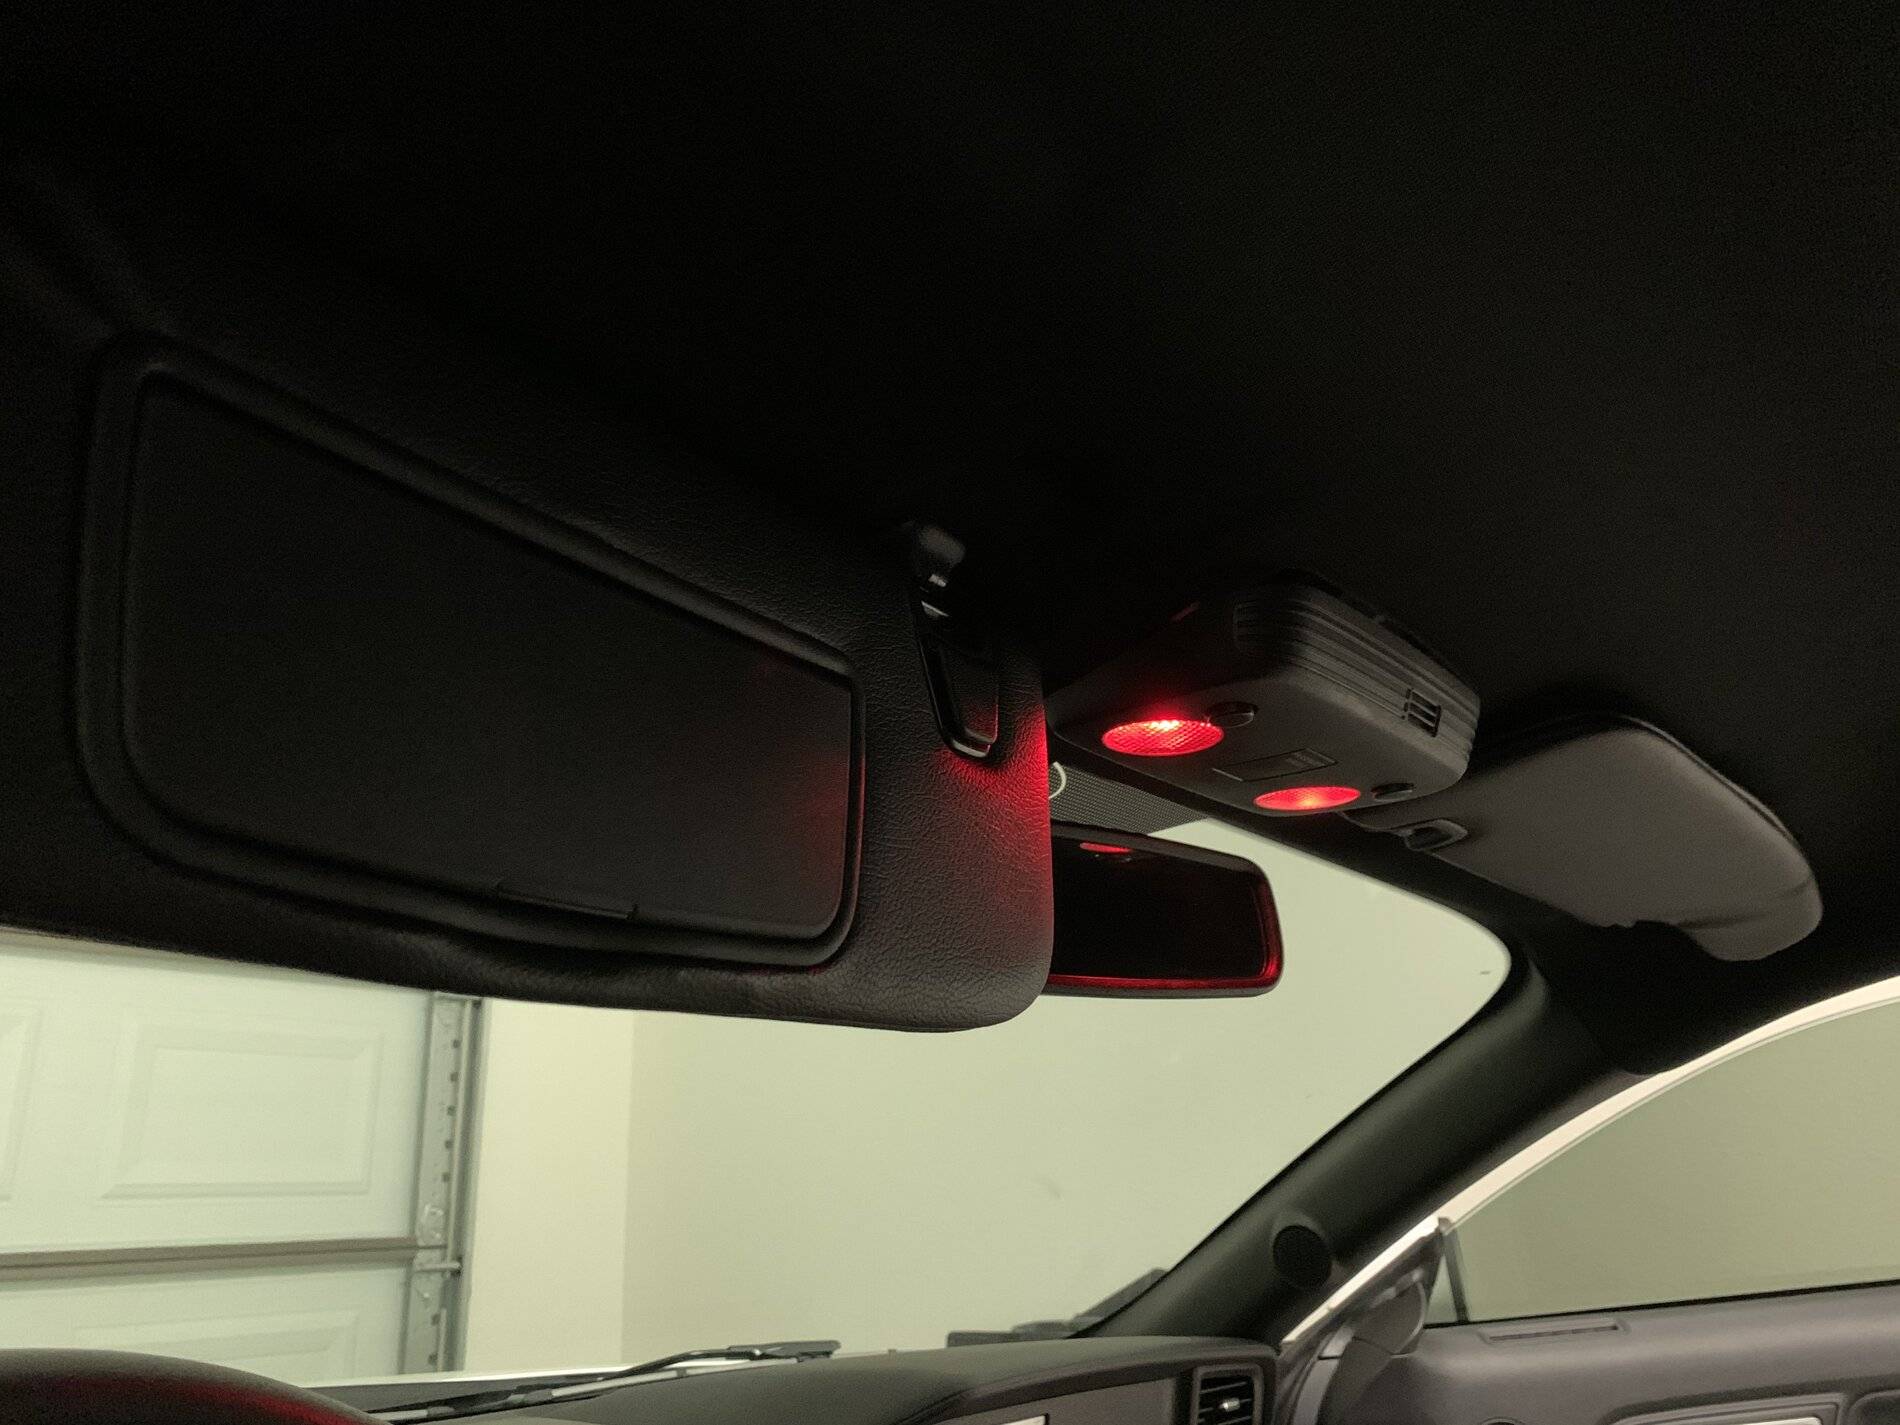
Finished product! The wrinkles could be worked out further (or use spray adhesive) but I kind of like the look. Let me know what you think!

The nice part is, no adhesive or sewing is required and this should work with just about any fabric you would like. (Probably -!) Mine is a yard of Katzkin black vinyl by the yard from autoseatskins.com. It is almost a perfect match in grain, feel, gloss and color.
First off - NOT RESPONSIBLE IF YOU MESS UP YOUR VERY EXPENSIVE VISORS!! GET A SECOND SET FROM EBAY IF YOU ARE NOT CONFIDENT
First step is to remove the visor from the car, it is pretty straightforward. A cap pops off to reveal a spring clip, squeeze this and swing the visor down, then remove the clip from the roof, and unplug the connector.
Next pop the lens covers off, see Diode Dynamics install videos for this. (great time to upgrade to LEDS, highly recommend DD!). Unscrew the two screws, close the lid and pop the mirror housing out from the top.

Next pull the cloth out from the blind cleat all the way around. Cut the stitching on the clip end, and pull the cover off the arm end. It takes a little effort to pull it out from under the clip but it won’t rip.

Now you will need to separate the case to remove the clip and arm trim. Remove the 3 screws on the back. Take a flat screw driver and insert into each hole from the top, twist the screwdriver while applying gentle pressure to pull the case apart. Starting in the middle (bottom where the mirror opens) helps. Both the clip and trim piece should fall out easily if you have the case open enough. Snap the case back together and replace the 3 screws.
Next, use a dremel with a cutoff wheel to extend the cleat slot by the arm.
Trace the cloth onto your material, leave an extra 1/4” around the outside. Trim the extra bits of cloth from the mirror cutout, plus from under the clip and arm trim. DO NOT trace the clip cutout.
Reinstall the mirror assembly. Install the screws tight enough to hold the fabric but not too tight that it can’t move with force.
Use something like a guitar pic to work the fabric into the cleat, pulling tight as you go. When you get to the clip end, double it back to form a nice end. Use a small screwdriver to tuck the fabric into the gab between the visor and arm.
Trim a small amount of fabric for the clip hole. Install the clip.
Finished product! The wrinkles could be worked out further (or use spray adhesive) but I kind of like the look. Let me know what you think!


Sponsored