SoCalTim
Member
- Thread starter
- #1
Hi Guys n Gals...Just a short write up on this Sundays activity; 2 Step Paint Correction 
Having purchased my car with one previous owner, ever since bringing the car home over a month ago I knew it needed minor paint correction. Sure, from 6 feet away the car looked flawless, but up close there were micro scratches galore that were screaming at me every time I detailed the car.
I had got some quotes from a handful of detailing shops for a full paint correction and sealant, which ranged from $600 up to a rather optimistic $1400. I did chew over the $600 quote, and having seen the finished product on a black 2009 Nissan GTR that they had just given the same treatment, I knew they operated with a high standard of workmanship. However ultimately I thought to myself I'd rather spend a few hundred on some hardware that can use in the future, and also get the satisfaction of achieving the results myself.
Having not purchased a random orbital polisher before, I did a fair bit of research and settled on a Griots 6". Luckily for me, Detailing.com is located very close to me, and I was able to bring my car to them to examine the paint and recommend a suitable pad and polish combination. Anyone in the Orange County area should definitely stop by their shop next time you need any detailing supplies; they are well stocked and carry all the top line products, as well as the more affordable mainstream brands.
I only had minor scratches caused by improper washing technique, and the occasional stubborn water spot that my previous acid bath treatment had been unable to remove.
I apoligize for a couple of blurry photos, I made short videos of my progress then made snapshots from those videos. The end result was crappy quality close ups. Lesson learnt :doh:
This is a close up of the worst area, which happened to be the roof (Looked a scratched mess close up...)
My areas that needed the most correction were the hood, roof, trunk lid and rear bumper. However, I needed to give every panel the full 2 step correction since none were 100% free of small micro scratches.
I used the following pad and polish combination:
-Buff and Shine Microfiber cutting pad - 6.5 inch. Used with Adams Paint Correcting Polish.
-Buff and Shine Microfiber finishing pad - 6.5 inch. Used with Adams Paint Finishing polish.
And in addition, I used Adams Buttery Wax after the paint correction. I chose them purely on recommendation, and this was my first time using Adams products. I have previously been a Meguiars user, and whilst I will still continue to purchase their products, I will certainly now keep some Adams products in my detailing arsenal.
After watching 20 or more instructional videos on how to correctly use the polisher, I set about the task at hand at 3pm on Sunday. I had planned on waiting until the sun had started to go down, since the heat makes applying soap on the car a nightmare, but since it was a cloudy day I got a head start on things.
First off, I gave the car a throughout clean down using my recently purchased pressure washer. For anyone looking for a decent, inexpensive unit, I would certainly recommend mine. It comes with a 1 year manufacturer warranty, and an additional 2 year Lowes warranty was only $11. The unit itself is $99, so for a little over $100 you can bag yourself 3 years of warrantied pressure washing. It has plenty of pressure, and the size is ideal for garage storage without taking up much space.
I won't bore you with photos of the pressure washing process. I used the standard 2 bucket method, with grit guards in both buckets. Nothing fancy with my choice of Car Shampoo, just some regular Meguiars wash.
I dried the car using an electric leaf blower to remove the majority of water, then went over the car with a super absorbent cloth. The leaf blower does a great job of removing water from around window seals, bumper areas etc. In the past I have driven the car around the block before waxing to ensure no hidden water starts dripping down my panels mid-polish!
Once the car was washed and clean, I then went over every panel with a clay bar and used Adams Detail Spray for lubrication. I had only just clayed it a few weeks ago, so there wasn't much gunk to be found on this occasion. However I did pick a little up, so it was worth it to ensure no unwanted grime messing up the polishing process.
I went for the Meguiars Clay Kit:
I started the paint correction with the microfiber cutting pad and correcting polish, working in small sections...(again, please excuse the fuzzy photo)
After each section, I used a strong flashlight to highlight any micro scratches that needed further work. The worst paintwork needed 3 passes with relatively strong hand pressure to achieve near-perfect correction finish.
Here is a good before and after shot. The upper area not yet worked on, whilst the lower area has been polished. The little dots on the polished area were just polish dust that I didn't notice until I uploaded the photos later on.
Once the cutting process was complete, I went over the car with detailing spray and a fresh microfiber towel to remove the large amount of polishing dust that had been created and leave a clean surface ready for the finishing polish process.
I simply removed the cutting pad from the Orbital, and stuck on the microfiber finishing pad. Nothing different from the cutting polish method, other than the polisher moved noticeably easier across the paint, so I took care to keep my passing speed to a nice slow even tempo. I used speed setting 5 for the polishing stages (Maximum is speed 6, but 4 or 5 is sufficient for effective polishing)
The panels were starting to look even and high gloss after the finishing polish stage:
Not rocket science by any means, just requires patience. After about 8 hours of detailing, I was beginning to lose enthusiasm but I knew that I'd be frustrated with myself if I only did a half-ass job on the last couple of hours work. I'm glad I stuck it out and finished it properly.
After the finishing polish, I again went over the car with detailing spray to remove any polishing dust. This was in preparation for applying Adams Buttery Wax. I've found the key to wax application is that a little goes a long way, so just put a small blob on your applicator pad, butterfly the pad so that the polish is evenly spread, then work it onto as large an area as possible before recharging the pad with more wax.
Once I'd given about 15 minutes for the wax to completely haze over, I buffed the car down with 2 different microfiber cloths. The first a slightly heavier pile to make removing the wax a breeze, then a very fine pile finishing cloth to give that perfect show-car finish.
My total for the whole process from the initial wash until applying the wax at the end was 10 hours.
Sorry the finish photos are a little dark; it was 3:30am when I was done, and my garage lights aren't studio quality
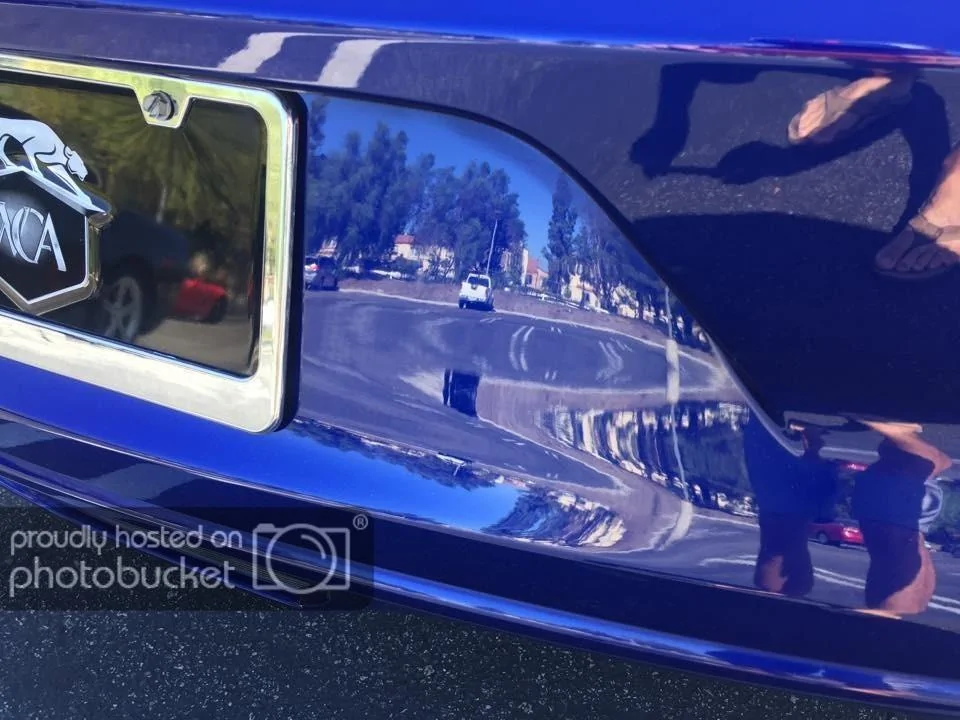
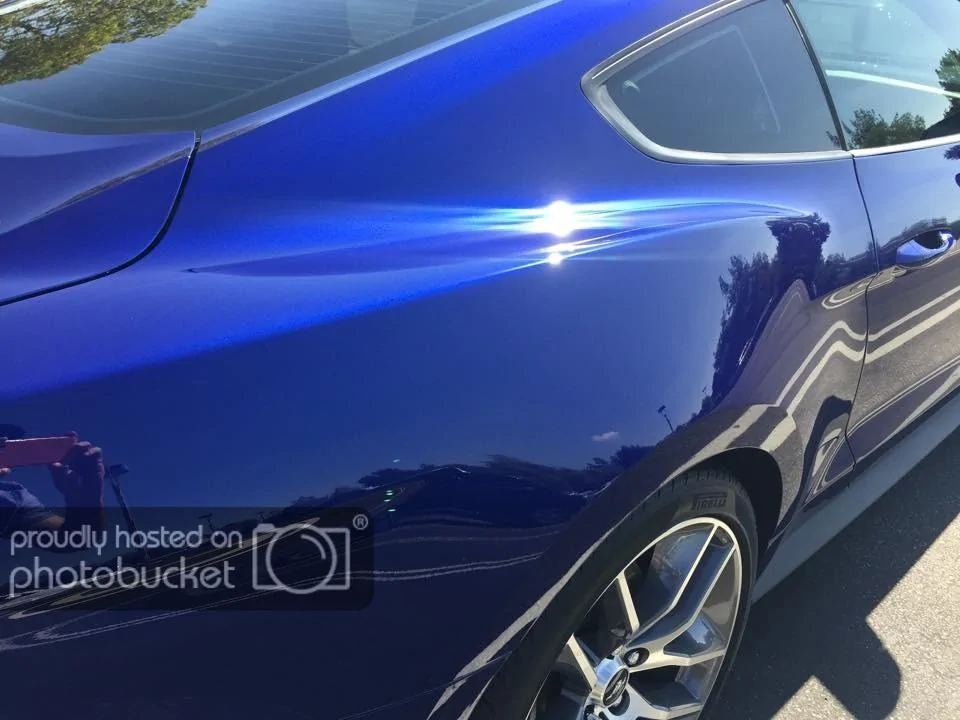
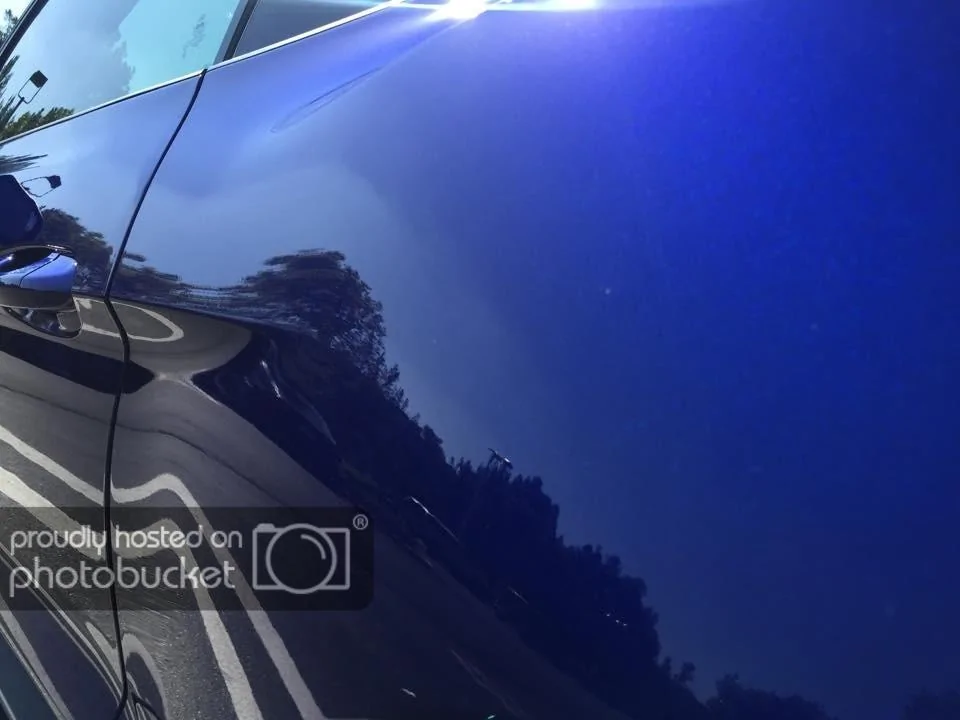
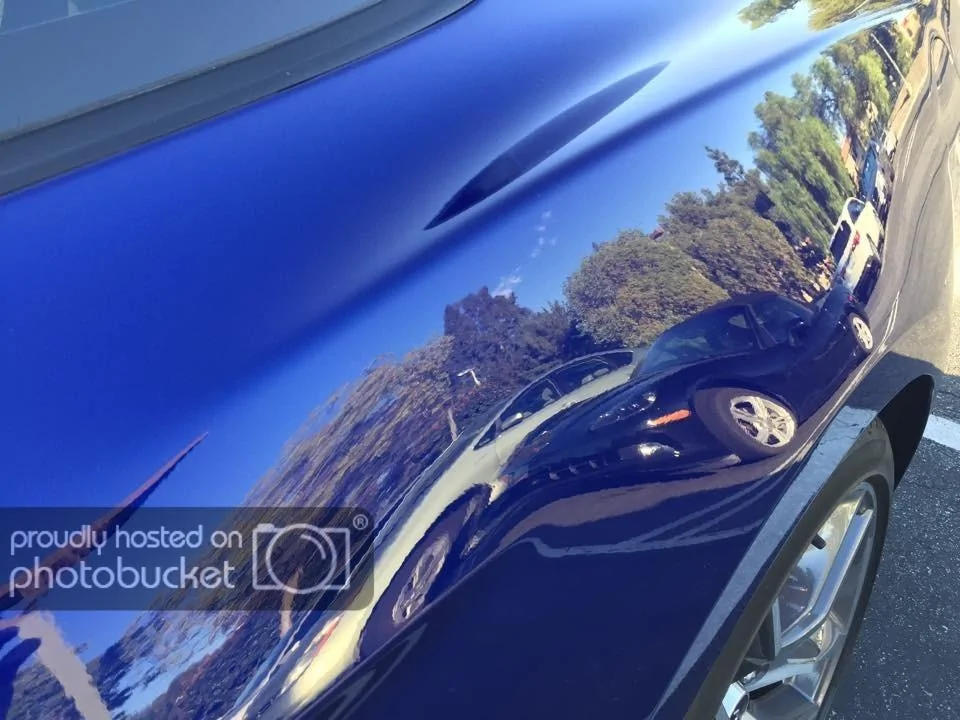
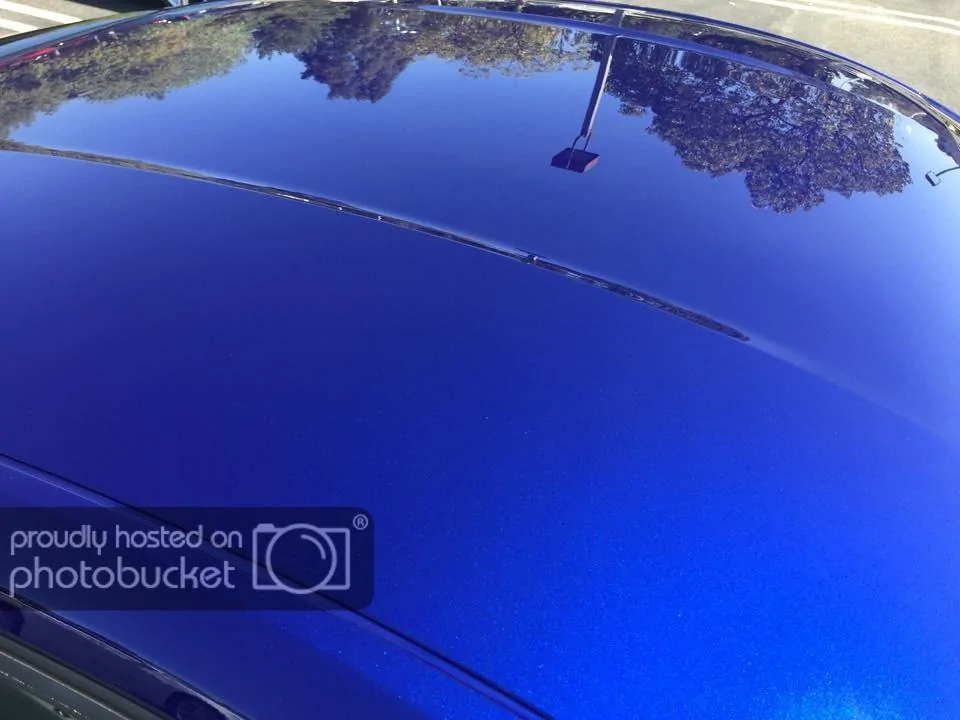
I will be sure to get some nice quality outdoor photos over the coming week to show off the paintwork better, but overall I am very pleased with my work.
I hope this helps anyone else considering tidying up their paintwork!

Having purchased my car with one previous owner, ever since bringing the car home over a month ago I knew it needed minor paint correction. Sure, from 6 feet away the car looked flawless, but up close there were micro scratches galore that were screaming at me every time I detailed the car.
I had got some quotes from a handful of detailing shops for a full paint correction and sealant, which ranged from $600 up to a rather optimistic $1400. I did chew over the $600 quote, and having seen the finished product on a black 2009 Nissan GTR that they had just given the same treatment, I knew they operated with a high standard of workmanship. However ultimately I thought to myself I'd rather spend a few hundred on some hardware that can use in the future, and also get the satisfaction of achieving the results myself.
Having not purchased a random orbital polisher before, I did a fair bit of research and settled on a Griots 6". Luckily for me, Detailing.com is located very close to me, and I was able to bring my car to them to examine the paint and recommend a suitable pad and polish combination. Anyone in the Orange County area should definitely stop by their shop next time you need any detailing supplies; they are well stocked and carry all the top line products, as well as the more affordable mainstream brands.
I only had minor scratches caused by improper washing technique, and the occasional stubborn water spot that my previous acid bath treatment had been unable to remove.
I apoligize for a couple of blurry photos, I made short videos of my progress then made snapshots from those videos. The end result was crappy quality close ups. Lesson learnt :doh:
This is a close up of the worst area, which happened to be the roof (Looked a scratched mess close up...)

My areas that needed the most correction were the hood, roof, trunk lid and rear bumper. However, I needed to give every panel the full 2 step correction since none were 100% free of small micro scratches.
I used the following pad and polish combination:
-Buff and Shine Microfiber cutting pad - 6.5 inch. Used with Adams Paint Correcting Polish.
-Buff and Shine Microfiber finishing pad - 6.5 inch. Used with Adams Paint Finishing polish.
And in addition, I used Adams Buttery Wax after the paint correction. I chose them purely on recommendation, and this was my first time using Adams products. I have previously been a Meguiars user, and whilst I will still continue to purchase their products, I will certainly now keep some Adams products in my detailing arsenal.

After watching 20 or more instructional videos on how to correctly use the polisher, I set about the task at hand at 3pm on Sunday. I had planned on waiting until the sun had started to go down, since the heat makes applying soap on the car a nightmare, but since it was a cloudy day I got a head start on things.
First off, I gave the car a throughout clean down using my recently purchased pressure washer. For anyone looking for a decent, inexpensive unit, I would certainly recommend mine. It comes with a 1 year manufacturer warranty, and an additional 2 year Lowes warranty was only $11. The unit itself is $99, so for a little over $100 you can bag yourself 3 years of warrantied pressure washing. It has plenty of pressure, and the size is ideal for garage storage without taking up much space.

I won't bore you with photos of the pressure washing process. I used the standard 2 bucket method, with grit guards in both buckets. Nothing fancy with my choice of Car Shampoo, just some regular Meguiars wash.
I dried the car using an electric leaf blower to remove the majority of water, then went over the car with a super absorbent cloth. The leaf blower does a great job of removing water from around window seals, bumper areas etc. In the past I have driven the car around the block before waxing to ensure no hidden water starts dripping down my panels mid-polish!
Once the car was washed and clean, I then went over every panel with a clay bar and used Adams Detail Spray for lubrication. I had only just clayed it a few weeks ago, so there wasn't much gunk to be found on this occasion. However I did pick a little up, so it was worth it to ensure no unwanted grime messing up the polishing process.
I went for the Meguiars Clay Kit:

I started the paint correction with the microfiber cutting pad and correcting polish, working in small sections...(again, please excuse the fuzzy photo)

After each section, I used a strong flashlight to highlight any micro scratches that needed further work. The worst paintwork needed 3 passes with relatively strong hand pressure to achieve near-perfect correction finish.
Here is a good before and after shot. The upper area not yet worked on, whilst the lower area has been polished. The little dots on the polished area were just polish dust that I didn't notice until I uploaded the photos later on.

Once the cutting process was complete, I went over the car with detailing spray and a fresh microfiber towel to remove the large amount of polishing dust that had been created and leave a clean surface ready for the finishing polish process.
I simply removed the cutting pad from the Orbital, and stuck on the microfiber finishing pad. Nothing different from the cutting polish method, other than the polisher moved noticeably easier across the paint, so I took care to keep my passing speed to a nice slow even tempo. I used speed setting 5 for the polishing stages (Maximum is speed 6, but 4 or 5 is sufficient for effective polishing)
The panels were starting to look even and high gloss after the finishing polish stage:

Not rocket science by any means, just requires patience. After about 8 hours of detailing, I was beginning to lose enthusiasm but I knew that I'd be frustrated with myself if I only did a half-ass job on the last couple of hours work. I'm glad I stuck it out and finished it properly.
After the finishing polish, I again went over the car with detailing spray to remove any polishing dust. This was in preparation for applying Adams Buttery Wax. I've found the key to wax application is that a little goes a long way, so just put a small blob on your applicator pad, butterfly the pad so that the polish is evenly spread, then work it onto as large an area as possible before recharging the pad with more wax.
Once I'd given about 15 minutes for the wax to completely haze over, I buffed the car down with 2 different microfiber cloths. The first a slightly heavier pile to make removing the wax a breeze, then a very fine pile finishing cloth to give that perfect show-car finish.


My total for the whole process from the initial wash until applying the wax at the end was 10 hours.
Sorry the finish photos are a little dark; it was 3:30am when I was done, and my garage lights aren't studio quality
I will be sure to get some nice quality outdoor photos over the coming week to show off the paintwork better, but overall I am very pleased with my work.
I hope this helps anyone else considering tidying up their paintwork!
Sponsored