
Sponsored
Search results
-
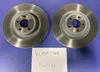
Colorado OEM 2015-2019 Mustang GT Performance Pack front rotors
Are these available? Shipping to 11756?- 3onthetree
- Post #3
- Forum: Suspension/Chassis/Brakes
-

Roush Axle Back
Steeda H+ Steeda Agressive Axleback= drone described above- 3onthetree
- Post #31
- Forum: V8 5.0L Engine / Mods: Bolt-ons, Exhaust, Tuning
-
What Do You Do
You can get by without jacking rails but it does make it so much easier. The pictured set up is a low profile extended reach jack and cross beam attachment , both from Harbor Freight. Once in the air, position the jackstands where you like- 3onthetree
- Post #30
- Forum: Mustang S550 General Forums
-
Manual shifter brackets
Been 7 months and Just got around to adjusting the Blowfish Bracket. A small angle adjustment to keep it from touching the bottom of the shifter and vibration gone.- 3onthetree
- Post #5
- Forum: Transmission & Drivetrain
-
Like A Different Car
+1 for the Blowfish bracket. Have mine for 2 years now and is one of the best mods. AM Muscle had one in the open box area about two weeks ago.... If that’s the one you got, it was a crazy good deal.- 3onthetree
- Post #6
- Forum: V8 5.0L Engine / Mods: Bolt-ons, Exhaust, Tuning
-
Roush Axle Back
I installed a Steeda H pipe and Steeda Agressive Axle backs (similar to your Roush) What a mistake that was. Too loud and drone at some rpms was unbearable. So I removed the H pipe and replace with the factory resonator, but left the axle backs. Sooo much better. Sounds great and almost all the...- 3onthetree
- Post #4
- Forum: V8 5.0L Engine / Mods: Bolt-ons, Exhaust, Tuning
-
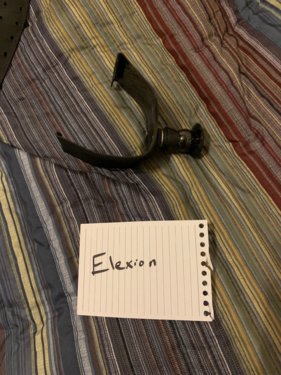
Texas A pillar tuner/phone mount
Would like to purchase the A pillar tuner/phone mount if still available. Thanks- 3onthetree
- Post #5
- Forum: Interior Parts & Accessories
-
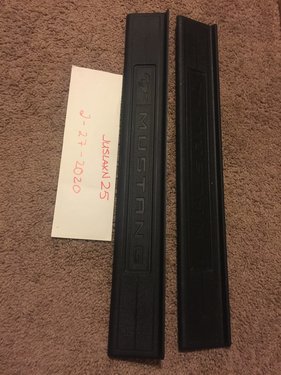
Alabama FS: Blue AM shift knob, OEM cloth seat covers, base GT door sills
Hello, I would like to purchase all if still available. Sending you a pm. Thanks- 3onthetree
- Post #2
- Forum: Interior Parts & Accessories
-
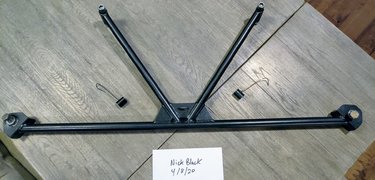
GT Steeda Extreme G-Trac K-Member Brace $120 Free Shipping
I’ll take it! Sending you a pm.- 3onthetree
- Post #7
- Forum: Suspension/Chassis/Brakes
-
Can you use a jack anywhere on the rear or back of the car in an emergency?
Had the car up this weekend. Drove onto 1" plywood, then used Harbor Freight low profile jack with crossbeam accessory. You can then position the jack stands easily.- 3onthetree
- Post #4
- Forum: Mustang S550 General Forums
-
Emergency Spare Wheel/Tire Assy For PP1 with Brembo Brakes
...and can be found here: https://www.brandsport.com/excl-98-0002-09.html- 3onthetree
- Post #14
- Forum: Wheels & Tires
-
Emergency Spare Wheel/Tire Assy For PP1 with Brembo Brakes
.87” dia. Mag lugs I tried earlier did not fit. With the help of member George-66, I found .725” mag lugs that fit perfectly, and can be found here...- 3onthetree
- Post #13
- Forum: Wheels & Tires
-
Emergency Spare Wheel/Tire Assy For PP1 with Brembo Brakes
OP, good idea about conical lugs. Wonder if the stud holes can be chamfered to match.- 3onthetree
- Post #10
- Forum: Wheels & Tires
-
Emergency Spare Wheel/Tire Assy For PP1 with Brembo Brakes
The 14 mm lug nut fits the wheel. The base of the lug nut is the concern...I see these have a bulge base and unfortunately will not work. Neither will conical base. The Equus wheel uses 12mm mag base lug nut. When installed, the base fills the recess between the wheel Stud and the wheel. Our...- 3onthetree
- Post #4
- Forum: Wheels & Tires
-
Emergency Spare Wheel/Tire Assy For PP1 with Brembo Brakes
I have 19” Equus spare and had the bore enlarged to fit, but I’m having trouble finding lug nuts. This wheel takes a 12x1.5 mag style lug nut when used on the Equus, correct? Our Mustang is 14x1.5. and tried this size in mag style but they don’t fit. What did you use?- 3onthetree
- Post #2
- Forum: Wheels & Tires
-
Manual shifter brackets
I installed the Blowfish 10k miles ago. It didn't help my 2nd to 3rd nibble, but the shifts feel more direct. The shifter gives a slight vibration, like a top loader, whereas no feedback at all in stock form. I also have the audible vibration from the lock out collar. The instructions describe...- 3onthetree
- Post #3
- Forum: Transmission & Drivetrain
-
Rust along inside door seam
I only took this pic. Repaired it this weekend. The rust was a few inches further left and right and found some crept under the seam seal. Used a Drexel and wire brush attachment. Think I got it all. I’ll post a completed pic later.- 3onthetree
- Post #4
- Forum: Issues, Repairs, Warranty, TSB, Recalls
-
Rust along inside door seam
Hello everyone. Found rust along the bottom of the driver side door, where the inner skin meets the outer skin along the seam seal. I see more bubbling paint so it looks like it extends further along the seal. I've never seen anything like this on a 3y.o. car with 15k miles. Anyone else have...- 3onthetree
- Thread
- Replies: 4
- Forum: Issues, Repairs, Warranty, TSB, Recalls
-
Rust along inside door seam
Hello everyone. Found rust along the bottom of the driver side door, where the inner skin meets the outer skin along the seam seal. I see more bubbling paint so it looks like it extends further along the seal. I've never seen anything like this on a 3y.o. car with 15k miles. Anyone else have...- 3onthetree
- Thread
- Replies: 0
- Forum: Issues, Repairs, Warranty, TSB, Recalls
-
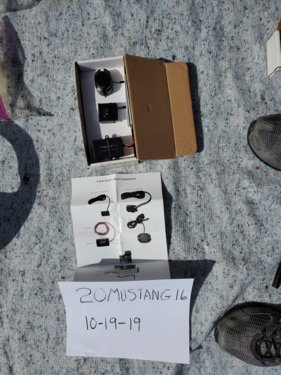
California curb sensor is (SOLD)
I’m in Levittown NY, 11756- 3onthetree
- Post #4
- Forum: Exterior Parts & Accessories