Jubilex
Active Member
- Joined
- Dec 16, 2015
- Threads
- 3
- Messages
- 42
- Reaction score
- 23
- Location
- Norman, OK
- Vehicle(s)
- 2016 Mustang GT350
- Thread starter
- #1
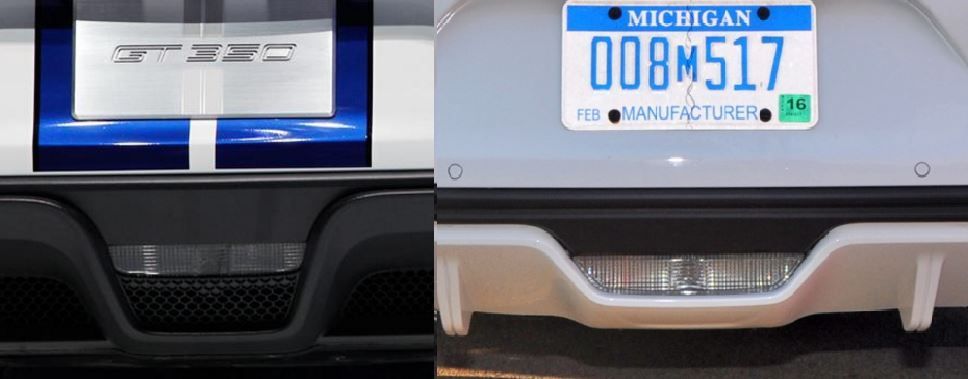
Got a kit from American Muscle and am very pleased with the results. Thought I would share the results. ")


Sponsored
 BTW, what % window tint did you go with?