RobMJ
Well-Known Member
- Joined
- Feb 11, 2015
- Threads
- 19
- Messages
- 463
- Reaction score
- 167
- Location
- Wiltshire UK
- Vehicle(s)
- 5.0 V8 Fastback Manual
- Thread starter
- #1
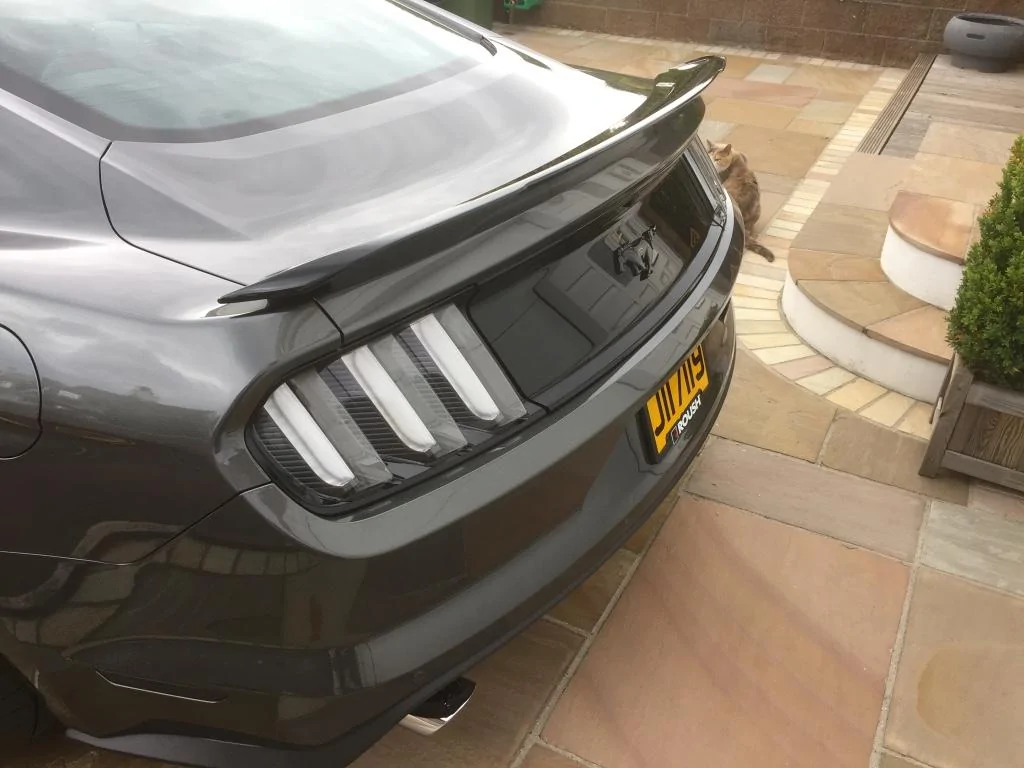
As above does anyone have any tips/advice on fitting GT350 Track Pack Spoiler please? Mine turned up this morning and would like to get it on asap. I do remember [MENTION=14447]Centurion07[/MENTION] mentioning something? Thanks 
Sponsored


 can't wait to get mine on.