TDC
Well-Known Member
- Joined
- Jan 27, 2015
- Threads
- 45
- Messages
- 2,247
- Reaction score
- 1,362
- Location
- Long Island
- Vehicle(s)
- 2016 GT350, 2019 Challenger Scat Pack Widebody, 2019 Corvette Grand Sport
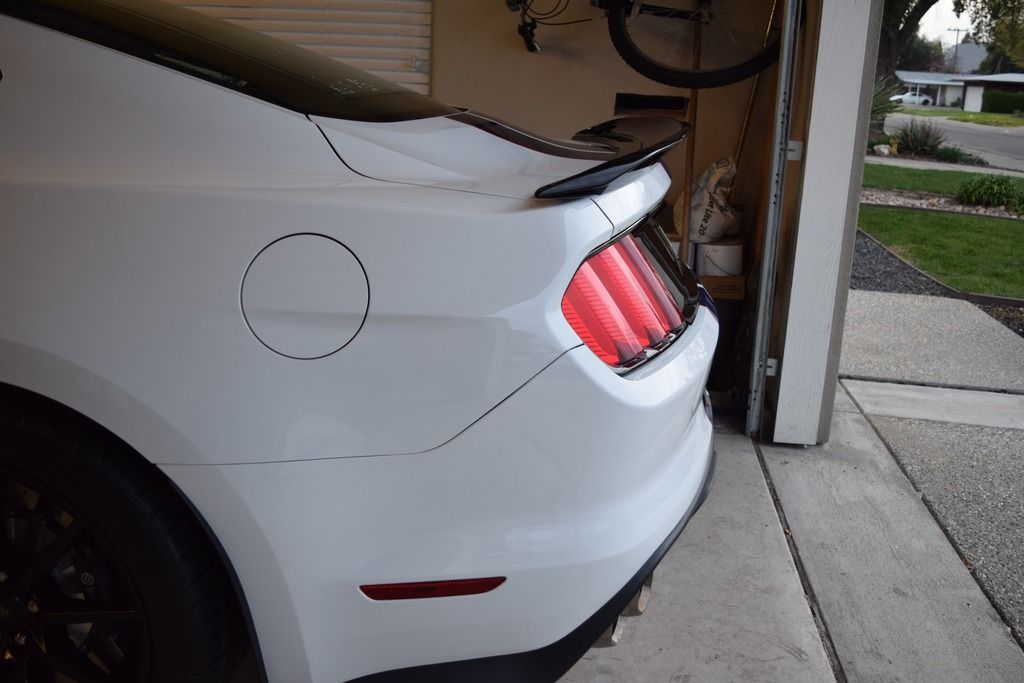
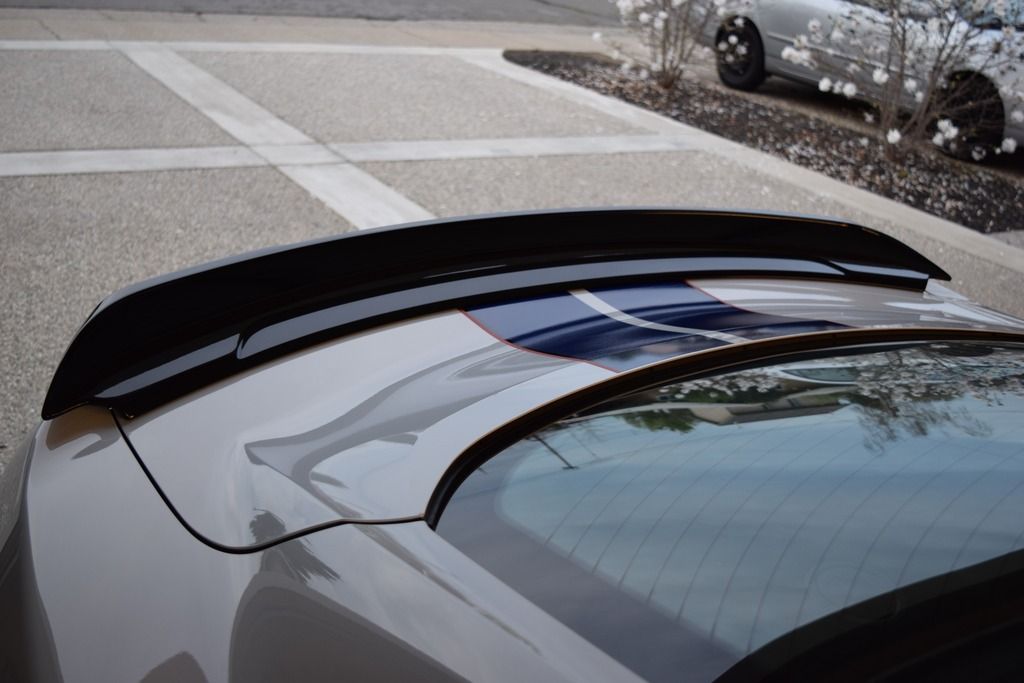
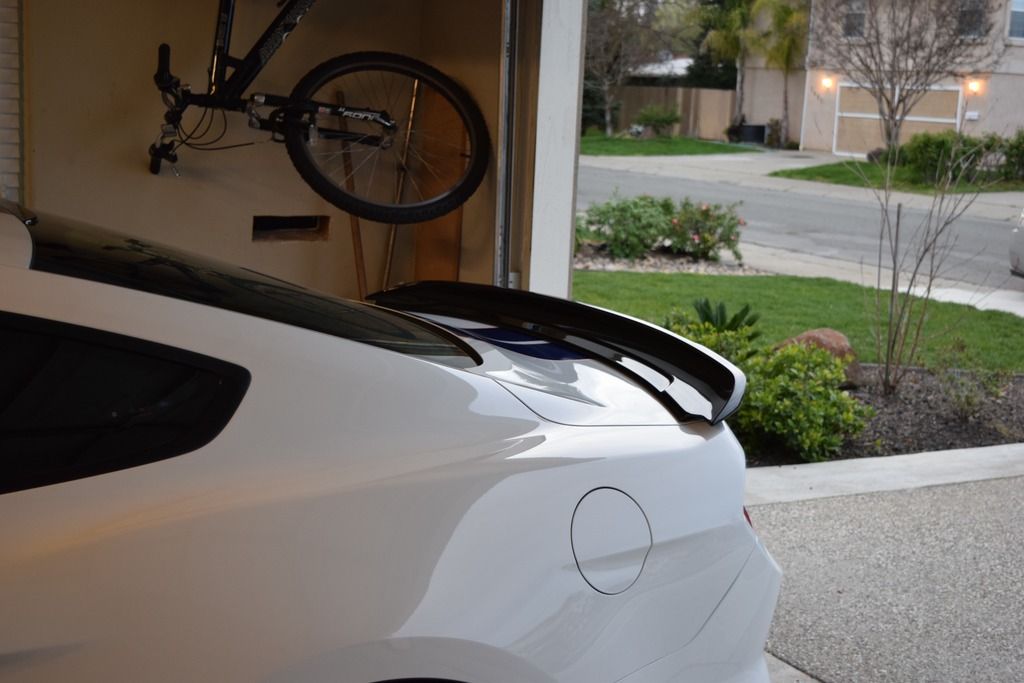
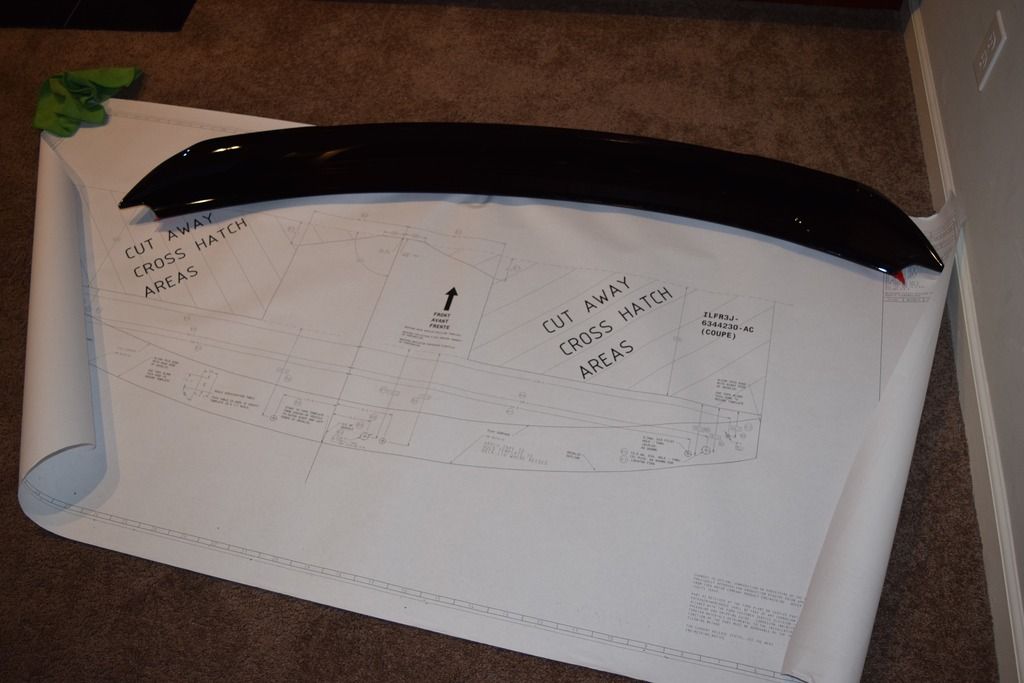
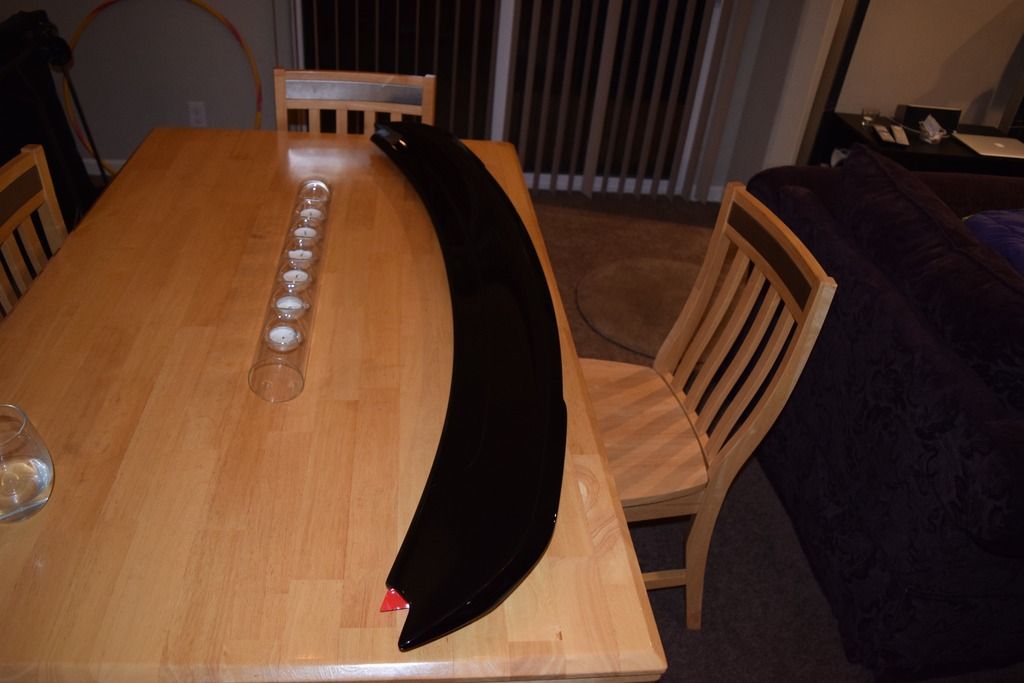
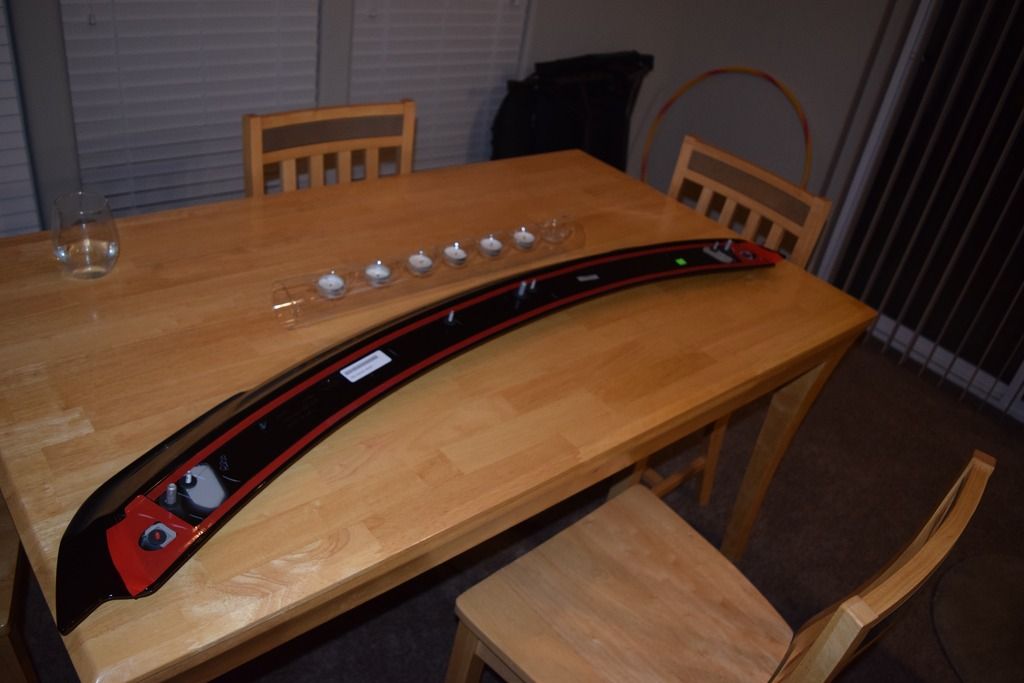
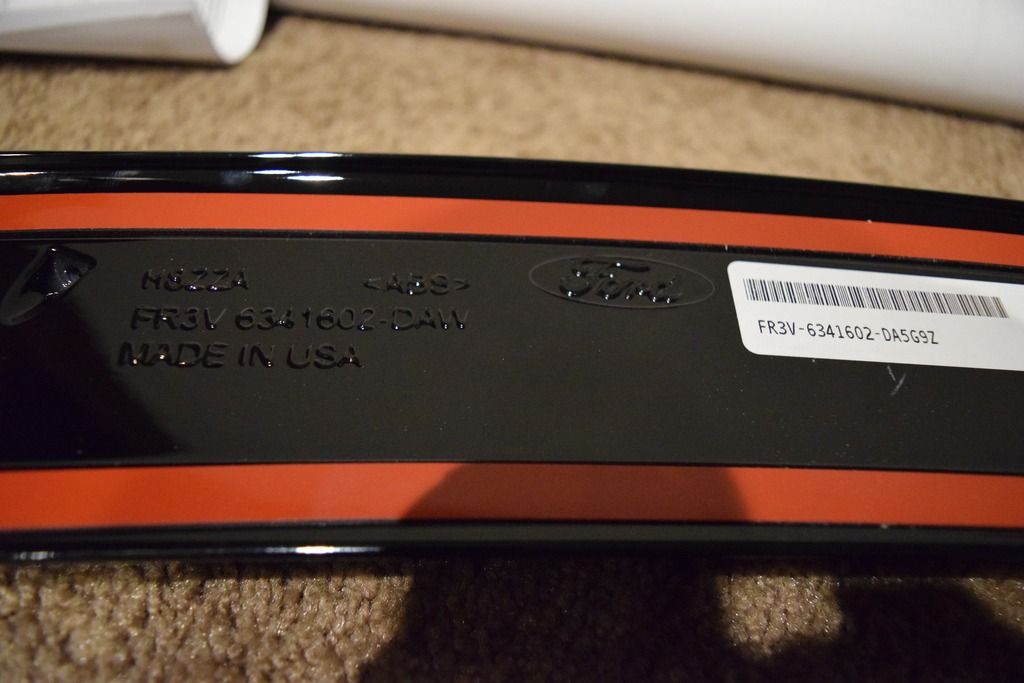
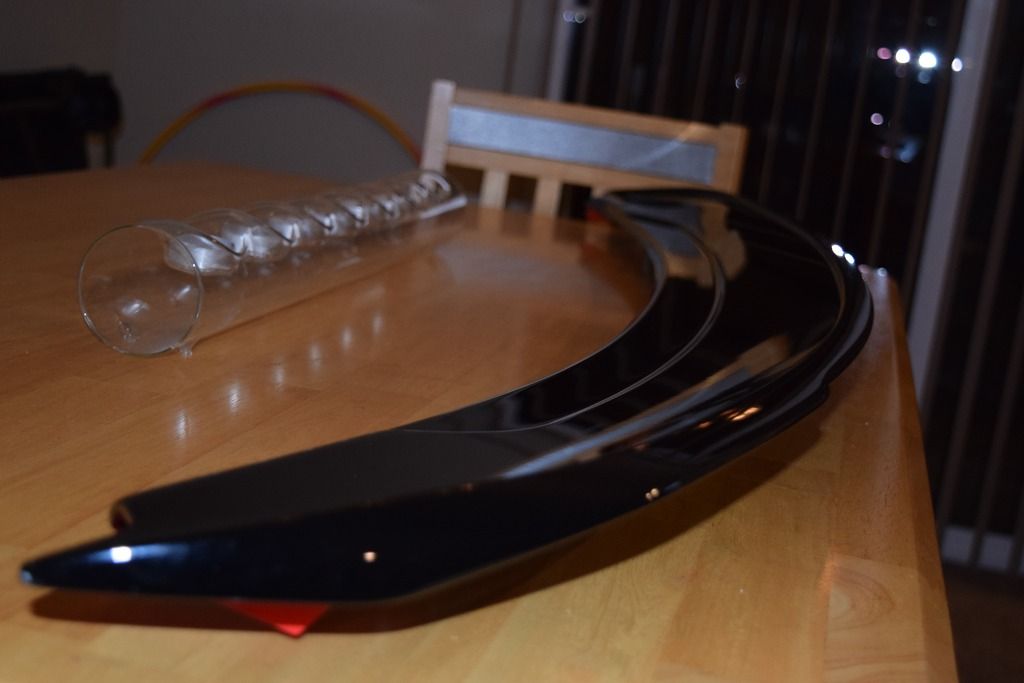
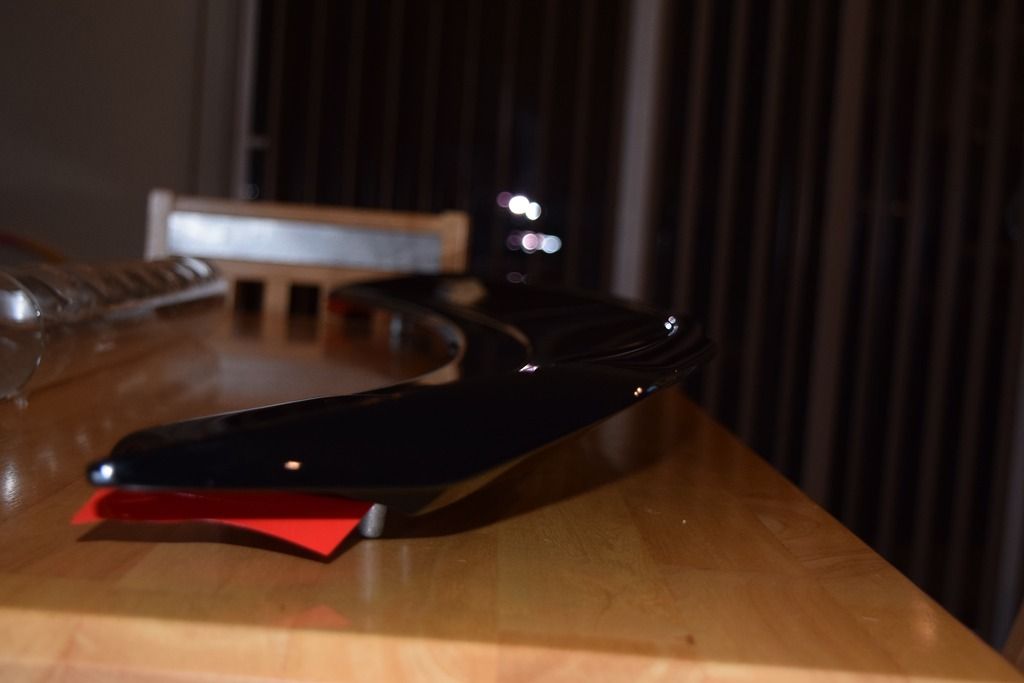
50 deep, thanks for the pics. Looks like a score on that spoiler, dead on match for the more expensive part # and it's painted too!
Sponsored
")