Sponsored

Steeda Suspension Upgrades... it has begun

OP
OP
SchnellGT350

SchnellGT350

Well-Known Member
Joined
Sep 4, 2021
Threads
24
Messages
266
Reaction score
233
Location
Danville, CA
First Name
Rob
Vehicle(s)
2020 GT350
The holidays slowed me down a bit but I finished getting the jacking rails, rear support braces, 2-pt front brace, and my LTH resonator delete in today.

Again, really happy with the quality, hardware and fit and finish of all the Steeda stuff so far. Was going to hold off on test driving as it’s been pouring here all week but after wrestling with the LTH I felt I deserved a little break.

There is a very noticeable reduction in tram lining on roads where I used to be sawing at the wheel to keep things straight.

Love the resonator delete. Really is fantastic. Great quality product. Took me a little longer as I was working on the floor and wasn’t too keen to try maneuvering a sawzall while laying on my back. Went with the hand pipe cutter others had suggested. Worked really good. Found this tip on YouTube that really helped :


Only hassle was the heat shields. I got the front one off easily with a quick few cuts with a Dremel. The small rear ones were a PITA because they were spot welded on and too an hour of hacking at them to get the clearance to work the tube cutter.

Excited to move on to the next items!
Sponsored
 
OP
OP
SchnellGT350

SchnellGT350

Well-Known Member
Joined
Sep 4, 2021
Threads
24
Messages
266
Reaction score
233
Location
Danville, CA
First Name
Rob
Vehicle(s)
2020 GT350
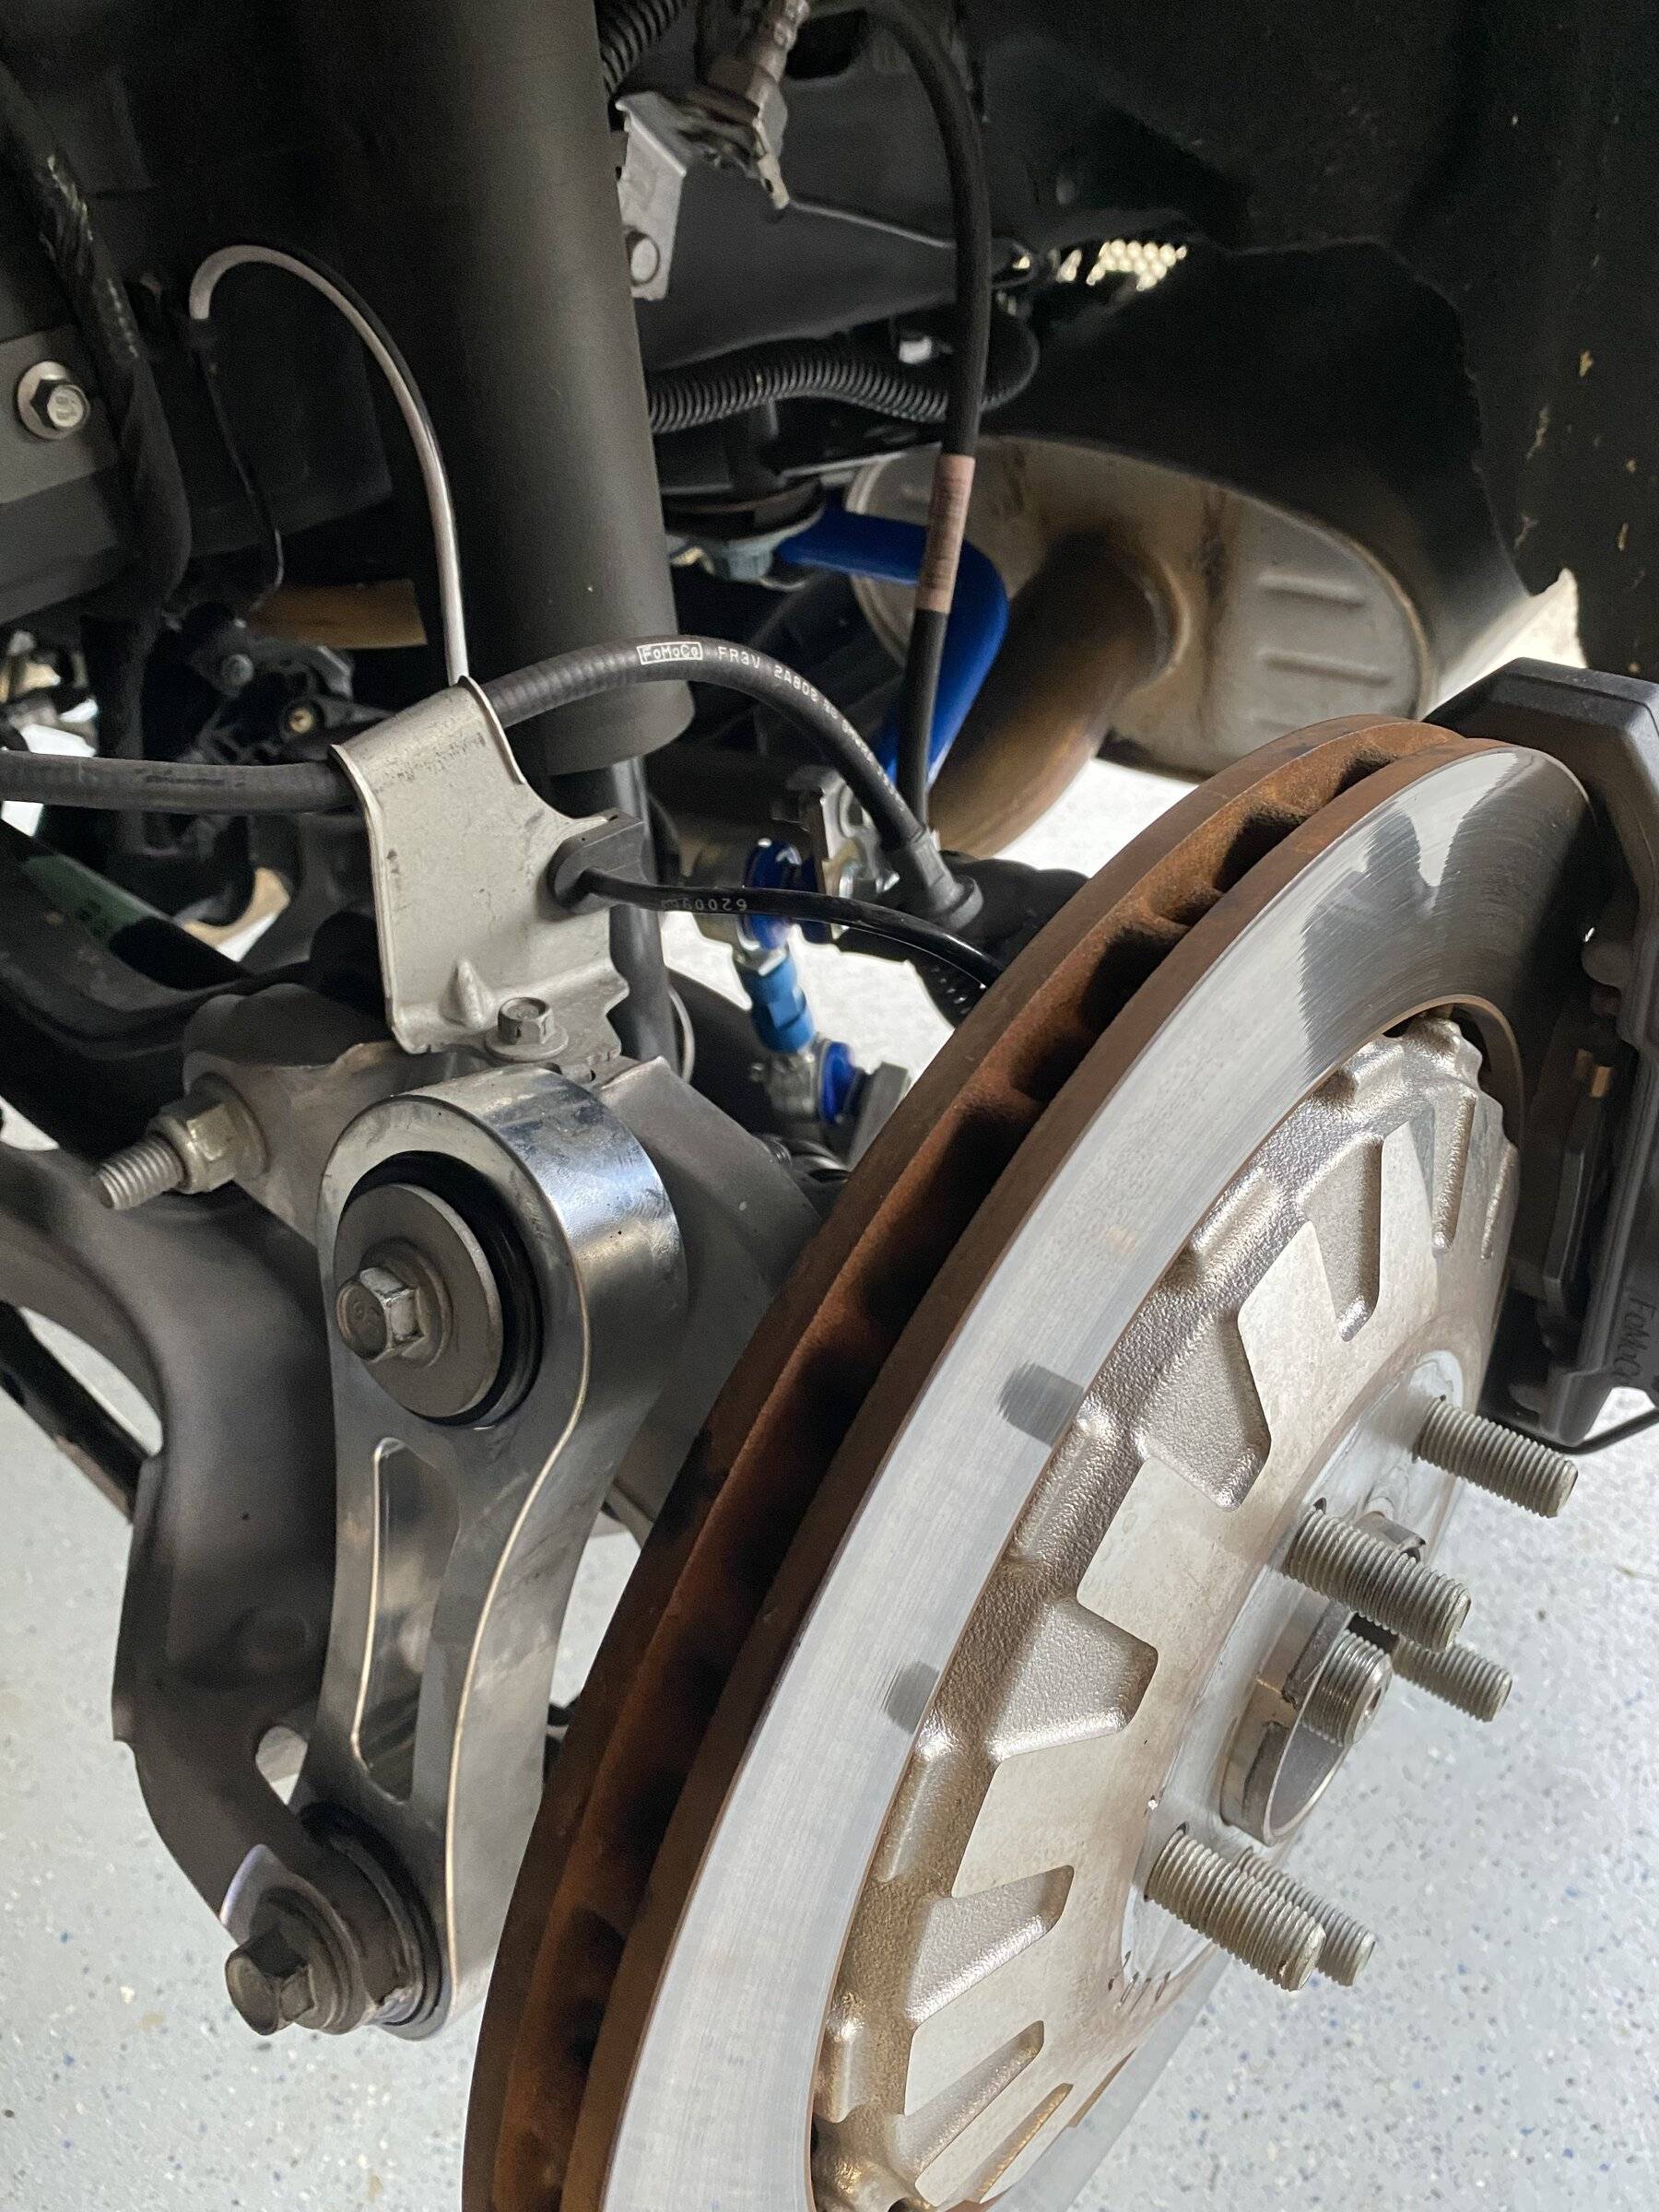
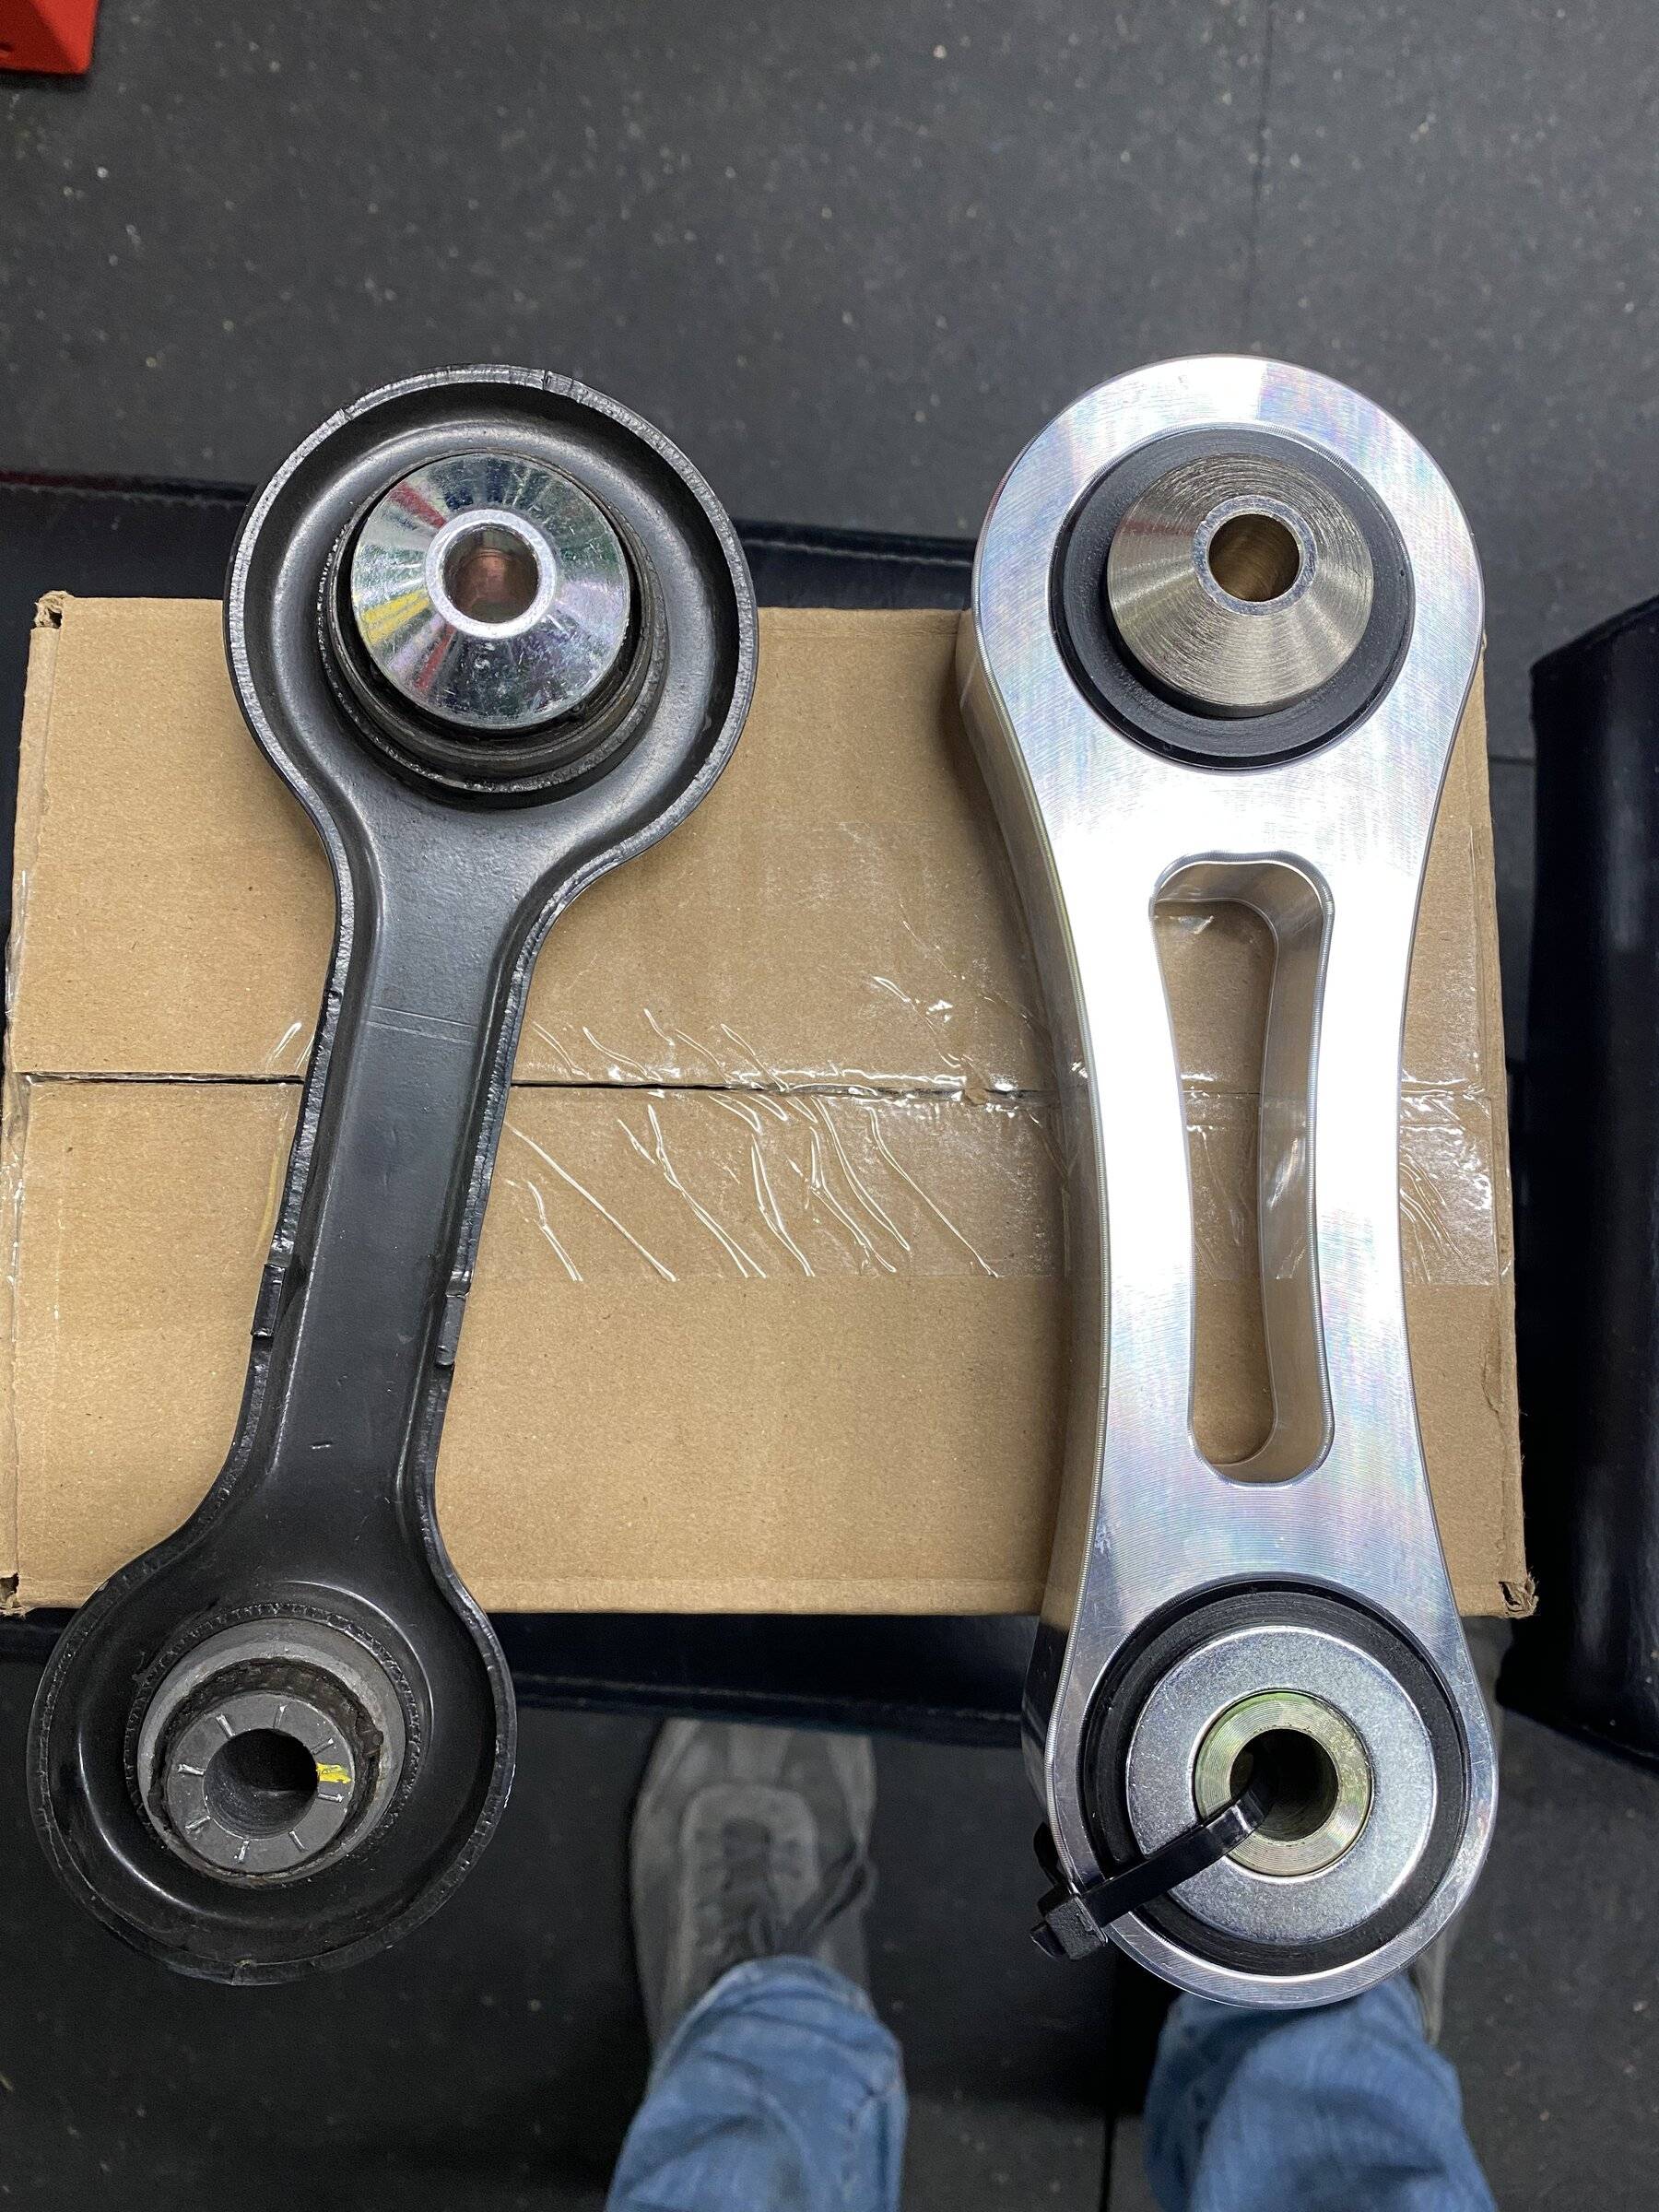
Stole some time away today and got the bushing supports, alignment sleeves and vertical link done on one side of the rear.

The difference in the Steeda vertical link versus the factory one is staggering! All other parts were cleanly machined and great fits.

Chris’ video installation on YouTube was a great aid to have running in the garage.


B9F686CB-9C41-4426-8033-3B64FF61AD48.jpeg
 
OP
OP
SchnellGT350

SchnellGT350

Well-Known Member
Joined
Sep 4, 2021
Threads
24
Messages
266
Reaction score
233
Location
Danville, CA
First Name
Rob
Vehicle(s)
2020 GT350
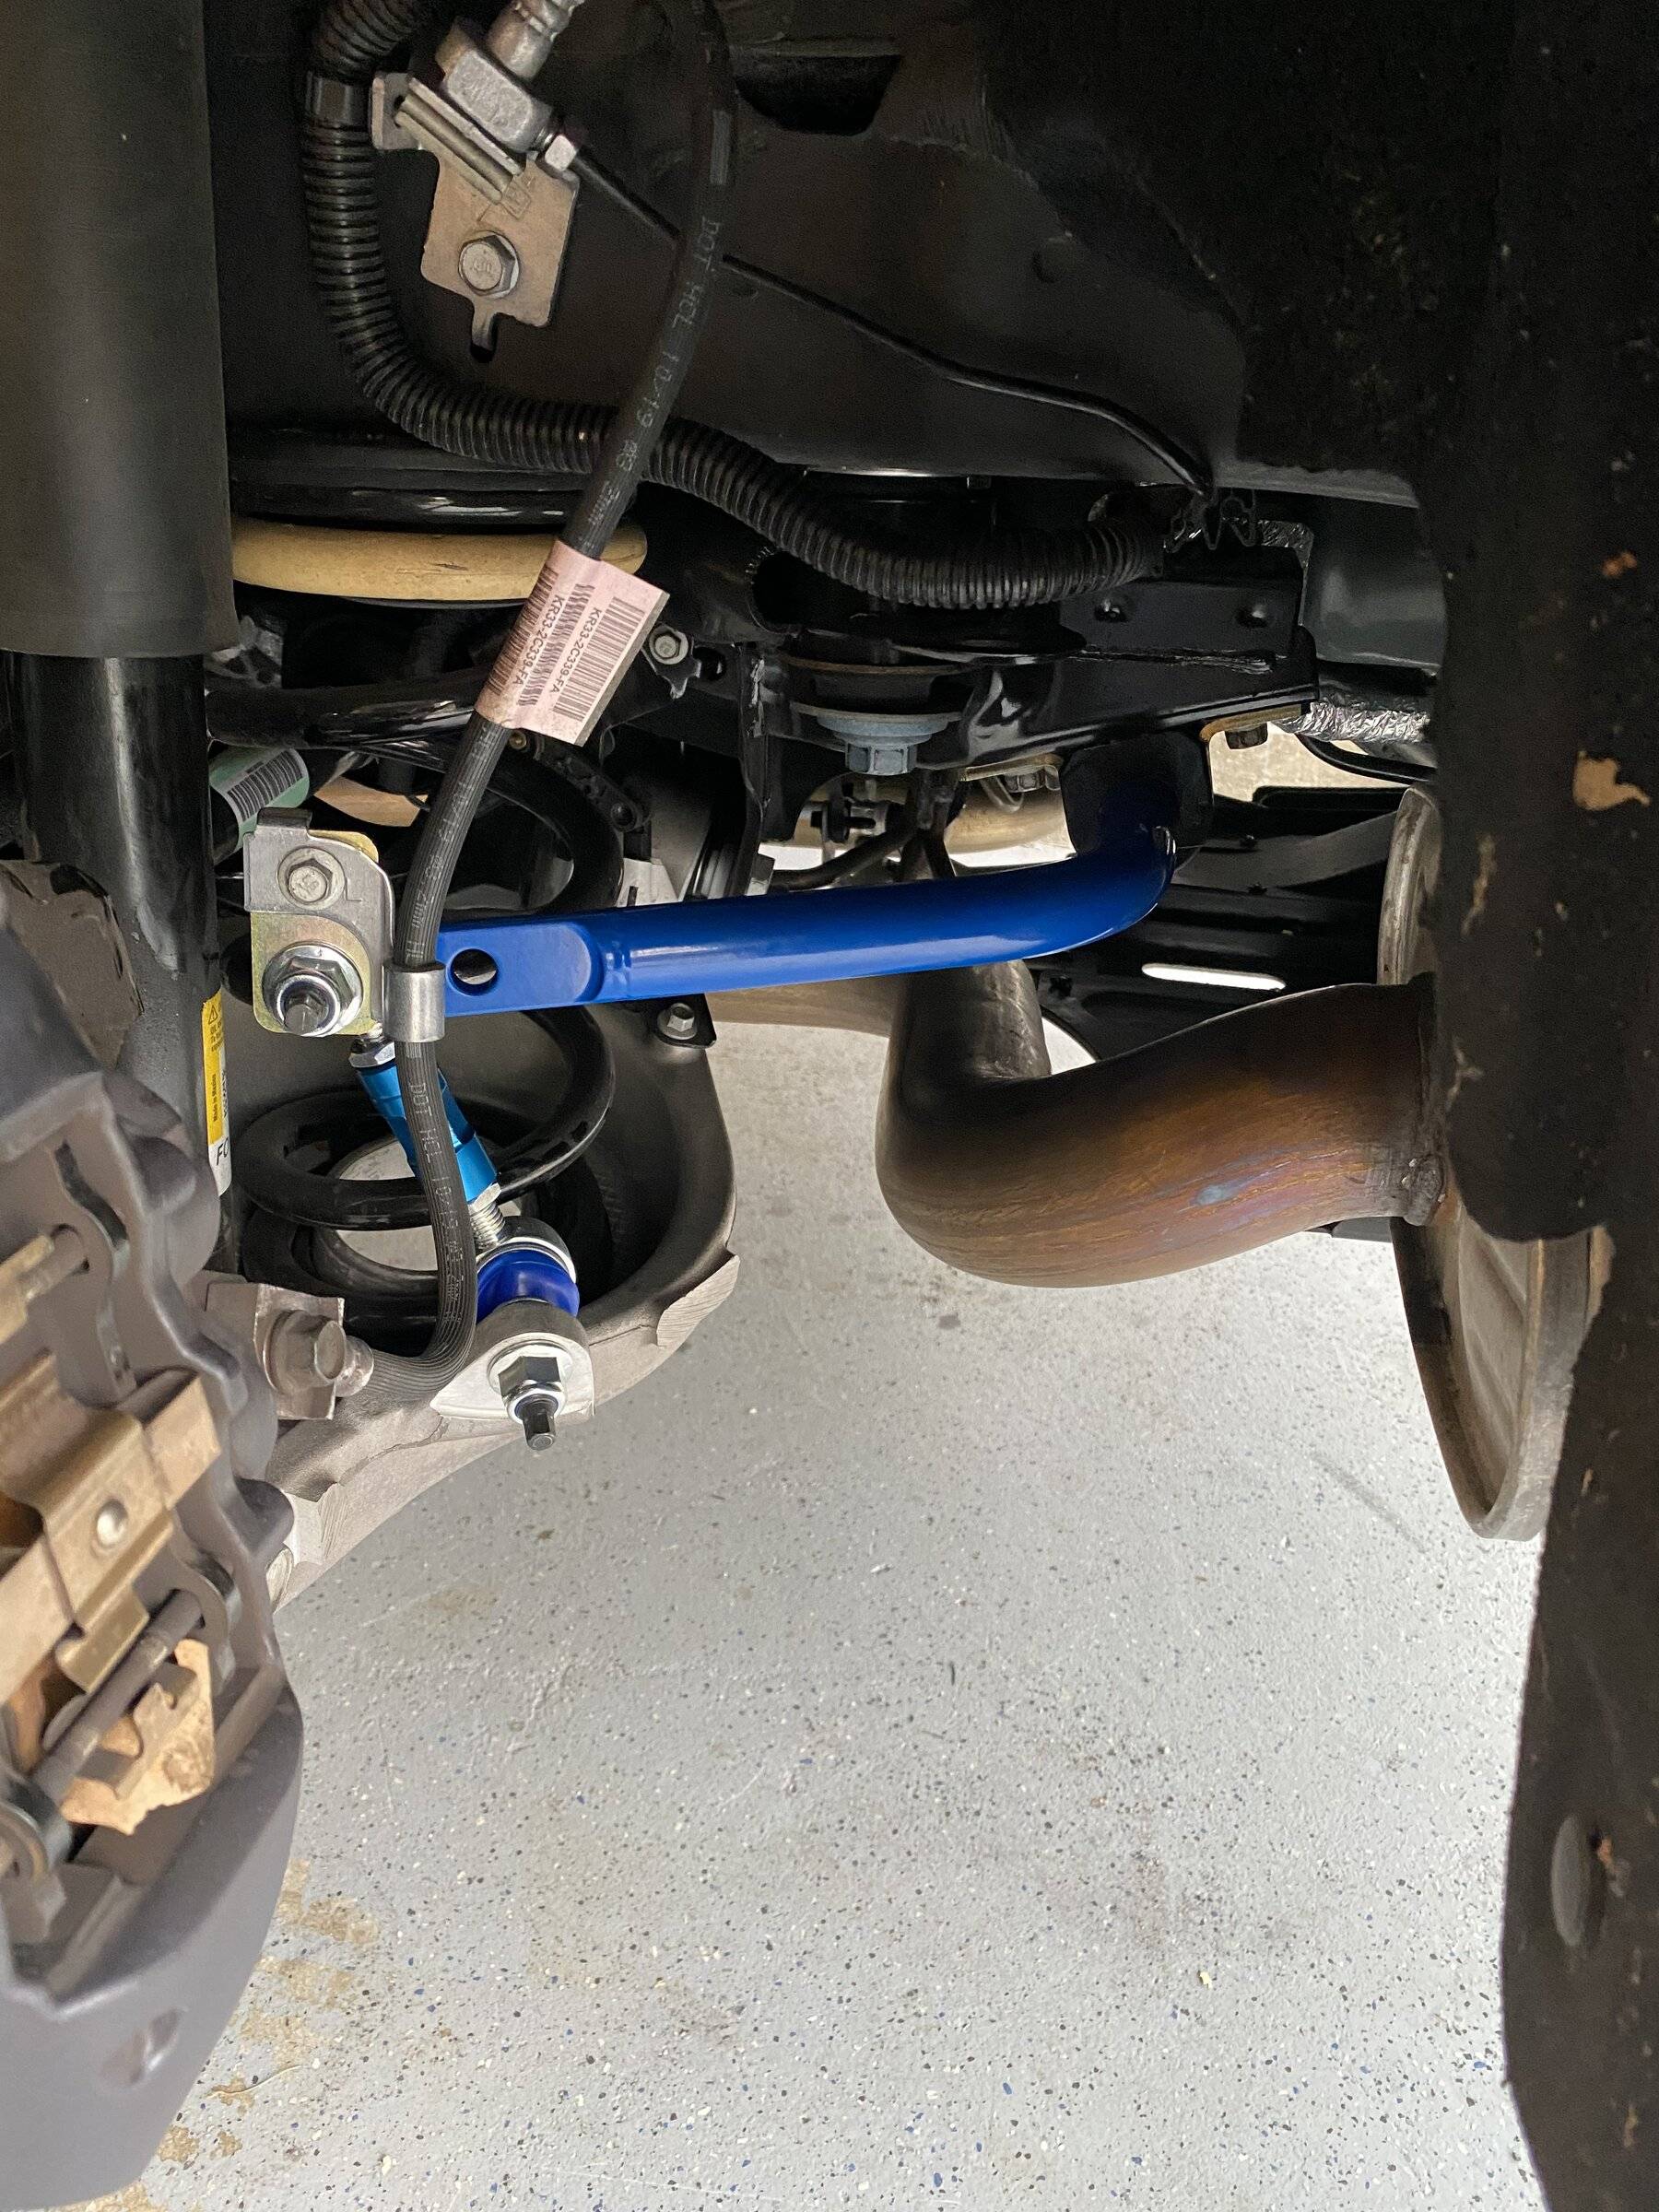
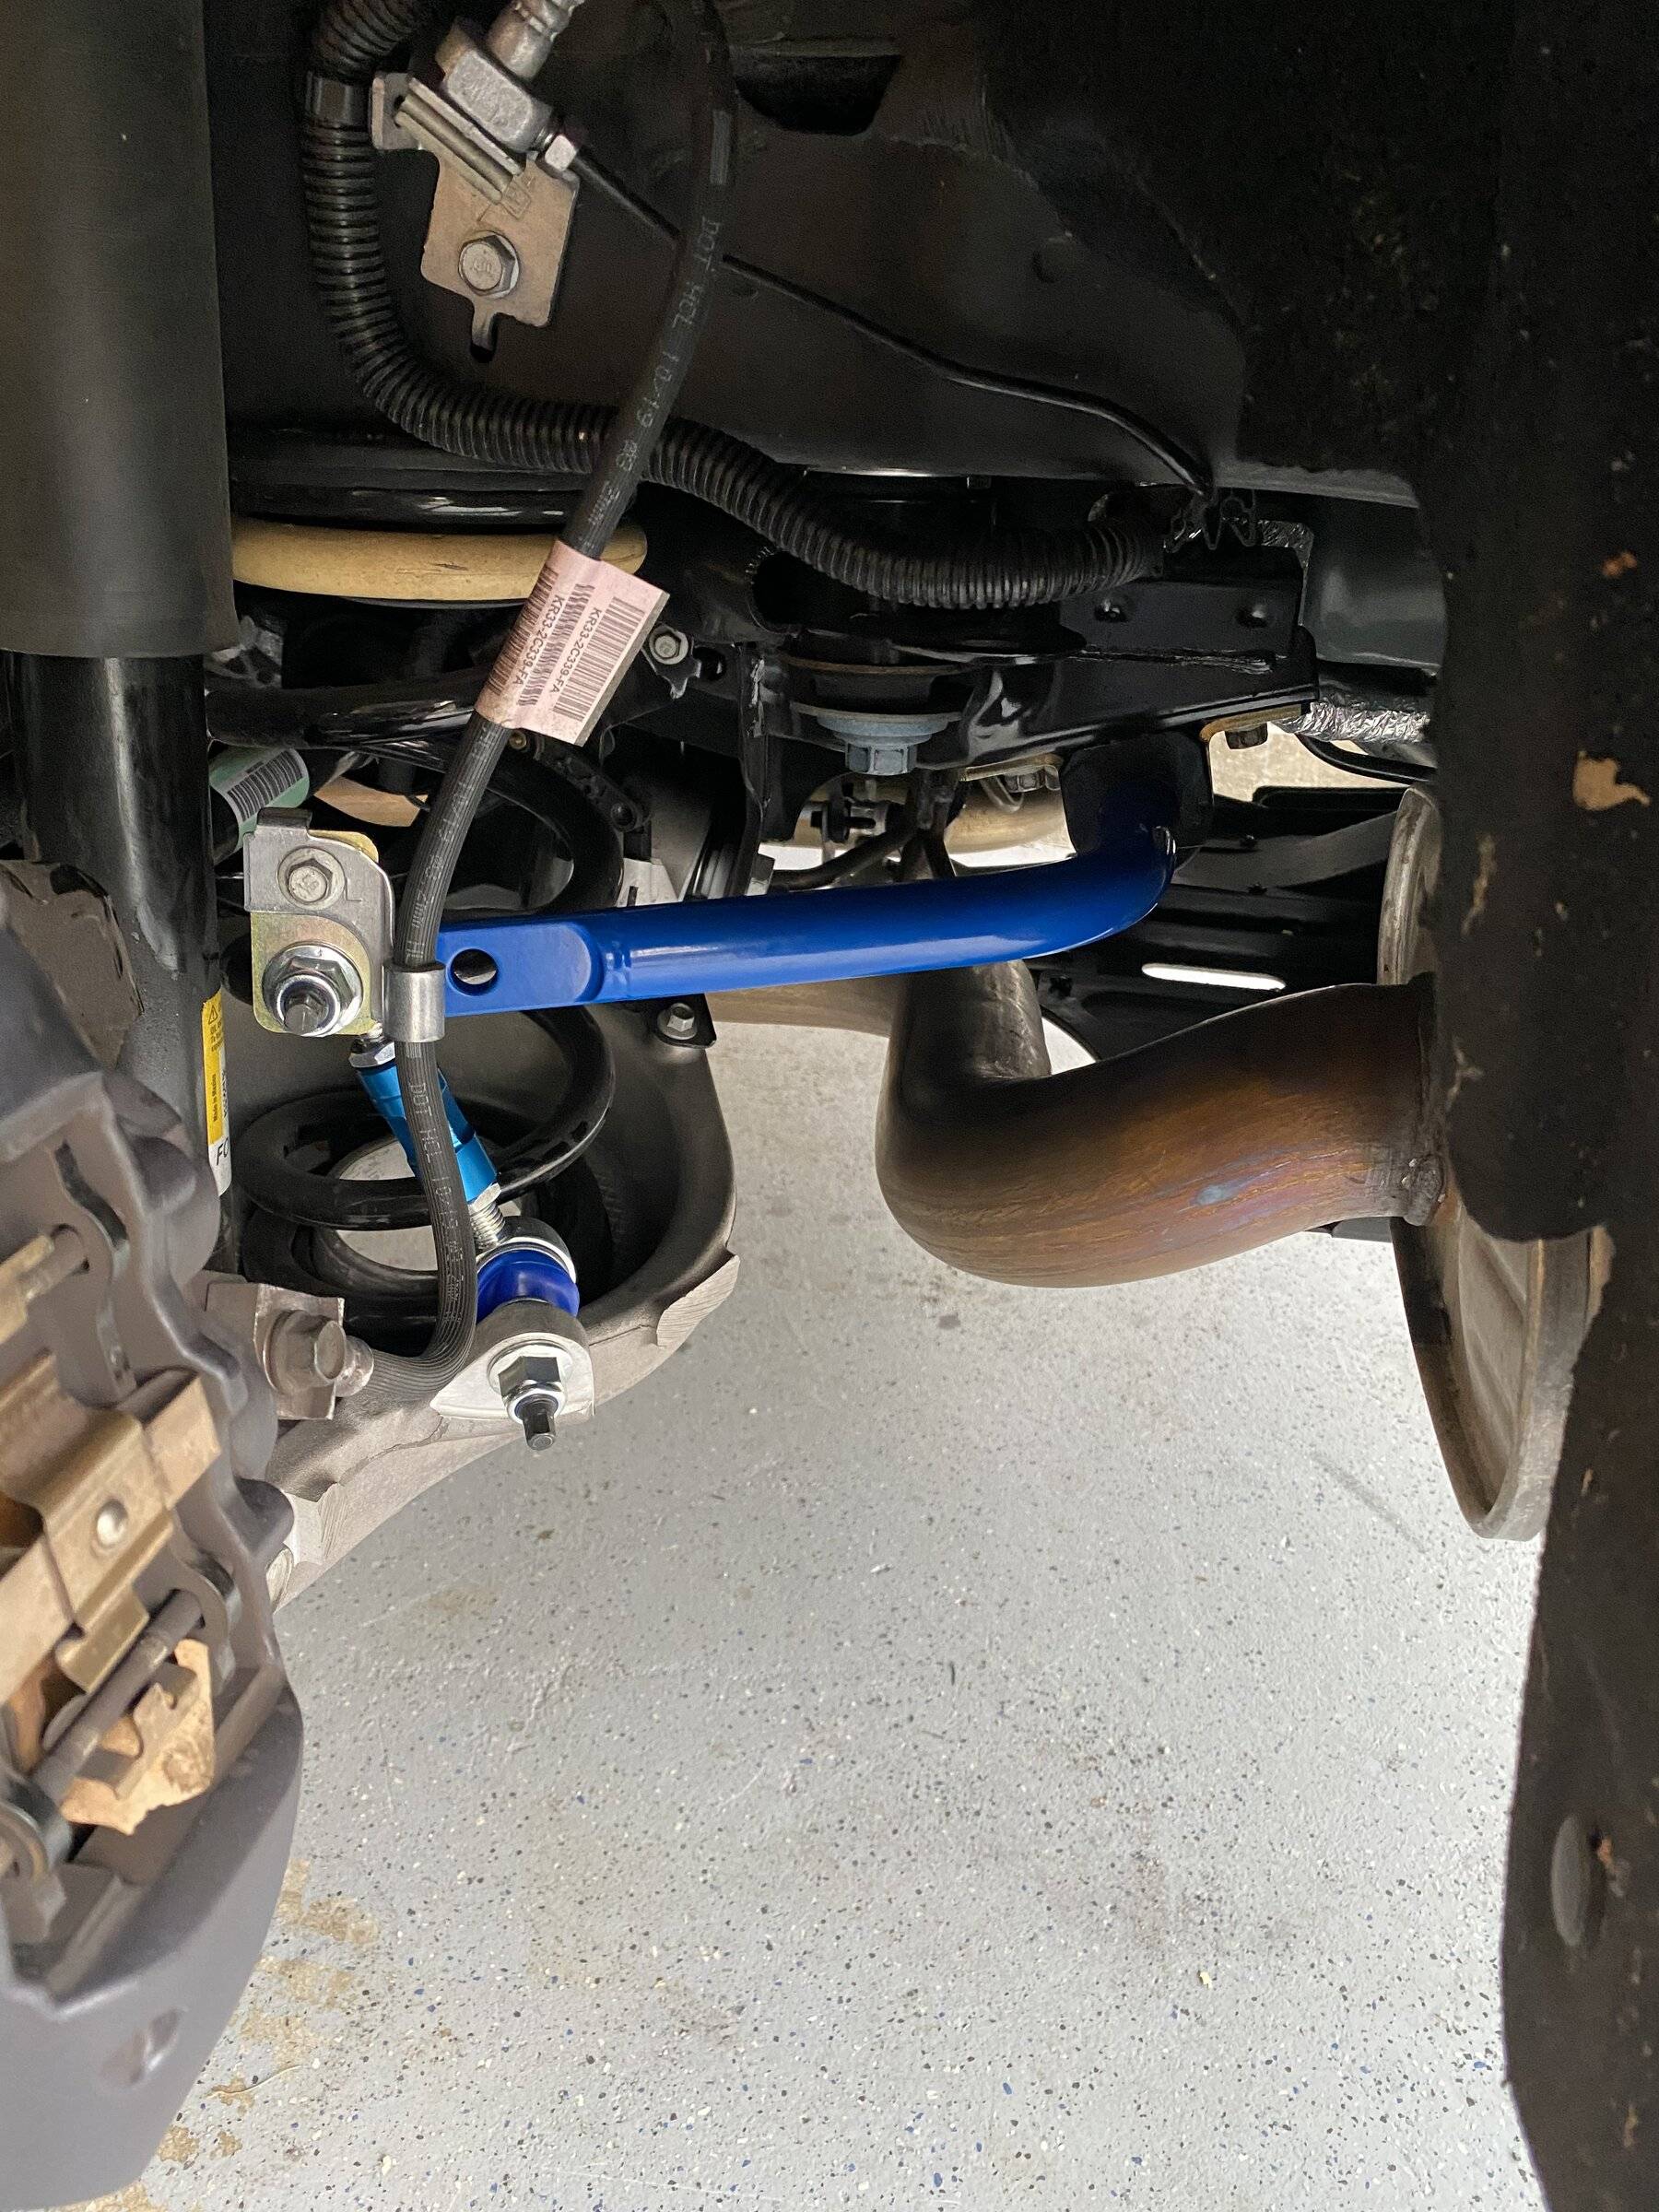
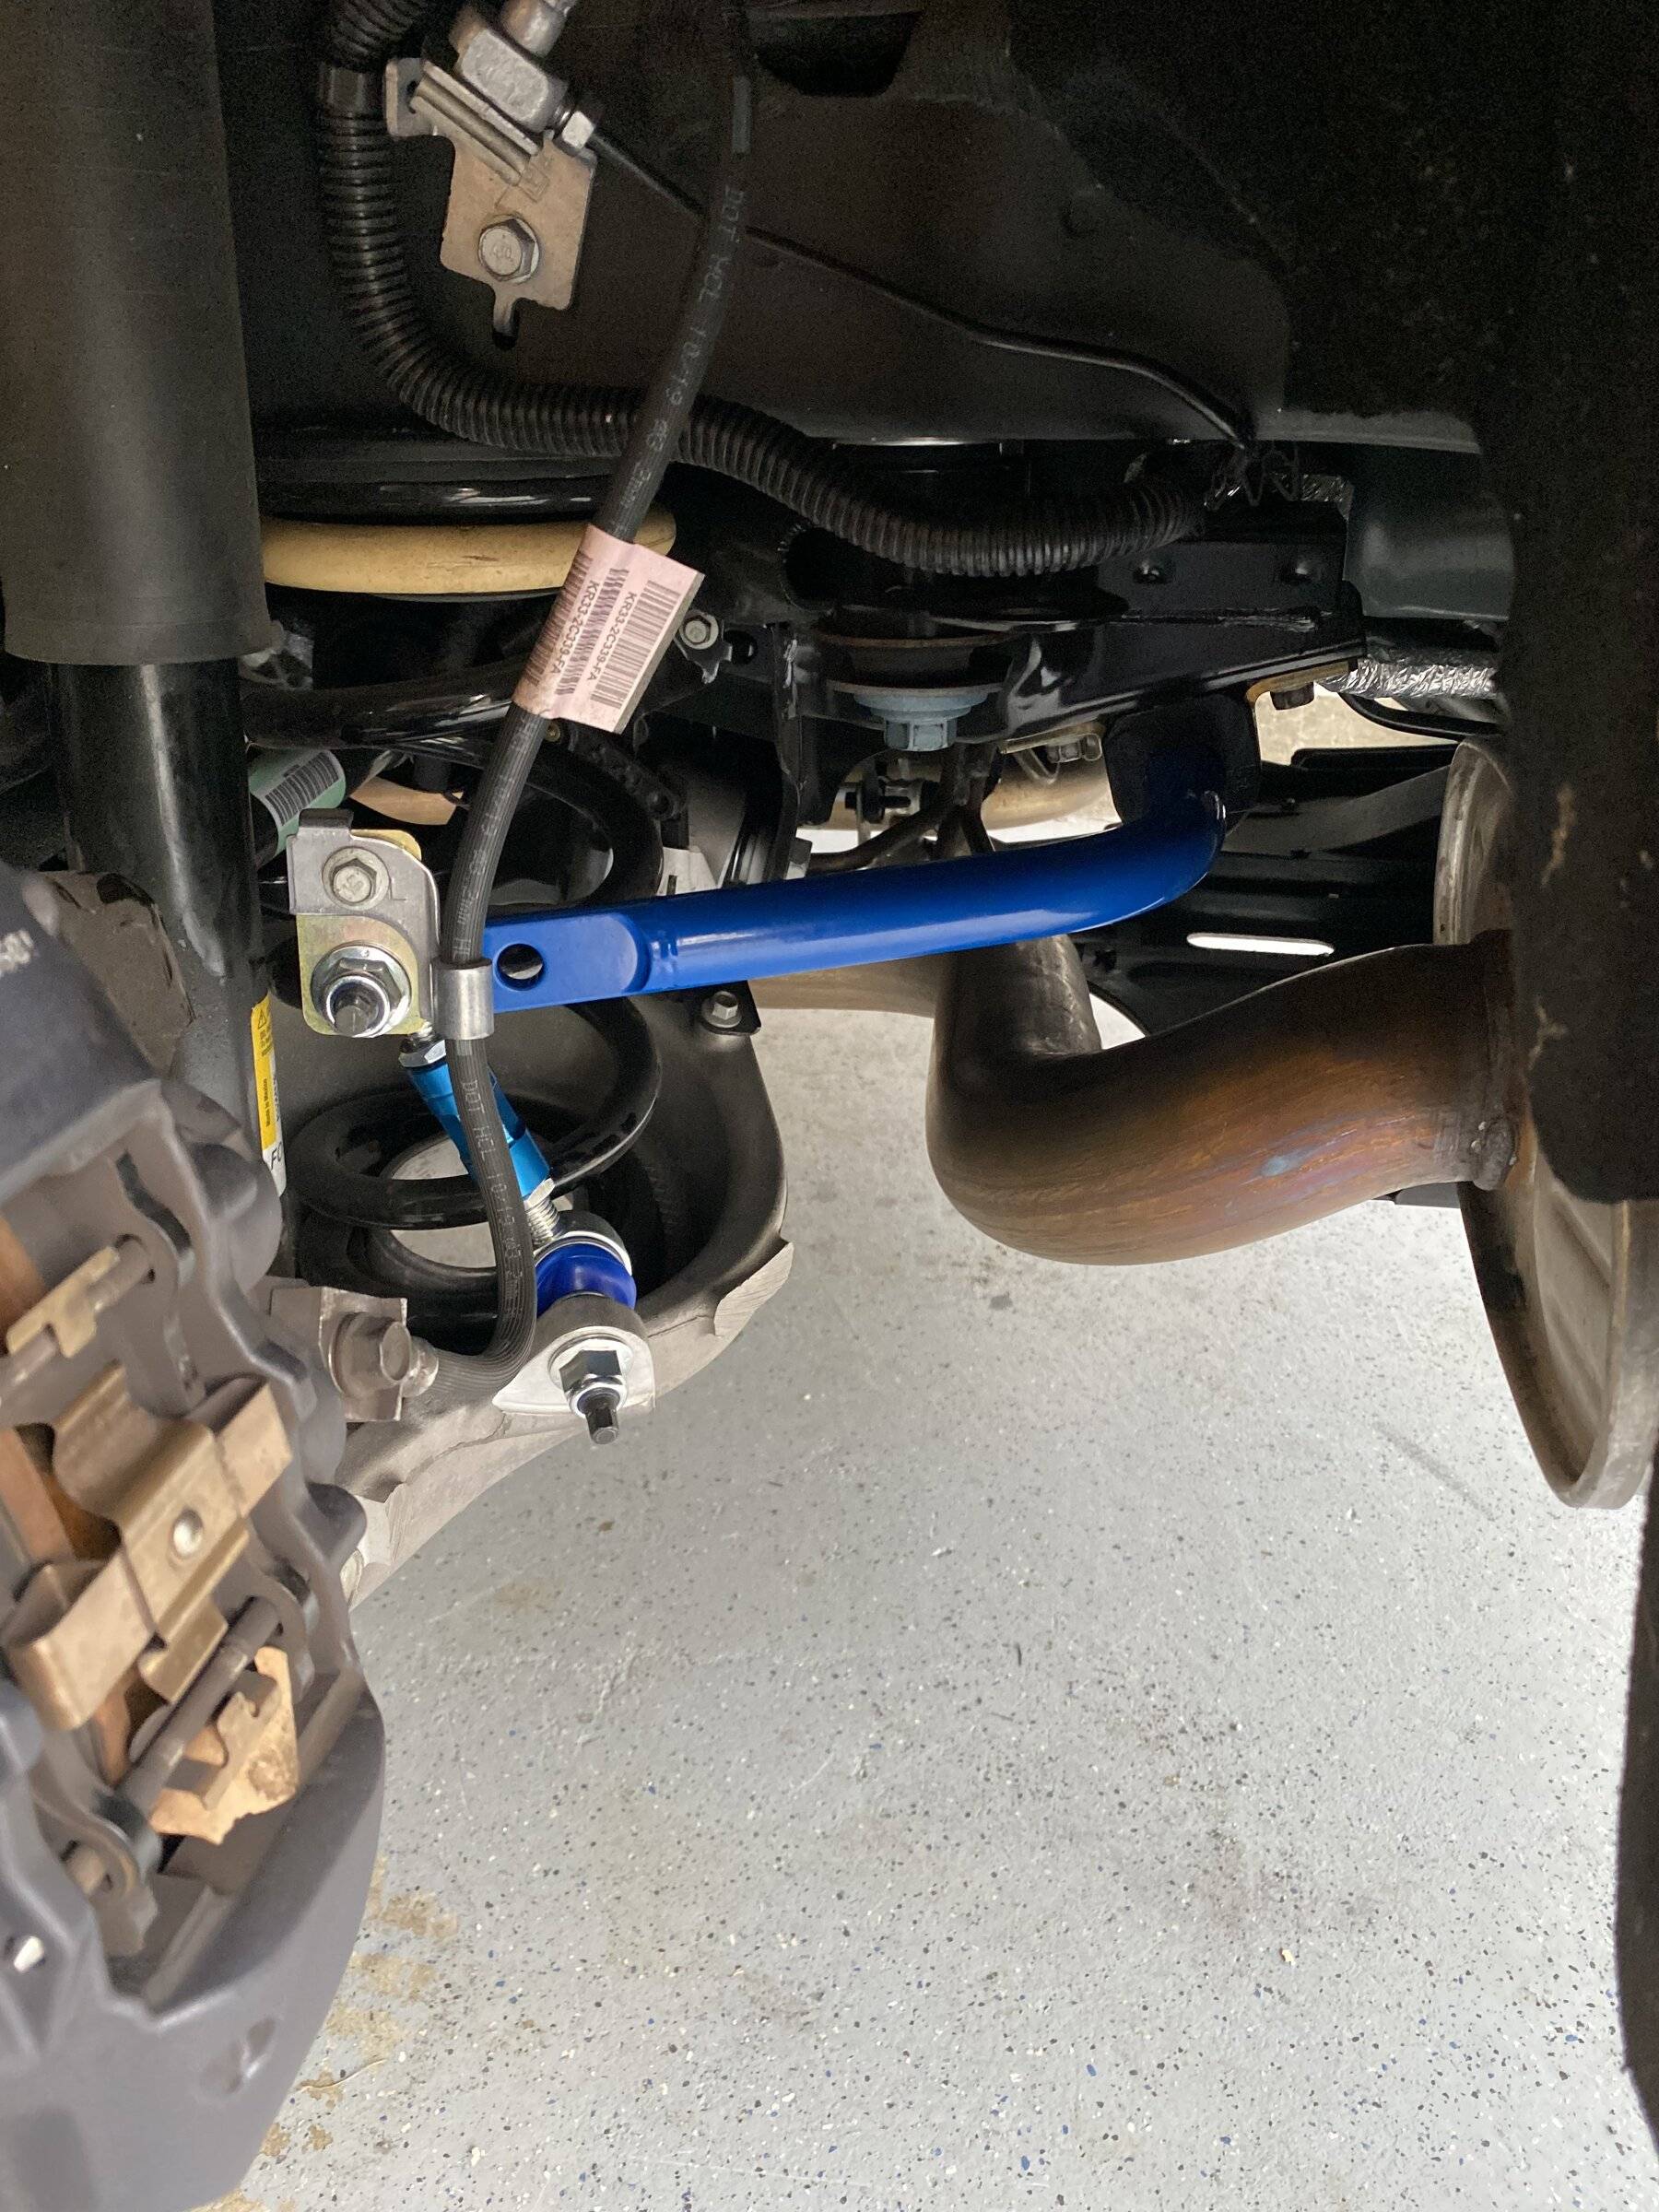
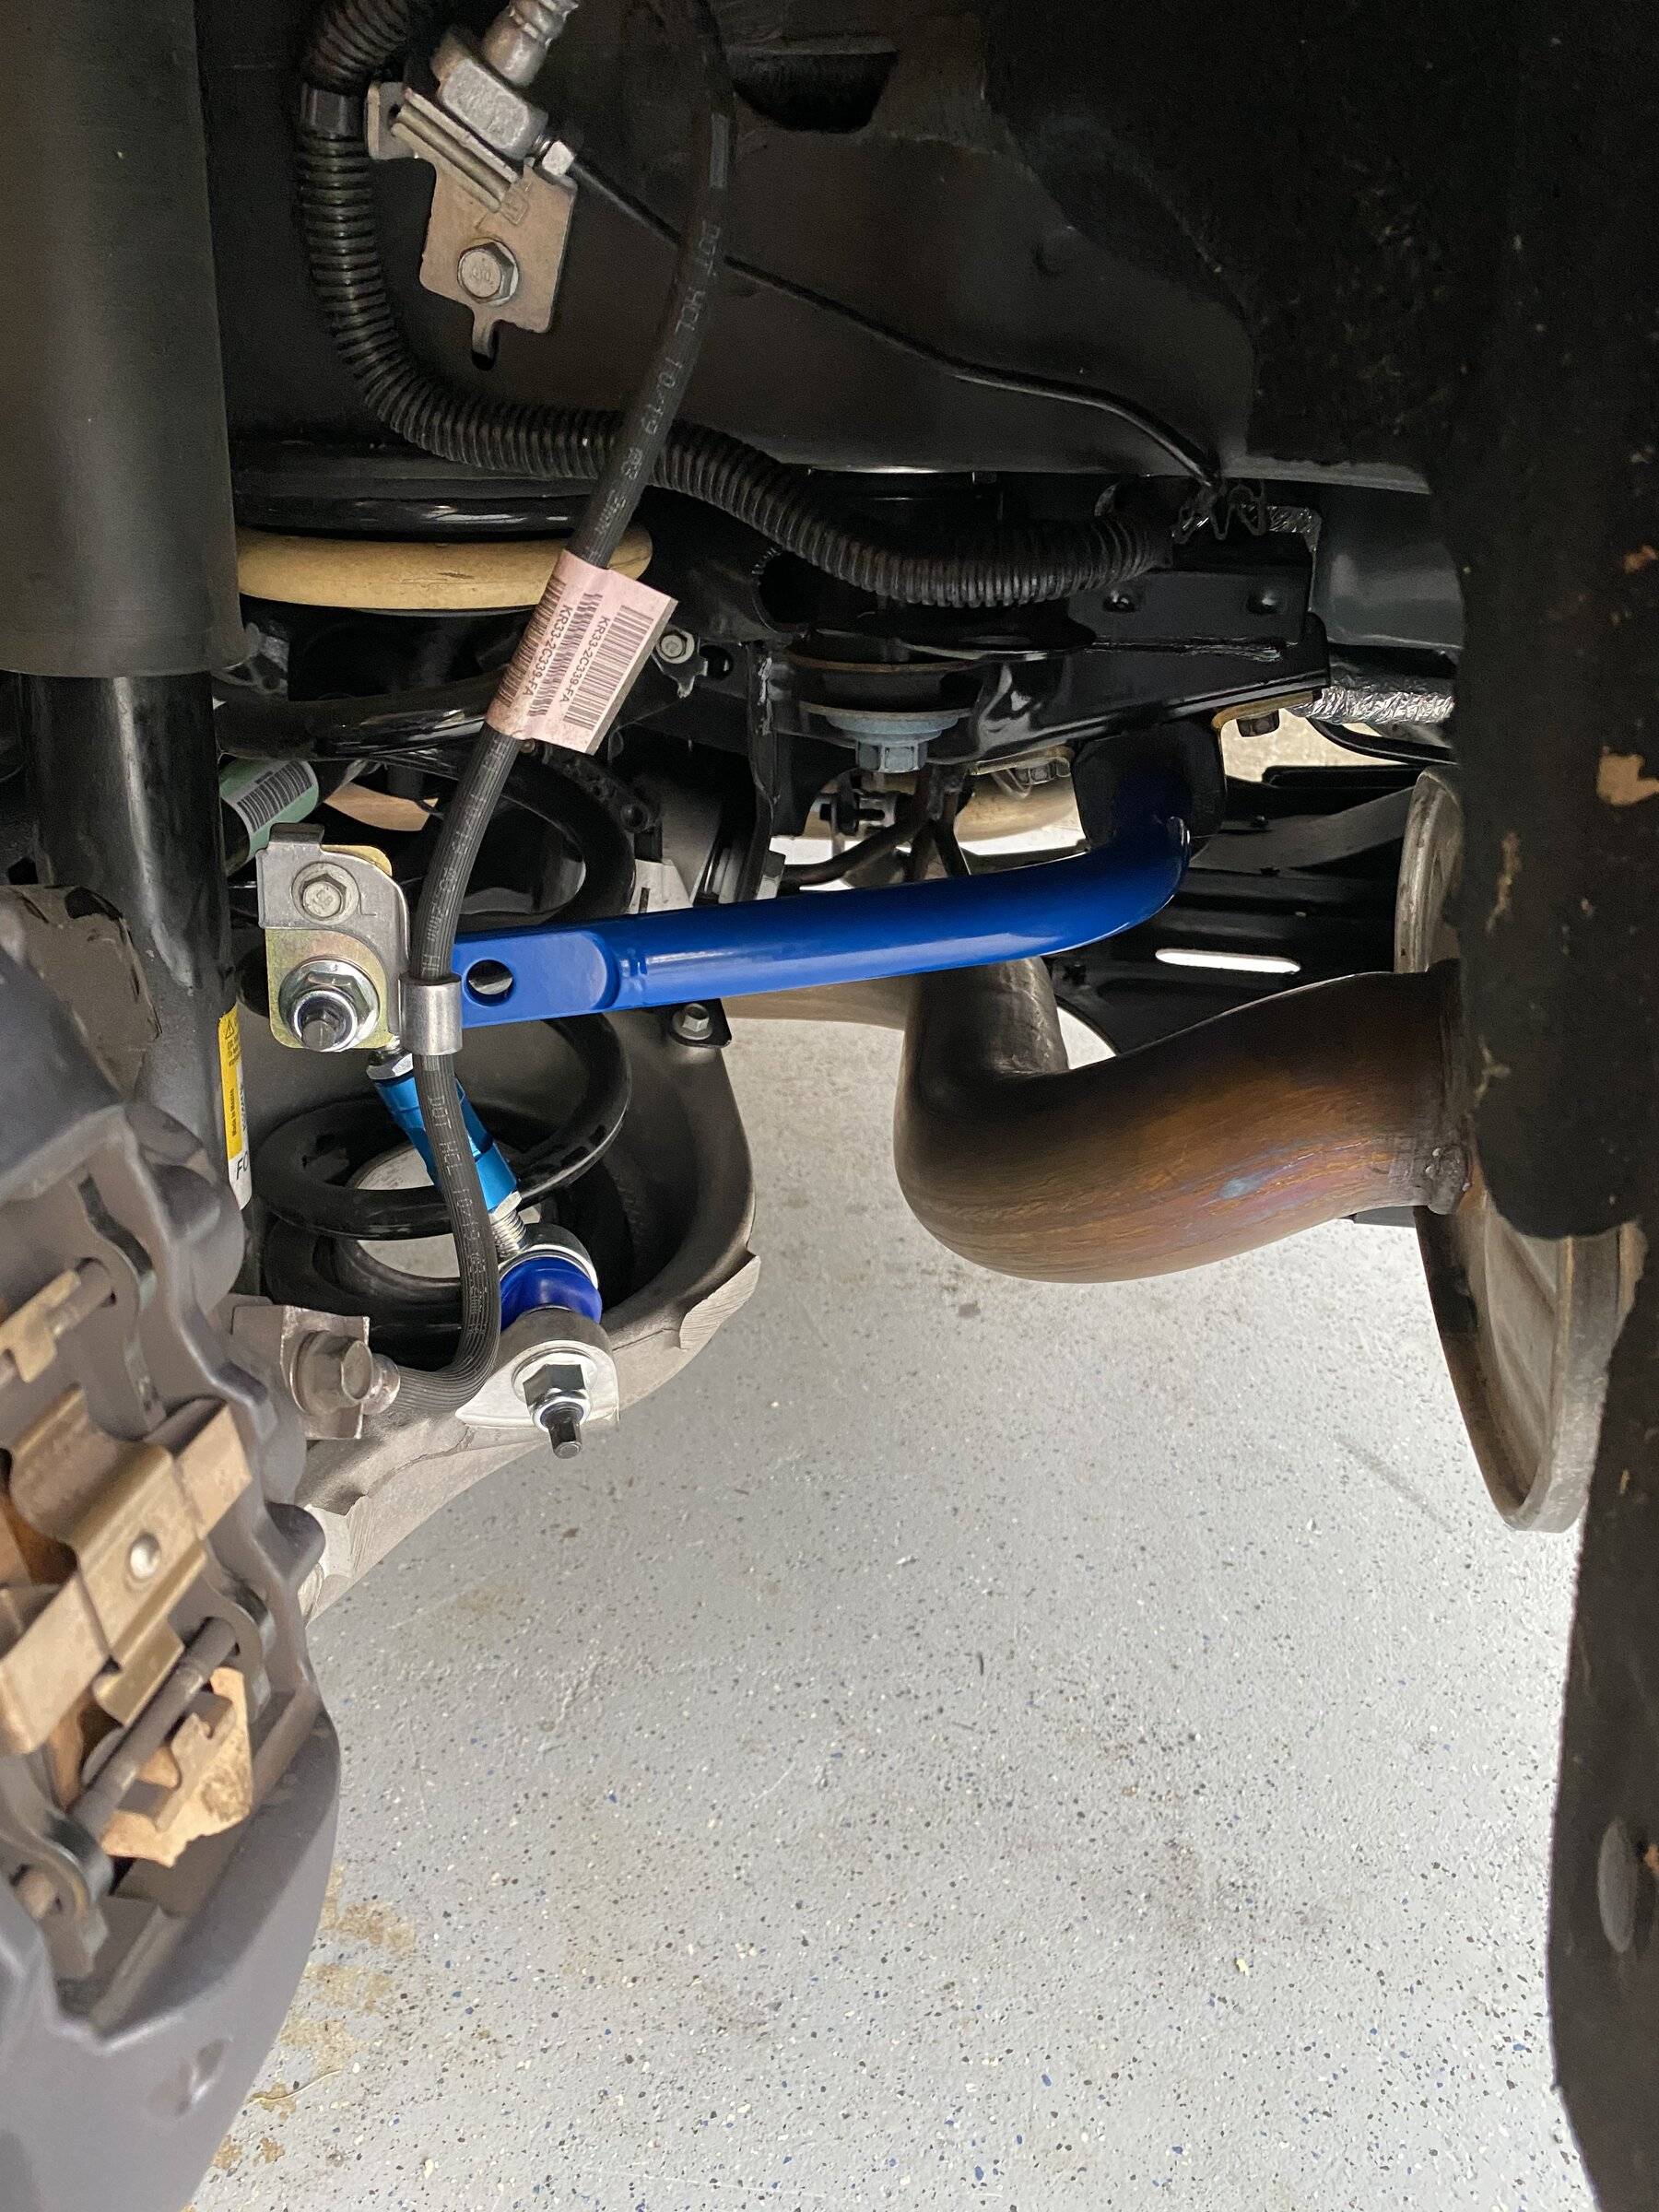
Got the rear sway bar and adjustable end links in this afternoon. Very straight forward but it is sort of a pain to get the end link studs tightened / torqued down. Steeda’s instructions suggest 65lb ft on the studs but given you need to get an Allen key or socket on the center of the stud while you tighten a traditional torque wrench and socket doesn’t work. Pretty much just tightened them down as good as I could do by hand with a ratcheting wrench.

Anyone else running the adjustable sway bar set up? What’s the general recommendation on where to set the fronts and tears?

7EDA8B82-F8D2-4AE7-87B8-D932BCBDE85D.jpeg


DBD535CC-D2A9-4850-9197-24423B6C79C0.jpeg
 
OP
OP
SchnellGT350

SchnellGT350

Well-Known Member
Joined
Sep 4, 2021
Threads
24
Messages
266
Reaction score
233
Location
Danville, CA
First Name
Rob
Vehicle(s)
2020 GT350
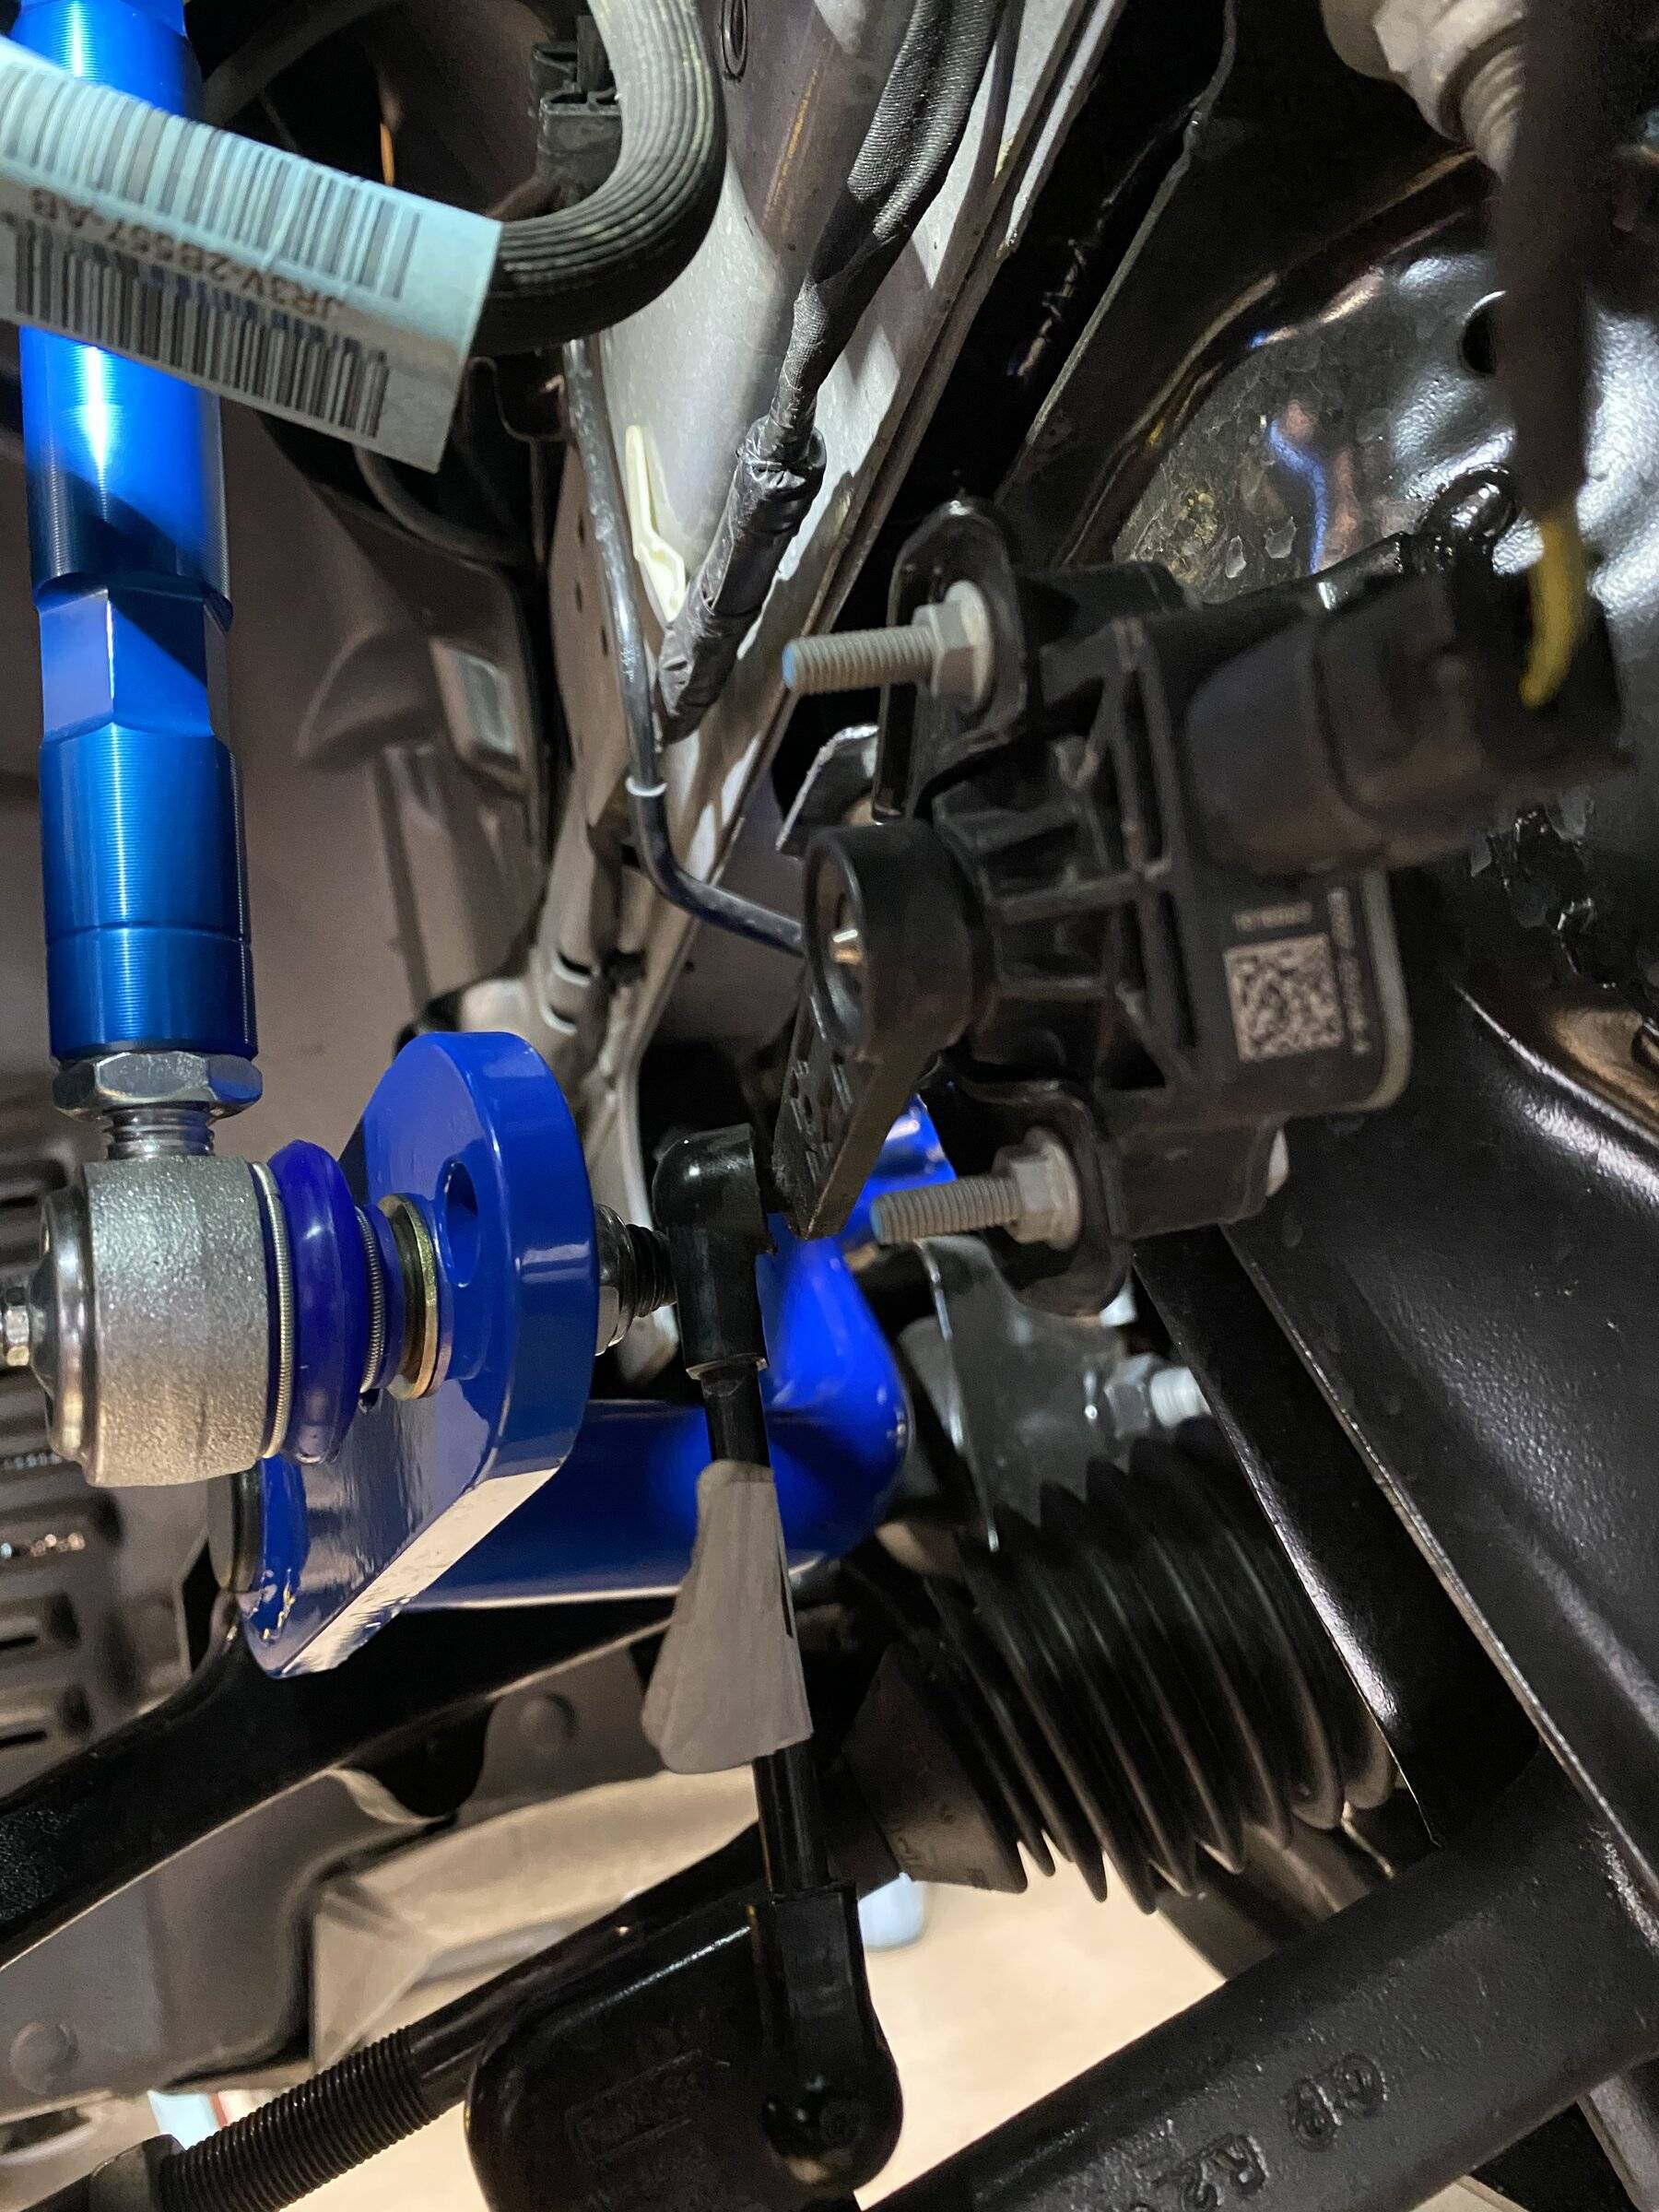
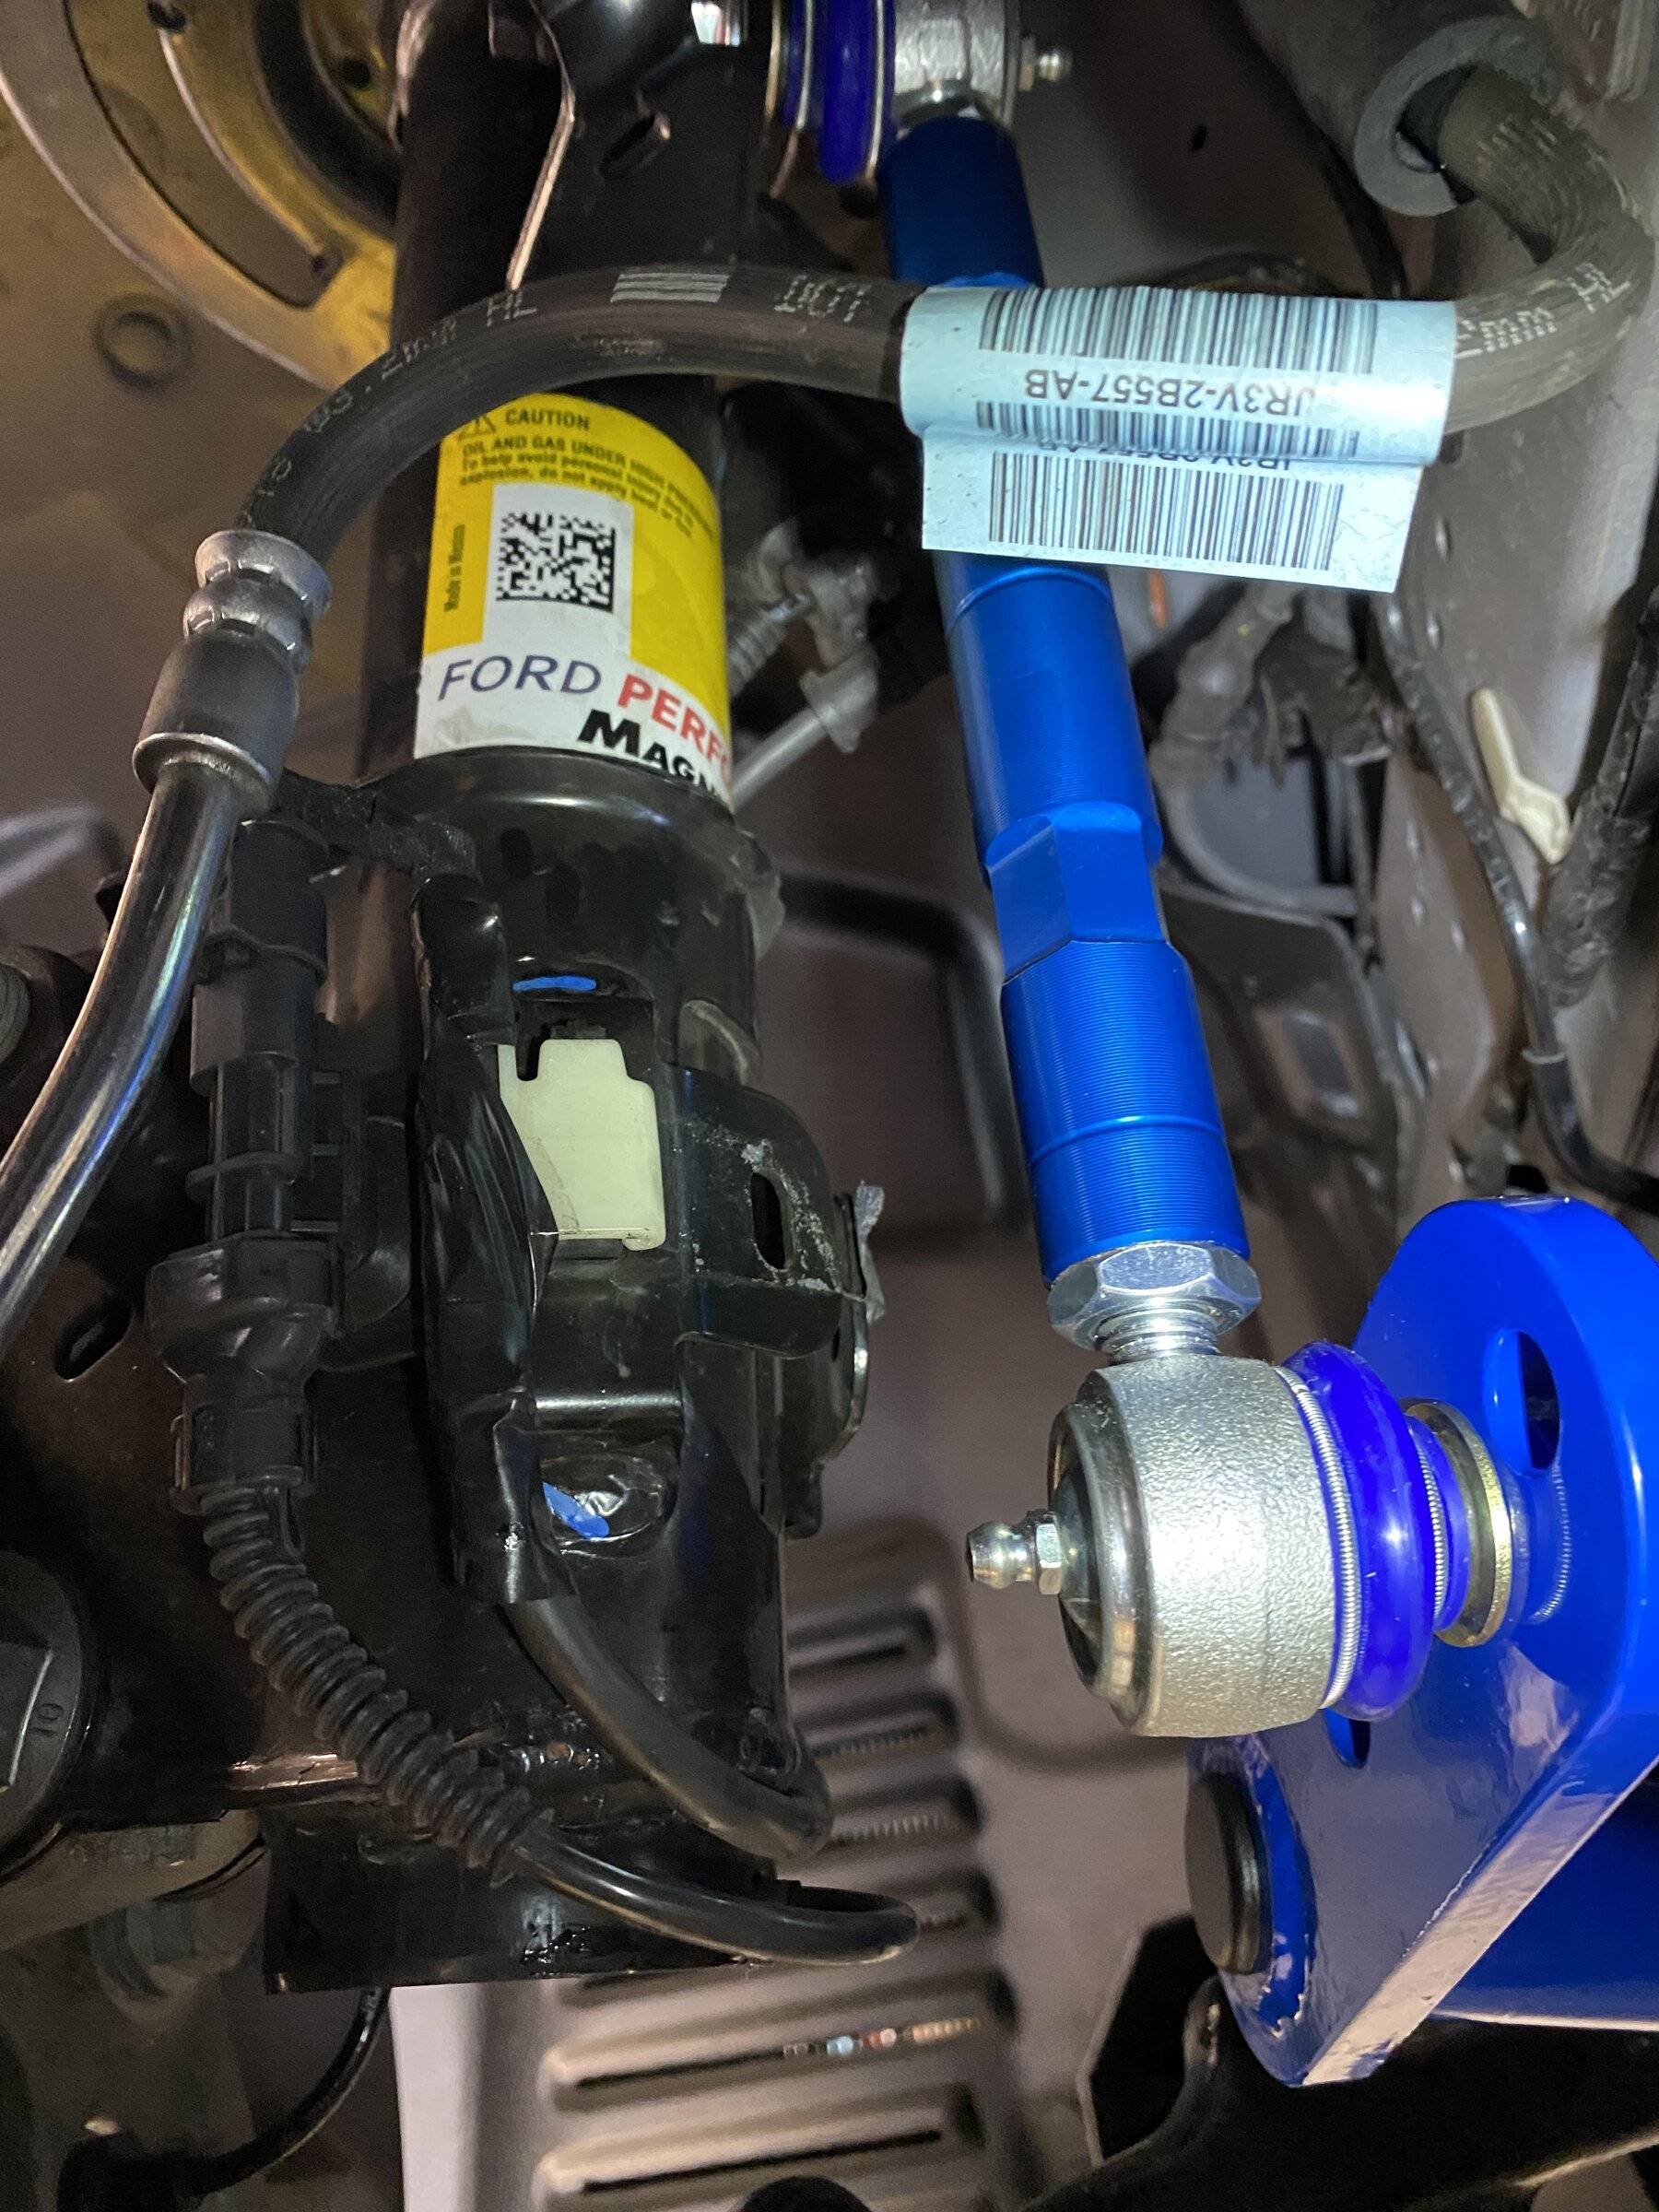
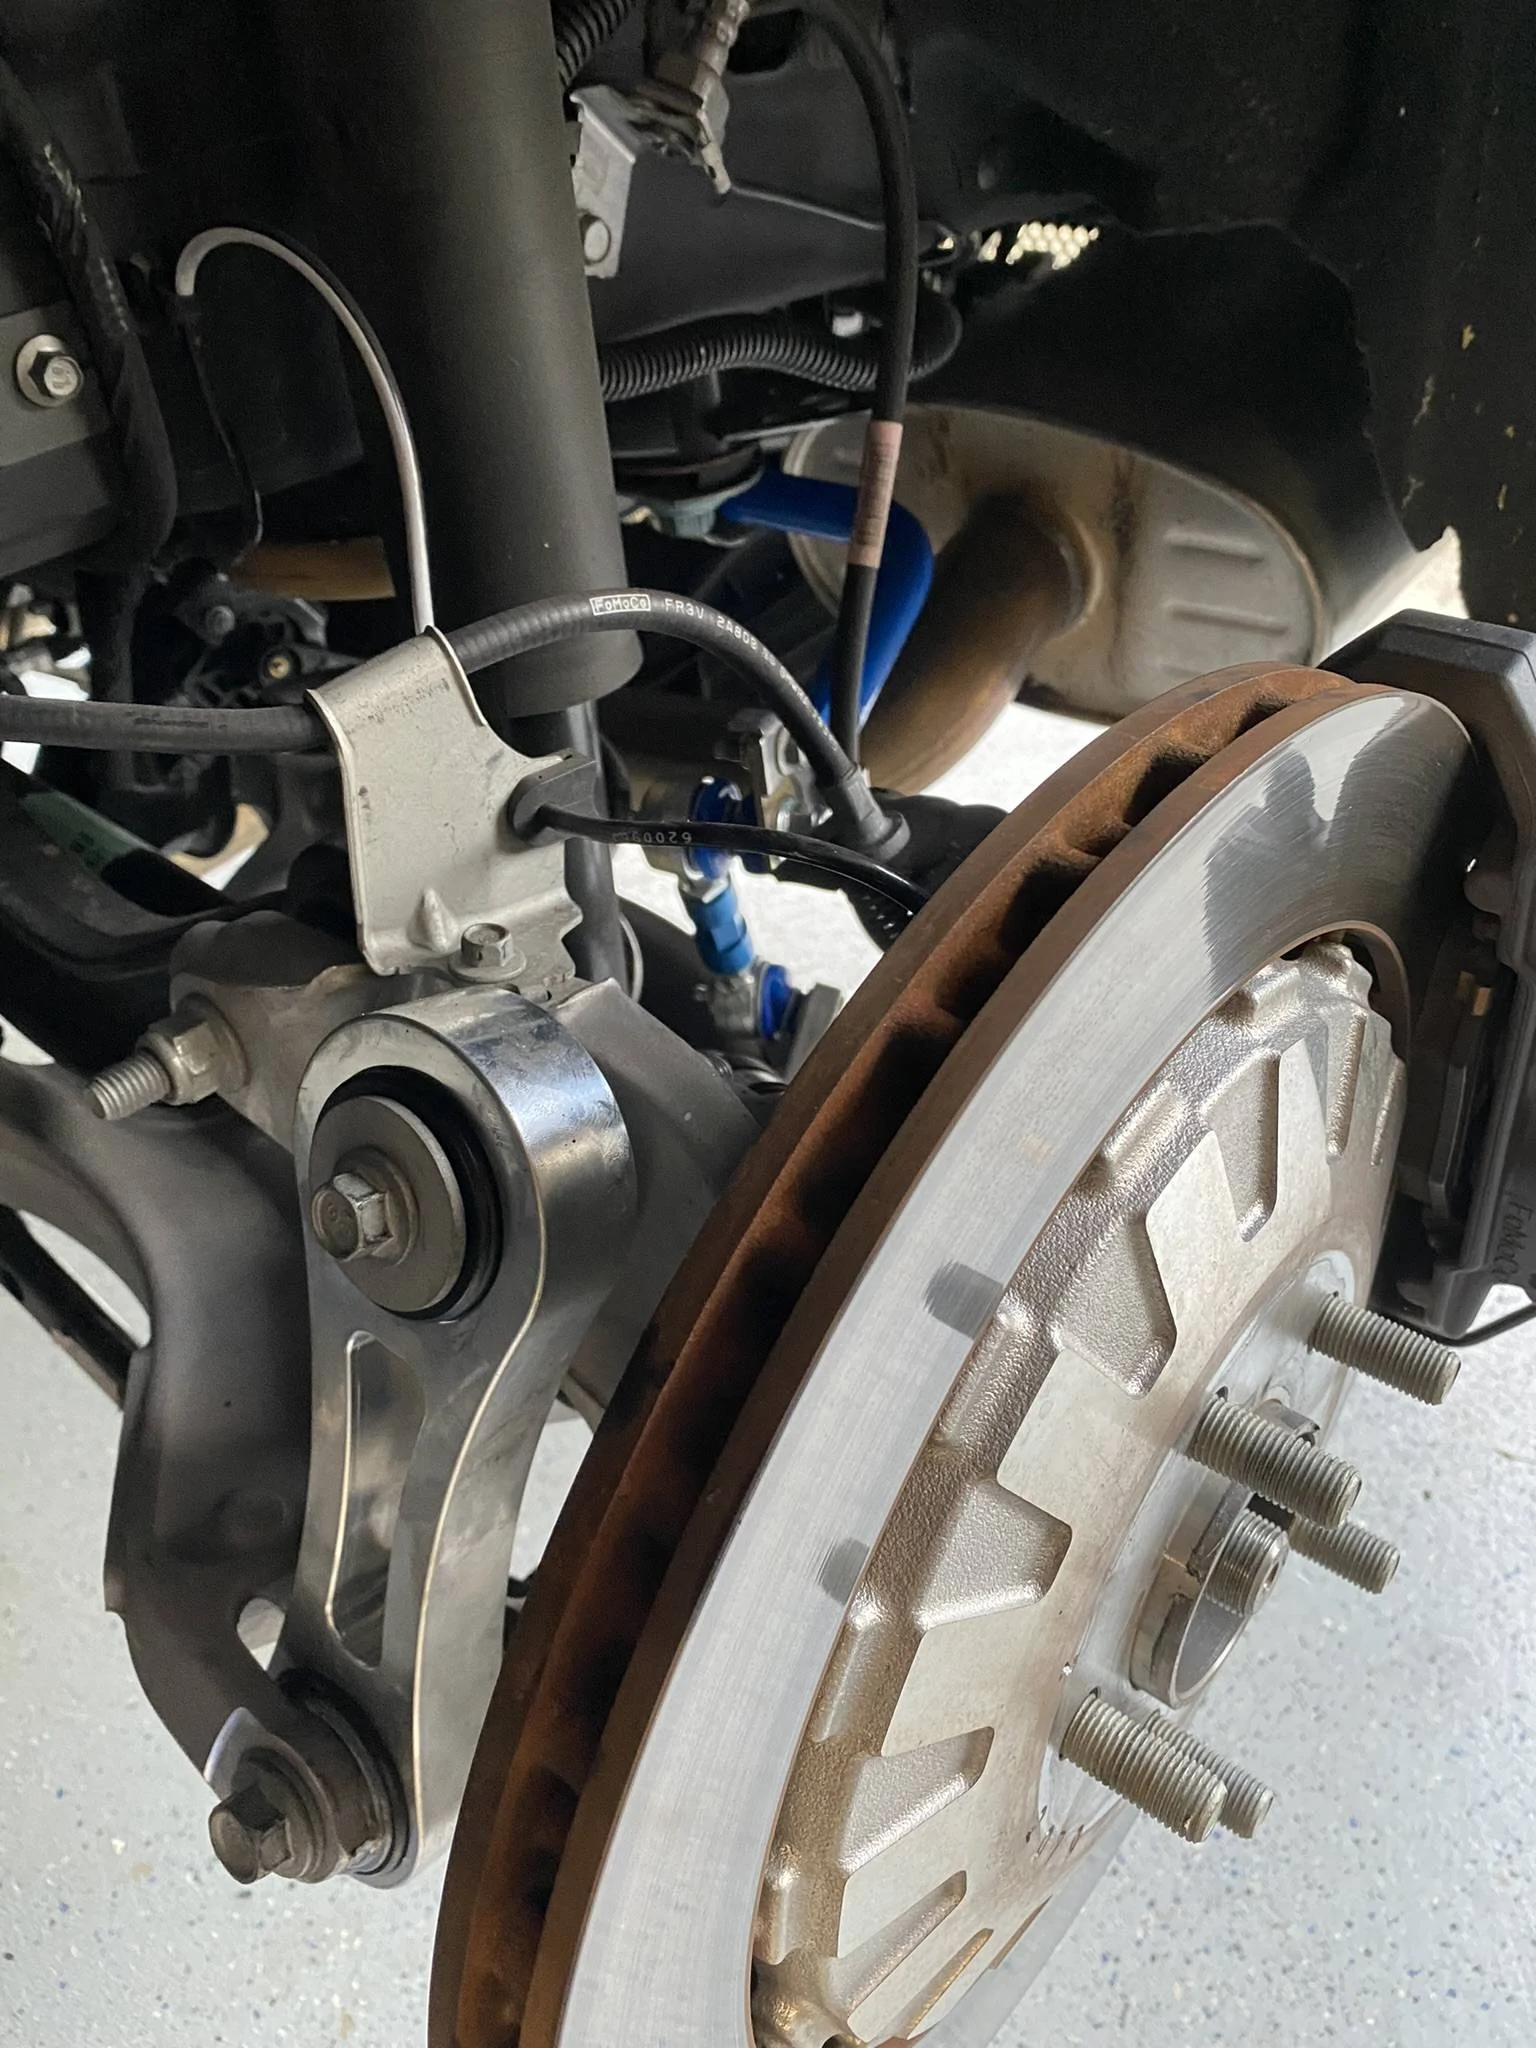
Finished the front and rear sway bars and adjustable end links. Damn near impossible to torque those end links studs given you need to use a 8mm wrench to hold the center as you tighten the nut. Ended up simply tightening as much as I could by hand. Really wish Steeda had used a similar design as the factory front end links that had a nut in the rear you could grab onto. Oddly Ford didn’t do that for the rear end links and you need to use an Allen key to hold the center on the stud similar to the after markets.

So to recap (so far)…

+ IRS bushing alignment and support kit
+ IRS braces
+ Billet vertical links (rear)
+ Front G-Trac 2-pt bar
+ Adjustable front and rear sway bars with adjustable end links

Still to go but waiting on the springs to arrive and plan to have a shop do these along with an alignment:

+ Adjustable rear toe links
+ Dual rate springs
+ Camber plates
+ Bump steer kit

Results to date have been very noticeable and I have been really pleased with the overall improvement in stability (significantly less tram lining) and handling.

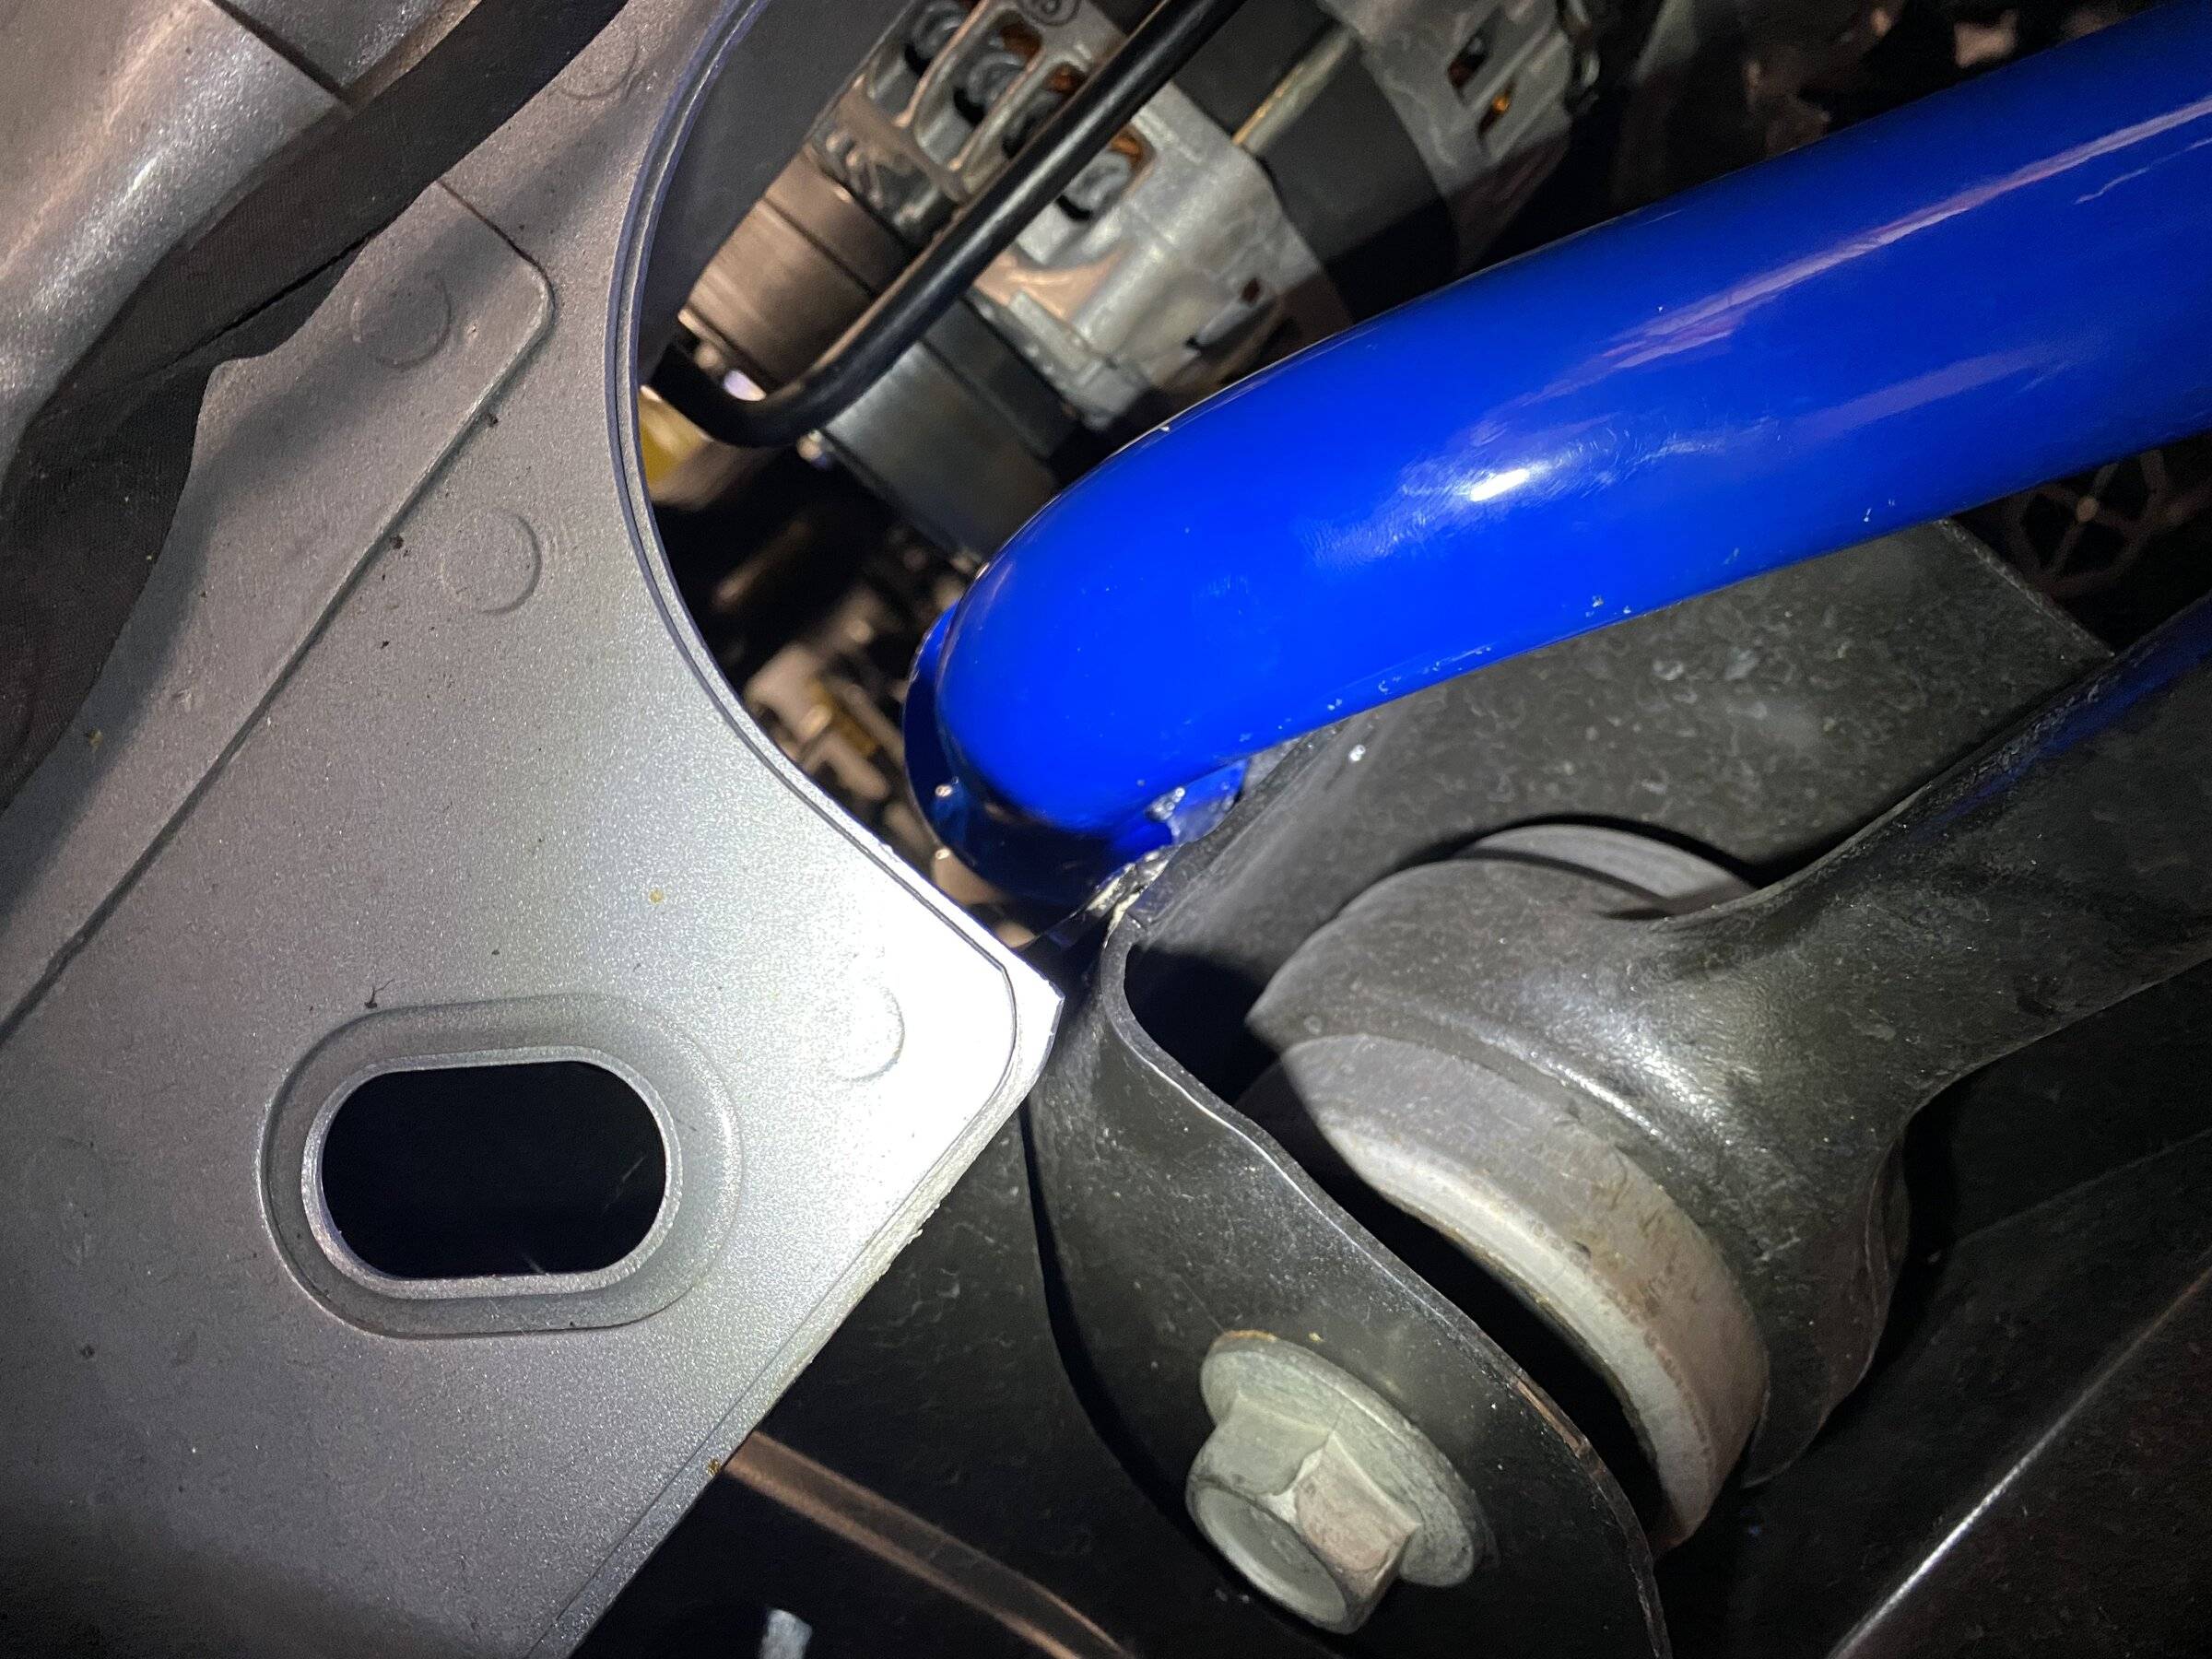
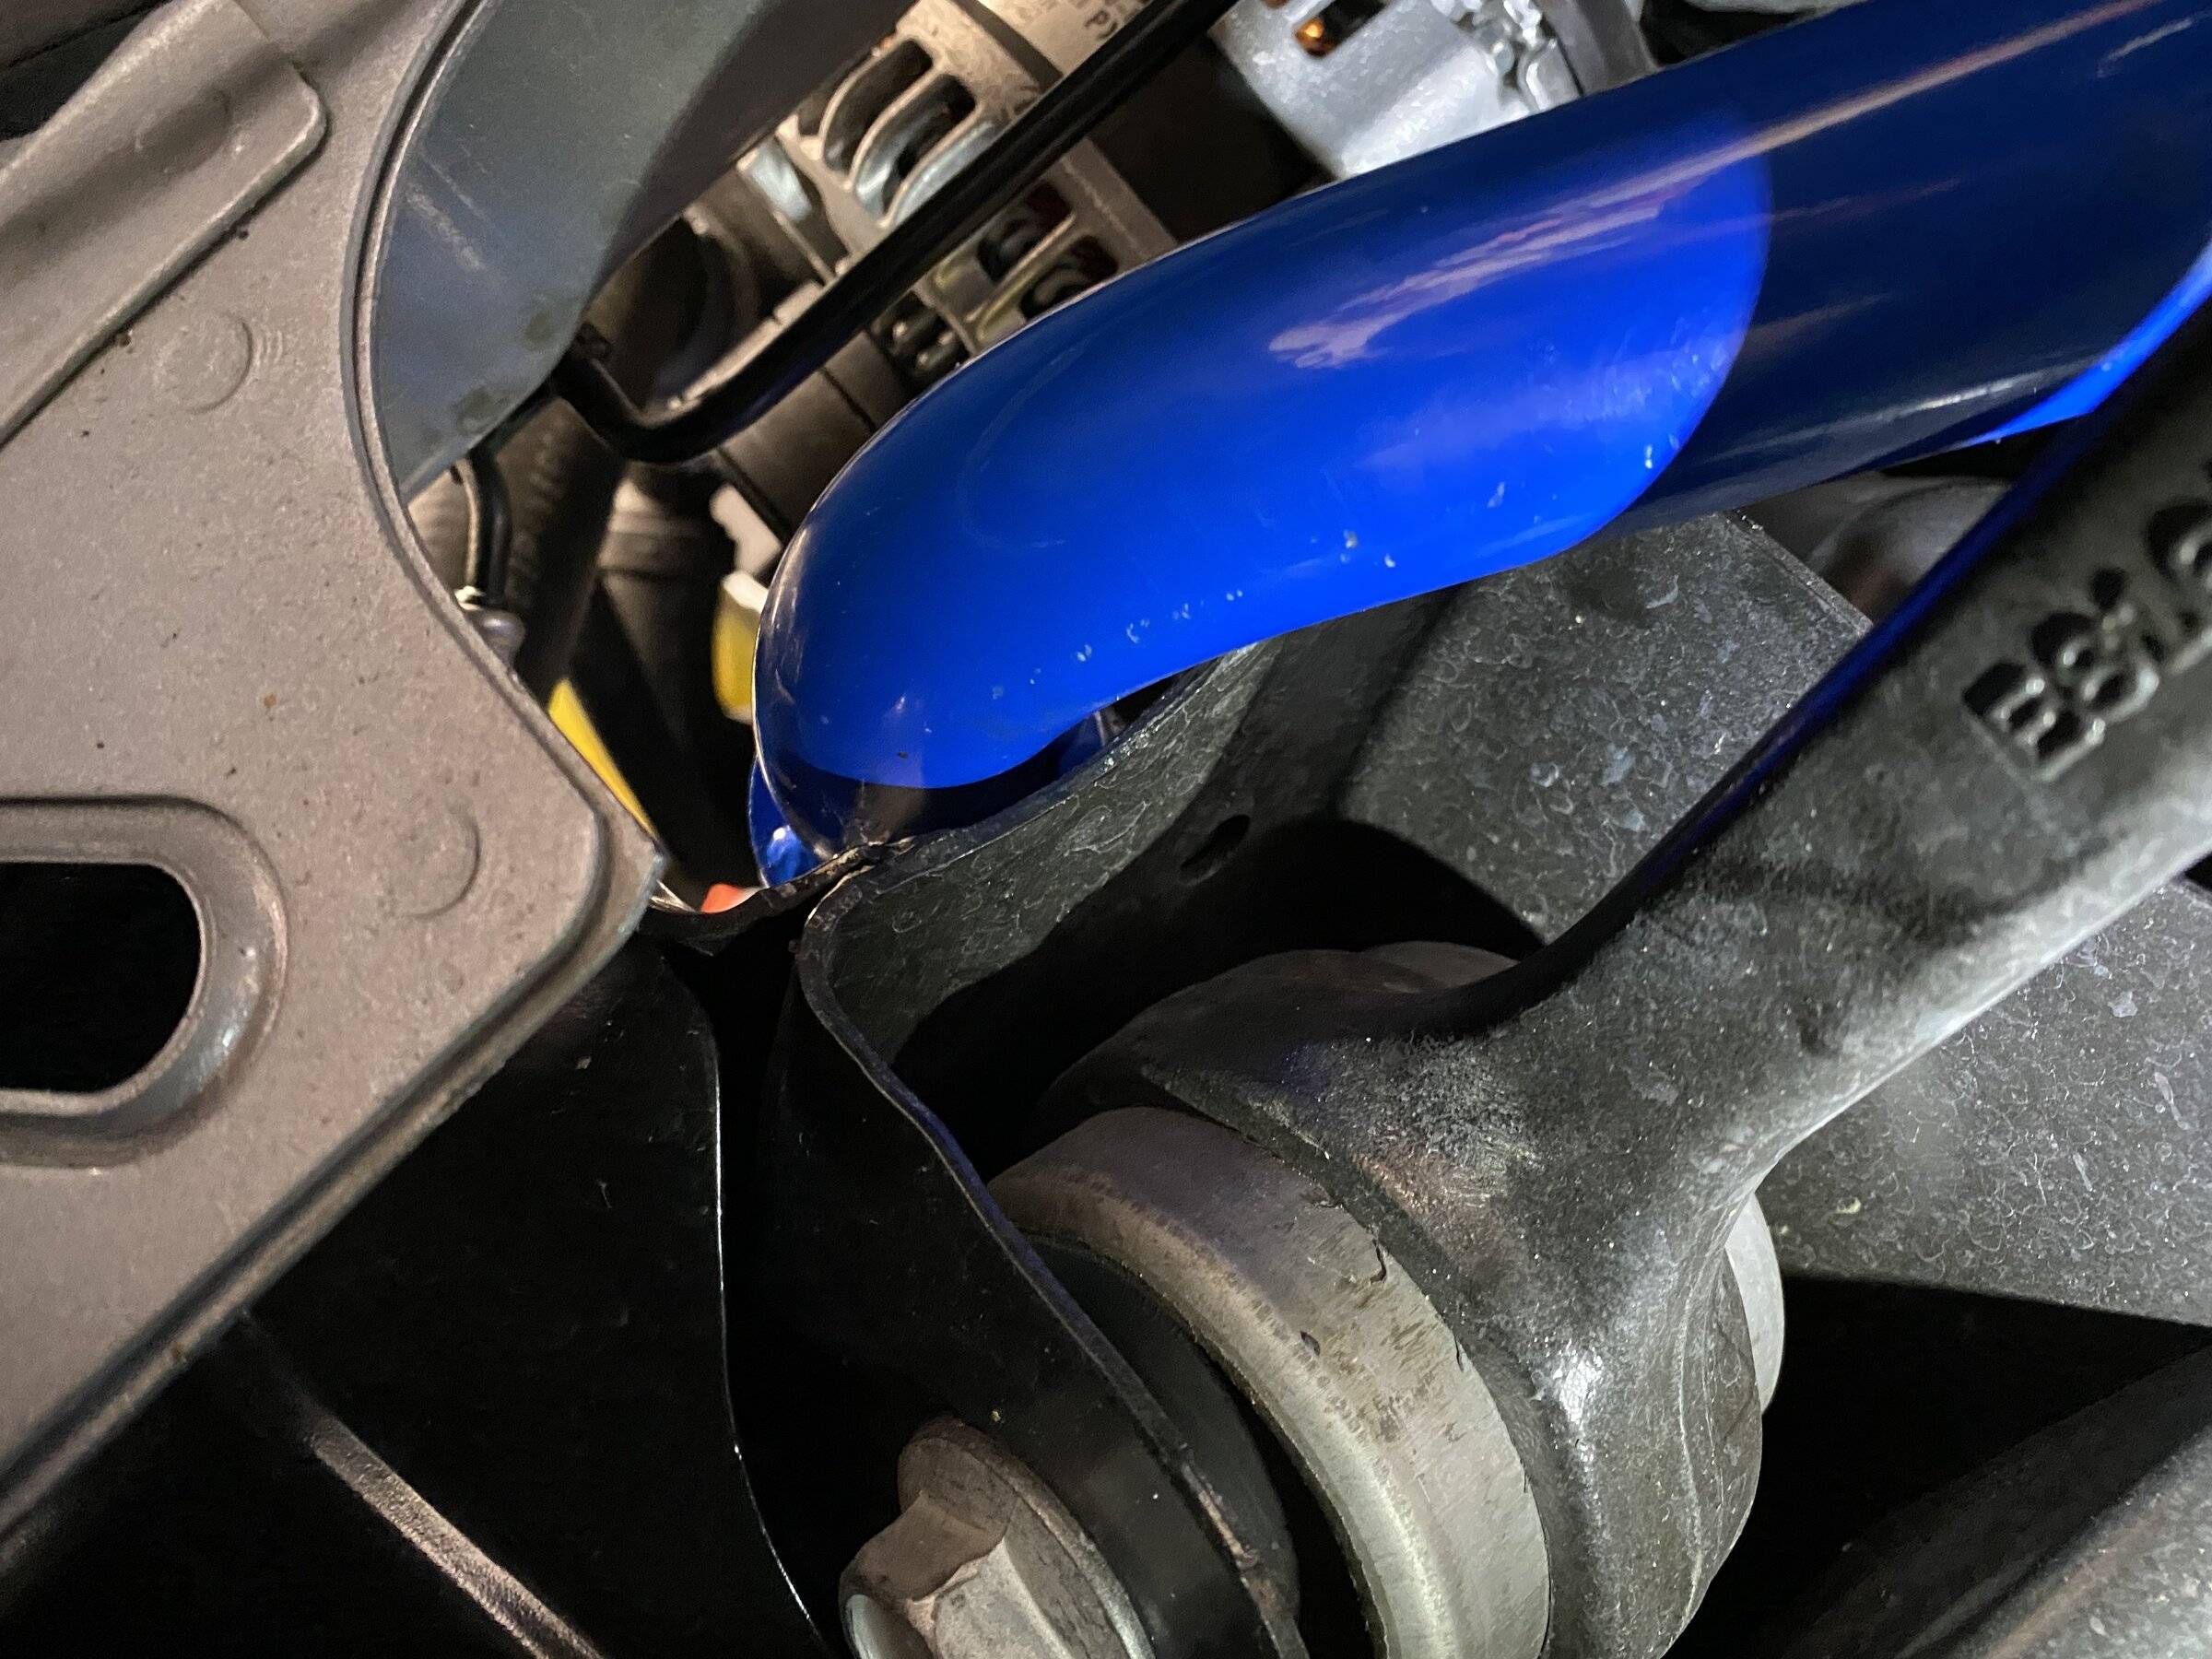
Installation has been very straightforward. A second set of hands to help feed the front sway bar in/out of the chassis made a huge difference. Be aware that Ford uses a shit load of blue loctite on the front sway bar mounts. The residue can make it difficult to thread the bolts back in. For one I had to try and chase the threads and clean out the excess in order to get the bolt back in - was super concerned about cross threading it. Take your time and don’t force anything (as usual).

Front sway bars had some room to adjust their positioning forward or backward in the mounts. I opted to push them forward to create as much room as possible for the ride height sensor which ends up pretty damn close to the end link. I set my tears to full soft and the fronts to one position in from full soft based on suggestions from Steeda. Feels really good. You can’t actually use the forward most hole in the fronts due to the ride height sensor so in away this set up is as soft as you can make it.

73950018-DDA7-48E4-8056-5360F3467E41.jpeg


58451914-3035-46D1-97B7-2427A575E08B.jpeg


4CF3FAD6-35E4-49B2-91BC-F8007100F985.jpeg


3E44B6C1-0788-4497-A395-35122D6C19CC.jpeg


D46F66B7-BB8E-4991-9A8C-40AE0FDC3985.jpeg


EE0CC497-69BA-4994-8BF1-D94BBFB143C5.jpeg


7B40E943-097B-4CB2-AFAF-CBDB609E59BC.jpeg


509C1711-510B-4AE0-96FA-BF025FDA43A0.webp
Sponsored


Top