isedawishy
GTPPTT6REIGHTY
- Joined
- Jul 21, 2015
- Threads
- 66
- Messages
- 804
- Reaction score
- 183
- Location
- Fort Worth
- Vehicle(s)
- 2015 GT
- Thread starter
- #1
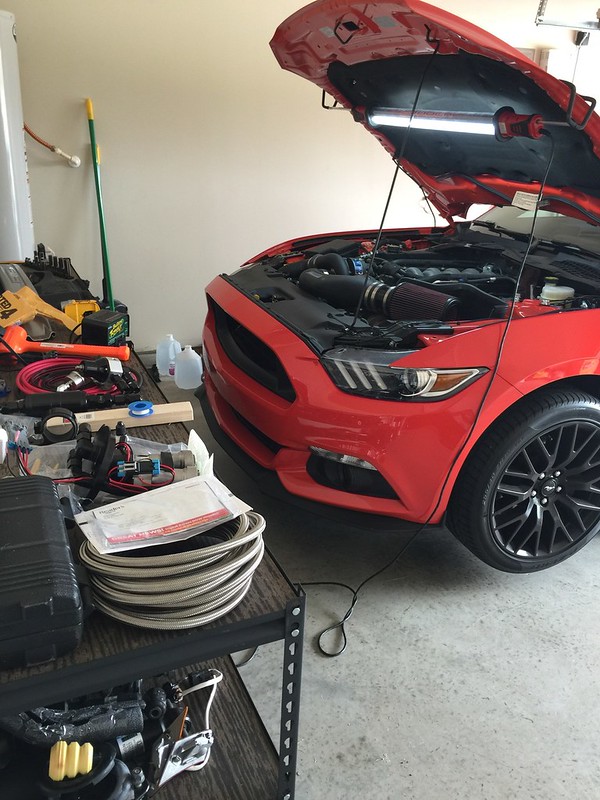
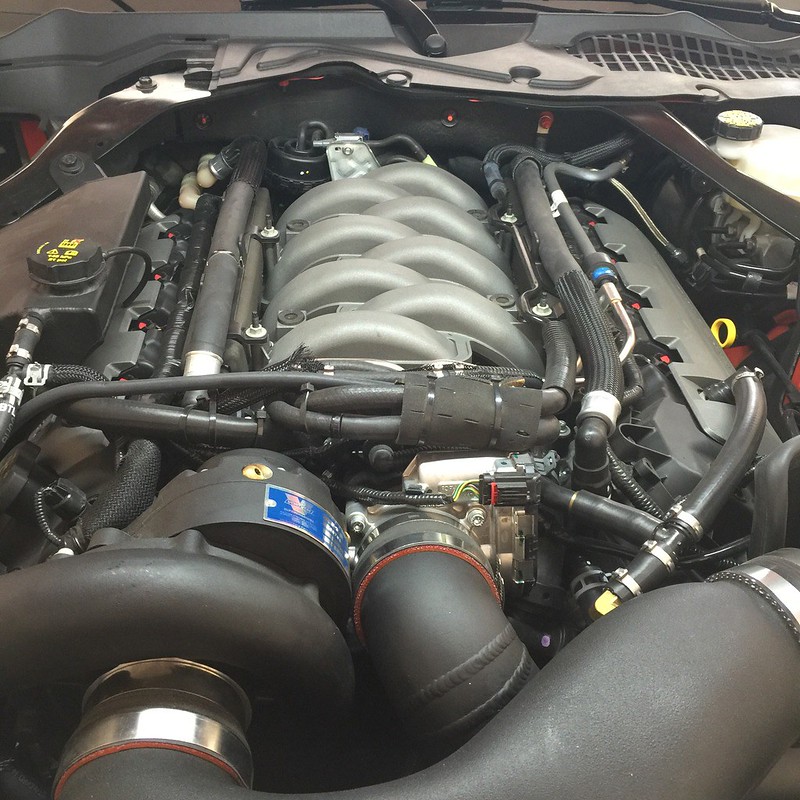
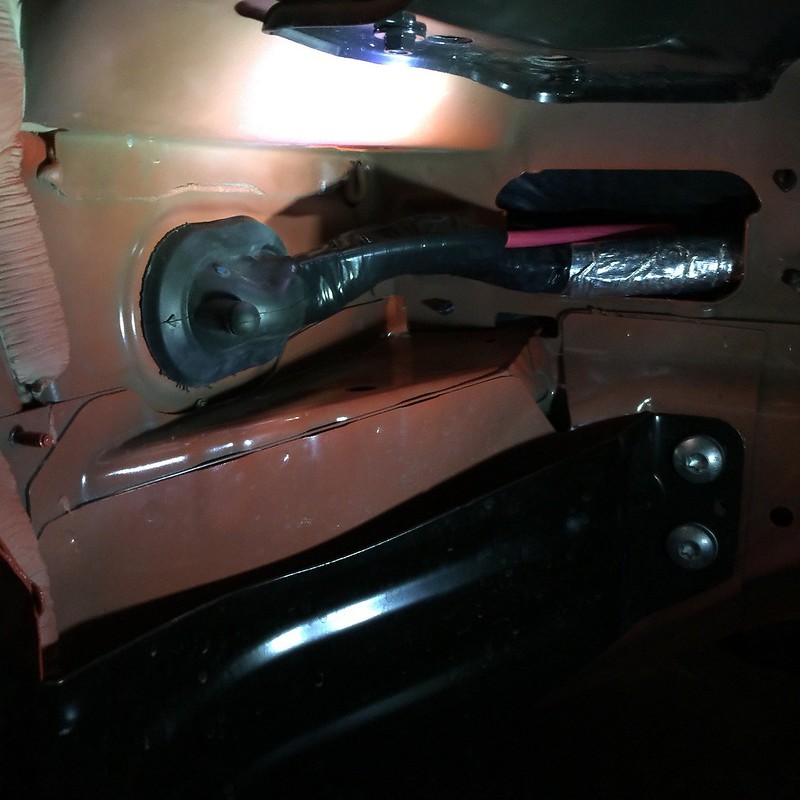
I couldn't find any detailed install threads, so wanted to log progress as I go through the install.
I'll be installing,
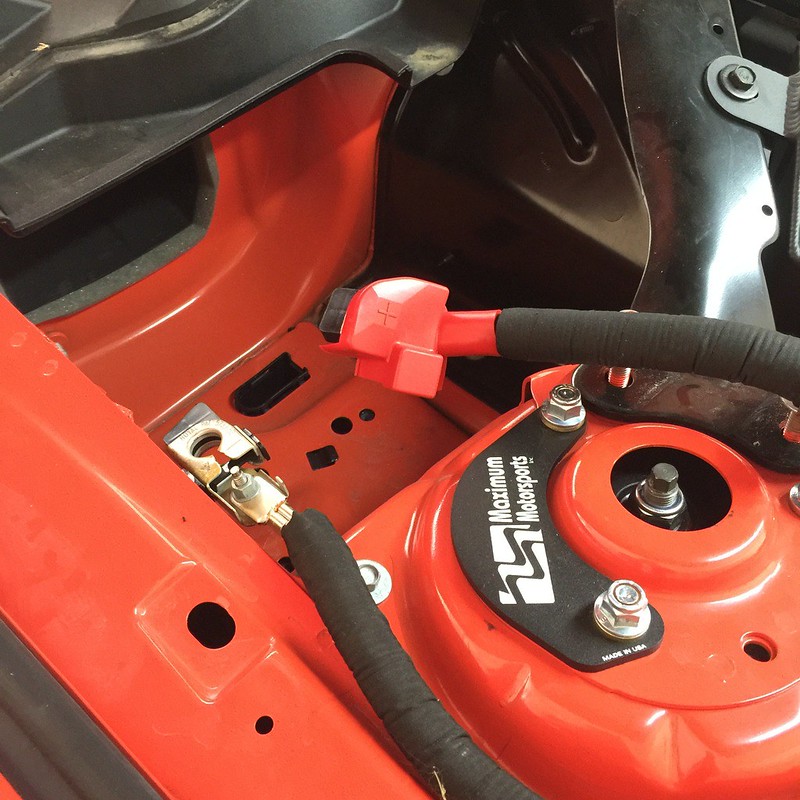
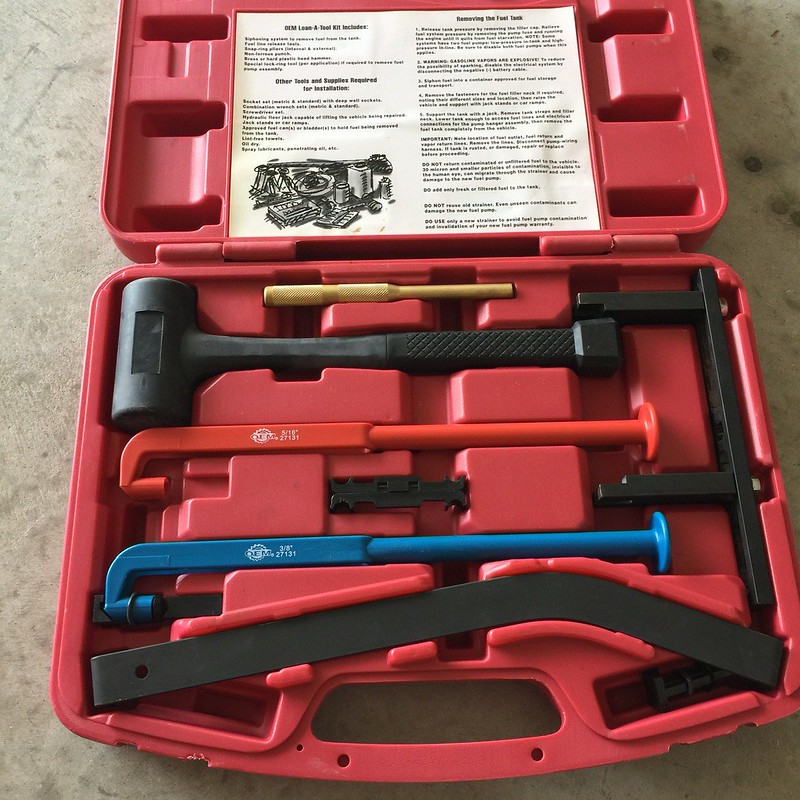
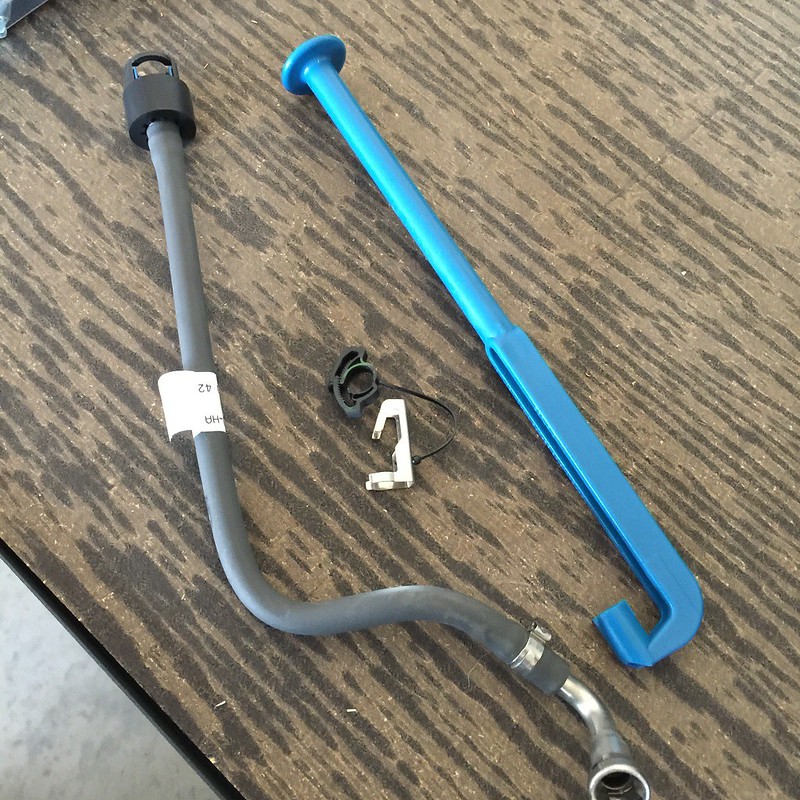
You will need a couple extra things to complete the install,

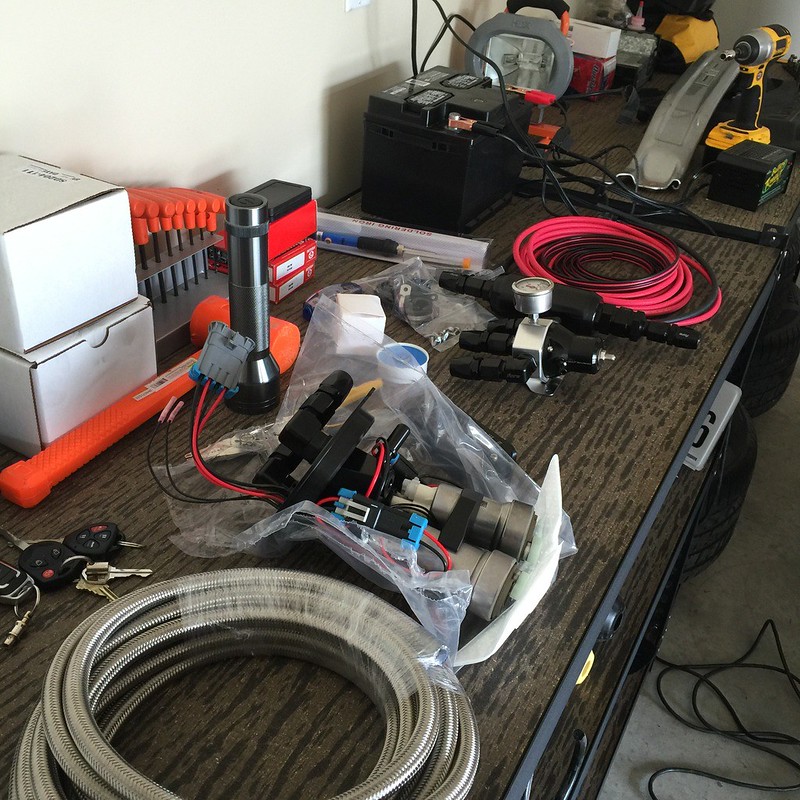
I'll be installing,
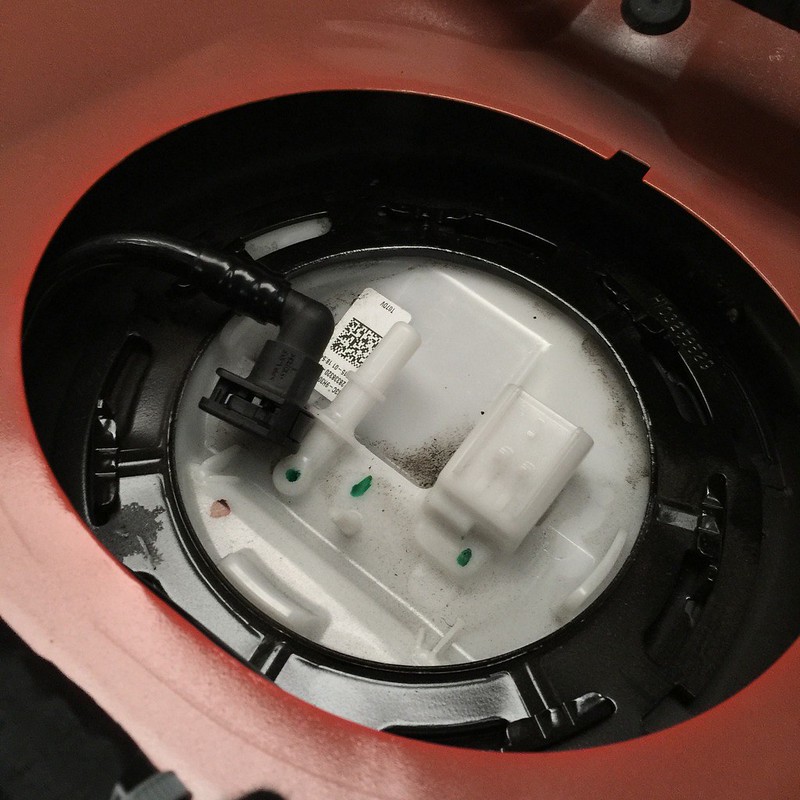
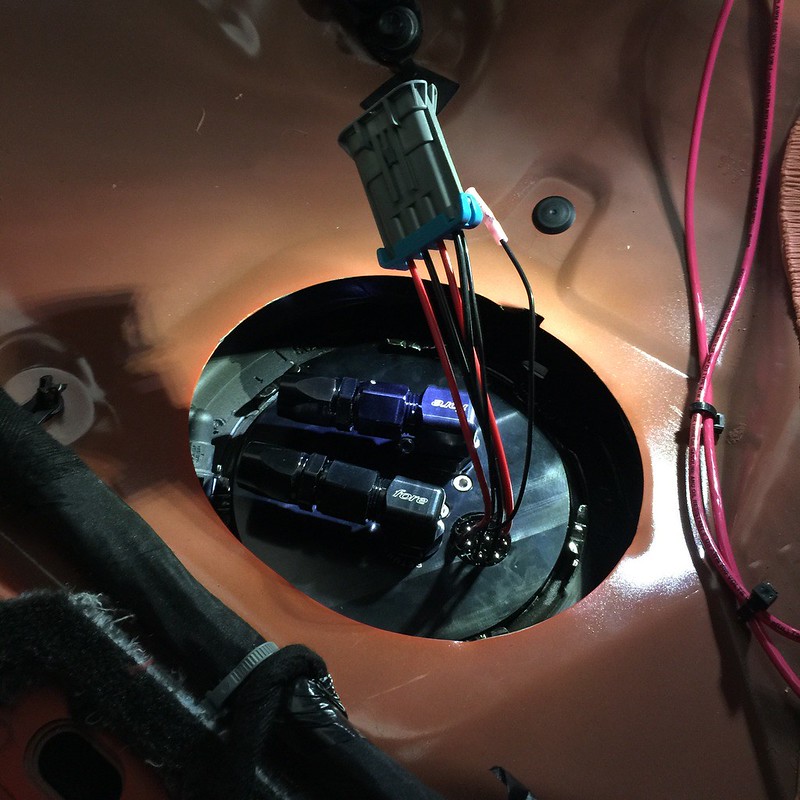
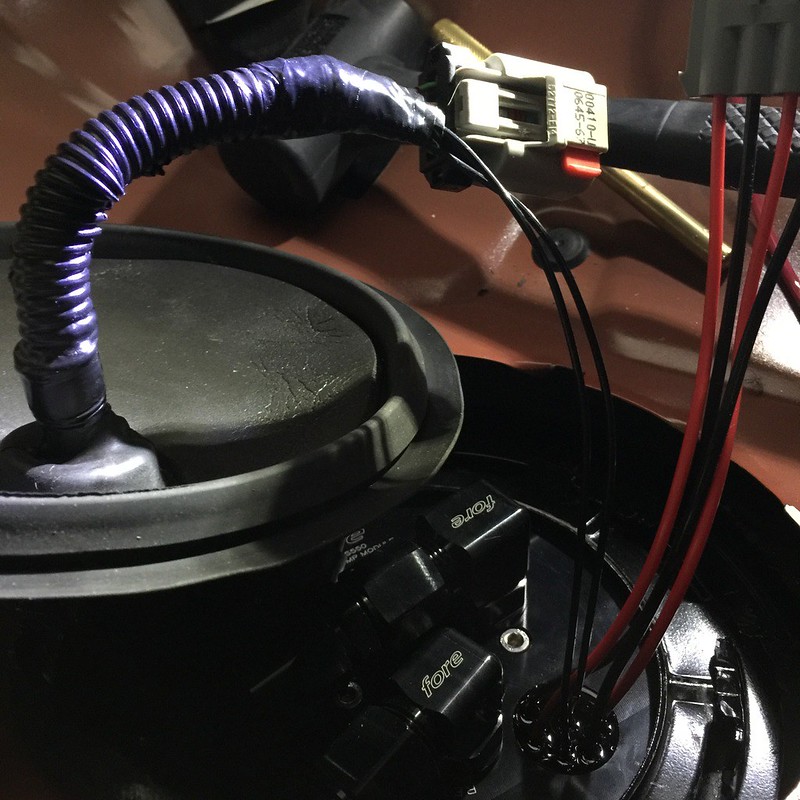
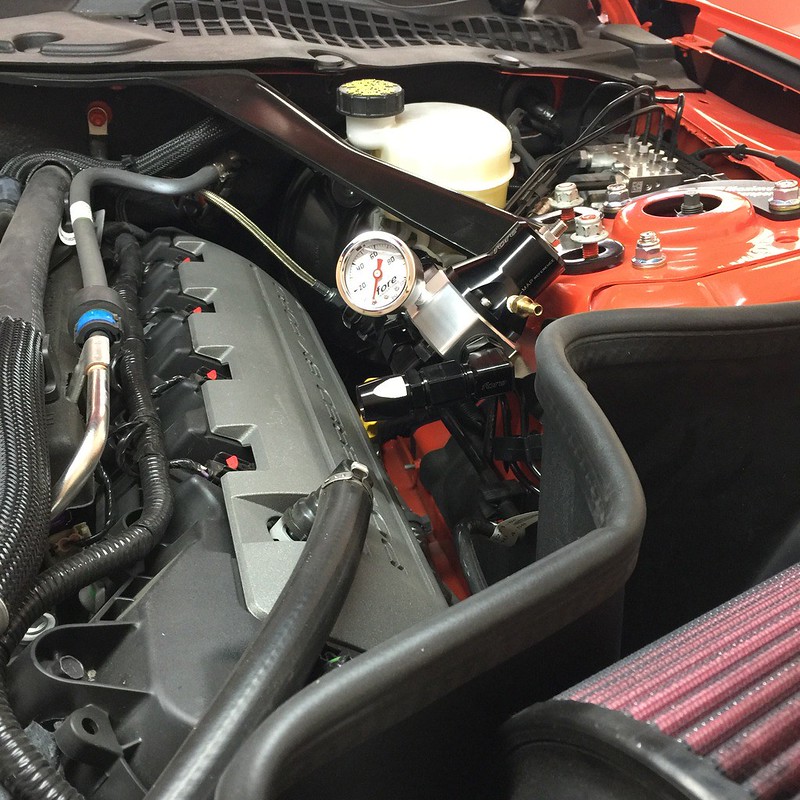
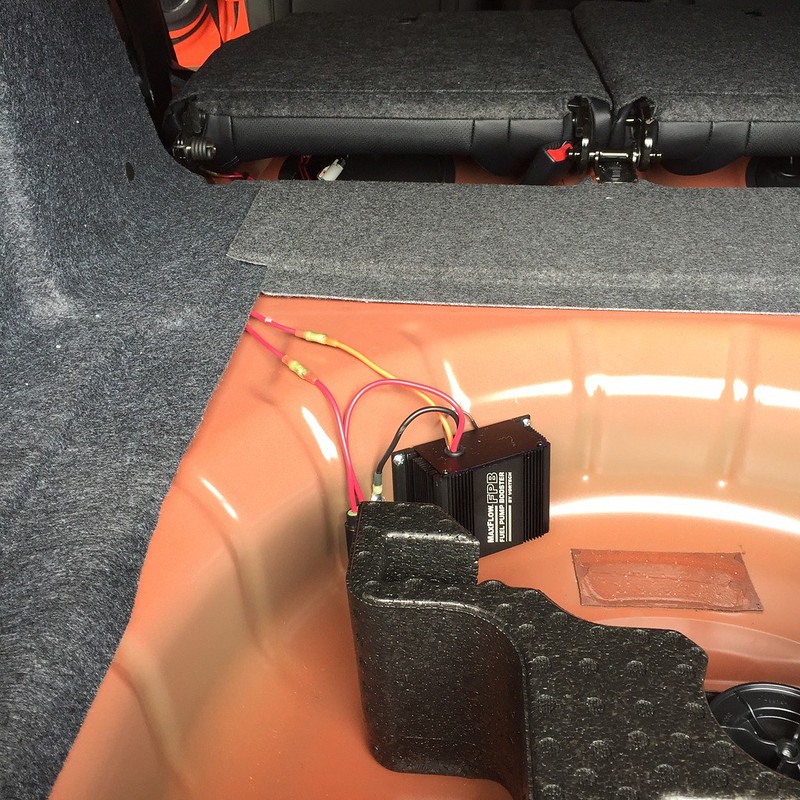
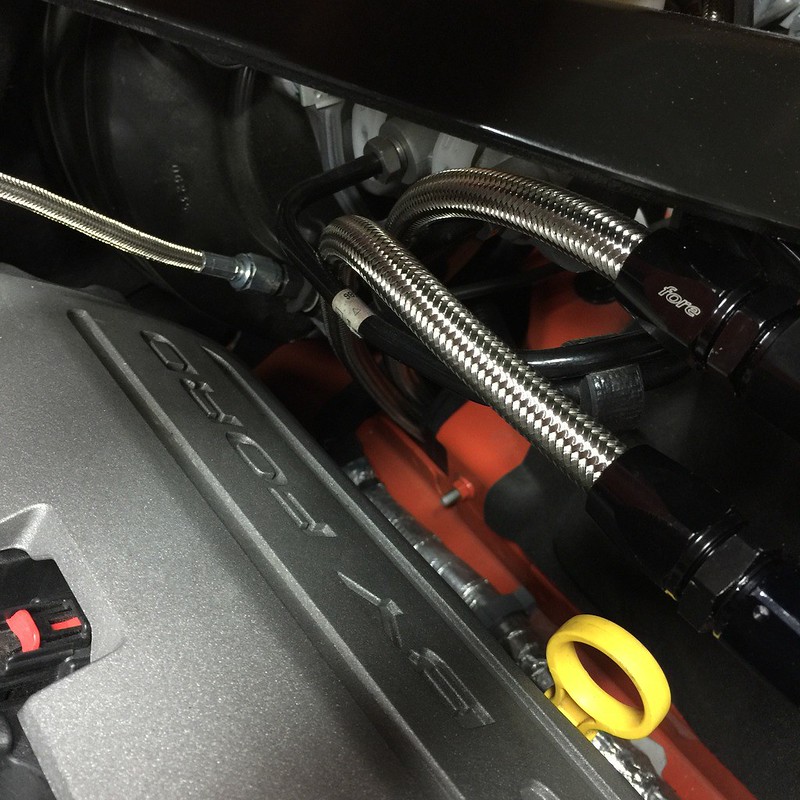
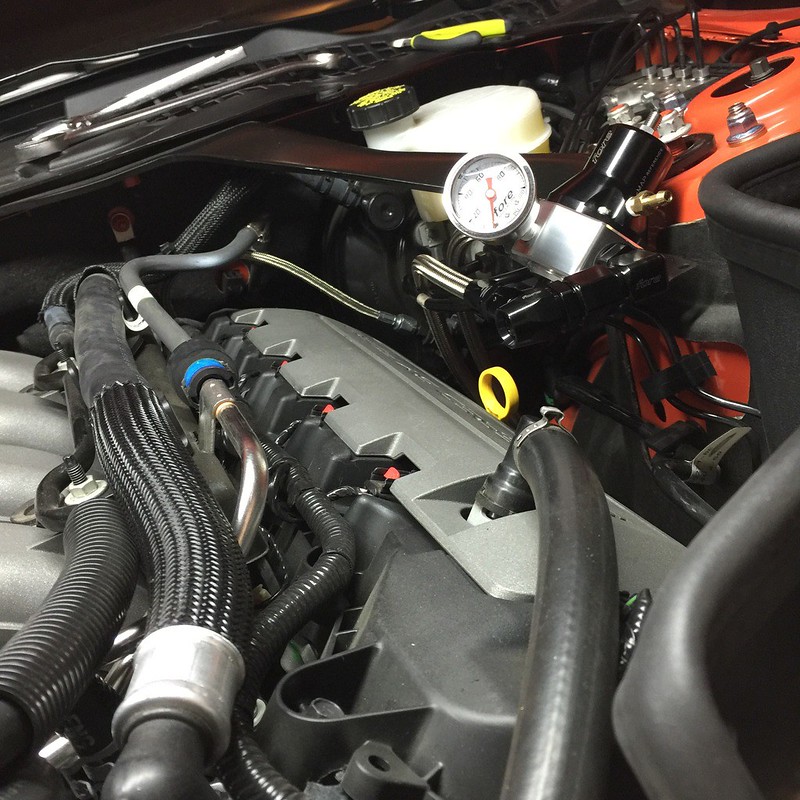
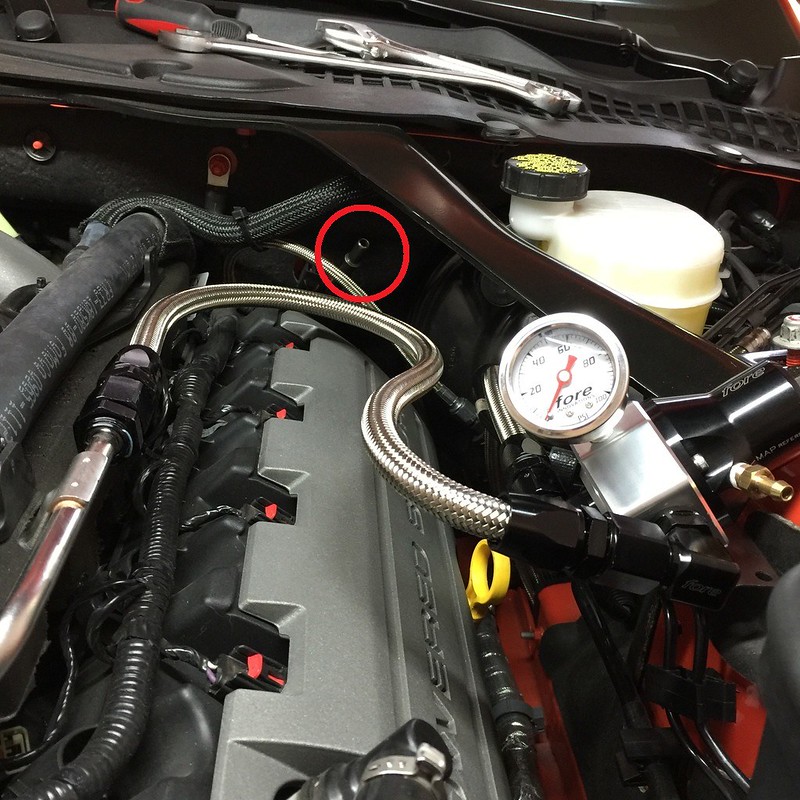
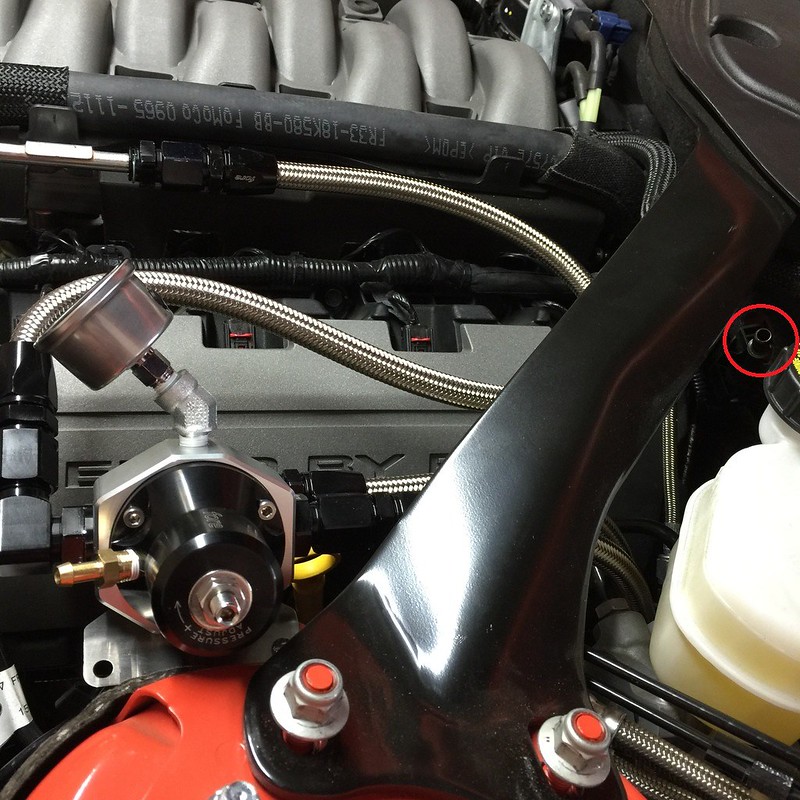
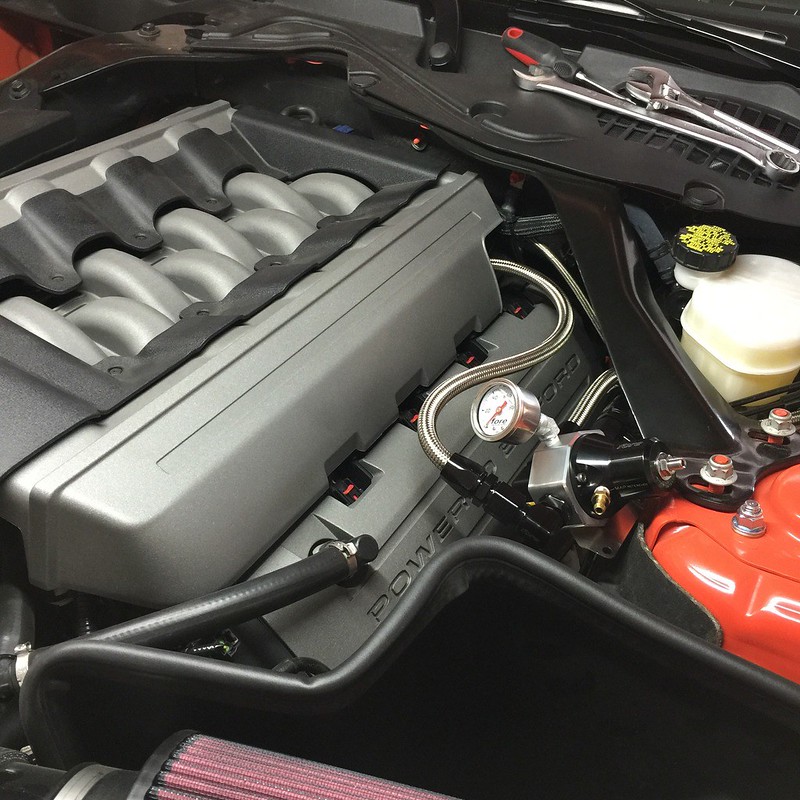
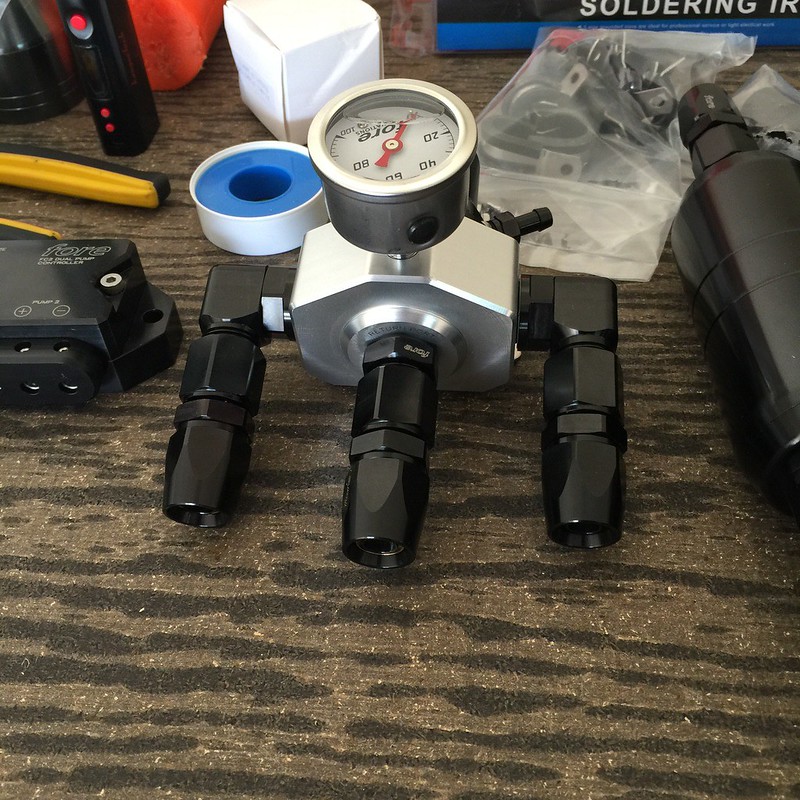
- Fore level 1 return fuel system
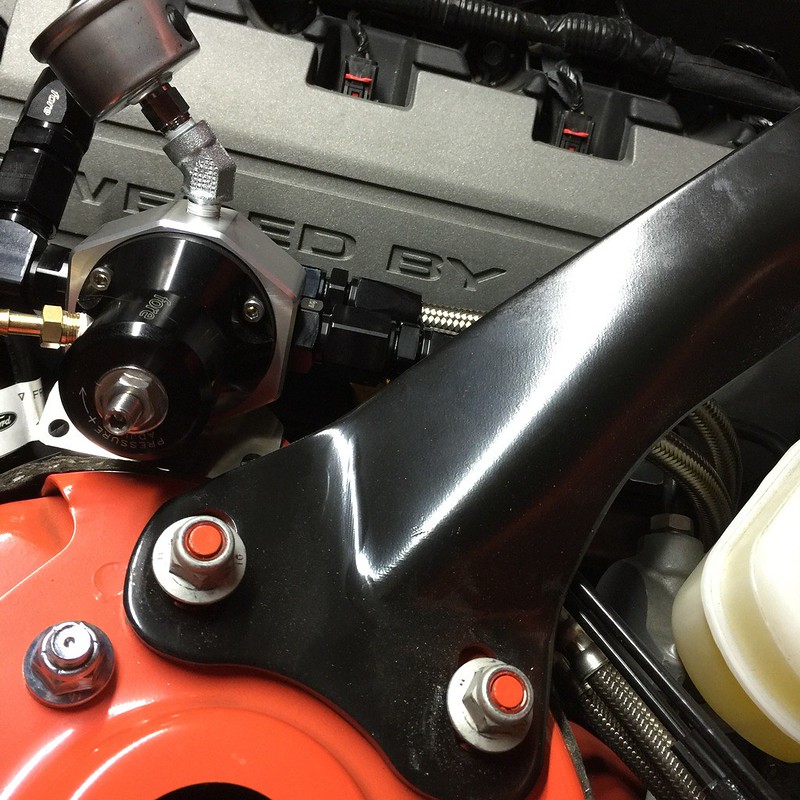
- F1i fuel pressure regulator
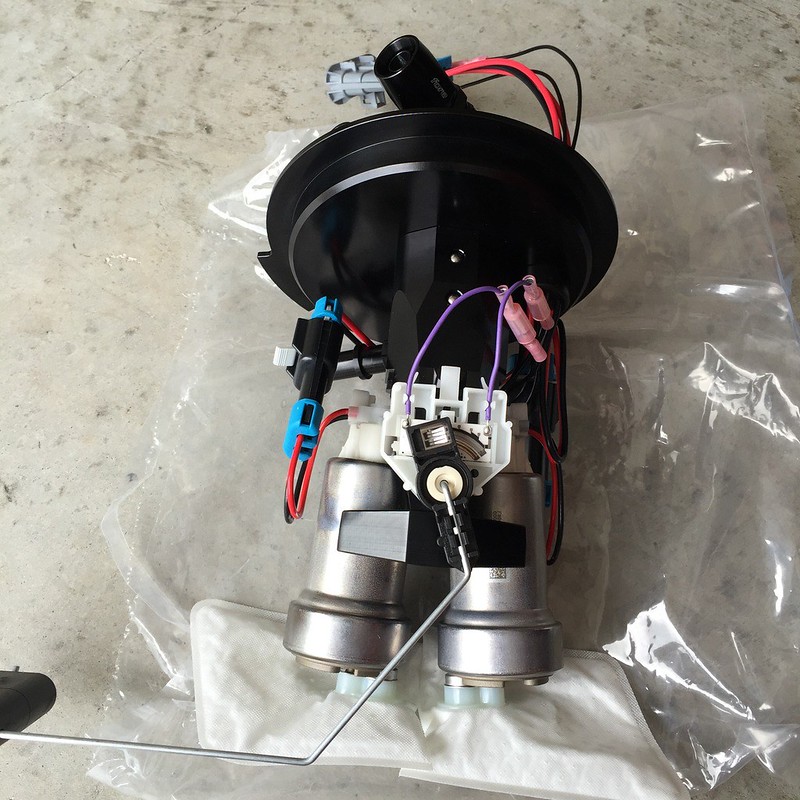
- dual TI Auto F90000267 pumps
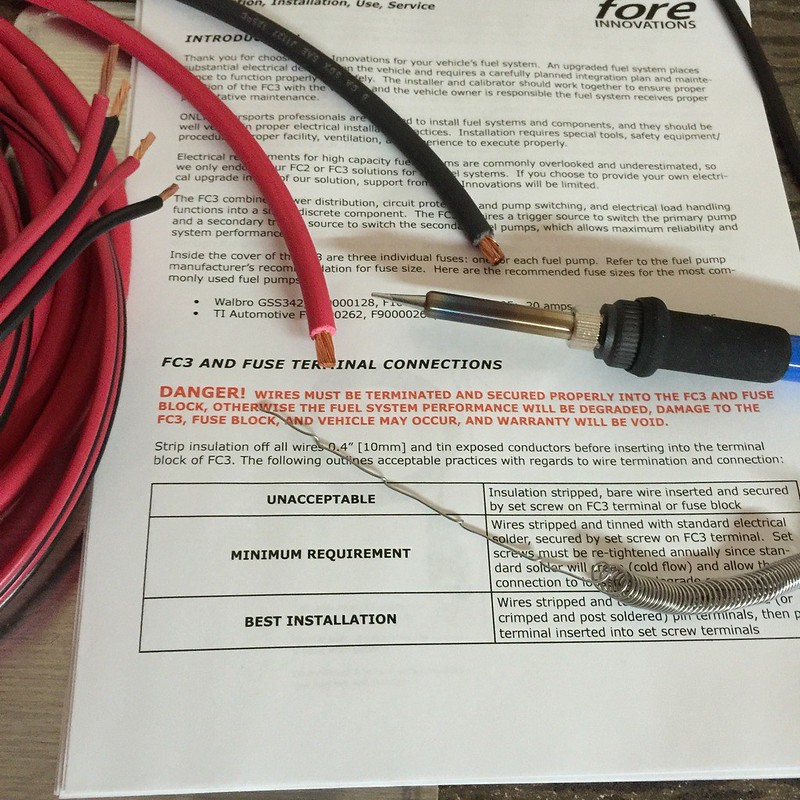
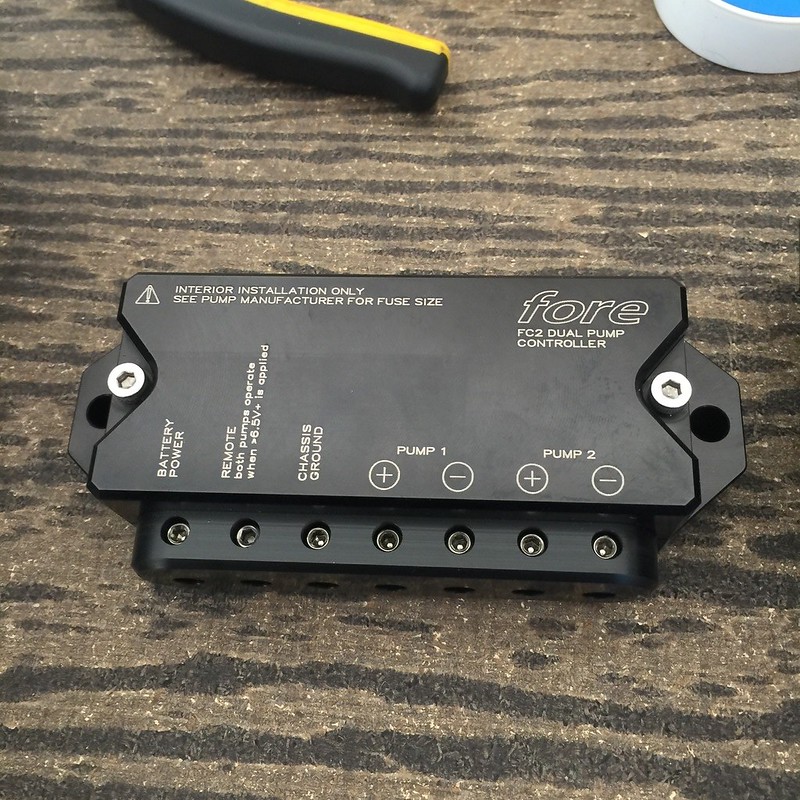
- FC2 controller
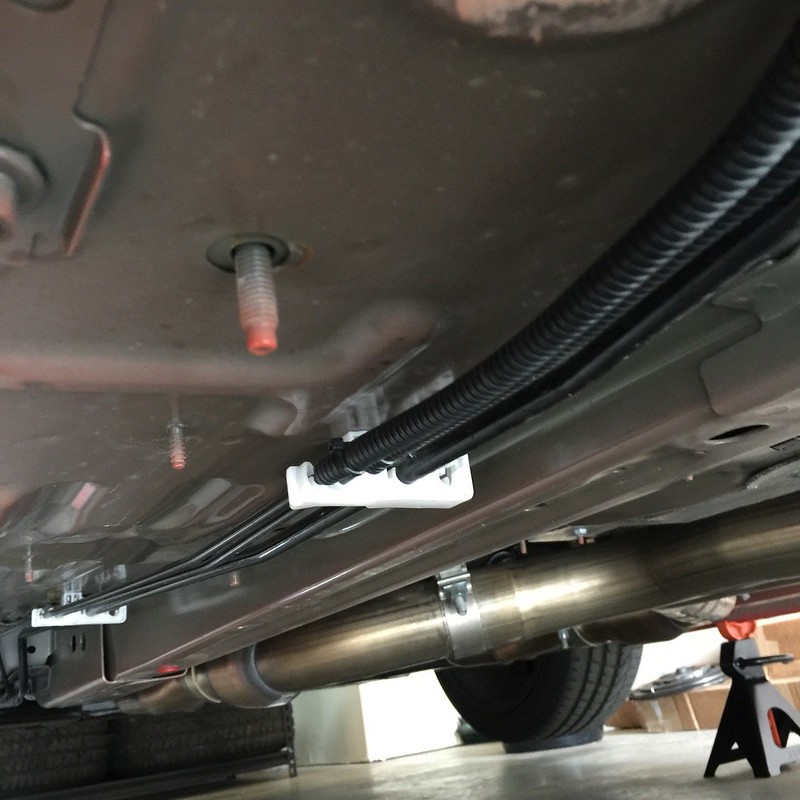
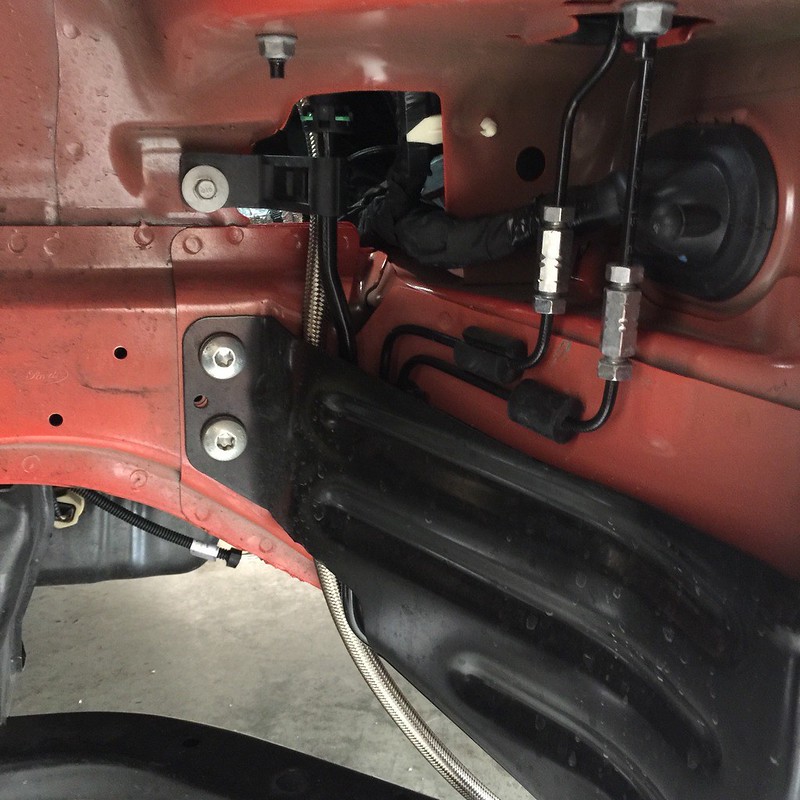
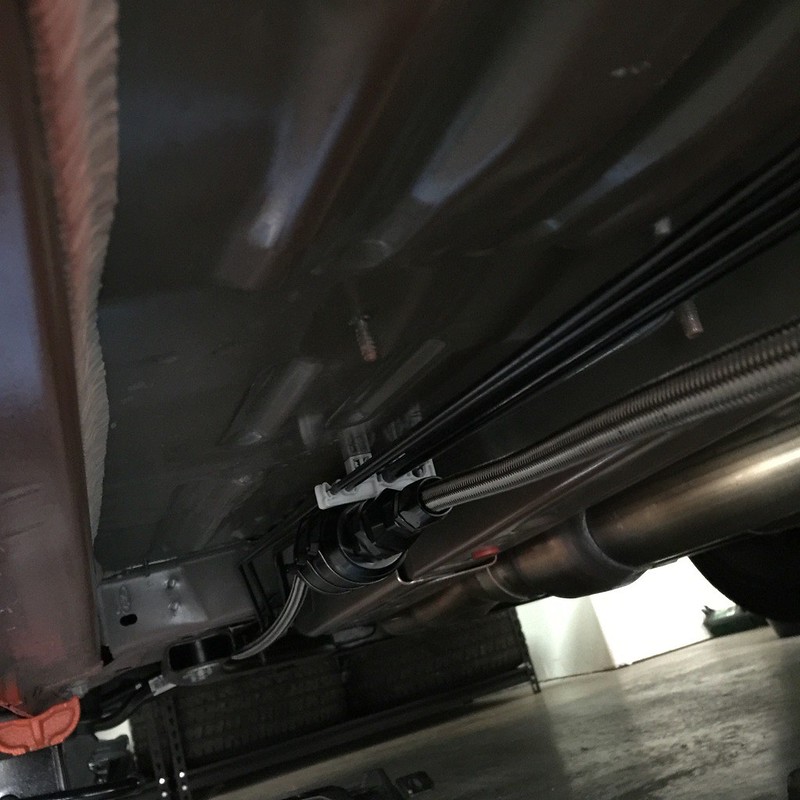
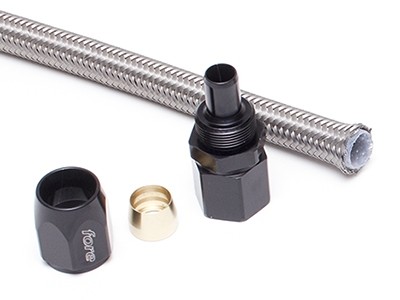
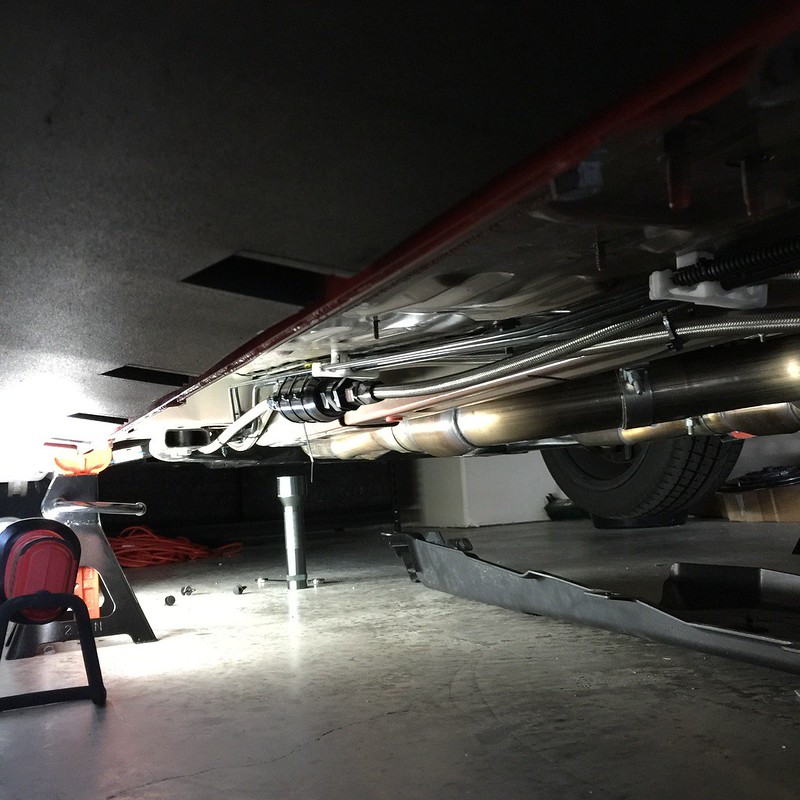
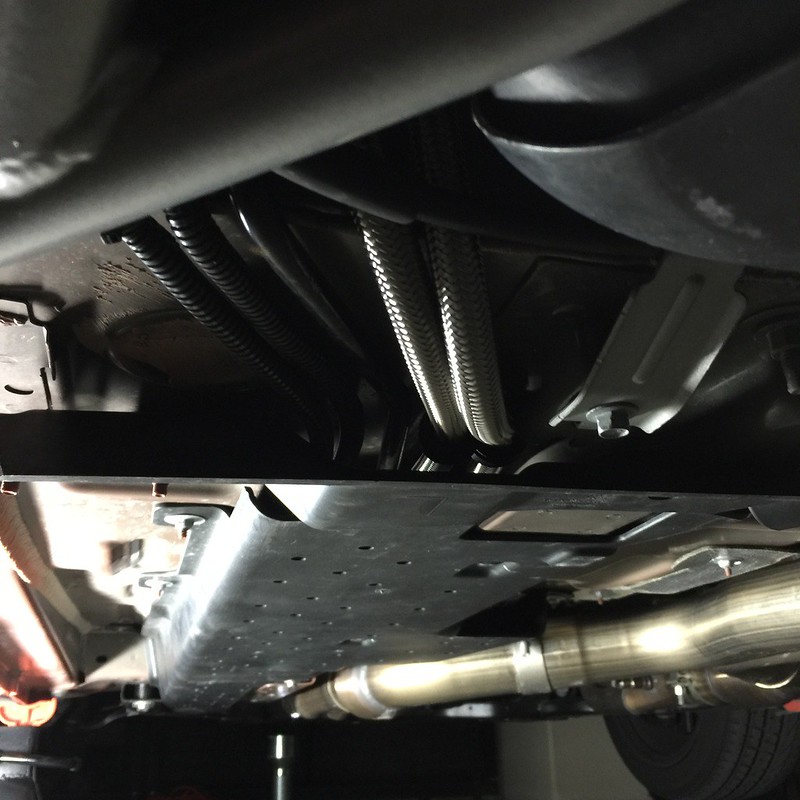
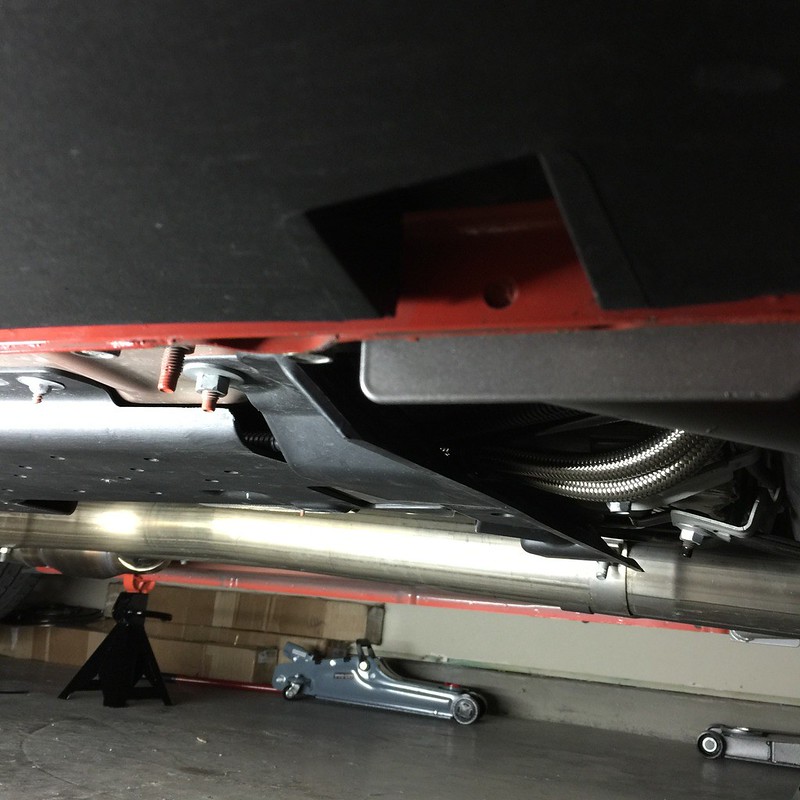
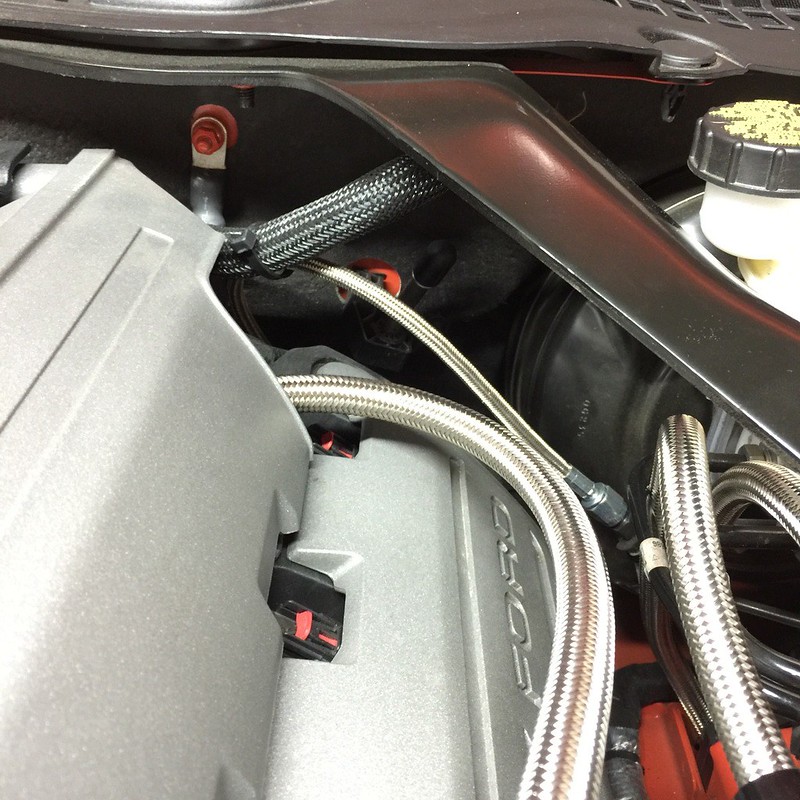
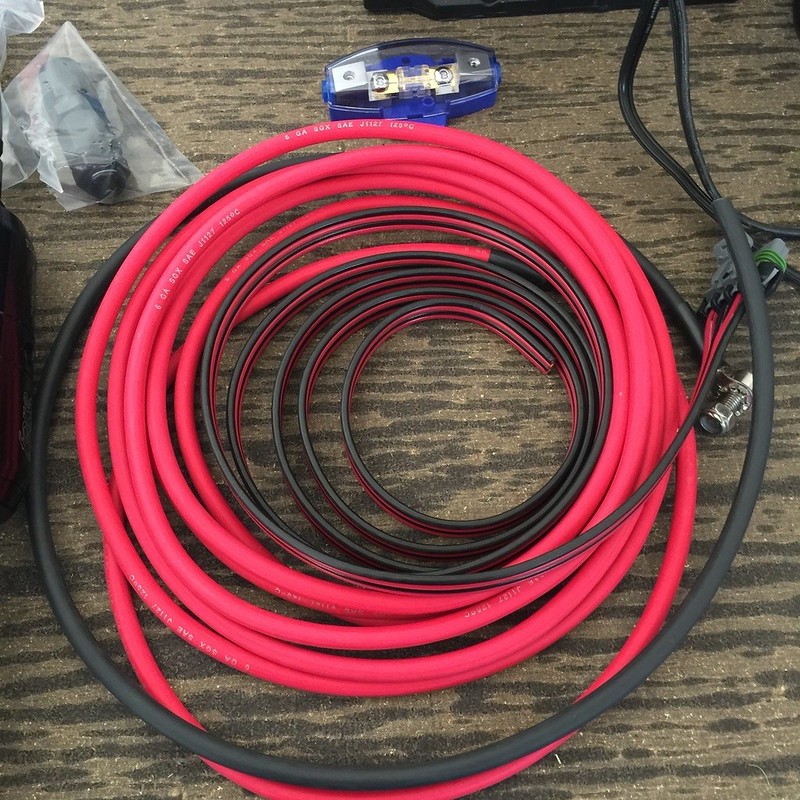
- -8 feed & return
- 88mm inline cellulose filter
- FCV checkvalve
- pressure gauge
You will need a couple extra things to complete the install,
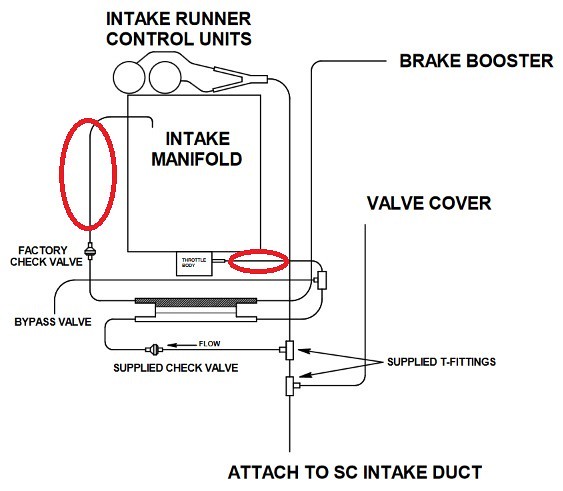
- Highly recommend a vacuum block, especially if you plan on utilizing a Hobbs switch and/or manual boost gauge
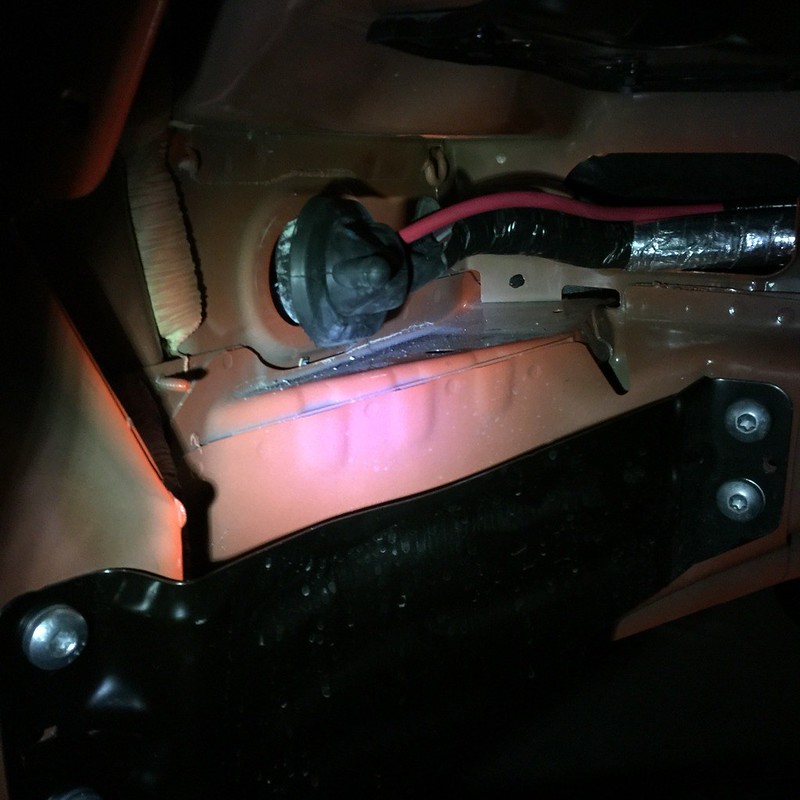
- FC2 controller does not come with bolts or screws to mount it
- FC2 controller fuse does not come with bolts or screws to mount it
- Electrical tape for various wiring and cutting the fuel lines
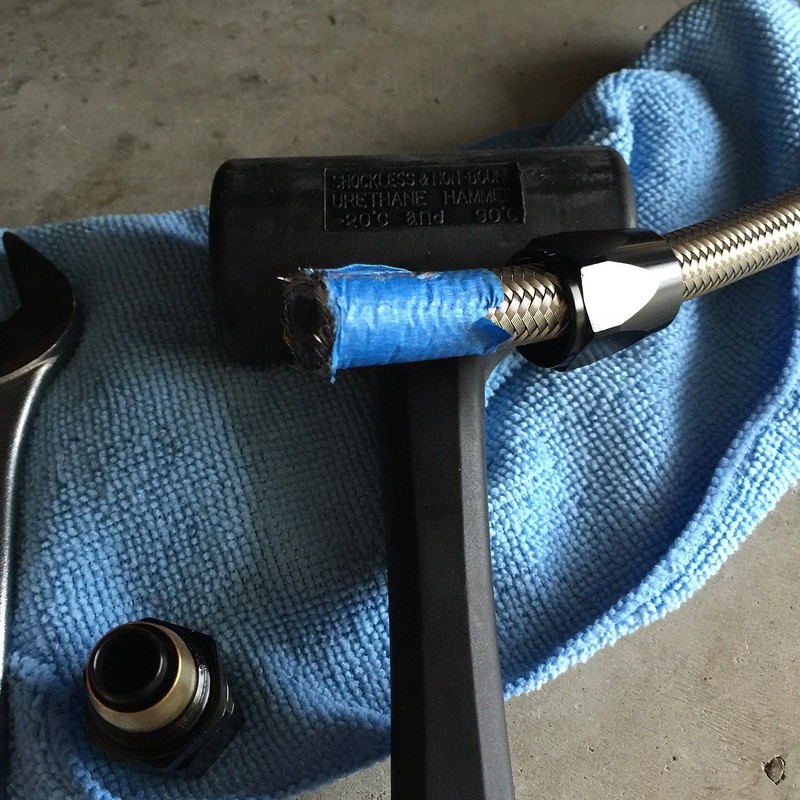
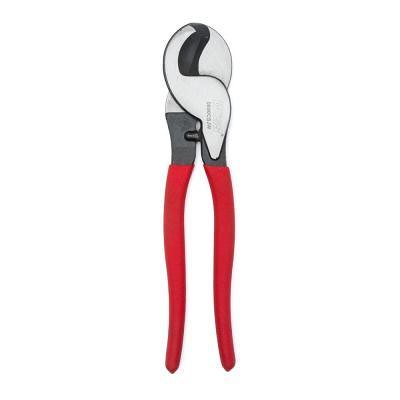
- Highly recommend cable cutters to cut the fuel lines. I purchased some from Home Depot and they were only $18- LINK
- 5/16 rubber vacuum cap if retaining OEM fuel line
- E85 tester - LINK
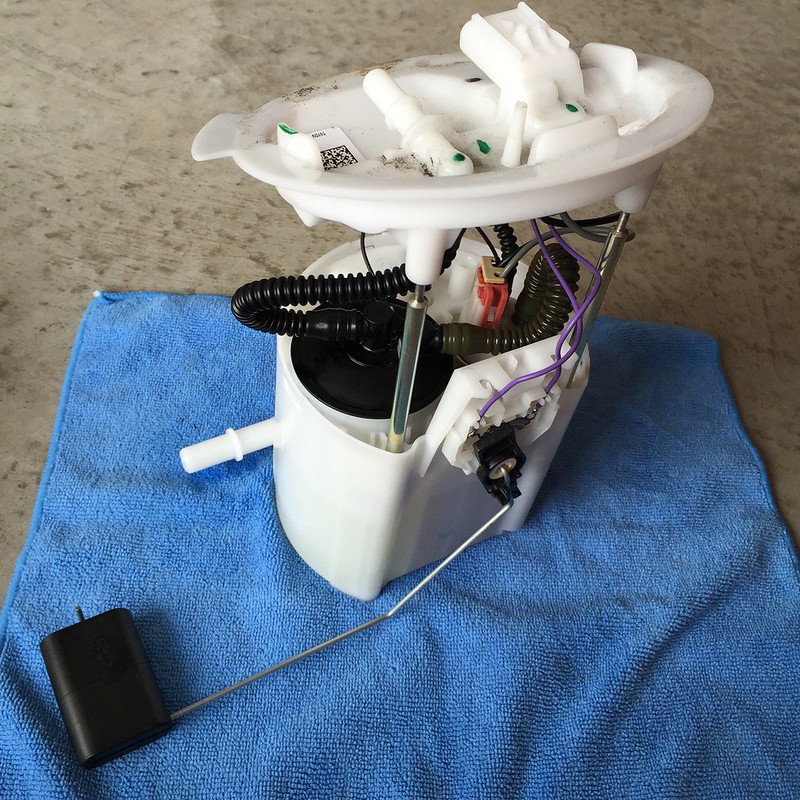
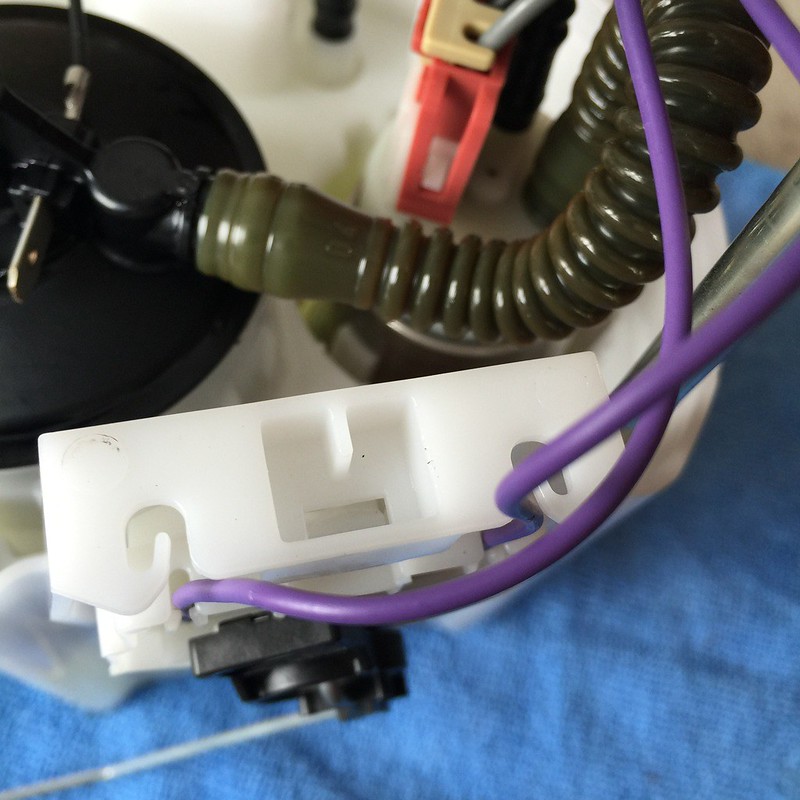
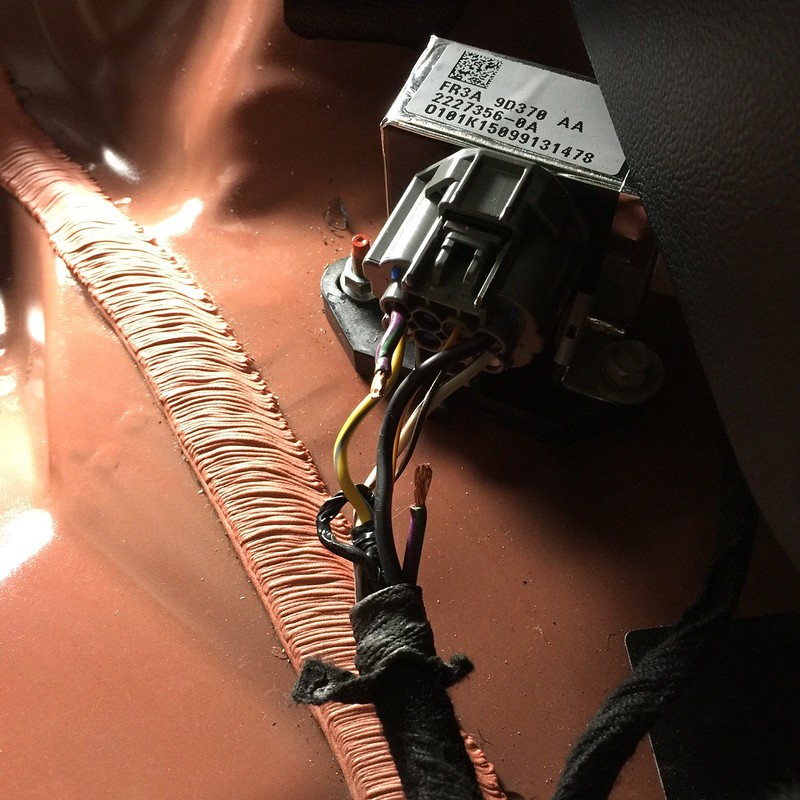
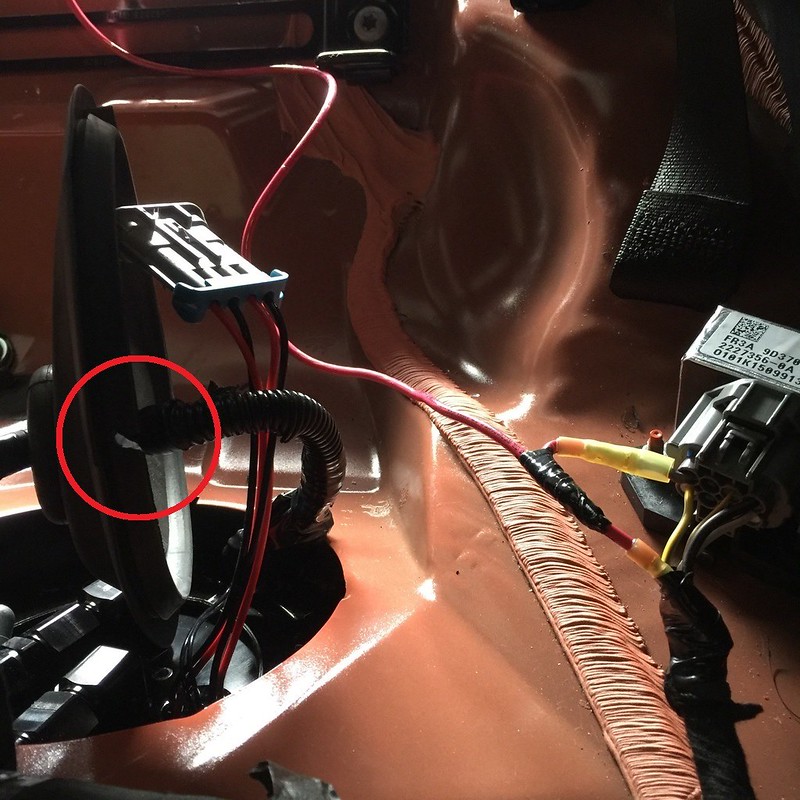
- The goods!
- Housing with the 2 TI Auto pumps

- FC2 controller & wiring kit
- Inline filter

- F1i fuel pressure regulator
Sponsored
Last edited: