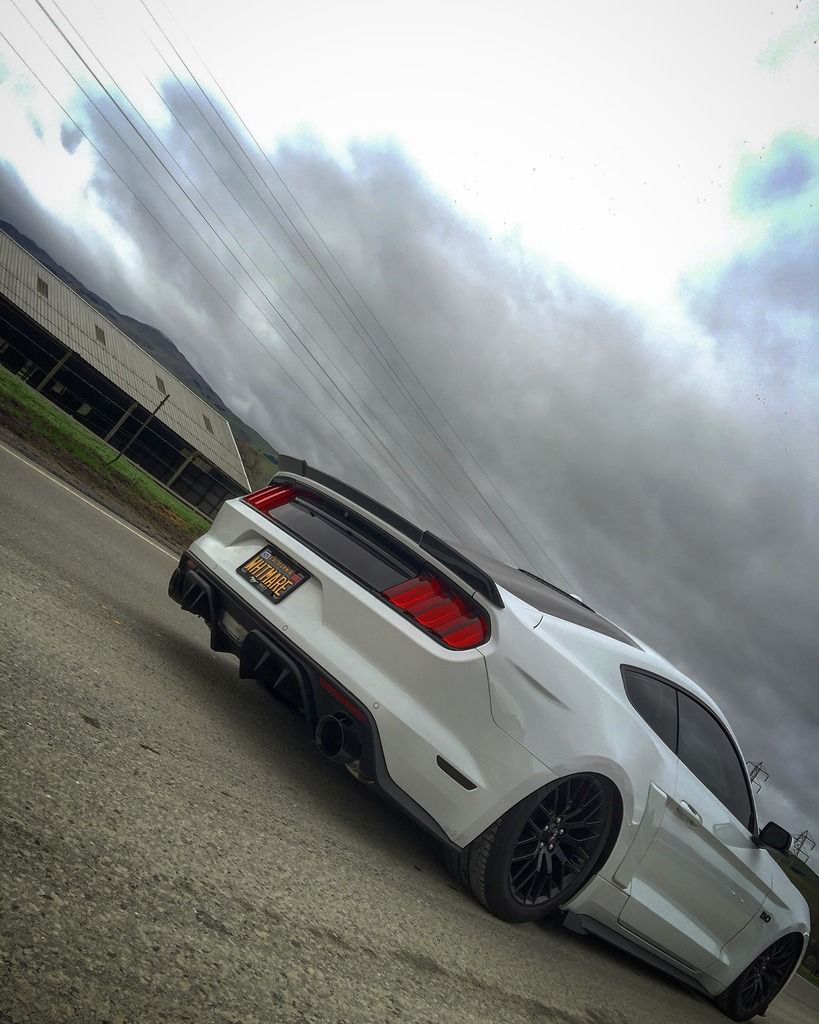
Project Whitemare
GTFO Squad
- Joined
- Nov 12, 2014
- Threads
- 43
- Messages
- 1,309
- Reaction score
- 1,011
- Location
- Bay Area
- Website
- www.instagram.com
- First Name
- Nick
- Vehicle(s)
- 2015 Mustang GT/PP
- Thread starter
- #1


Click Below to Buy Exclusively from American Muscle:
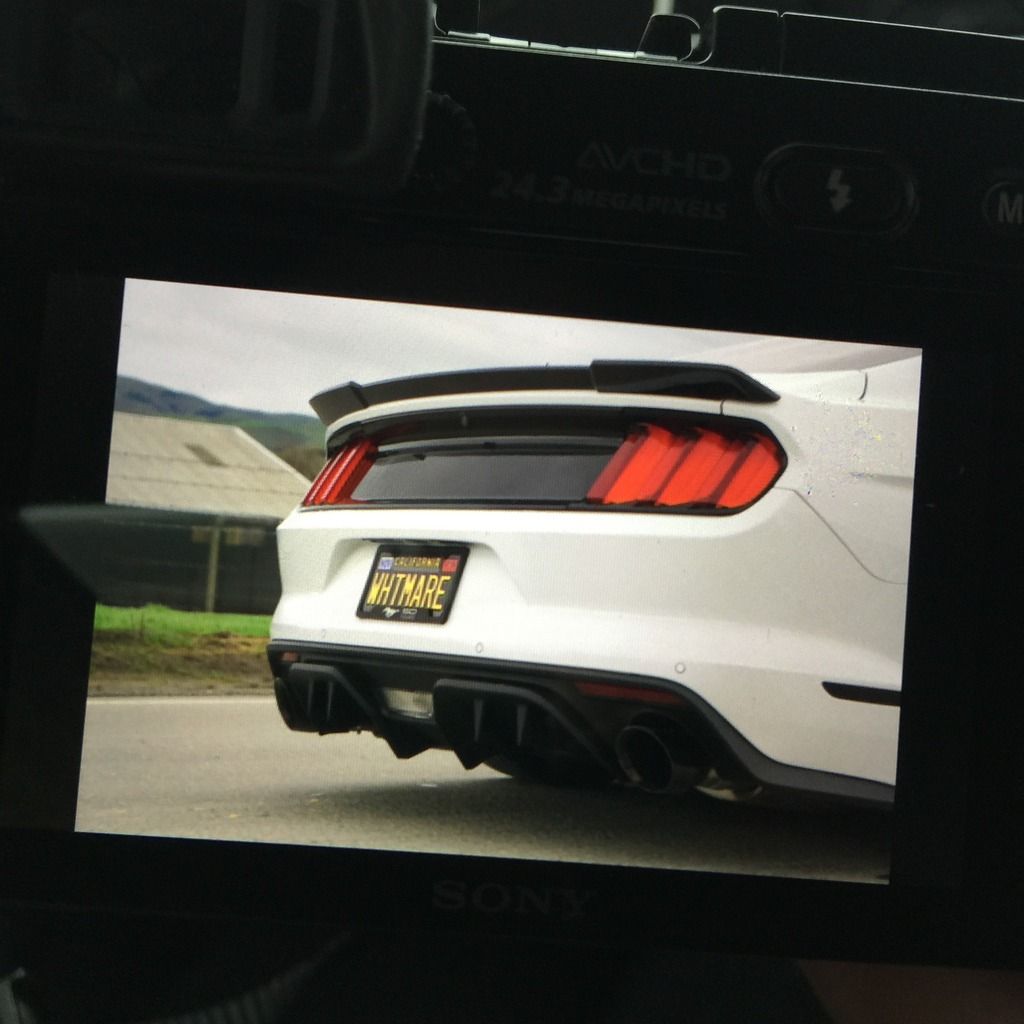
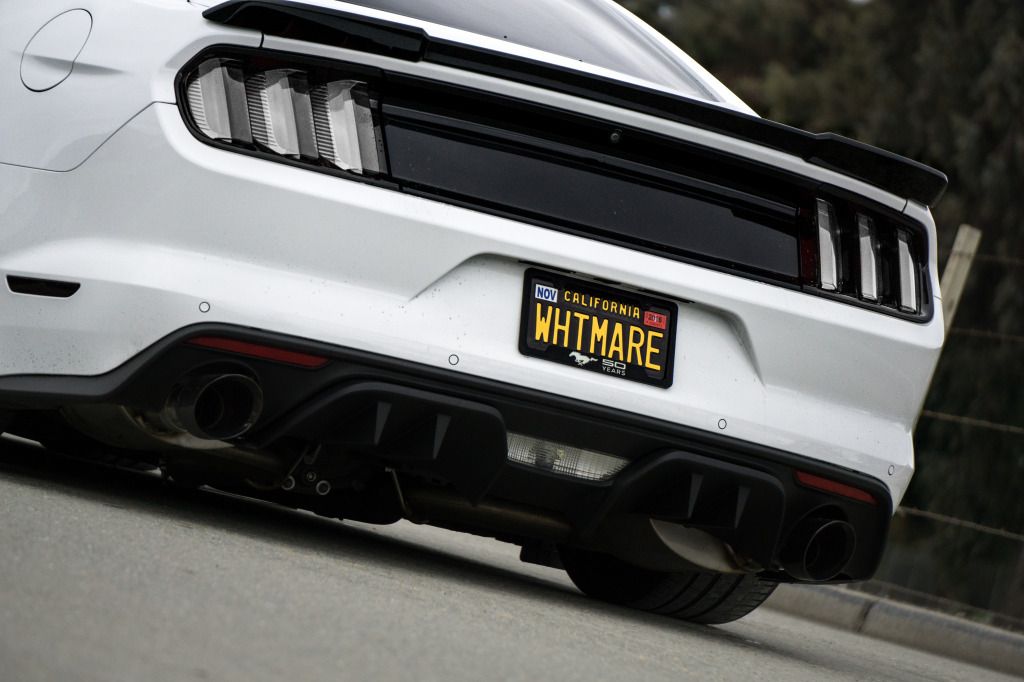
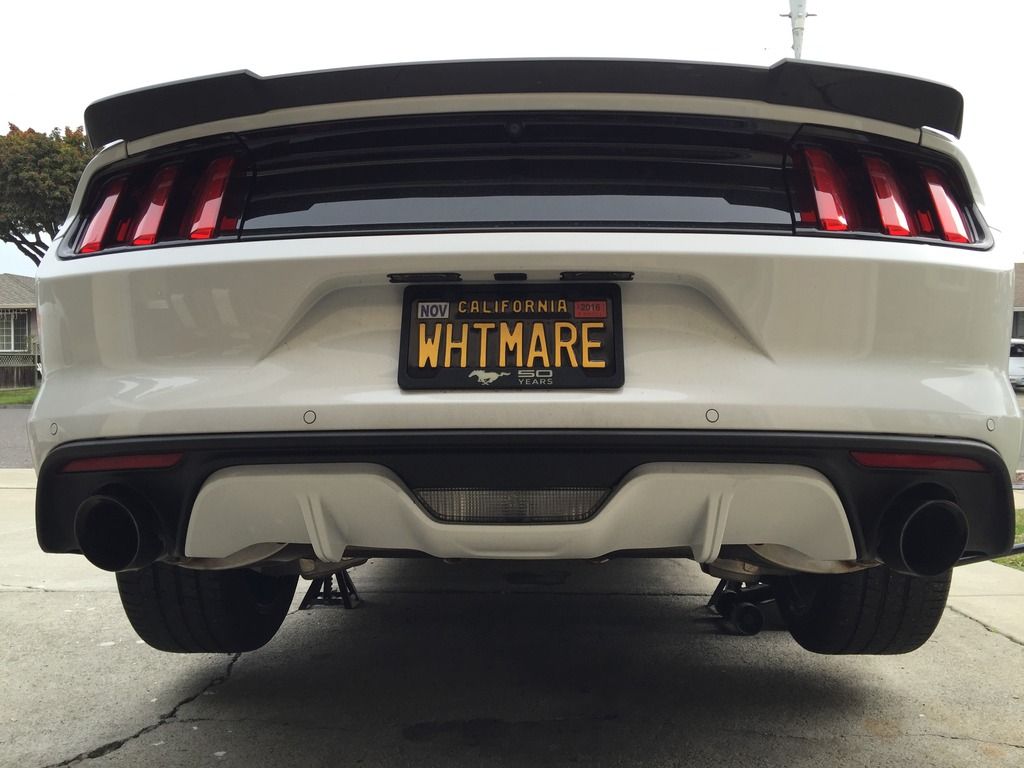
RTR REAR VALANCE DIFFUSER
Disclaimer:
The RTR Valance Diffuser is made for use with a Premium Rear Bumper.
Tools Needed:
7mm Socket
1/4" Drive Ratchet
Panel Remover Tool
Dremel w/ Cutting Wheel
Optional: Offset Ratching Wrench
Optional: 7mm Nut Driver
Difficulty Level:
2 out of 12 Beers
Parts List:
(1) RTR Rear Valance Diffuser
Preparation:
Raise the rear end of the car and place it on jackstands.
Video:
>>>Coming Soon<<<
Installation:
With the rear on jackstands, pull out the RTR Rear Valance Diffuser and inspect your parts.

You will need to remove the (2) bottom-most retaining clips in each of the rear wheel wells.
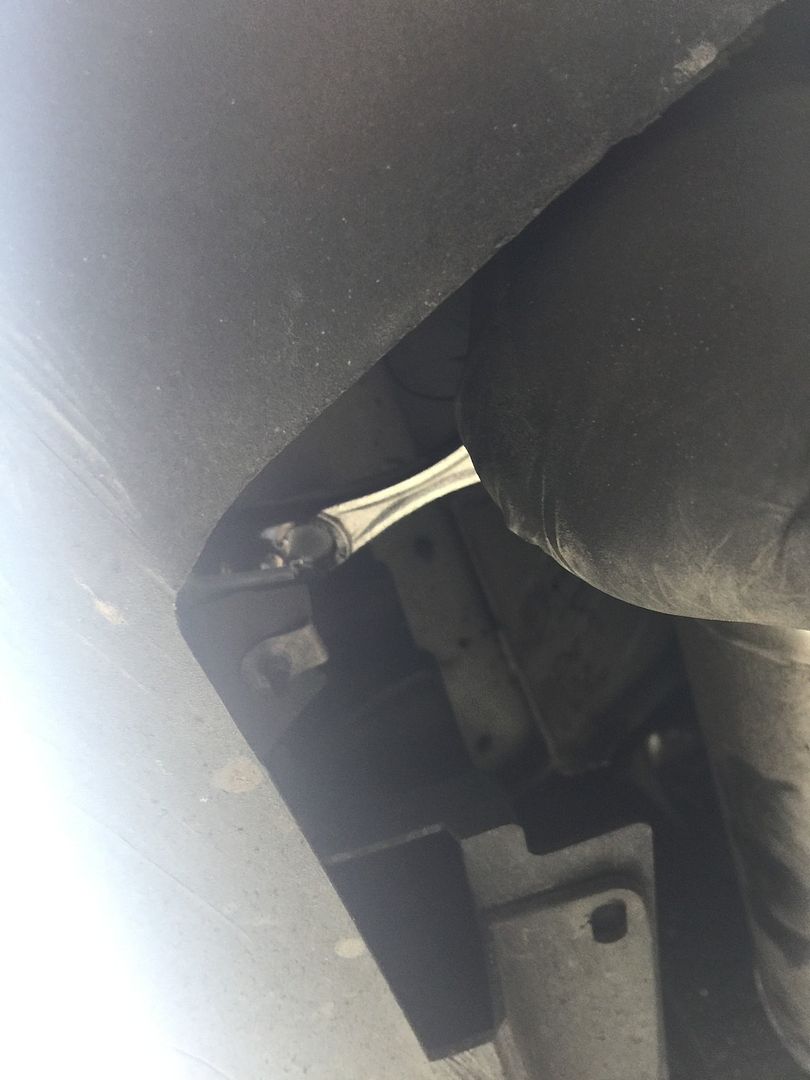
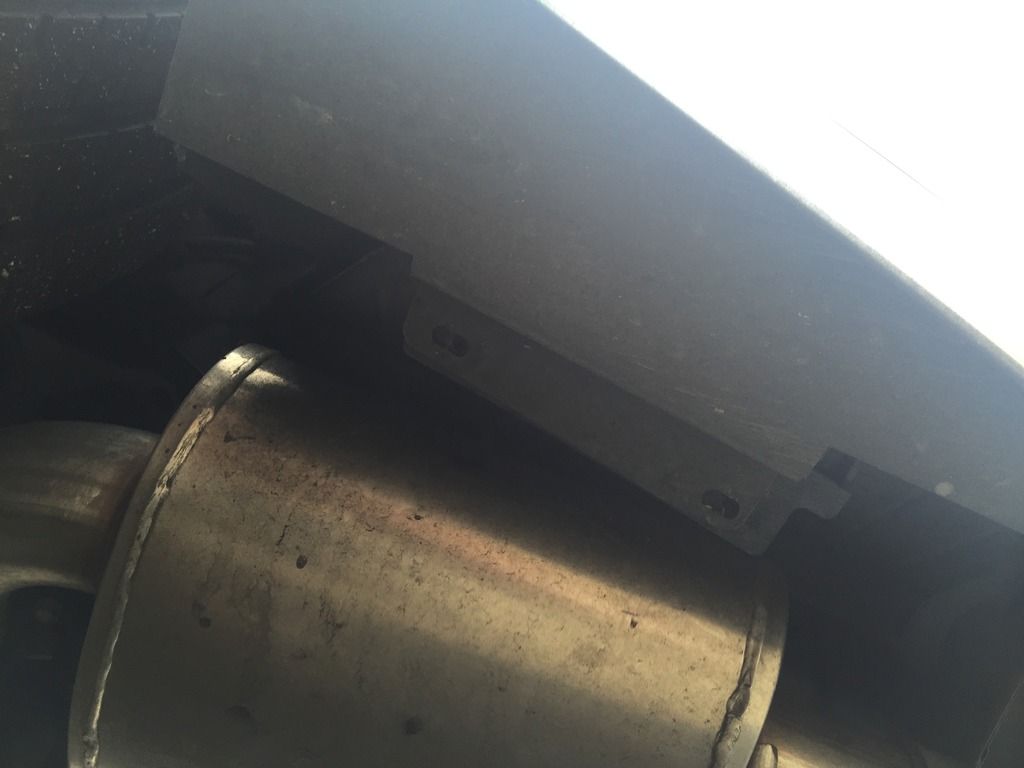
Once you remove these (2) clips, you'll be able to access (1) of the (3) 7mm screws that you will need to remove from the side of the rear valance where it meets the side of the bumper.
Although you can access the front-most screw from this orientation, I found it easiest to remove it from the underside with a nut driver.
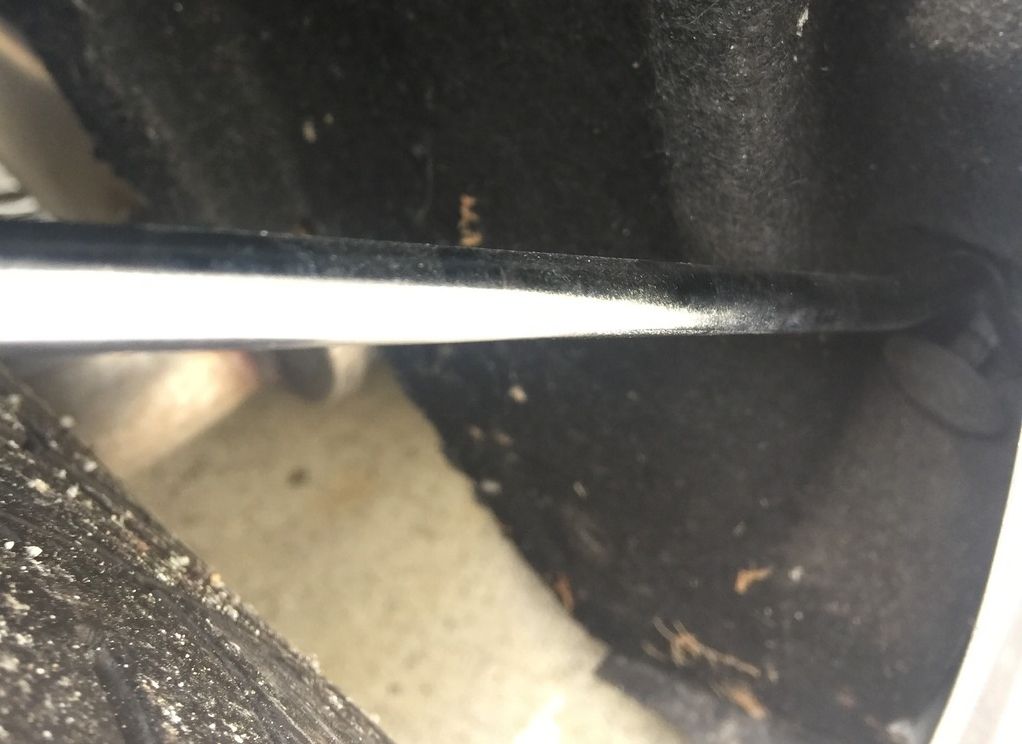
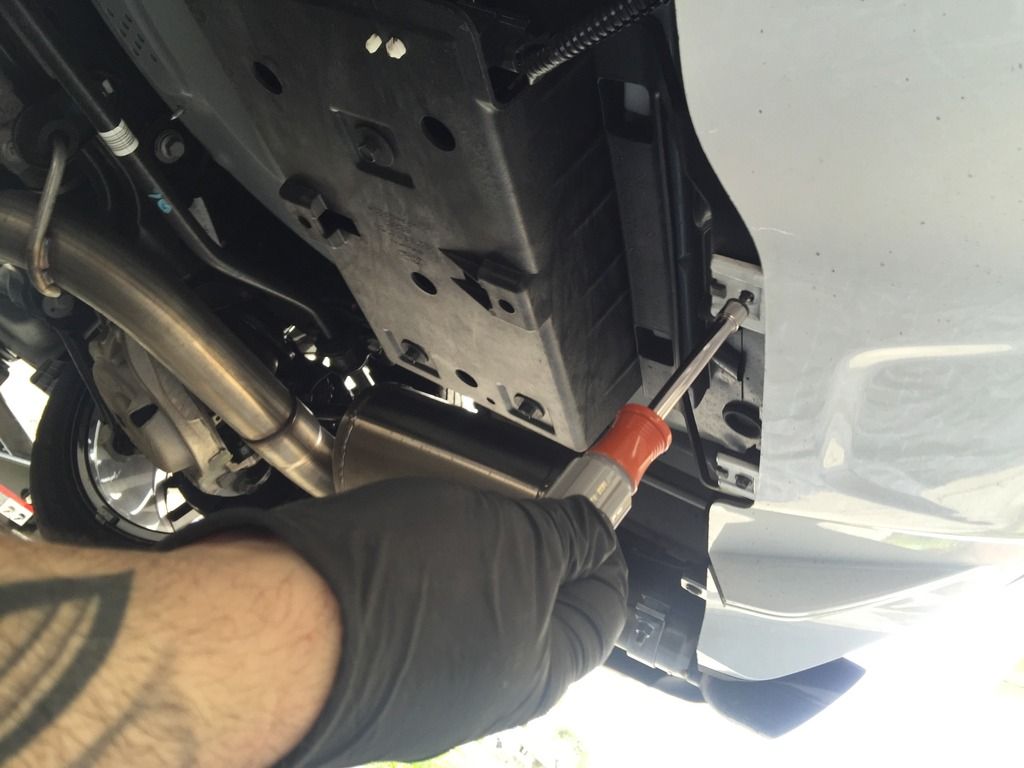
Remove the remaining (2) 7mm screws from underneath the rear bumper coming from the side. This makes for a total of (3) 7mm screws to remove from the side of the rear bumper/valance. Repeat on the other side.
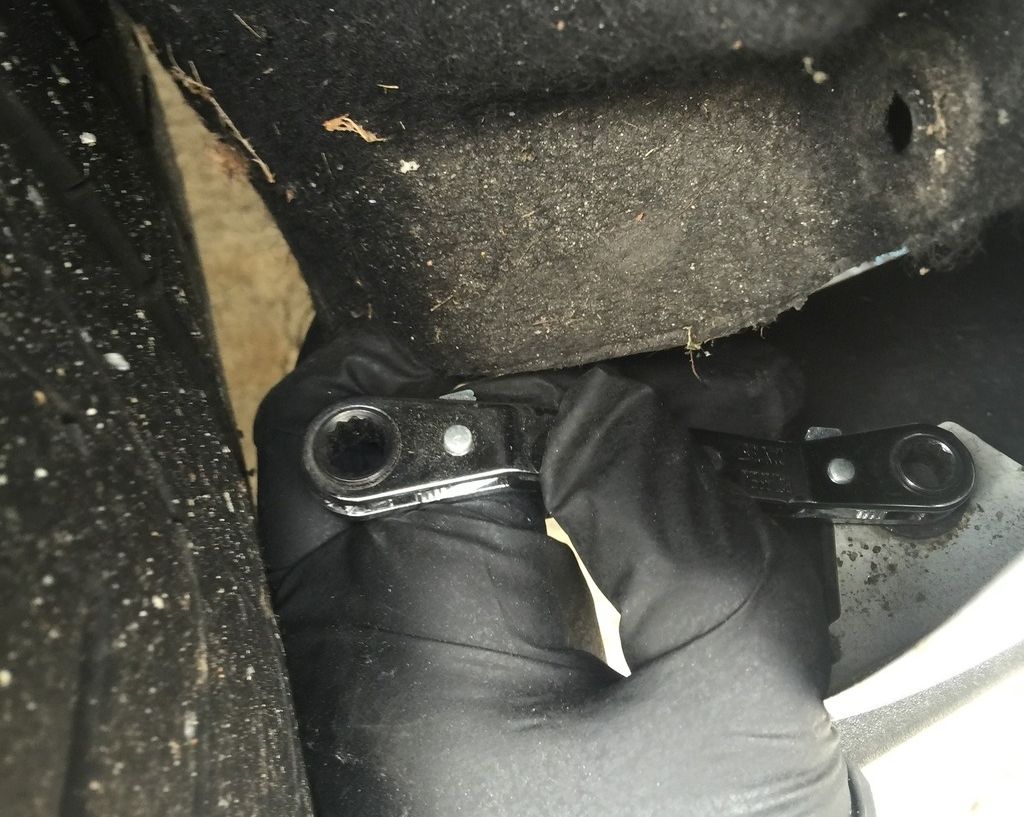
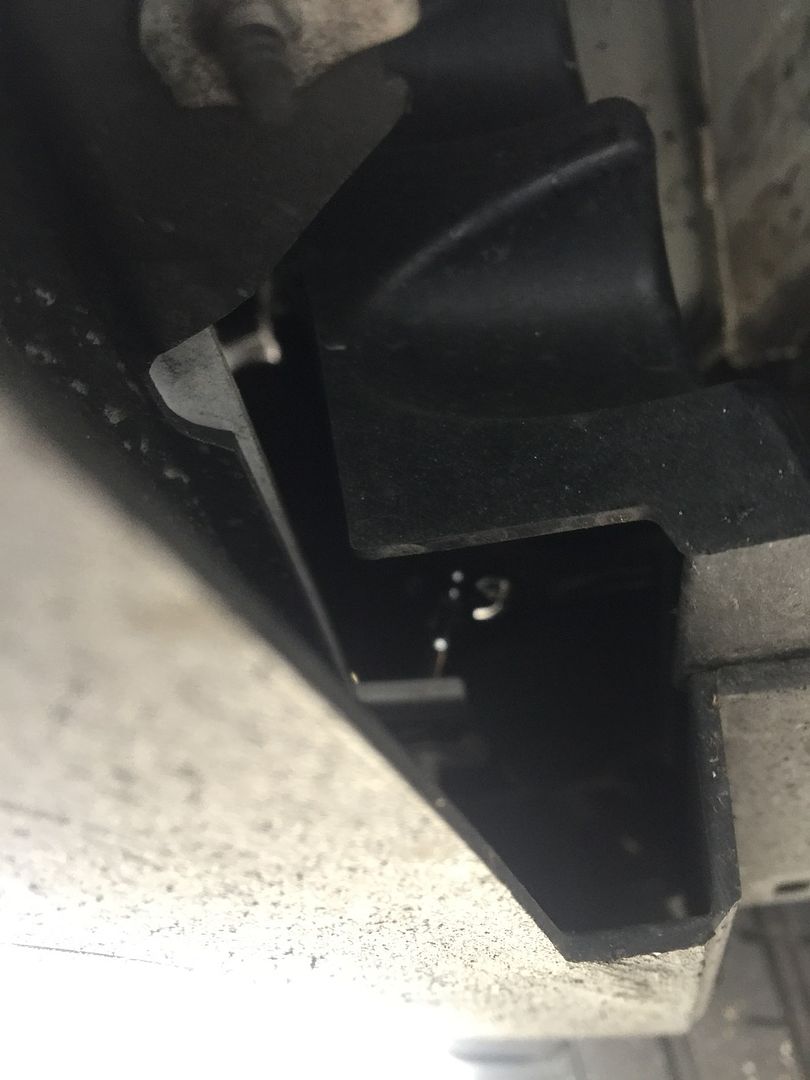
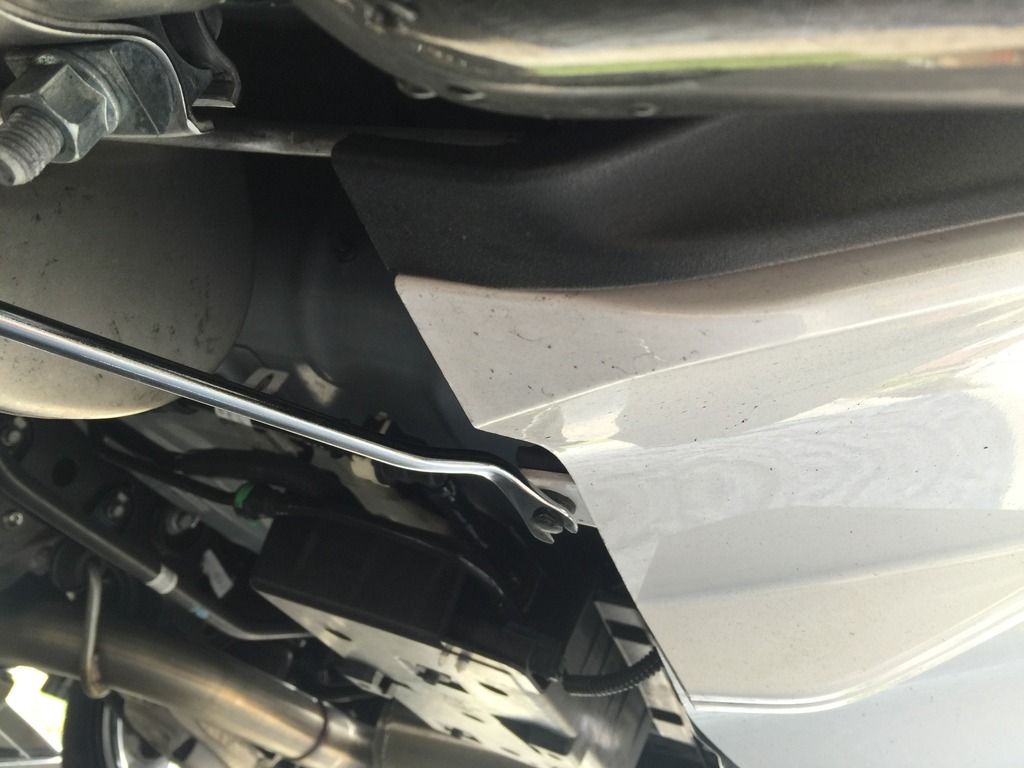
Pull the (2) retaining clips from the underside of the rear bumper where it meets the valance from the side. Repeat on the other side.
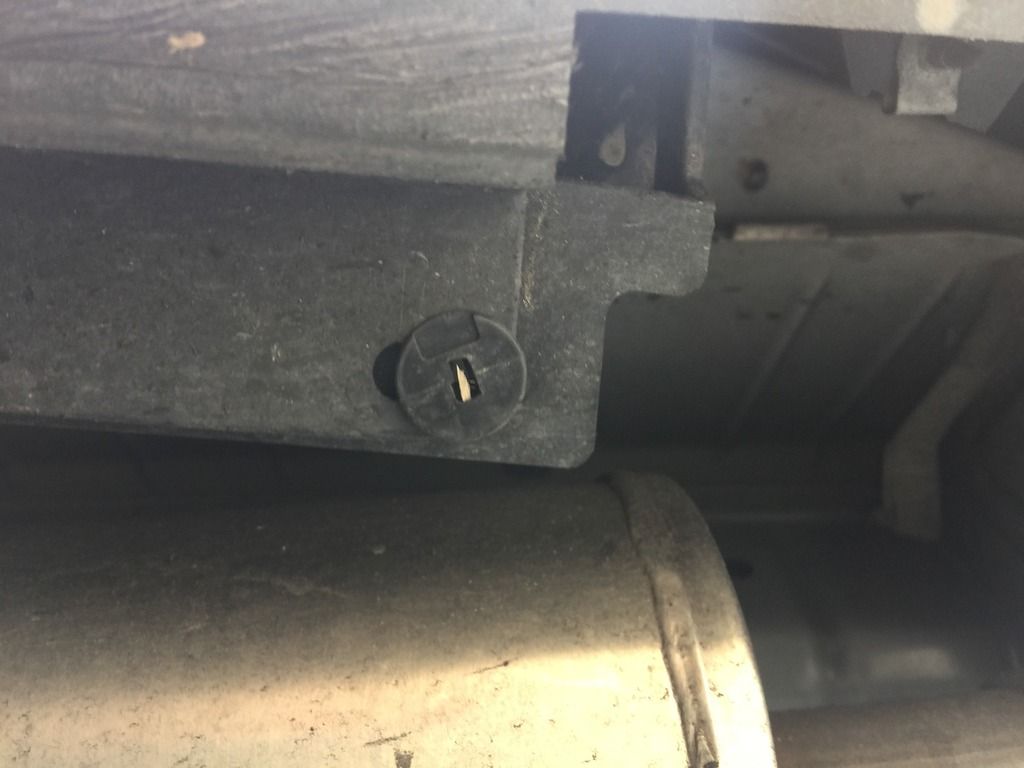
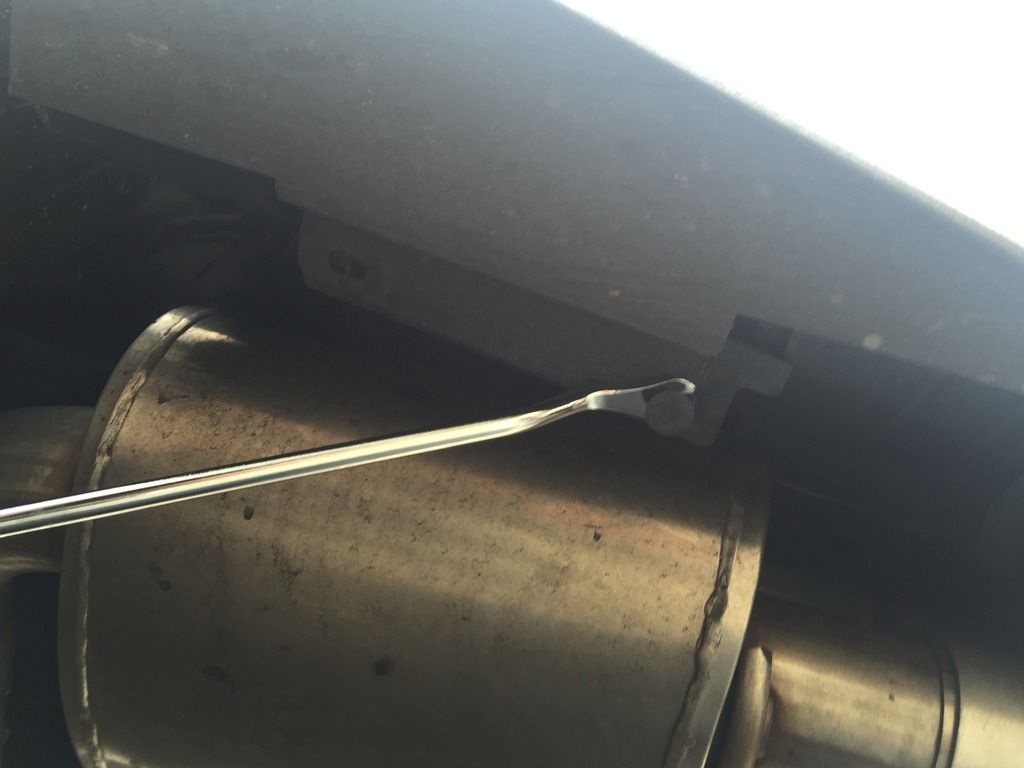
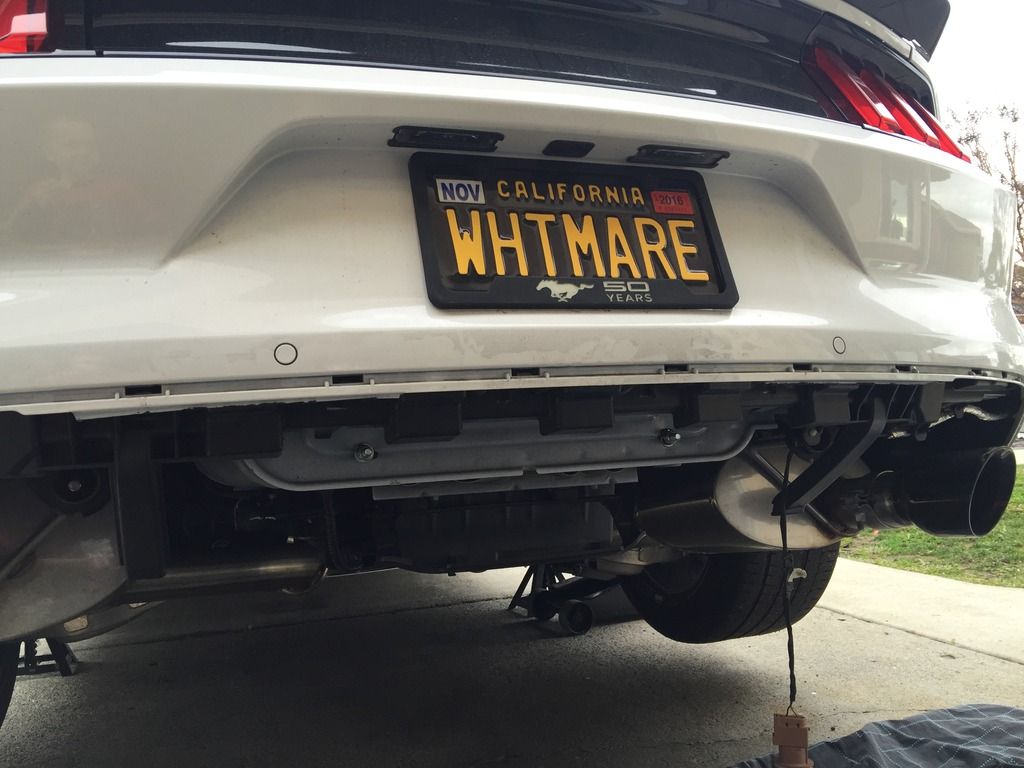
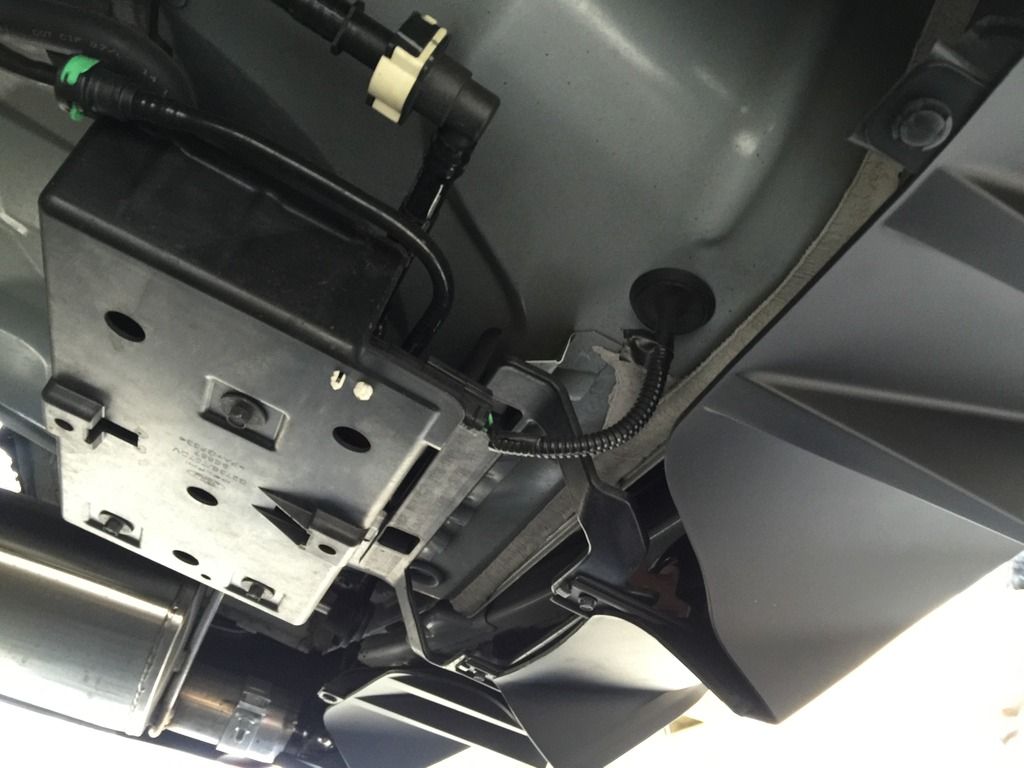
Move to the very rear of the vehicle and look for the (2) retaining clips on the outer edge of the stock rear valance, and the (2) 7mm screws in the middle of the stock rear valance. Remove these.
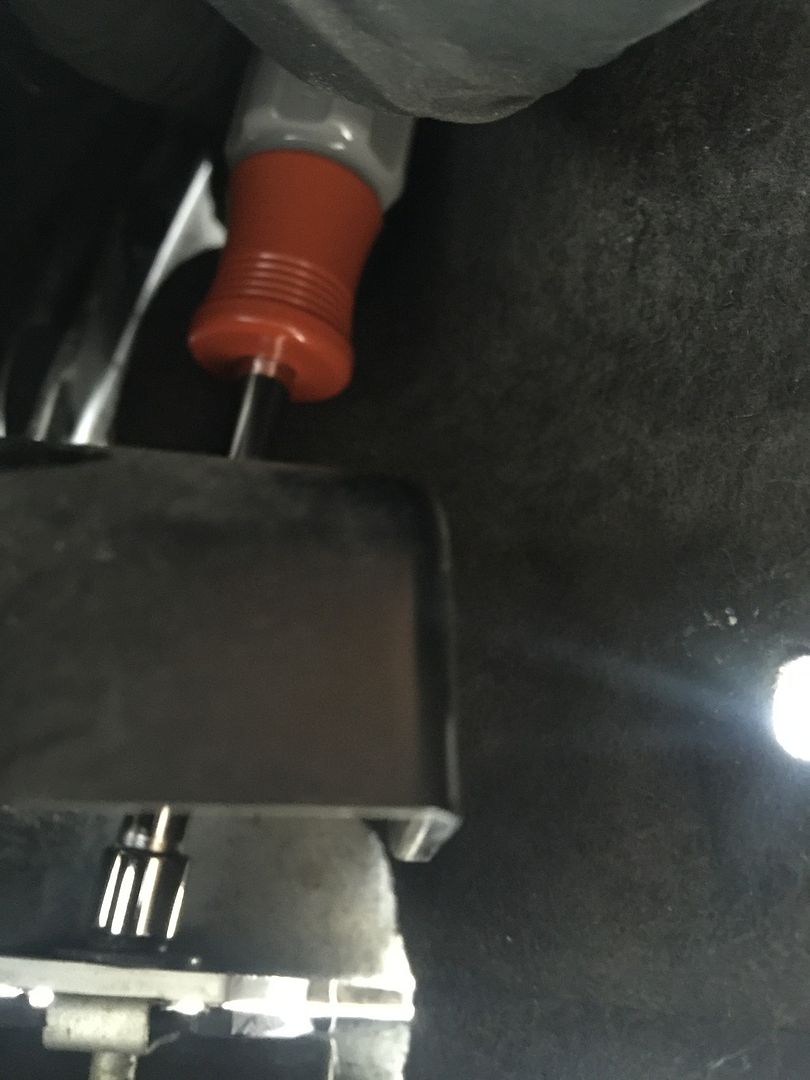
Once you have removed the (2) clips and (2) 7mm screws from the underside of the factory valance, you are ready to remove the (4) 7mm screws holding the reverse light housing into the stock valance.
Pull down on the valance from under the car to get a little more room and to see where the (4) screws are. Turn the light socket 90* counter clockwise and pull out of the way before removing the reverse light.
One more retaining clip to remove from the reverse light housing to free it from the bulb harness and then pull it free from the rear bumper and set it aside.
Here is where you'll want to crack open that first beer.
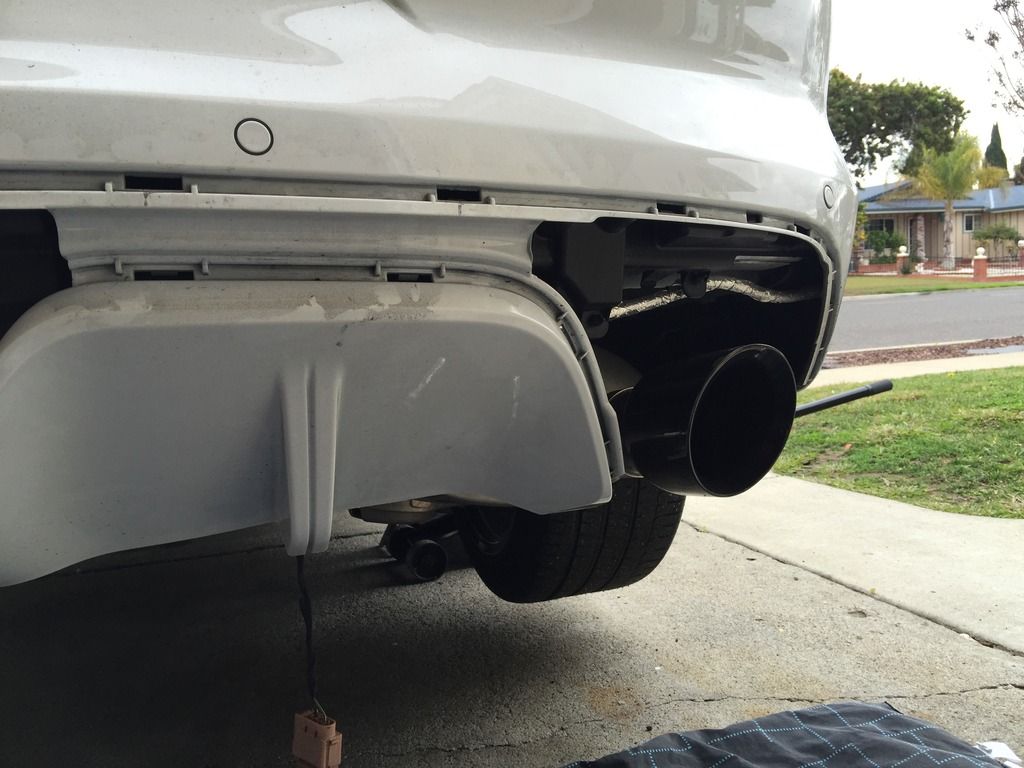
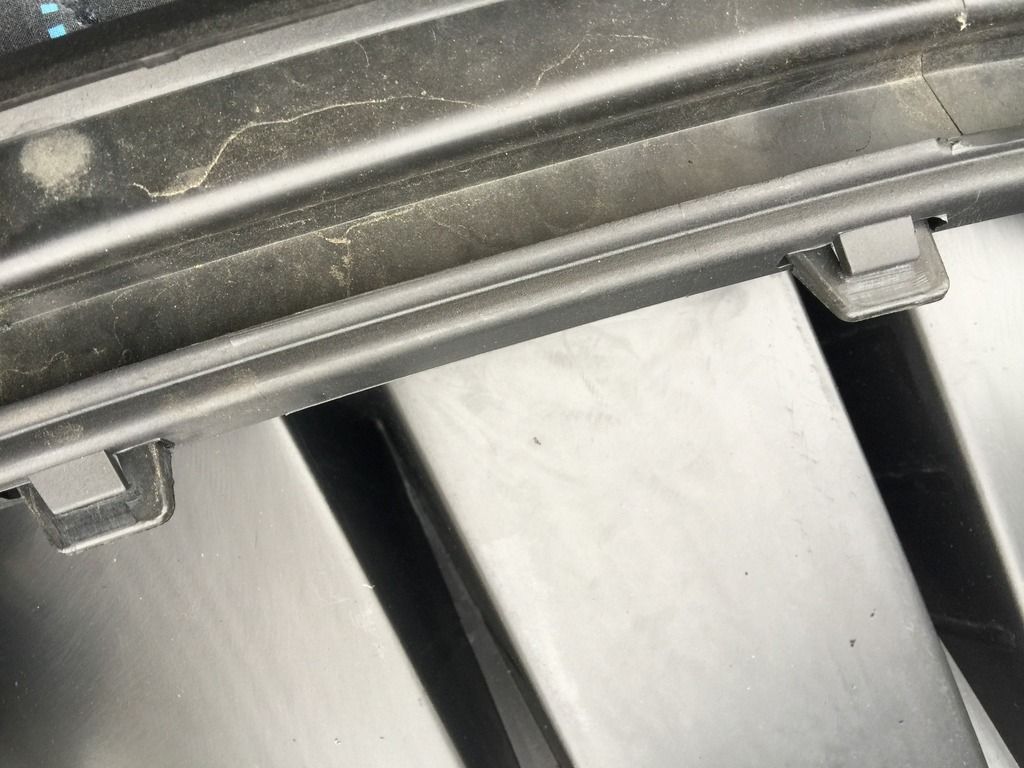
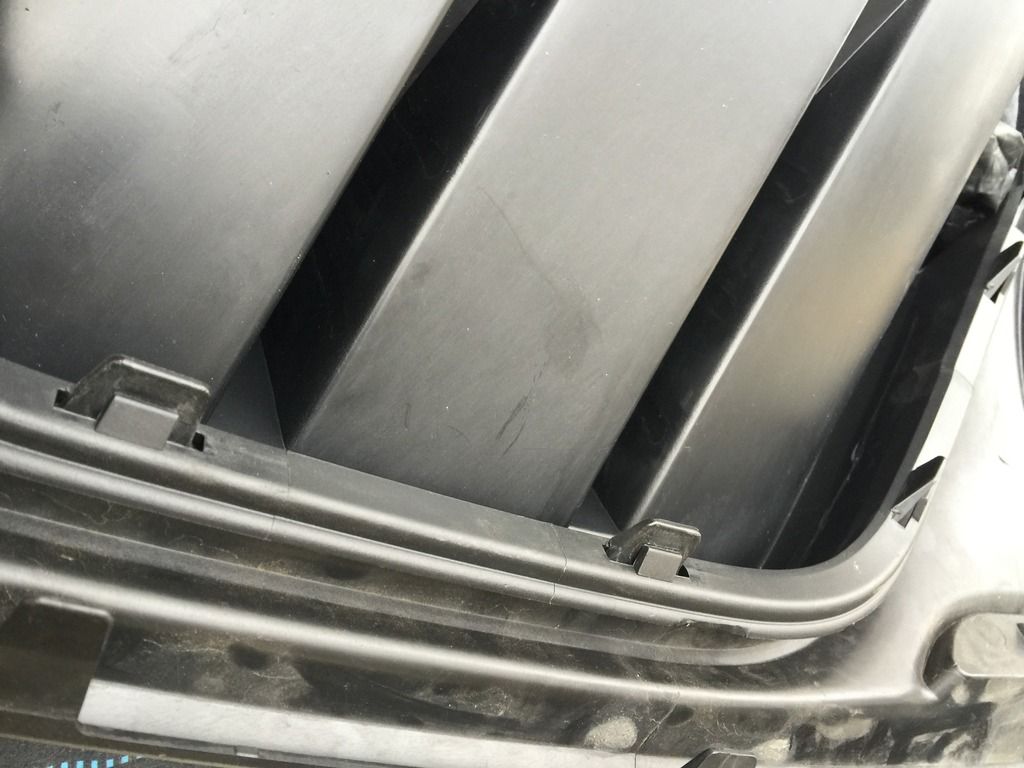
Time to remove the black valance from the factory bumper. All of the hardware has been removed and have just a few more body panel wedges to get past.
Work your way from the edge near the wheel well. Pulling firmly in a quick motion while supporting the bumper with your other hand, you'll see how the valance will remove.
Work your fingers up as far as they'll go as a wedge, and you'll have no trouble removing the valance from the bumper.
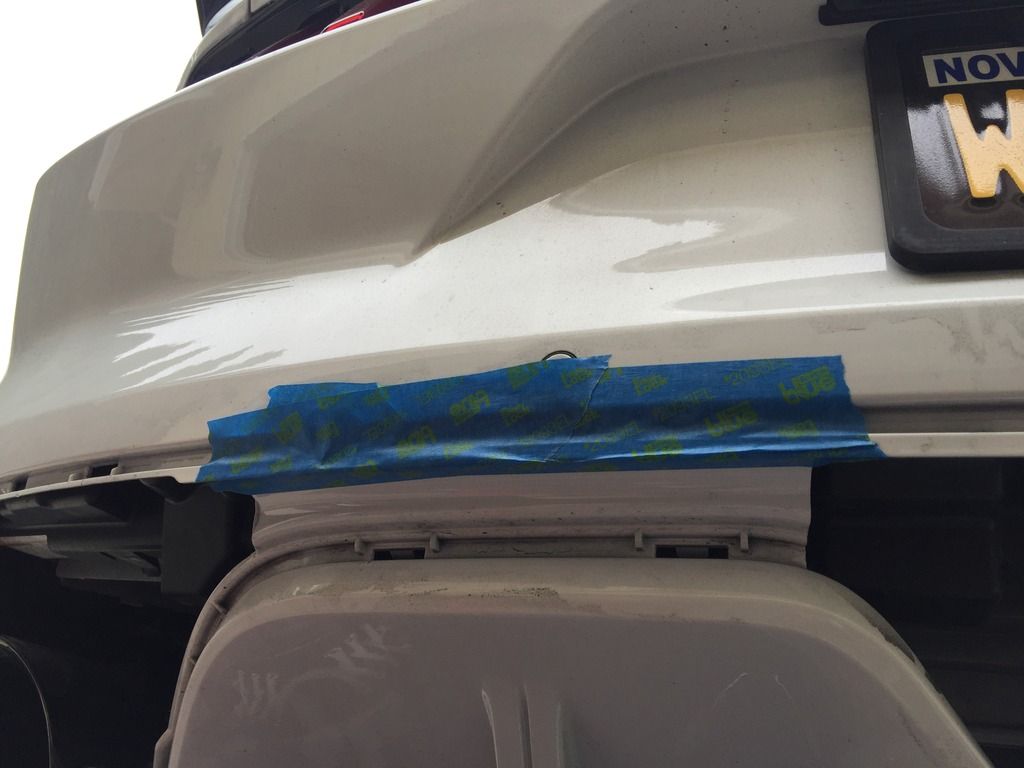
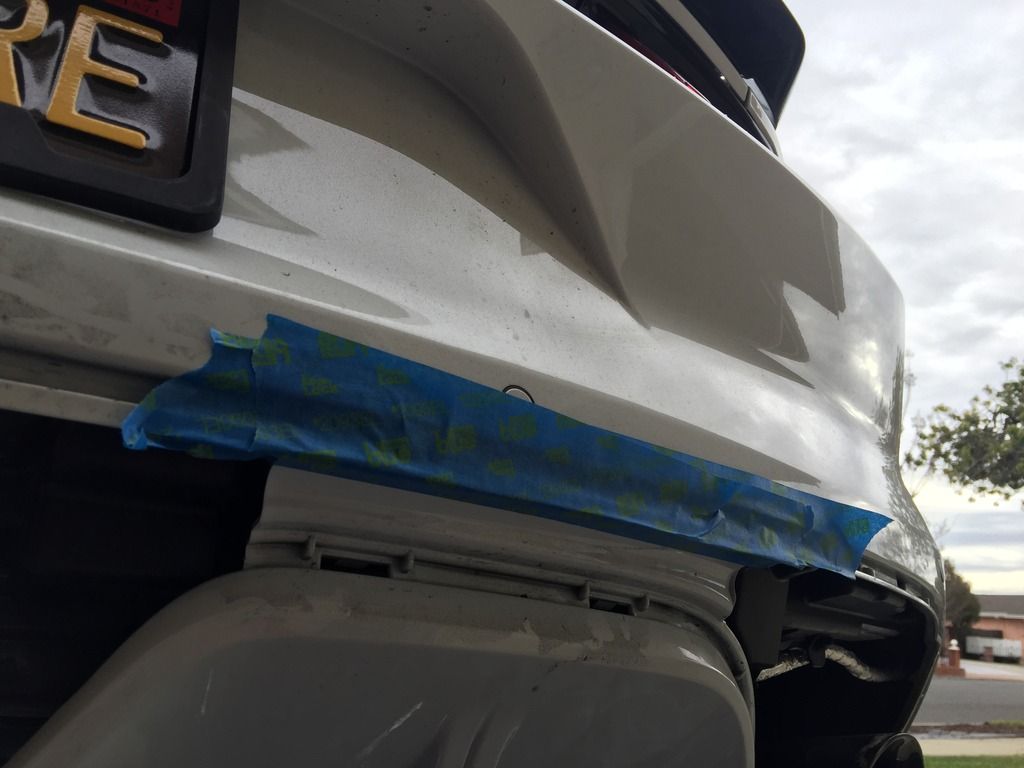
Tape up along the following line to be sure you don't bump the factory paint while cutting off the factory diffuser. Be sure to check for clearance before cutting. Use a dremel and make quick work of the rear valance.
Too late to turn back now!
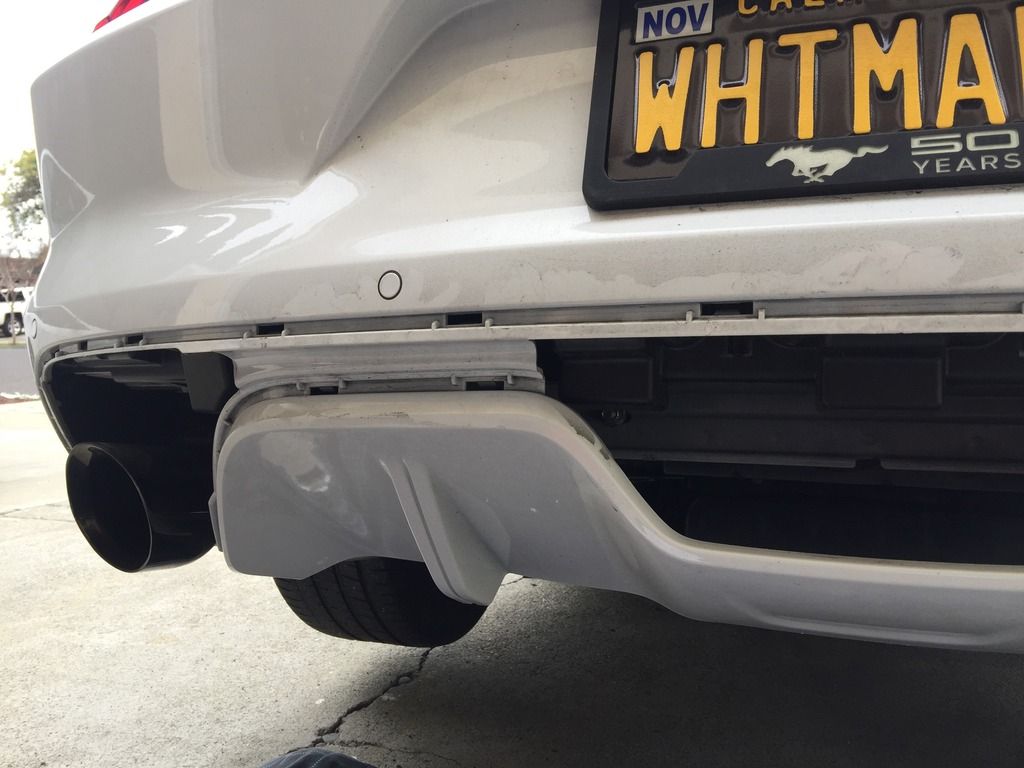
Now you are home free! Crack open that second beer and get ready to enjoy your work!
With the stock valance removed from the car, and set down, begin to clip the RTR Rear Valance Diffuser into the OEM Valance.
Install the Reverse Light Housing into the RTR Rear Valance Diffuser using the (4) oem 7mm screws. Starting from the middle, place the complete diffuser unit into the rear bumper starting from the middle. You will feel/hear the "snap" as each of the clips slides into the OEM bumper. It shouldn't take much effort, but be sure each section is fully seated and secure.
Reinstall the remaining oem hardware (2) retaining clips from below the diffuser in the rear, (2) 7mm screws from below the reverse light in the rear. (3) 7mm screws on either side of the rear bumper where it meets the valance, (2) retaining clips on the bottom-most section of both rear wheel wells.
Place Reverse Light Bulb into socket and turn clockwise 90* until "locked" into place. Push reverse light harness retaining clip through the hole in the harness to secure it.
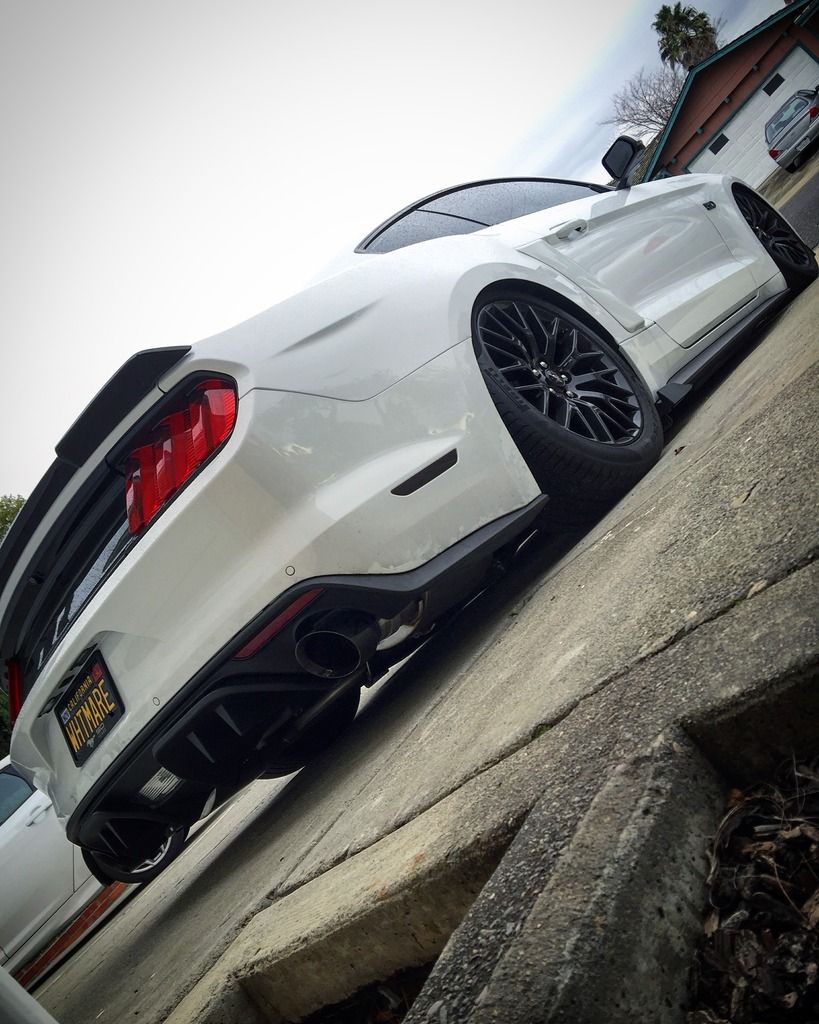
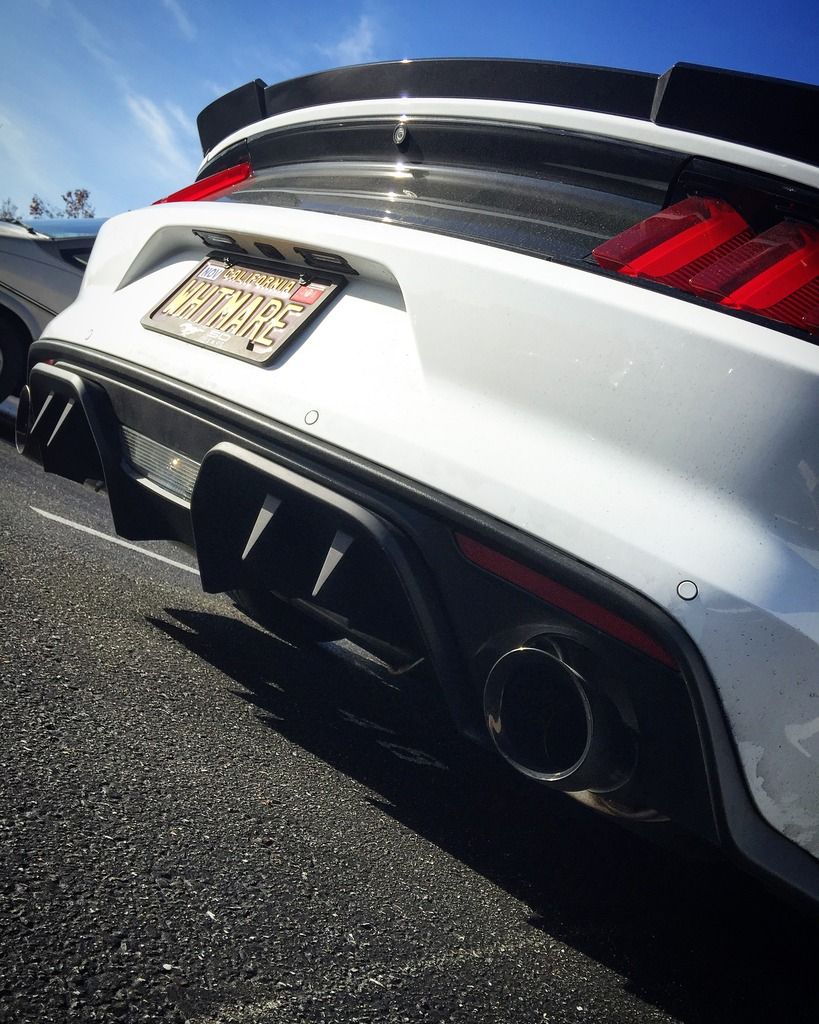
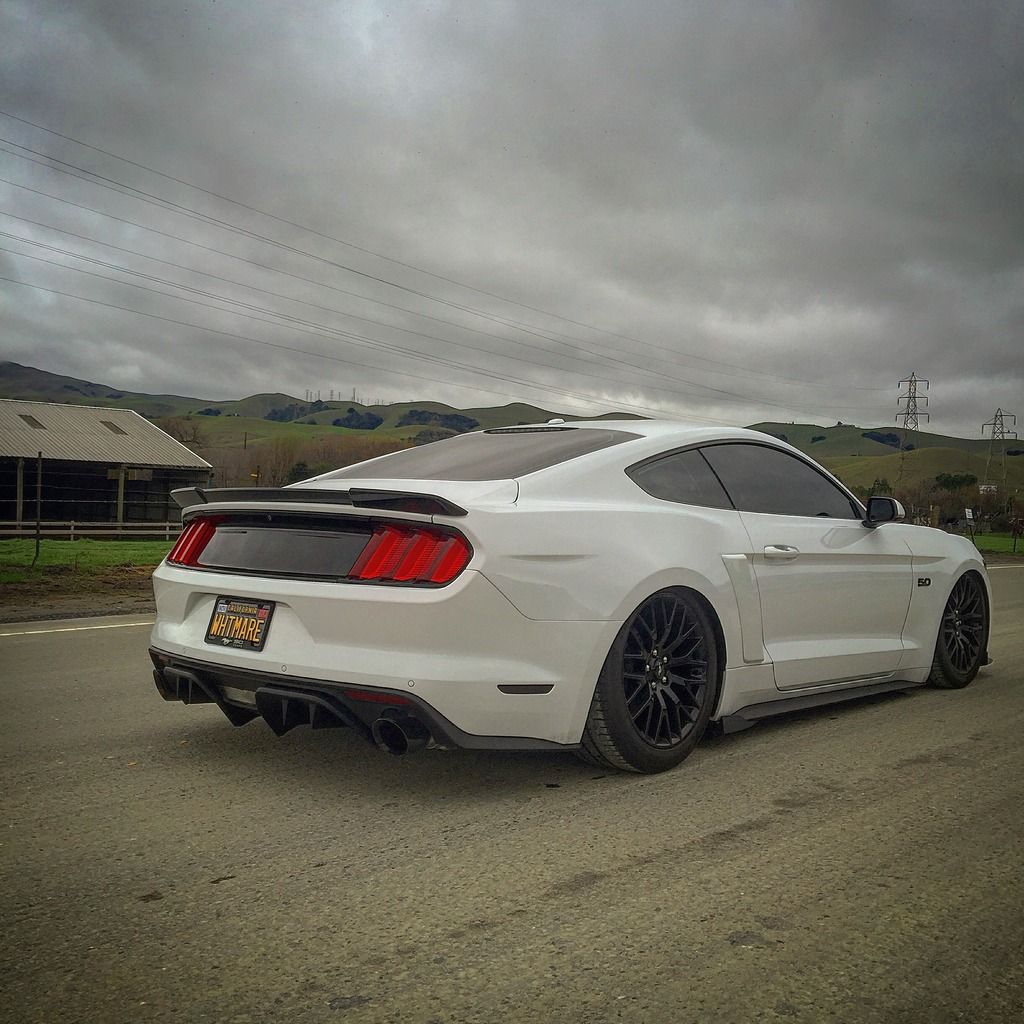
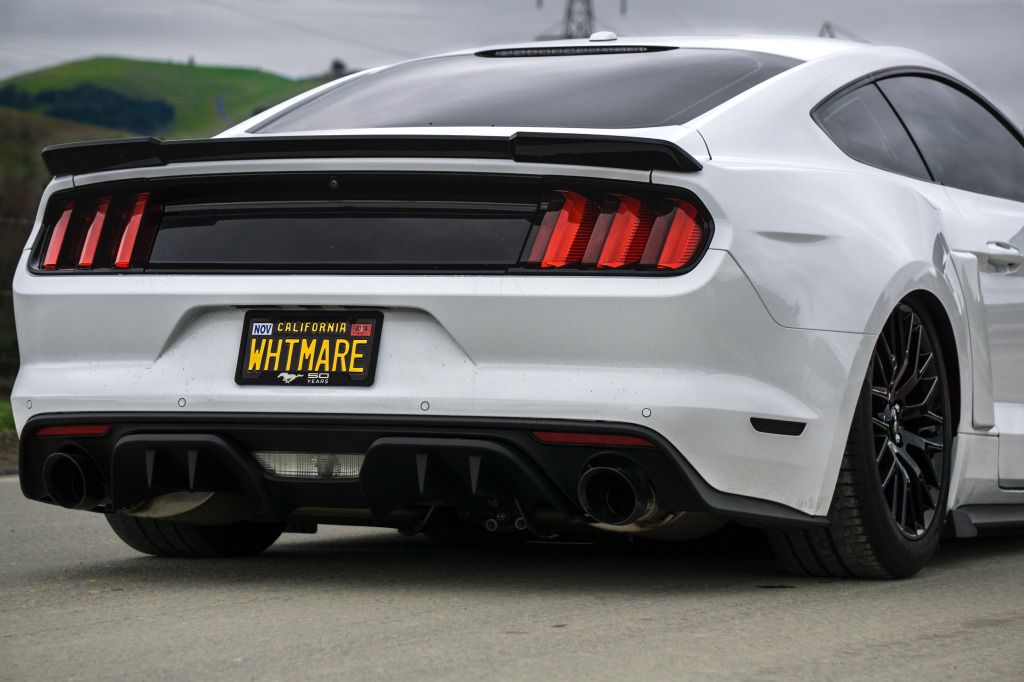
Sit back and enjoy!
With the rear on jackstands, pull out the RTR Rear Valance Diffuser and inspect your parts.
You will need to remove the (2) bottom-most retaining clips in each of the rear wheel wells.
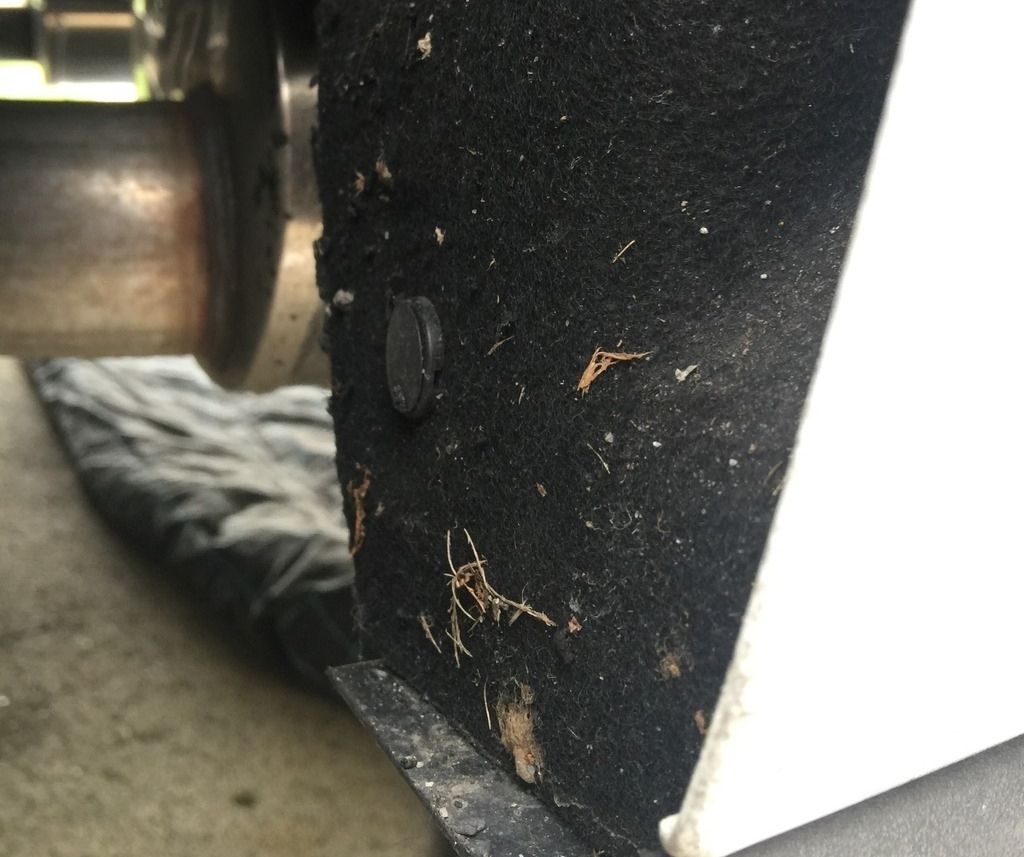
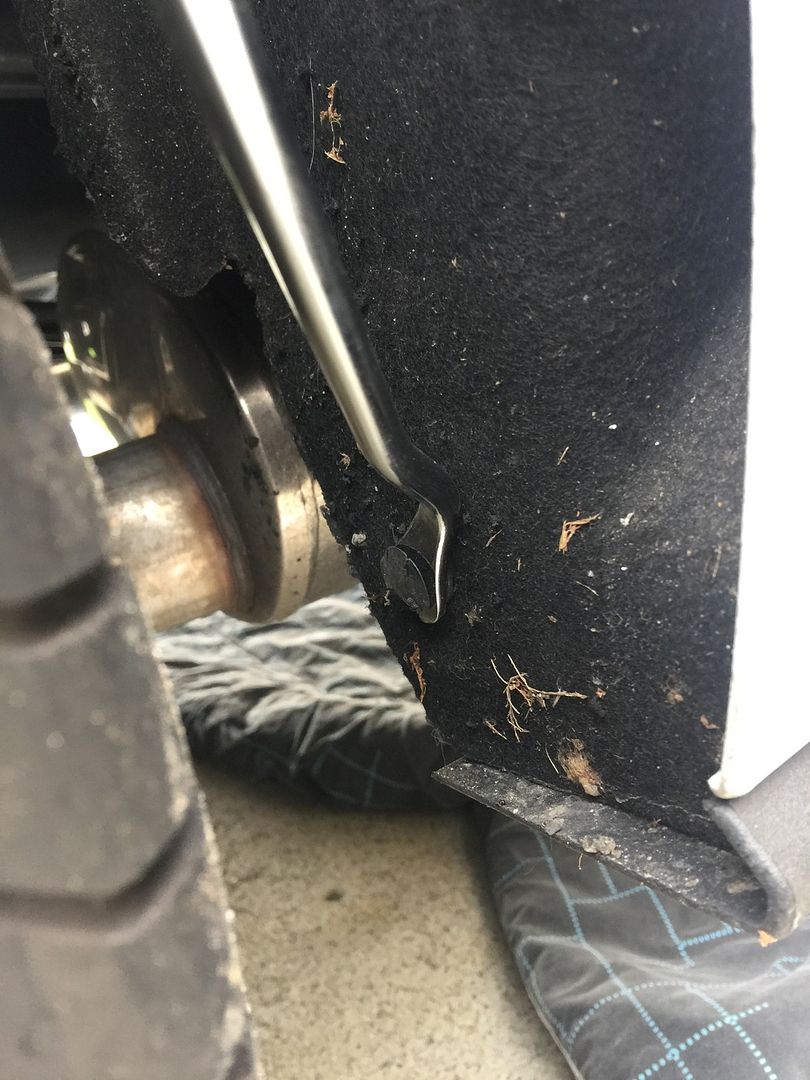
Once you remove these (2) clips, you'll be able to access (1) of the (3) 7mm screws that you will need to remove from the side of the rear valance where it meets the side of the bumper.
Although you can access the front-most screw from this orientation, I found it easiest to remove it from the underside with a nut driver.
Remove the remaining (2) 7mm screws from underneath the rear bumper coming from the side. This makes for a total of (3) 7mm screws to remove from the side of the rear bumper/valance. Repeat on the other side.
Pull the (2) retaining clips from the underside of the rear bumper where it meets the valance from the side. Repeat on the other side.
Move to the very rear of the vehicle and look for the (2) retaining clips on the outer edge of the stock rear valance, and the (2) 7mm screws in the middle of the stock rear valance. Remove these.
Once you have removed the (2) clips and (2) 7mm screws from the underside of the factory valance, you are ready to remove the (4) 7mm screws holding the reverse light housing into the stock valance.
Pull down on the valance from under the car to get a little more room and to see where the (4) screws are. Turn the light socket 90* counter clockwise and pull out of the way before removing the reverse light.
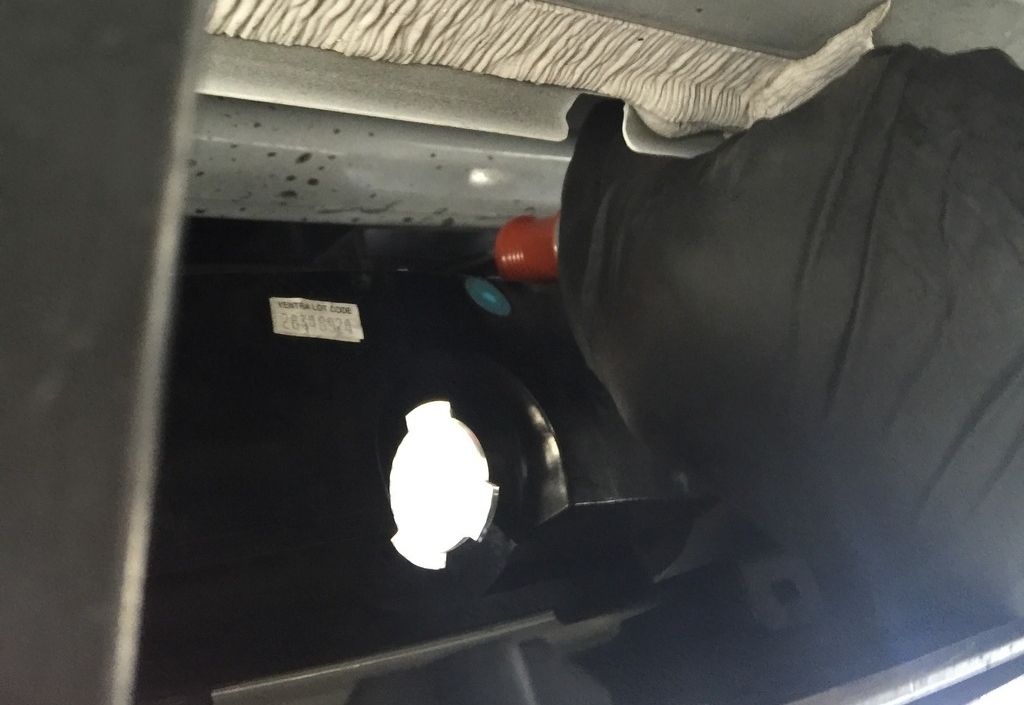
One more retaining clip to remove from the reverse light housing to free it from the bulb harness and then pull it free from the rear bumper and set it aside.
Here is where you'll want to crack open that first beer.
Time to remove the black valance from the factory bumper. All of the hardware has been removed and have just a few more body panel wedges to get past.
Work your way from the edge near the wheel well. Pulling firmly in a quick motion while supporting the bumper with your other hand, you'll see how the valance will remove.
Work your fingers up as far as they'll go as a wedge, and you'll have no trouble removing the valance from the bumper.
Tape up along the following line to be sure you don't bump the factory paint while cutting off the factory diffuser. Be sure to check for clearance before cutting. Use a dremel and make quick work of the rear valance.
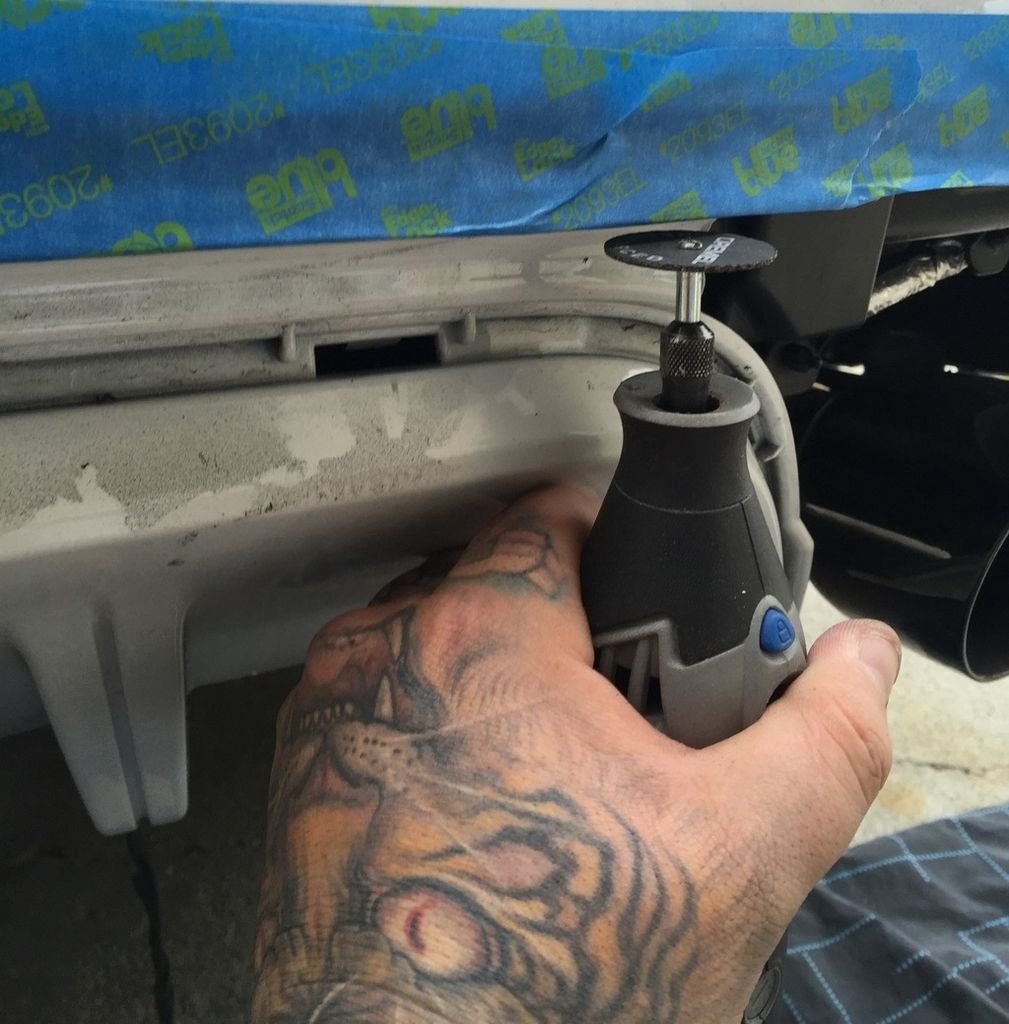
Too late to turn back now!
Now you are home free! Crack open that second beer and get ready to enjoy your work!
With the stock valance removed from the car, and set down, begin to clip the RTR Rear Valance Diffuser into the OEM Valance.

Install the Reverse Light Housing into the RTR Rear Valance Diffuser using the (4) oem 7mm screws. Starting from the middle, place the complete diffuser unit into the rear bumper starting from the middle. You will feel/hear the "snap" as each of the clips slides into the OEM bumper. It shouldn't take much effort, but be sure each section is fully seated and secure.
Reinstall the remaining oem hardware (2) retaining clips from below the diffuser in the rear, (2) 7mm screws from below the reverse light in the rear. (3) 7mm screws on either side of the rear bumper where it meets the valance, (2) retaining clips on the bottom-most section of both rear wheel wells.
Place Reverse Light Bulb into socket and turn clockwise 90* until "locked" into place. Push reverse light harness retaining clip through the hole in the harness to secure it.
Sit back and enjoy!
Sponsored
Last edited: