Sponsored

Magnetic Ecoboost Build - MAP turbo kit installed!

dbmonster

Well-Known Member
Joined
Mar 12, 2015
Threads
10
Messages
145
Reaction score
91
Location
United States
Vehicle(s)
2015 Ecoboost
Hello everybody!

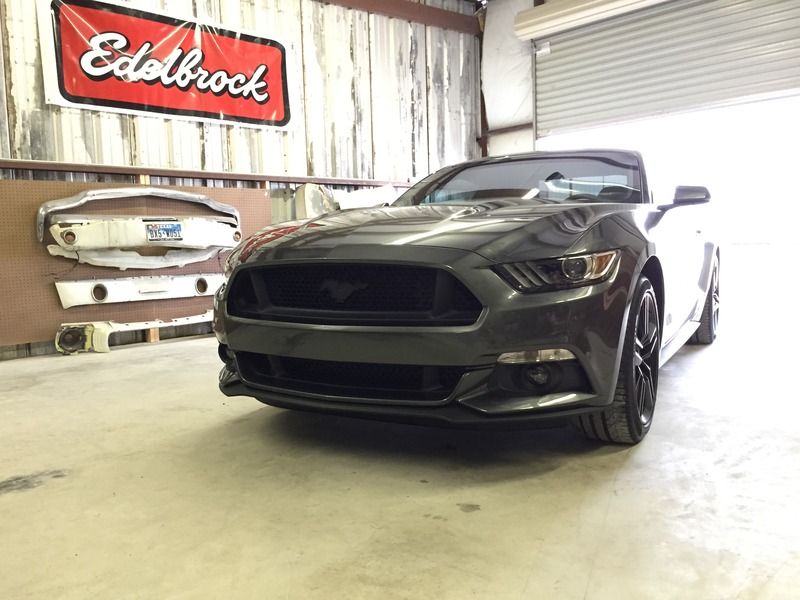
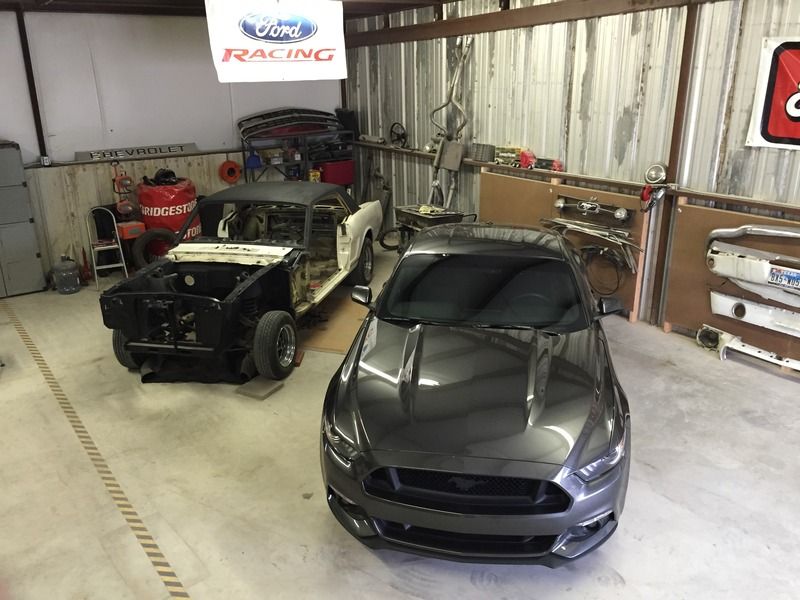
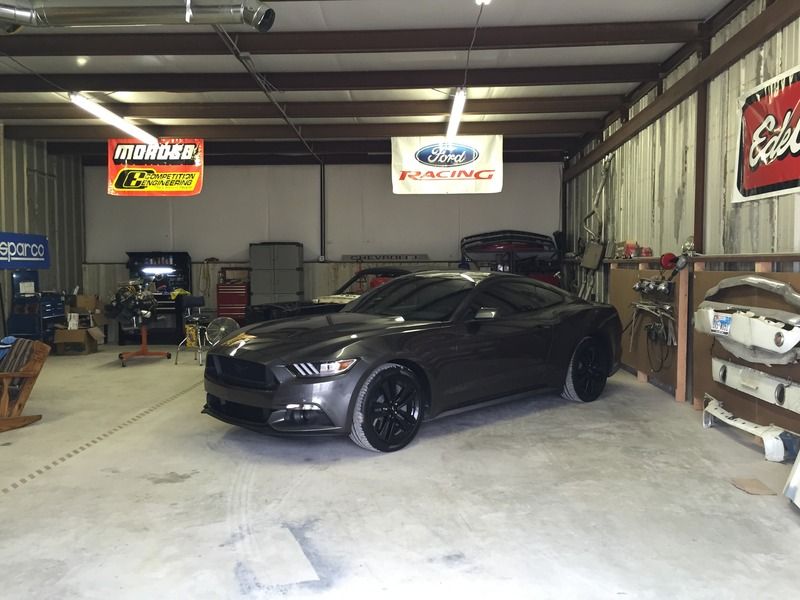
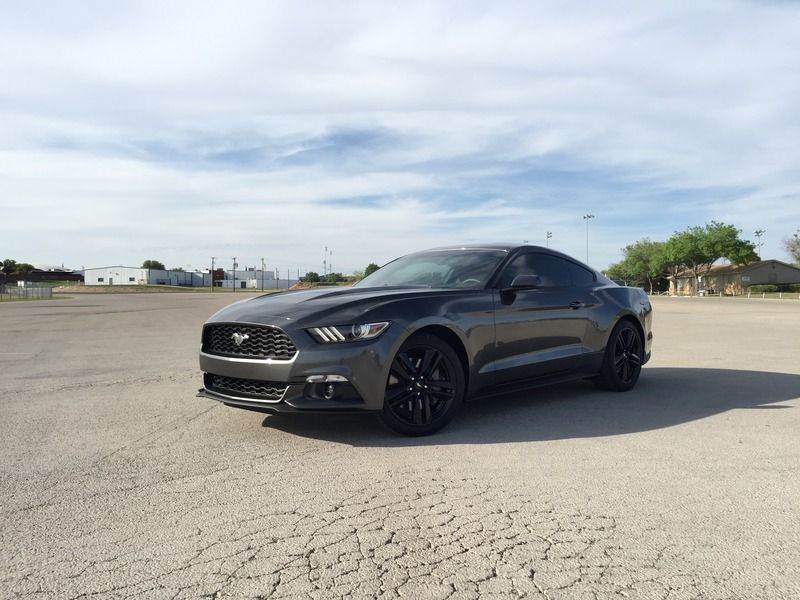
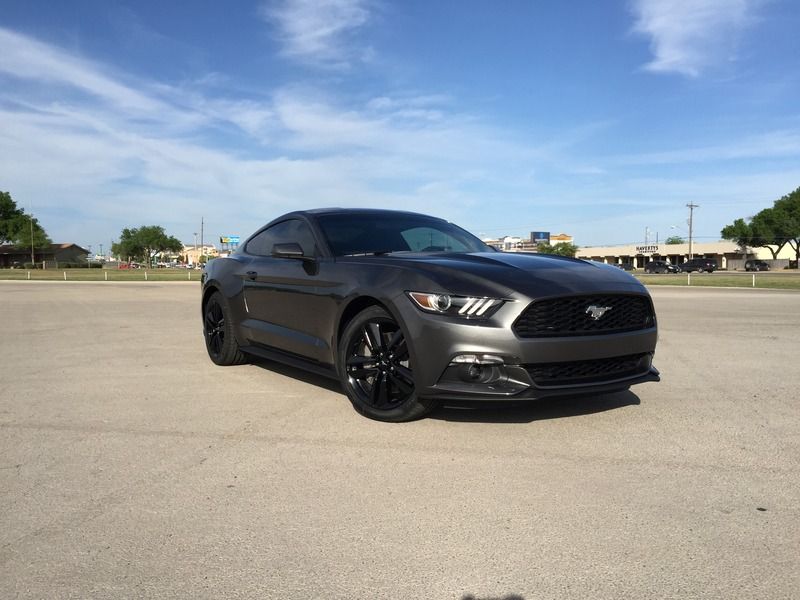
This is my first post on the forums, but I've been browsing and doing research on here for quite a while. At the beginning of this year I decided an Ecoboost Mustang was going to be my next car. I spent two months searching for the perfect one, and finally in mid-march I found exactly what I was looking for. On March 29th I took delivery of my Magnetic metallic Ecoboost premium with performance pack. I Just rolled over 1,000 miles on the car, and now it's time to start modding!

Car details:
2015 Ecoboost premium
6 speed manual
performance package

24FE9D16-8446-4E3F-BE06-8BA389127BCA.jpg


6D126450-9E90-40E4-9730-FDAAB38EFC7D.jpg


CB7E8726-1046-49B2-9762-30310B153910.jpg


Here is the list of modifications I have planned/completed.

Exterior Appearance:
Window tint - installed 4/10/15
Sto n Sho front plate bracket - installed 4/15/15
GT upper and lower grilles - installed 4/12/15
"STANGINATOR" front grille emblem - installed 4/24/15
FRPP blank rear decklid - 4/17/15

Engine Bay:
Redline tuning hood struts - installed 4/15/15
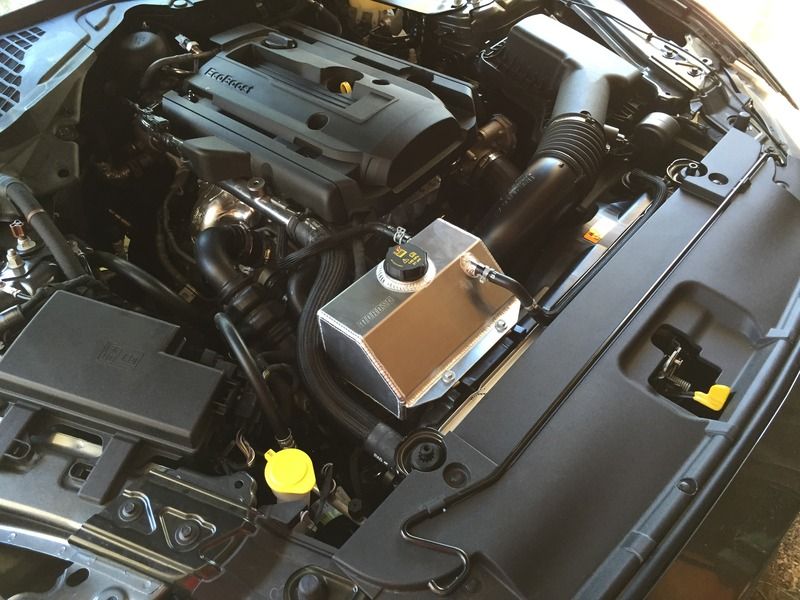
Moroso coolant overflow tank - installed 4/15/15

Performance:
Cobb Accessport w/MAP tune - installed 4/20/15
MAP resonated cat-back exhaust - installed 4/25/15
MAP turbo kit - installed 7/18/15
---MAP Manifold (Turbo Kit Specific)
---MAP Downpipe (Turbo Kit Specific)
---MAP 3.5" Intake (Turbo Kit Specific)
---MAP Passenger side hot pipe (Turbo Kit Specific)
---MAP Oil Feed and Drain Line
---MAP Coolant Bypass Line
---Turbosmart Vee Port BOV
---Turbosmart CompGate-40mm Wastegate
---Precision 5862 Journal Bearing Turbo with SP Cover
---PTP Turbo Blanket---
MAP Intercooler - installed 7/18/15
MAP Driver side charge pipe - installed 7/18/15


Suspension:
Steeds sport springs - installed 6/7/15
Steeda sway bars -
Steeda wheel hop kit - installed 6/7/15

Wheels/Tires:
TSW bathurst - installed 5/8/15
Front - 20x9 et30
Rear - 20x10 et40

Sumitomo HTR Z iii - installed 5/8/15
Front - 255/35/20
rear - 275/35/20


I will try to keep this build log updated as often as possible, and I'll post as many pics as I can.
Sponsored

 
Last edited:
OP
OP
dbmonster

dbmonster

Well-Known Member
Joined
Mar 12, 2015
Threads
10
Messages
145
Reaction score
91
Location
United States
Vehicle(s)
2015 Ecoboost
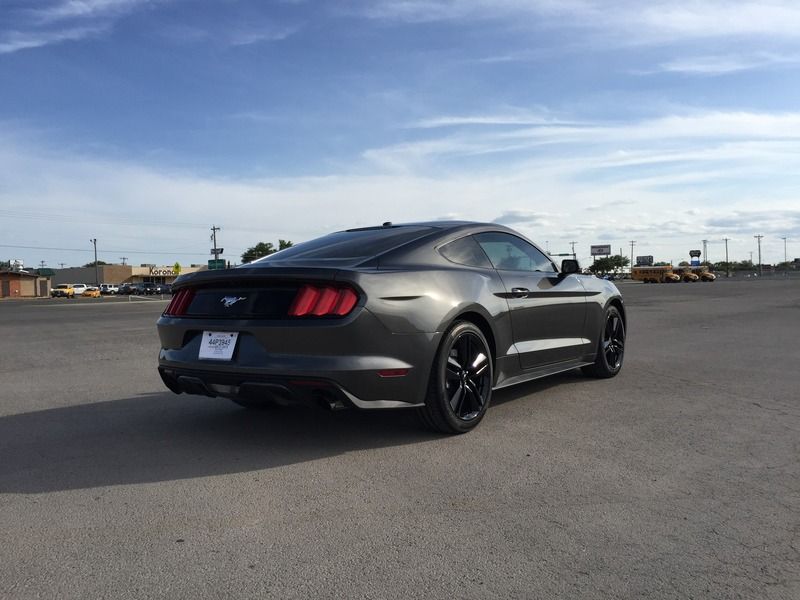
Here is a few pics with the GT grilles installed. I left the pony emblem off since I will be ordering the "stanginator" emblem as soon as they are available again.


OP
OP
dbmonster

dbmonster

Well-Known Member
Joined
Mar 12, 2015
Threads
10
Messages
145
Reaction score
91
Location
United States
Vehicle(s)
2015 Ecoboost
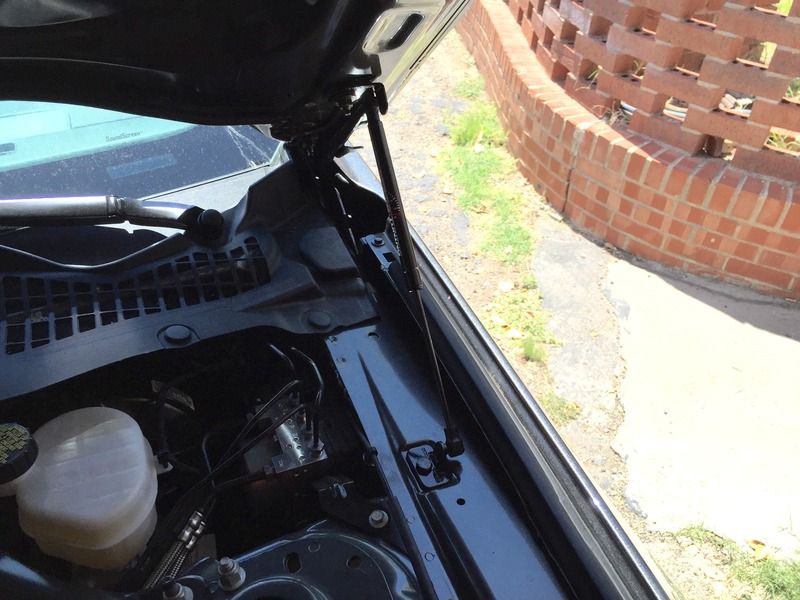
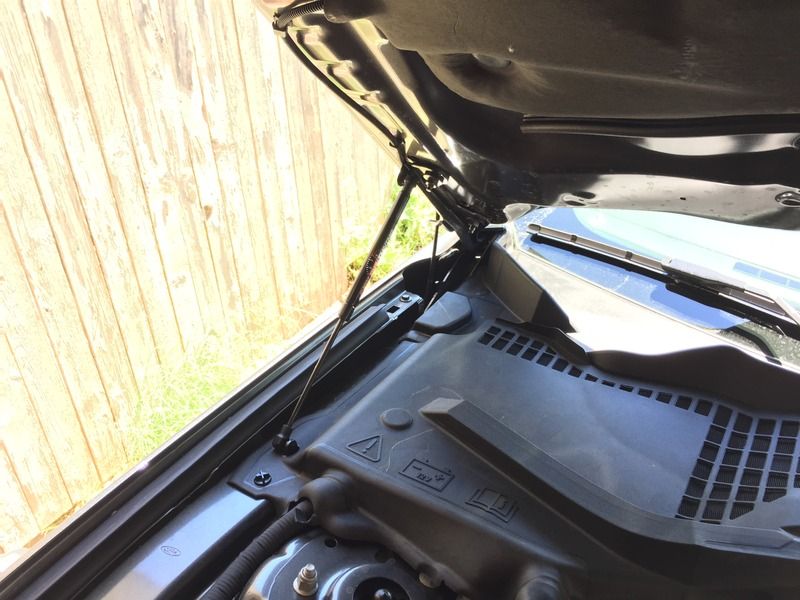
Today I Installed my Redline hood struts, sto n sho plate bracket, and Moroso coolant tank

The hood strut install took maybe 15 minutes, easiest parts I've every installed. I highly recommend the Redline Tuning strut kit. The way it comes packaged and the detailed instructions are top notch, and it even comes with a nice uni-bit for the hole you need to drill in the battery cover.

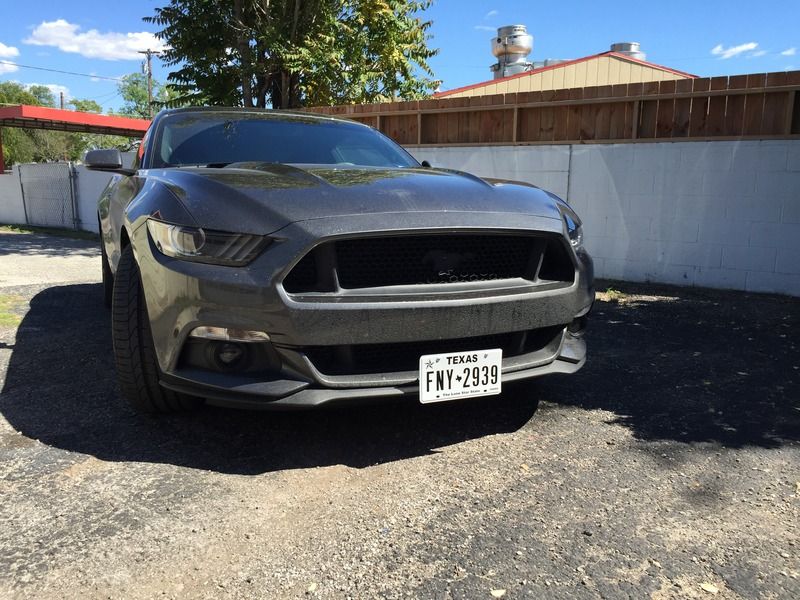
The licence plate bracket install was very simple as well, but once installed I noticed the plate set crooked. I double checked everything and it looks like the part the plate mounts to was welded together crooked. I was able to straighten it out by using a small nut as a spacer on one side of the mounting bracket.

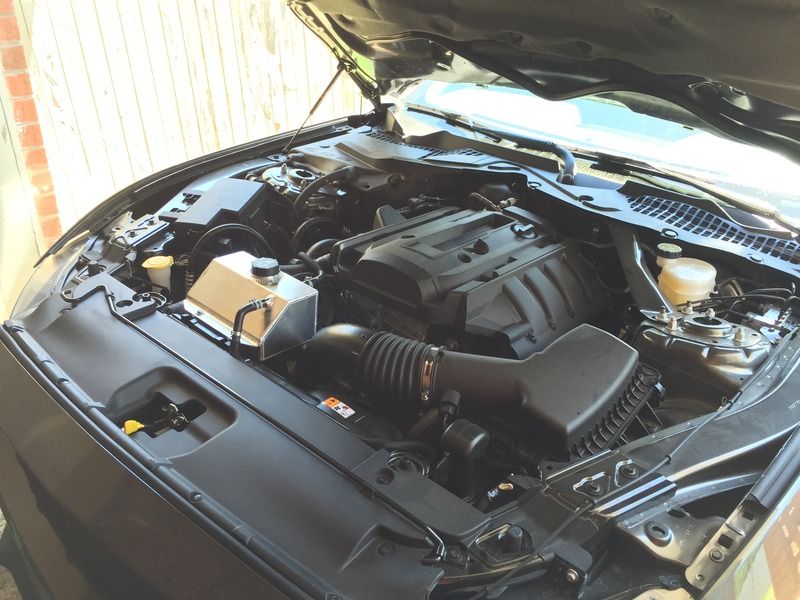
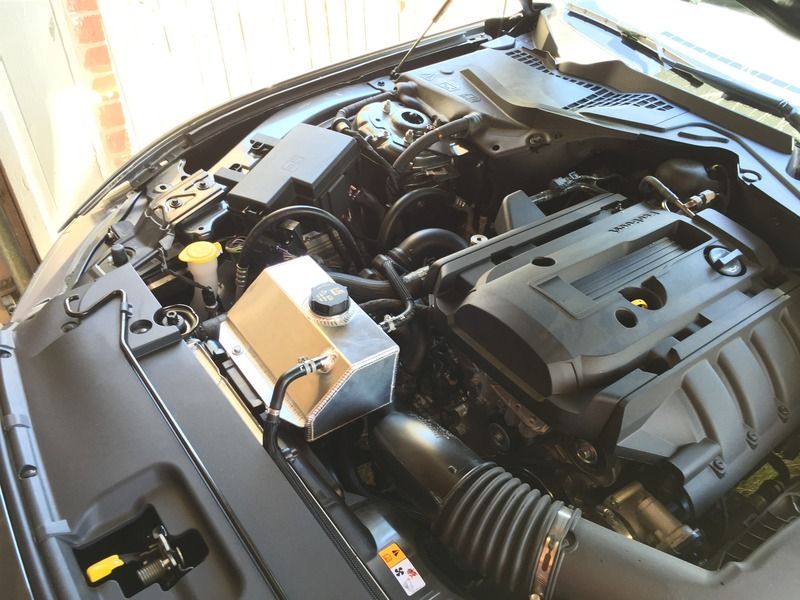
The coolant overflow tank was the hardest part to install, but was still pretty easy. I would recommend using zip ties to attach a balloon to the end of each upper hose as you remove them from the stock tank. I didn't have any available so i used condoms, they got the job done :thumbsup: once the 2 upper hoses are removed you can unbolt the tank and move it around to get better access to the lower hose. I had a friend hold a plastic container under the tank to catch the coolant as i removed the lower hose. after that its as easy as attaching all the hoses to the new tank, bolting it in place, and filling it with the coolant you drained out of the stock tank.

On to the pics

Hood struts


License plate bracket (excuse the dirtiness of the car)


Coolant tank


Getting rid of the ugly stock coolant tank made a big difference under the hood, well worth the money to me.
 

AMWill

Well-Known Member
Diamond Sponsor
Joined
Apr 13, 2015
Threads
27
Messages
393
Reaction score
107
Location
Malvern, PA
Vehicle(s)
2014 Track Pack 5.0
Hello everybody!

This is my first post on the forums, but I've been browsing and doing research on here for quite a while. At the beginning of this year I decided an Ecoboost Mustang was going to be my next car. I spent two months searching for the perfect one, and finally in mid-march I found exactly what I was looking for. On March 29th I took delivery of my Magnetic metallic Ecoboost premium with performance pack. I Just rolled over 1,000 miles on the car, and now it's time to start modding!

Car details:
2015 Ecoboost premium
6 speed manual
performance package


Here is the list of modifications I have planned for the near future.

Exterior Appearance:
Window tint - installed 4/10/15
Sto n Sho front plate bracket - installed 4/15/15
GT upper and lower grilles - installed 4/12/15
"STANGINATOR" front grille emblem -
FRPP blank rear decklid -

Engine Bay:
Redline tuning hood struts - installed 4/15/15
Moroso coolant overflow tank - installed 4/15/15

Performance:
Cobb Accessport w/MAP tune - ordered 4/9/15
MAP intake - ordered 4/9/15
MAP catless downpipe - ordered 4/9/15
MAP resonated exhaust - ordered 4/9/15
MAP intercooler/piping kit -

Suspension:
Eibach pro-kit springs -
Eibach sway bars -
Steeda wheel hop kit -

Wheels/Tires:
TSW bathurst -
Front - 20x9 et30
Rear - 20x10 et40

Sumitomo HTR Z iii -
Front - 255/35/20
rear - 275/35/20


I will try to keep this build log updated as often as possible, and I'll post as many pics as I can.
Beautiful Eco-boost DB,

I still can't get over this color, I love it!

You have an awesome build going and your list is great, if I can be of any assistance along the way, let me know!

I'm here to help.

-Will
 

Sponsored

OP
OP
dbmonster

dbmonster

Well-Known Member
Joined
Mar 12, 2015
Threads
10
Messages
145
Reaction score
91
Location
United States
Vehicle(s)
2015 Ecoboost
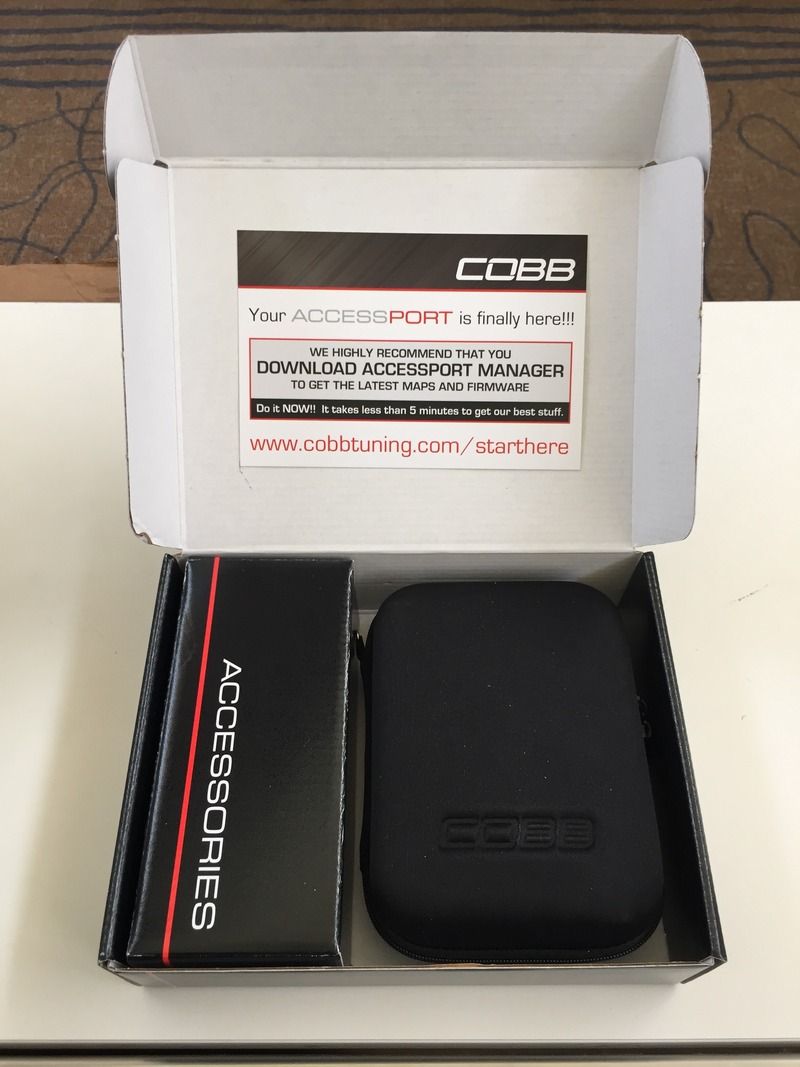
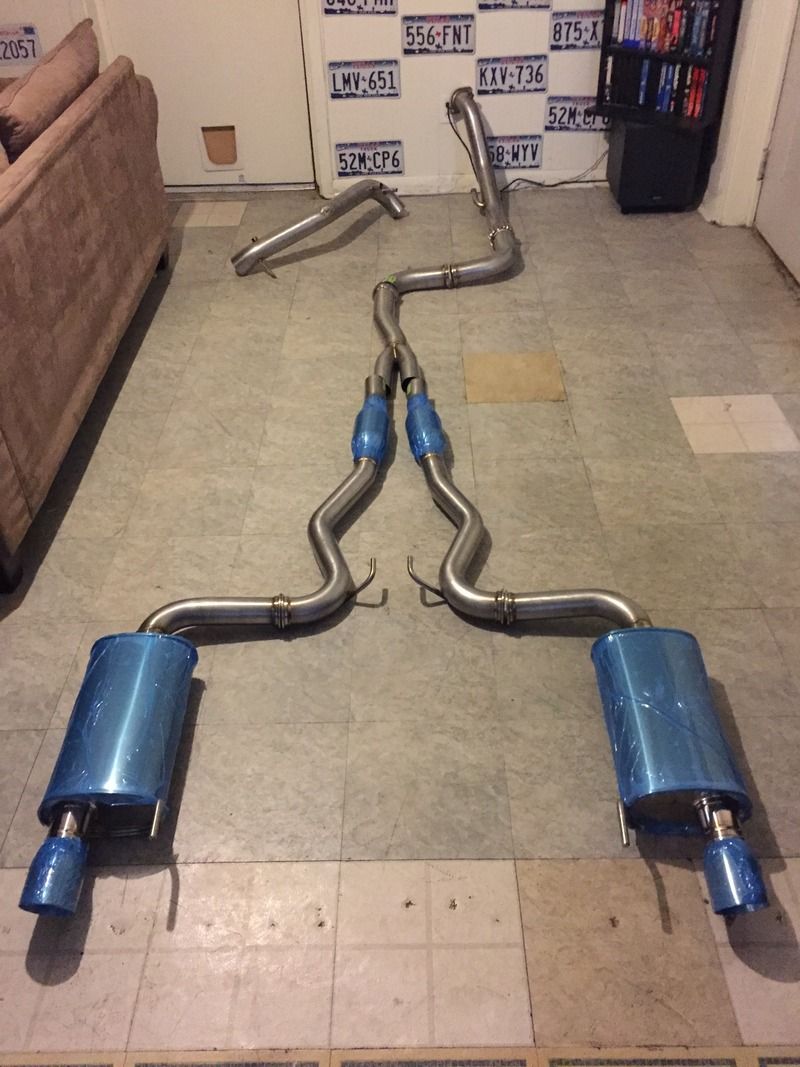
My MAP goodies arrived yesterday!

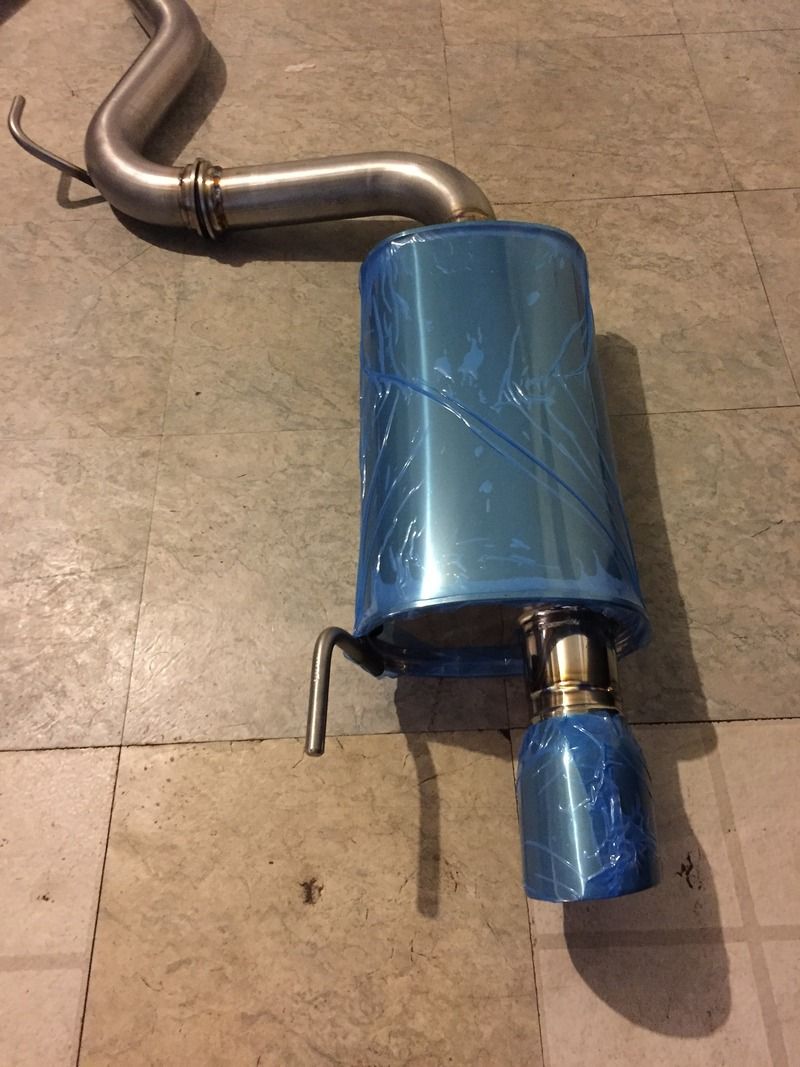
I have to say MAP went above and beyond on the packaging, very well done. The build quality of all the parts looks fantastic. I can't wait to get everything installed this weekend.

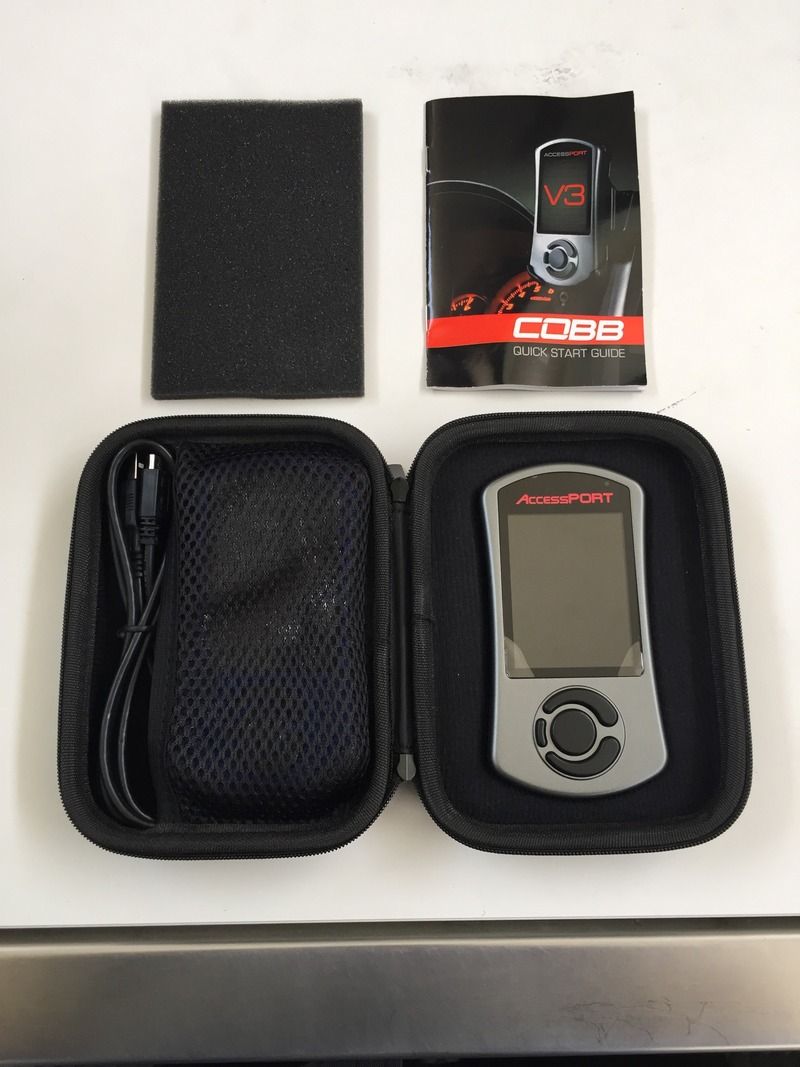
In the meantime I went ahead and installed the cobb accessport and loaded the stage 1 OTS tune. The car feels MUCH better! This is how the car should have came from the factory. Throttle response is much better, and there is a massive bump in low end torque.

I'll upload pics of all the goodies shortly.
 
OP
OP
dbmonster

dbmonster

Well-Known Member
Joined
Mar 12, 2015
Threads
10
Messages
145
Reaction score
91
Location
United States
Vehicle(s)
2015 Ecoboost
Here's the pics

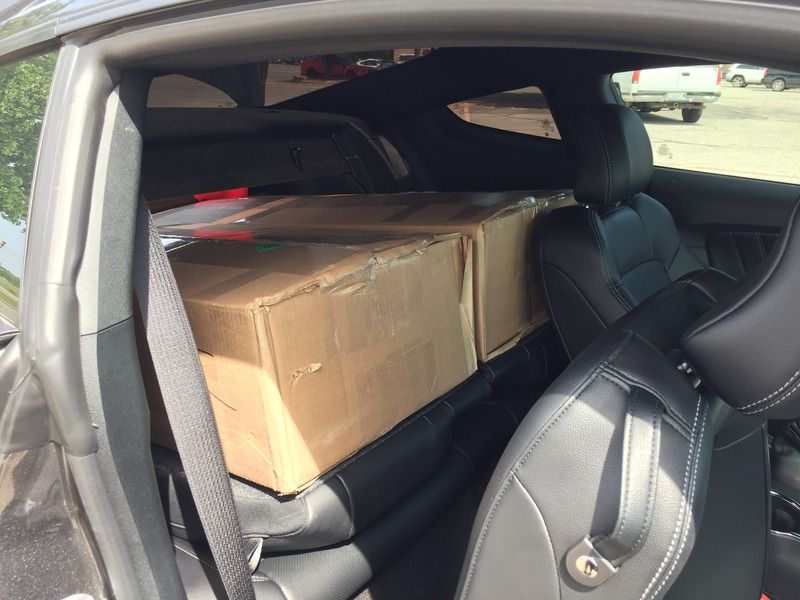
The boxes fit in the car, barely


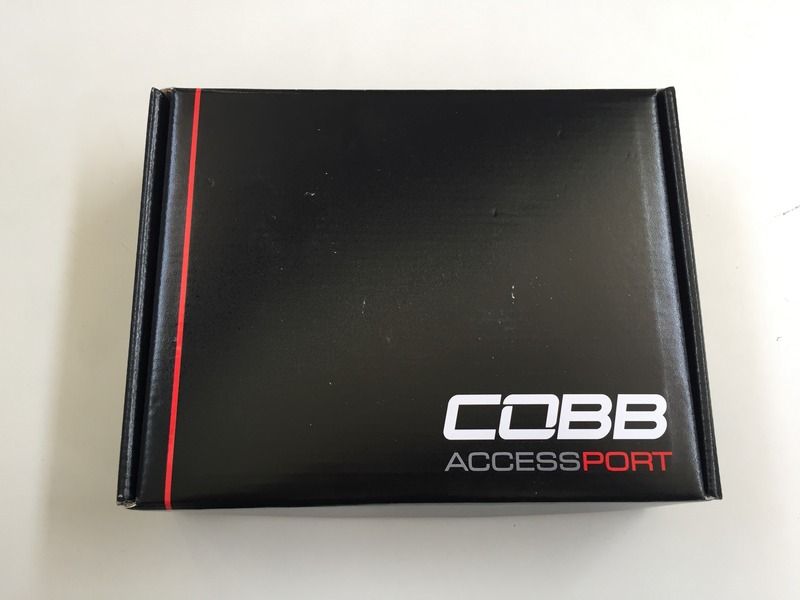
Accessport


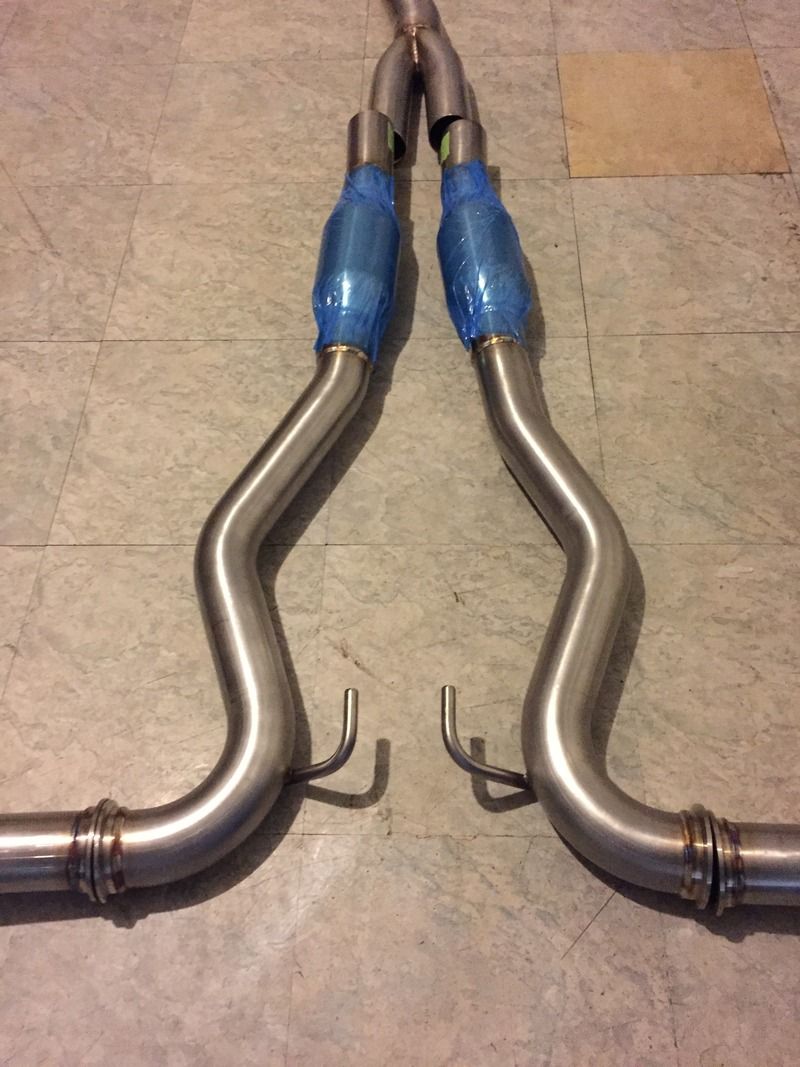
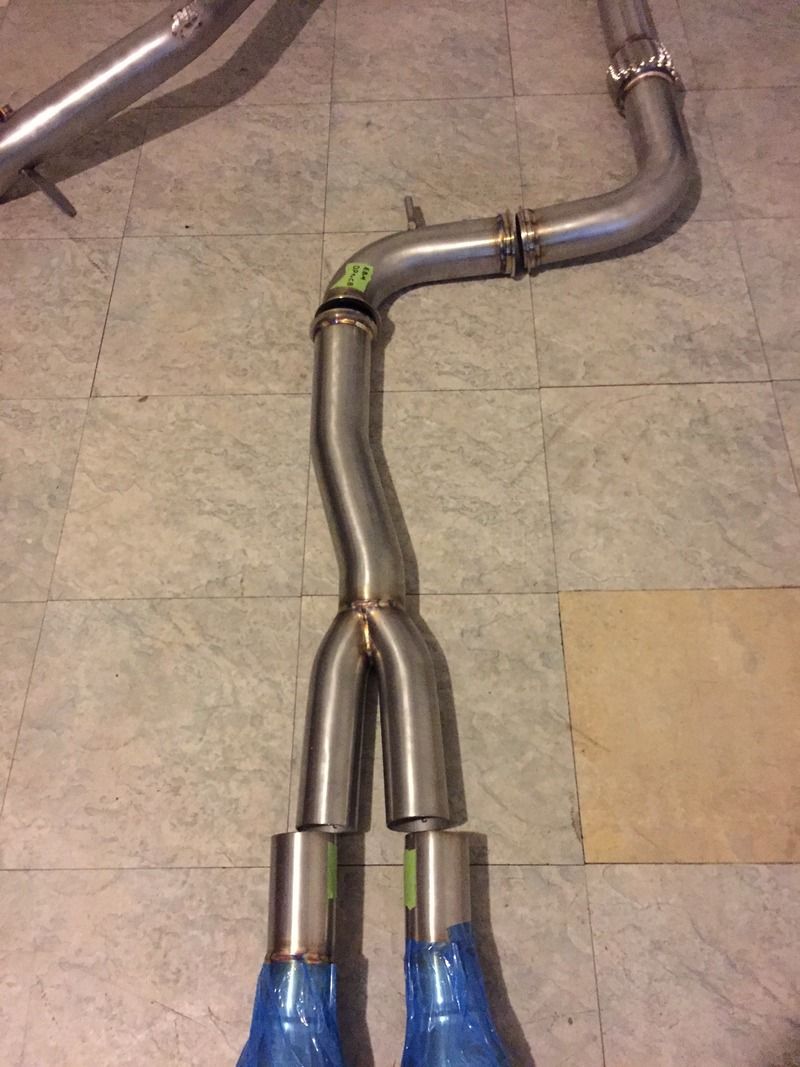
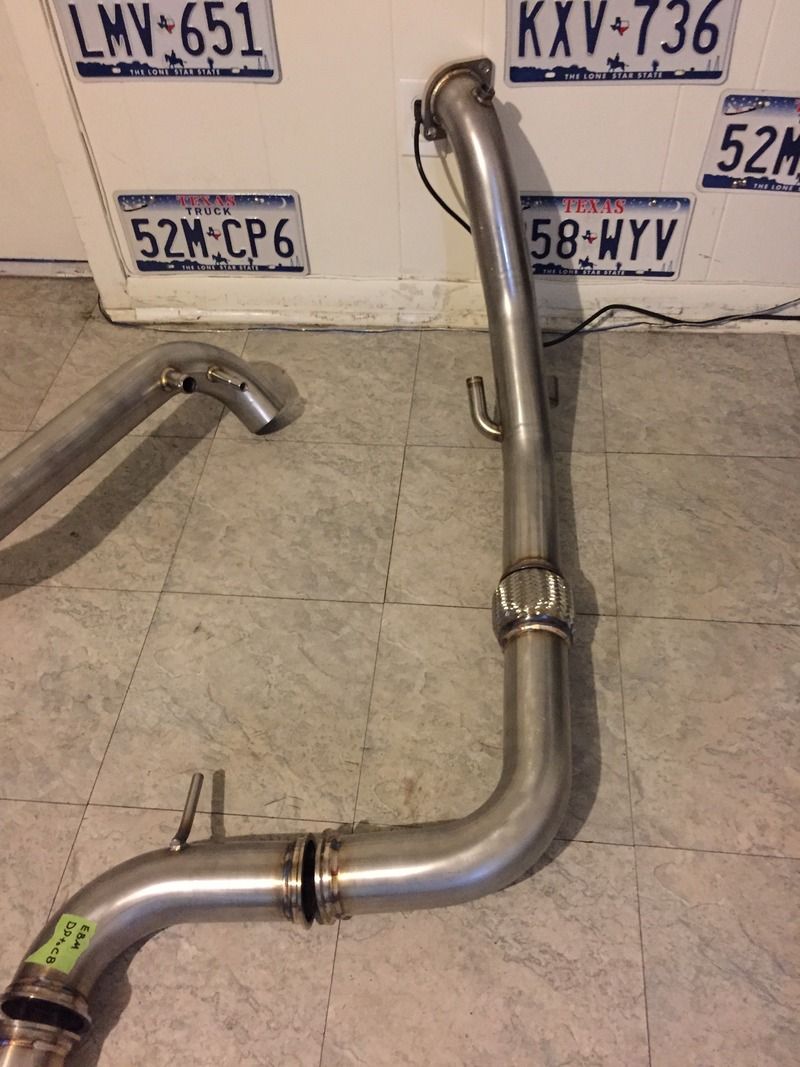
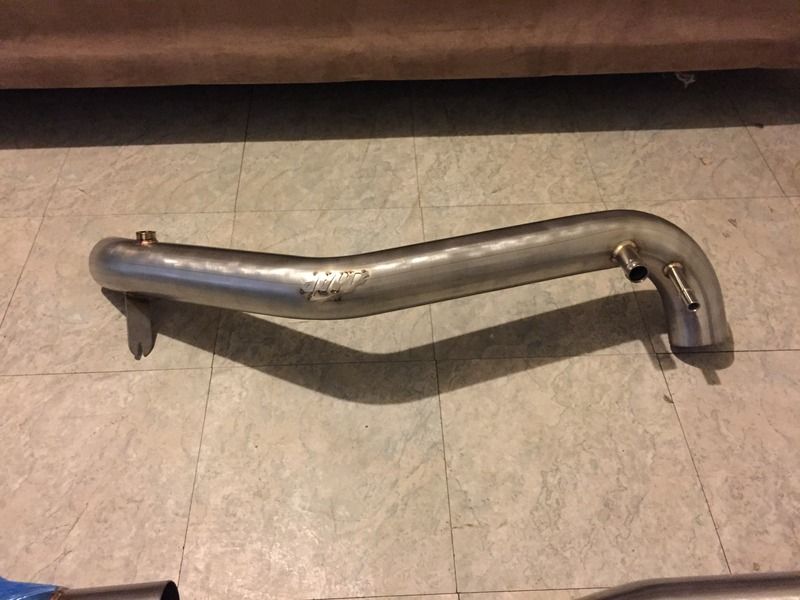
MAP turbo-back exhaust and intake (excuse the ugly flooring, it's a bachelor pad, and I'd rather spend money on car parts) :D


MAPerformance

Well-Known Member
Joined
Jan 14, 2015
Threads
137
Messages
1,681
Reaction score
999
Location
Cottage Grove, MN
Website
www.maperformance.com
First Name
Sales
Vehicle(s)
2015 Ecoboost Base w/ Performance Package
Man, that floor makes the products look even better! hahaha.

Thank you for the kind words, make sure when you get the parts installed you leave a review on our P1 Product listing page ;)

http://www.maperformance.com/map-p1...oboost-mustang-ebm-p1-map-ebm-p1-package.html

Excited for you to get the parts installed! If you haven't already (sorry I'm posting from my tablet), swap your plugs and change your oil! Plugs should be Denso or NGK and oil should be Rotella T6 and Wix Oil filter. These aren't mandatory but it is what I personally recommend! At a minimum get the factory plugs gapped down to .026"!
 

EcoSwag1990

Well-Known Member
Joined
Oct 12, 2014
Threads
60
Messages
3,281
Reaction score
910
Location
West Chester, PA
Vehicle(s)
2016 Triple Yellow GT
Nice this is going to be an awesome build. I look forward to seeing what the final product can do
 

Sponsored

Strokerswild

Shallow and Pedantic
Joined
Nov 7, 2014
Threads
74
Messages
6,640
Reaction score
5,465
Location
Southern MN
First Name
Dave
Vehicle(s)
Things With Wheels
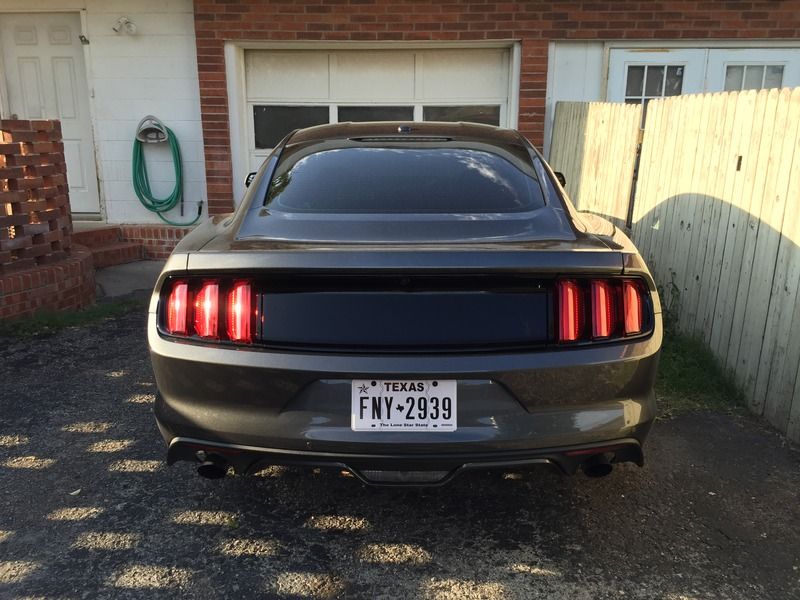
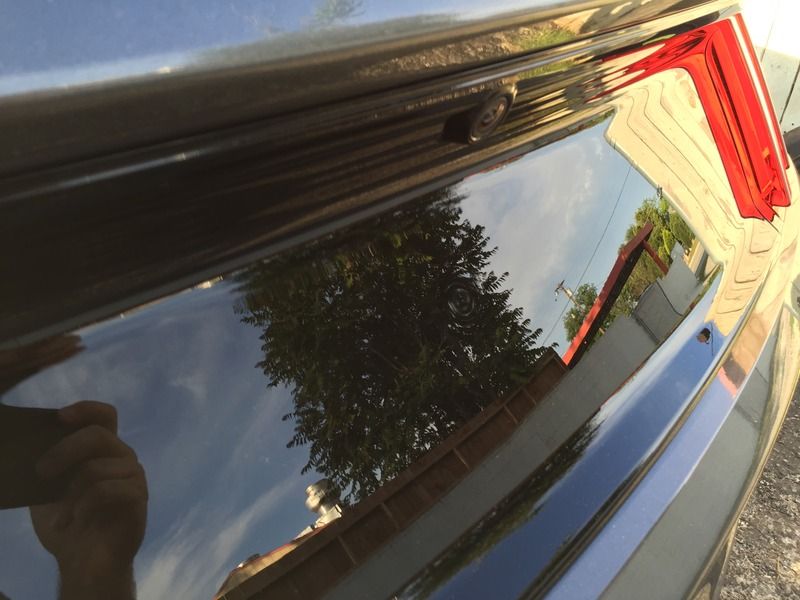
That sucks that your taillight panel has a dimple -- mine does not.

Still, looks better than with an emblem! :headbang: The giant chrome GT badge was the only thing I really didn't care for on the exterior of my car.
 
OP
OP
dbmonster

dbmonster

Well-Known Member
Joined
Mar 12, 2015
Threads
10
Messages
145
Reaction score
91
Location
United States
Vehicle(s)
2015 Ecoboost
That sucks that your taillight panel has a dimple -- mine does not.

Still, looks better than with an emblem! :headbang: The giant chrome GT badge was the only thing I really didn't care for on the exterior of my car.
I assumed they all had it because somebody else had the same dimple. I may try to get mine exchanged then.
 
OP
OP
dbmonster

dbmonster

Well-Known Member
Joined
Mar 12, 2015
Threads
10
Messages
145
Reaction score
91
Location
United States
Vehicle(s)
2015 Ecoboost
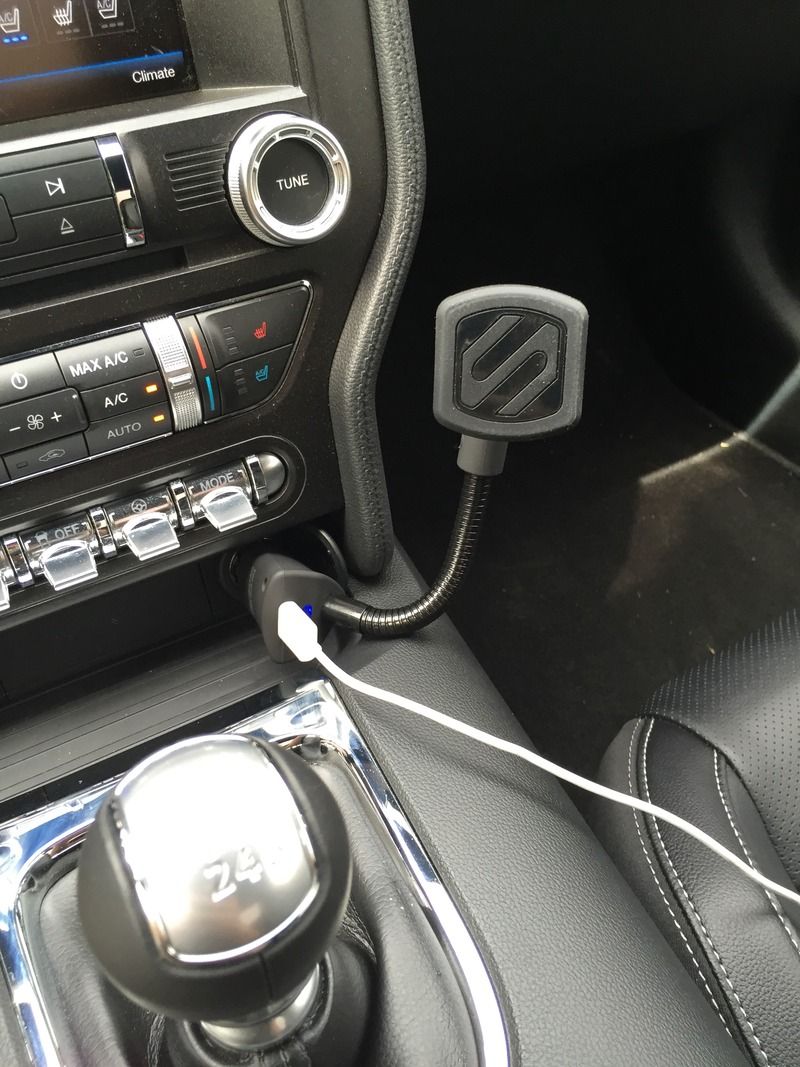
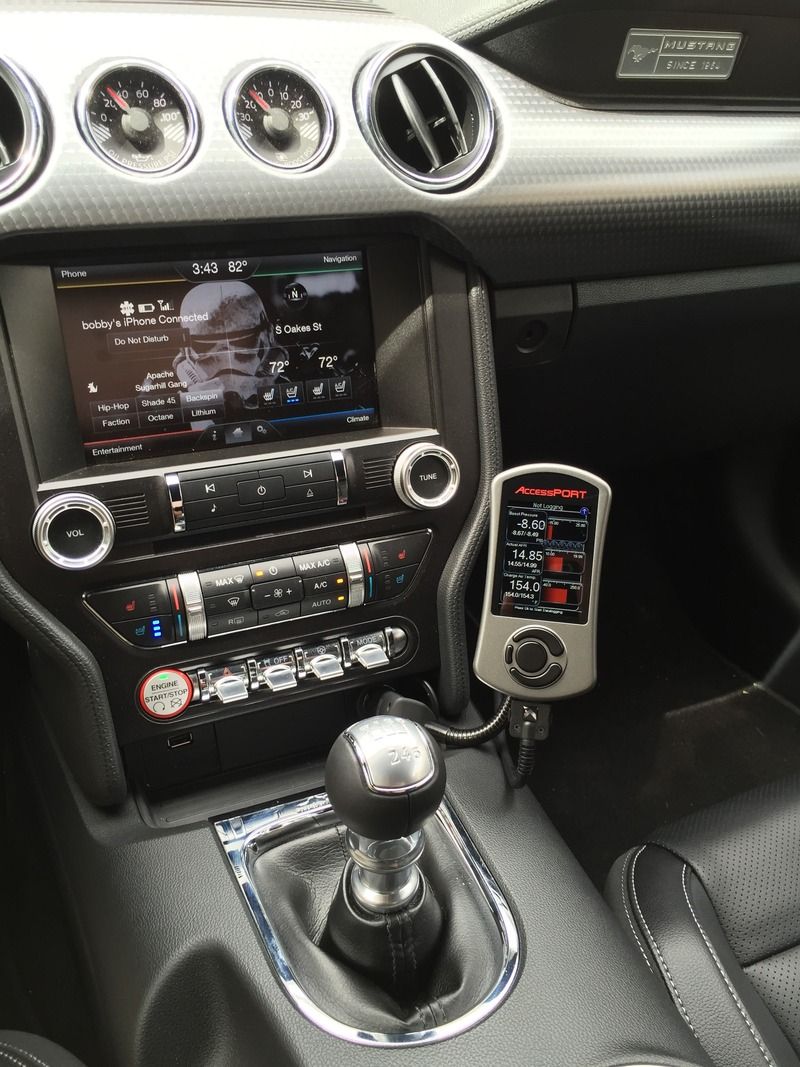
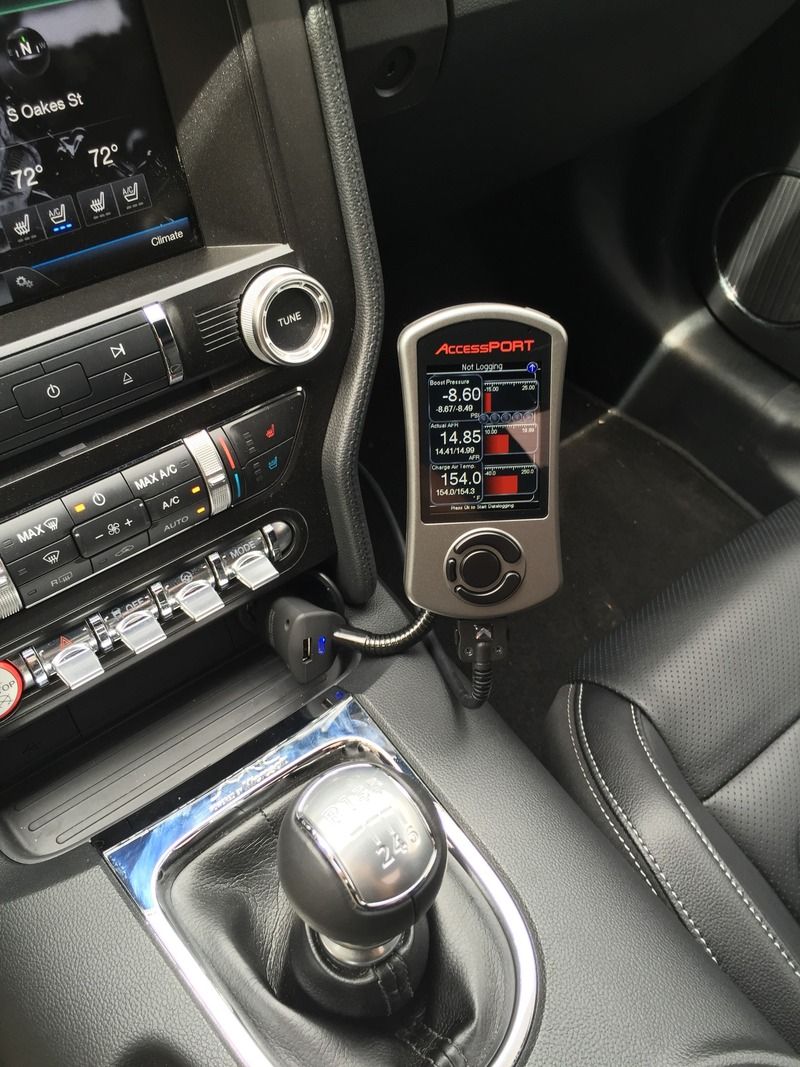
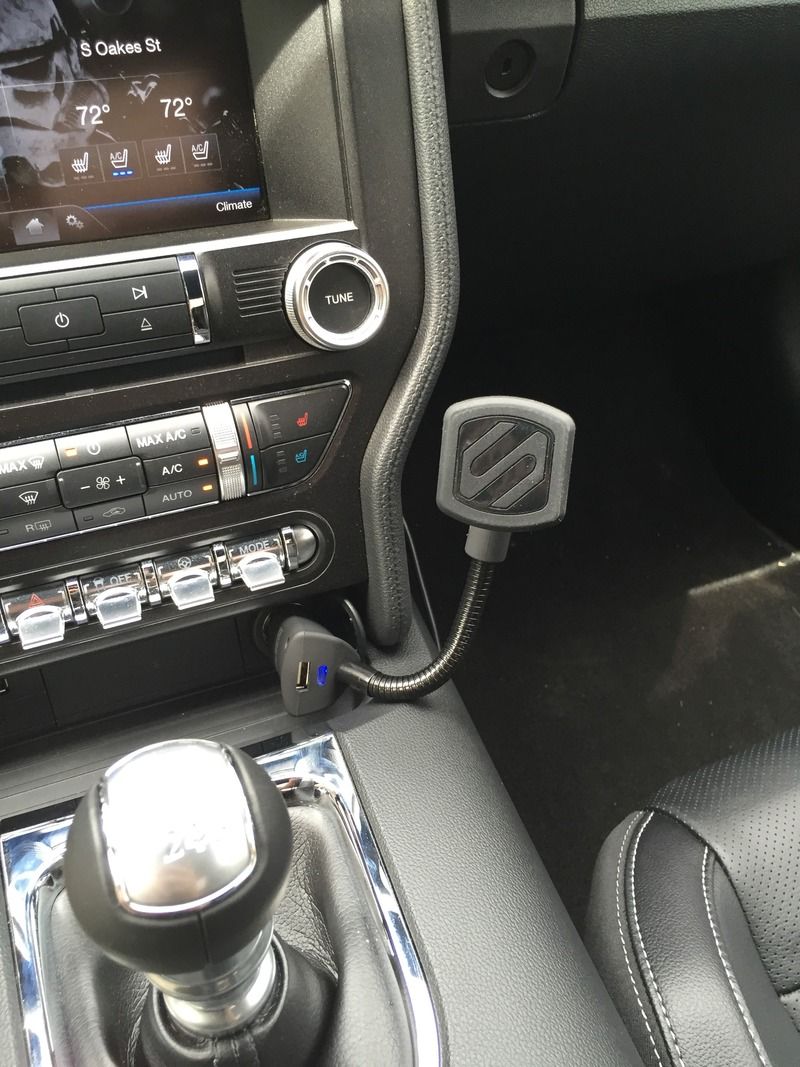
Found a great mounting solution for my accessport today!

I was reluctant to use the mount supplied with the accessport because I didn't want anything stuck to my dash, especially since I don't plan on using the accessport on a daily basis. I wanted something that was easily removable when not being used. In comes the Scosche Magic mount, it's a magnetic mount similar to what Cobb uses. The accessport sticks to it no problem. They make several versions of this mount, one that stick on with 3M adhesive, one with a windshield suction cup, and one that plugs into the power outlet and provides a usb charging port. I chose the power version so I could use it for my phone as well and charge it.

Here's a few pics of the mount


Top