Sponsored

My Custom Audio Build

OP
OP

ForTehNguyen

Well-Known Member
Joined
Apr 23, 2015
Threads
17
Messages
2,248
Reaction score
693
Location
Houston, Texas
Vehicle(s)
15 GT
miniDSP runs off of 12V. I jumpered a wire into the 12V terminal of the amp. The small board I have is a MiniDC which is an isolator and delay circuit. It turns on the MiniDSPs first, then 3 seconds later it turns on the amp. The remote wire near the rear right speaker is what turns on the MiniDC which produces another remote signal that you send to the amp, this is the delayed power signal. The components are powered on and off in the correct order with this device, or you may get strange noises/distortion. Of course I have a dedicated fuse to protect the MiniDSPs, but I am not using any fusing from the car.

https://www.minidsp.com/products/accessories/minidc-isolator

miniDC isolator is a tiny board allowing a perfect system integration with power on/off of your DSP and amplifier system. Based on a DC-DC isolated converter and delay circuit, it allows you remote turn ON/OFF in the correct order. This board is especially recommended for car audio application to allow complete isolation of the alternator noise. It is compatible with all miniDSP products except the miniDSP 2x8/8x8 units.

The below diagram illustrates the timing relationship between Vin, Vout, REMin and REM out pins. When the remote input (REM in) goes high (above 5V), the device will the isolated 12V output immediately (no delay). The remote output (REM OUT) is delayed by 3 seconds to allow for the DSP to settle before amplifiers are turned on. Once the remote input (REM in) signal goes low, the remote output goes immediately low to turn the amplifier off first. The isolated 12VDC out will be delayed to turn the miniDSP last.
Sponsored

 

billross77

Well-Known Member
Joined
Aug 9, 2016
Threads
17
Messages
94
Reaction score
6
Location
Fort Worth, TX
Vehicle(s)
2016 Mustang GT Premium
Sorry for bumping such an old post, but I was hoping you could help me understand how get the A pillar comes off. Second, I did you run the power wire under the passenger seat, then under the back seat to get it to the trunk?


Ran power to the amp today. Hid power cable in passenger door sill, through passenger side trim and behind backseat. Used the bolt thats right behind and between the rear seats for the ground.

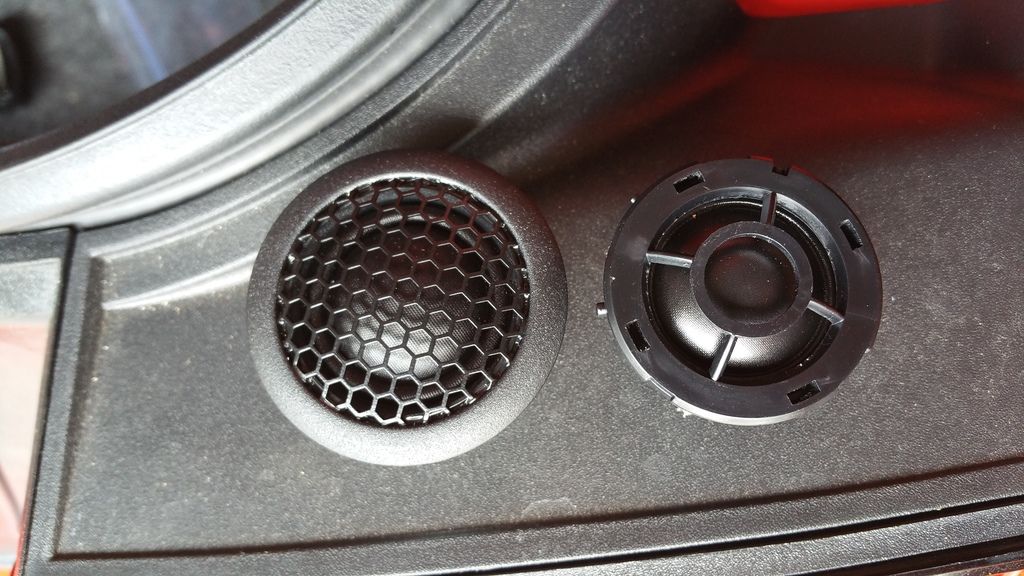
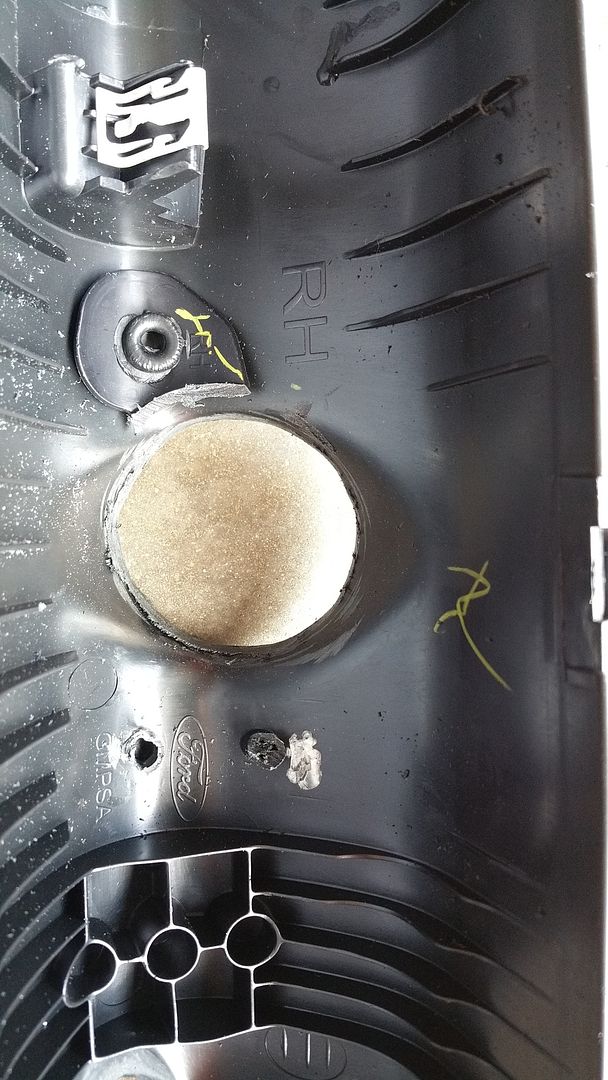
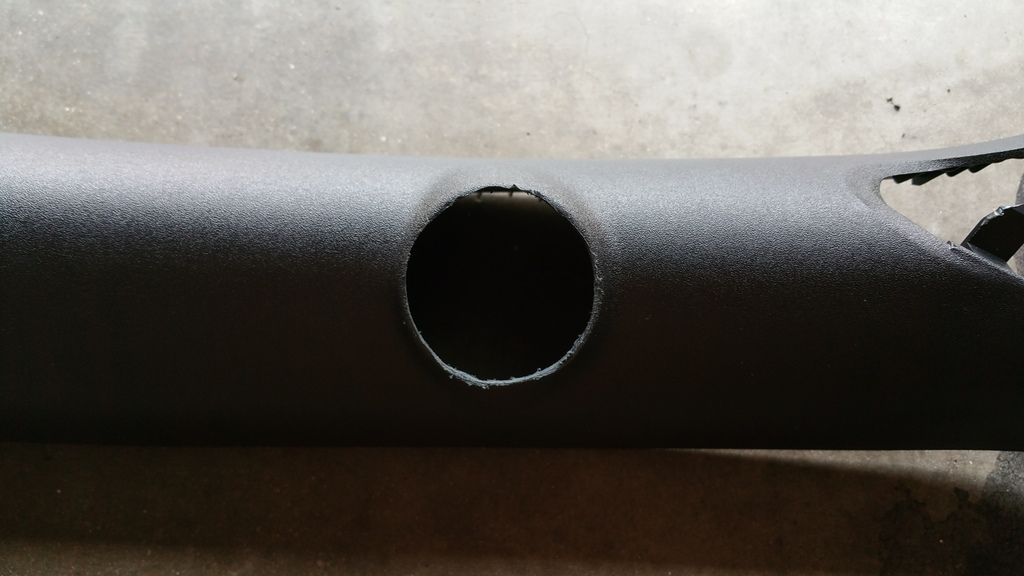
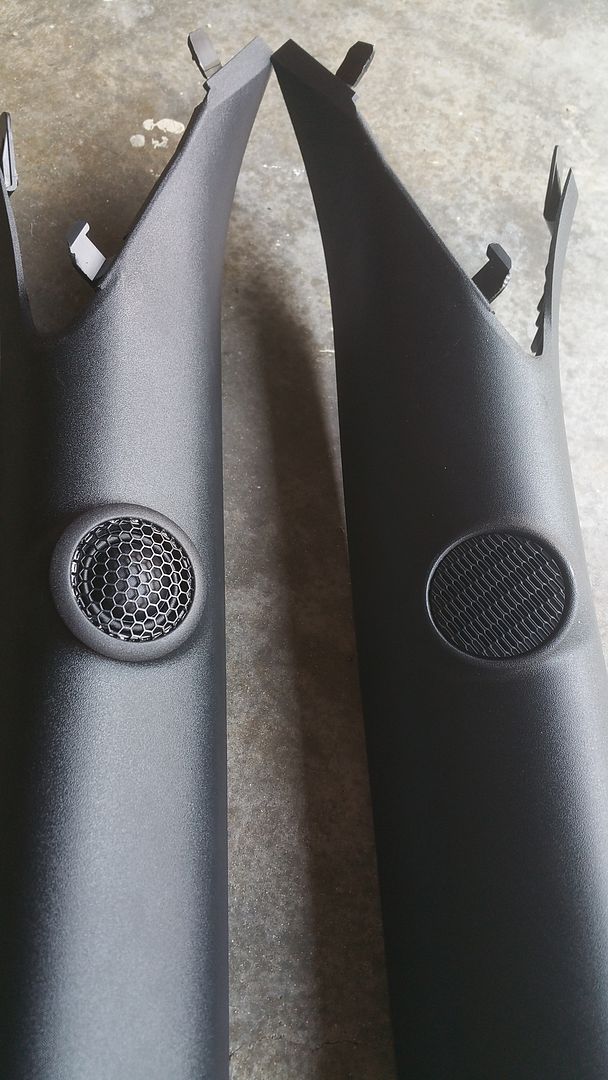
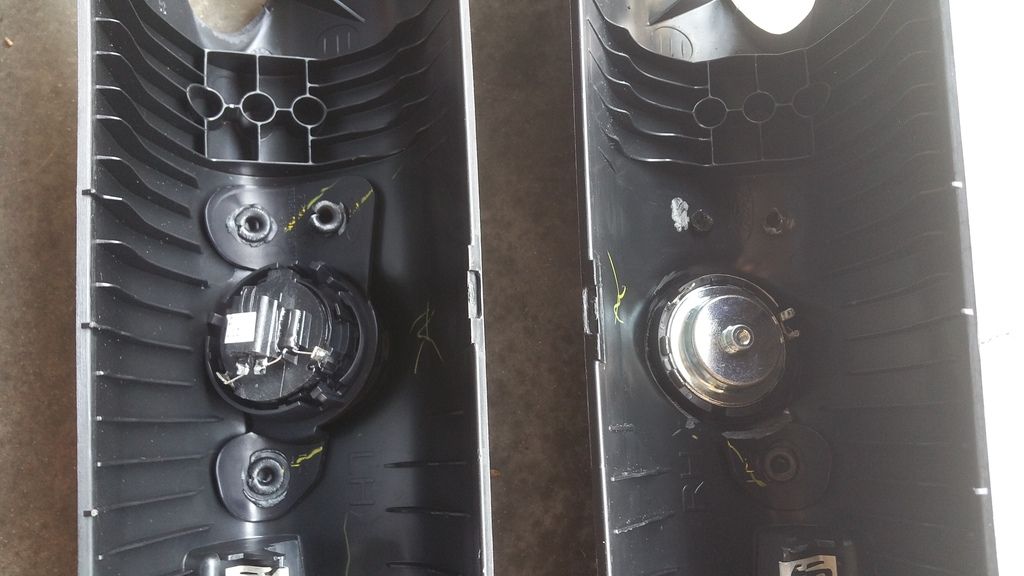
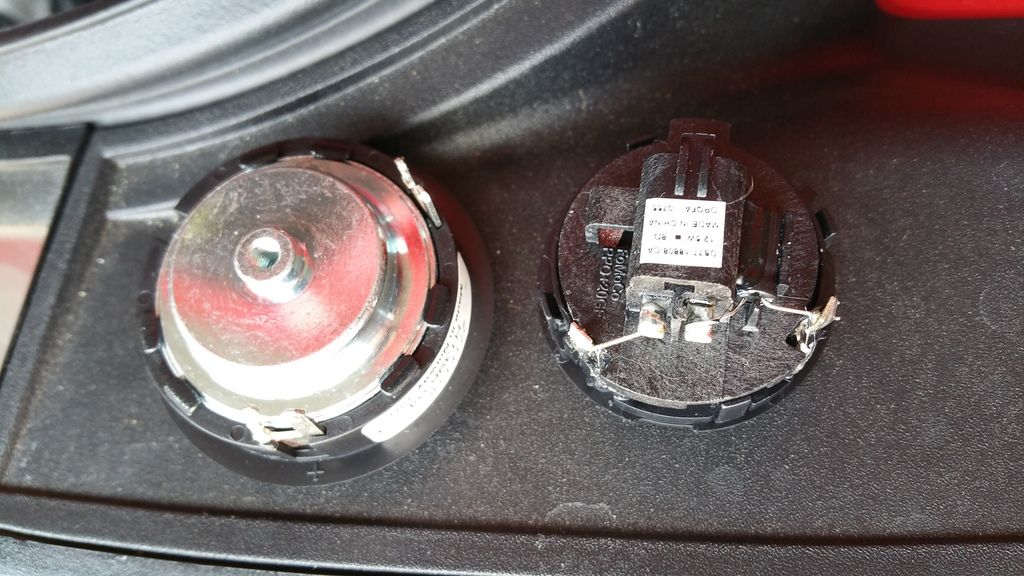
modifying the A pillars to accept the SEAS tweeter. Stock tweeter is trash. Used a dremel to bore pretty all of it off. Fits great


Before and After:


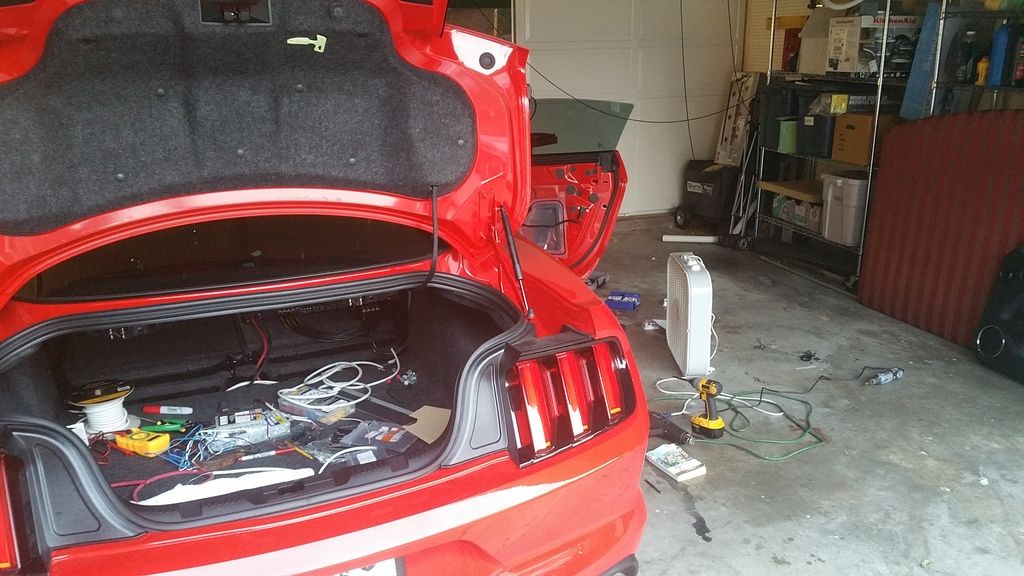
Random messy garage pic


datamon

Member
Joined
Aug 10, 2016
Threads
3
Messages
24
Reaction score
4
Location
Montgomery County MD
Vehicle(s)
2016 DIB Ecoboost
You started the thread planning to install the Dayton Audio RS180P-4 7" for the door woofers, but then you said they were out-of-stock and you decided to order a similar driver.

I couldn't find anywhere where you said what replacement you got?
 

Sponsored

15RRGT

I am teh liquor
Joined
Sep 16, 2015
Threads
4
Messages
540
Reaction score
163
Location
Cleveland
First Name
Tom
Vehicle(s)
2015 RR GT PP TVS
How did you pull the power wire through the firewall?
Pull the battery and battery tray and you can drill a hole easily if you want, that's what I did to run 0 awg wire.
 

KevinG

Well-Known Member
Joined
Jan 22, 2016
Threads
22
Messages
385
Reaction score
102
Location
Fredericksburg, VA
Vehicle(s)
'16 GT PP 6SPD Recaros w/black roof
Pull the battery and battery tray and you can drill a hole easily if you want, that's what I did to run 0 awg wire.
I'm just running 4 gauge. Was trying to use existing pass through right below the globe is harness pass through...
 

kingofsting

Well-Known Member
Joined
Dec 9, 2014
Threads
2
Messages
91
Reaction score
42
Location
NYC
Vehicle(s)
2016 Mustang GT Shadow Black / Redline Interior
I'm just running 4 gauge. Was trying to use existing pass through right below the globe is harness pass through...
I don't know why anyone suggests drilling; it's a waste of time. On the passenger side, after removing the kick panel shielding the fuse box, you will have access to a rectangular rubber grommet with a nipple at the end. Cut into the nipple with a small blade or box cutter. Turn your steering wheel such that you can access the front passenger fender lining. Remove clips, pull back the lining and you will find the other side of the grommet. Slice off the nipple facing into the engine bay (scissors work fine here for ease of making the cut without risking your digits) and feed your wire through the grommet. You can pull the wire up where the sheet metal has cutouts near the battery cover; it will not interfere with your use of hood struts whether you already have them installed or plan to do so in the future (as I did). I then navigated the wire around the battery, to the engine bay fuse box, secured to the middle bolt. The power wire fuse is nestled between the battery and fuse box areas, secured with zip ties.
 
OP
OP

ForTehNguyen

Well-Known Member
Joined
Apr 23, 2015
Threads
17
Messages
2,248
Reaction score
693
Location
Houston, Texas
Vehicle(s)
15 GT

SQ_S550

rollin
Joined
Nov 23, 2016
Threads
10
Messages
240
Reaction score
59
Location
Illinois
Vehicle(s)
2017 GT
Great looking install, I love the IB mounting for the woofers. I will also be doing an IB install.
 

Sponsored

84venom

Well-Known Member
Joined
Jan 8, 2016
Threads
47
Messages
351
Reaction score
213
Location
NJ
Vehicle(s)
2000 Cobra R, 2016 GT350 TP DIB w/White Stripes
Midranges were a pain to put in, very restrictive spacing. The mounting hole is 3"...the Dayton Audio 4" midranges have 2.75" magnets. There is a metal plate behind that really restricts fitment. Spacer is definately needed including a couple layers of speaker gasket. Had to dremel out a larger opening so the speaker terminals arent touching the body. That would be very bad when the amp turns on. My skinny arms and long fingers were extremely useful to reach into the woofer mounting hole, behind the midrange, for washers and nuts. Was only able to apply 2 screws/nuts. If you do not have skinny arms..find someone who does, or use self tapping screws.

That's a lot of spacing behind the door speakers. Do they fit behind the stock door panels?
 
OP
OP

ForTehNguyen

Well-Known Member
Joined
Apr 23, 2015
Threads
17
Messages
2,248
Reaction score
693
Location
Houston, Texas
Vehicle(s)
15 GT
yes they fit behind stock door panels even with the spacers

I wanted to update this thread since I upgraded the midrange speakers from what I had before. I didnt like the buzziness these daytons have. I think since they are listened too very off axis due to the location on the door the response at that angle isnt that good. I went with these Scanspeaks that cost a little more. They are neodynium so the magnet is smaller and has better fitment and their off axis response is better. They are noticeabley louder (3dB better sensitivity) and clearer. What I couldve done to make it better was grind down the spacer so the speaker would be facing the driver more, but I got lazy. I also had my friend redo the DSP tune slightly, putting the mid/tweet crossover point a little lower.

https://www.madisoundspeakerstore.c...anspeak-discovery-10f/4424g-4-midrange-4-ohm/
870006476516187083-account_id=1.jpg
 

mumbles

Well-Known Member
Joined
Dec 22, 2015
Threads
16
Messages
933
Reaction score
266
Location
ATL
First Name
Eric
Vehicle(s)
'16 GT Prem OW
Cant go wrong with Scans! :headbang:
 
OP
OP

ForTehNguyen

Well-Known Member
Joined
Apr 23, 2015
Threads
17
Messages
2,248
Reaction score
693
Location
Houston, Texas
Vehicle(s)
15 GT
i rehosted the pictures, since photobucket decided to take down peoples pictures.
Sponsored


Top