Sponsored

My Custom Audio Build

OP
OP

ForTehNguyen

Well-Known Member
Joined
Apr 23, 2015
Threads
17
Messages
2,248
Reaction score
693
Location
Houston, Texas
Vehicle(s)
15 GT
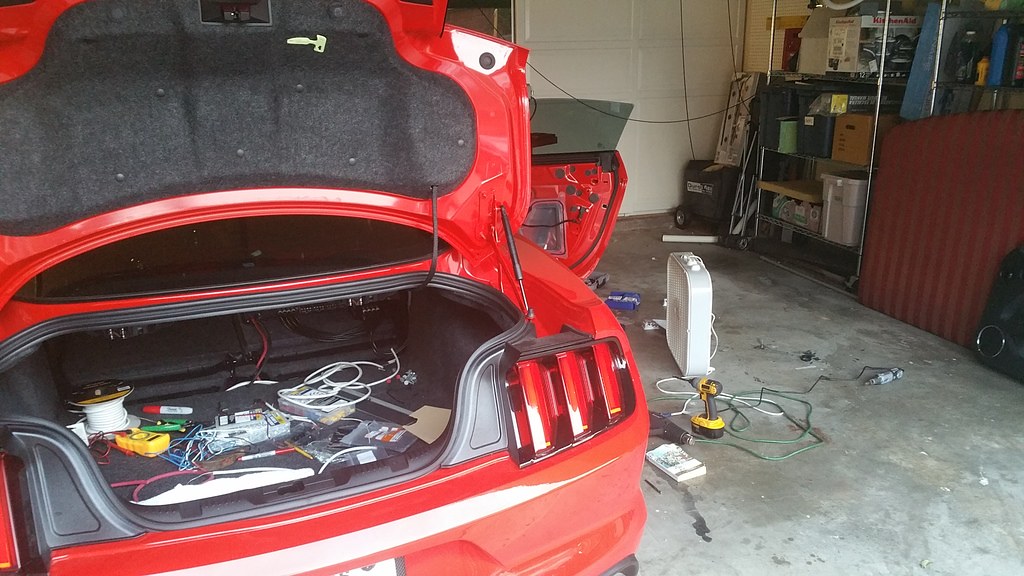
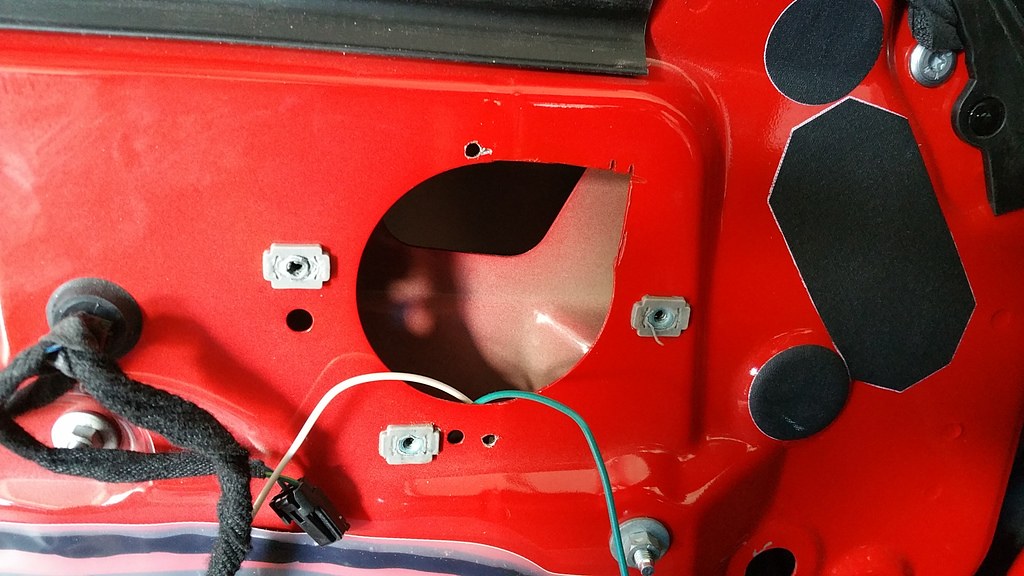
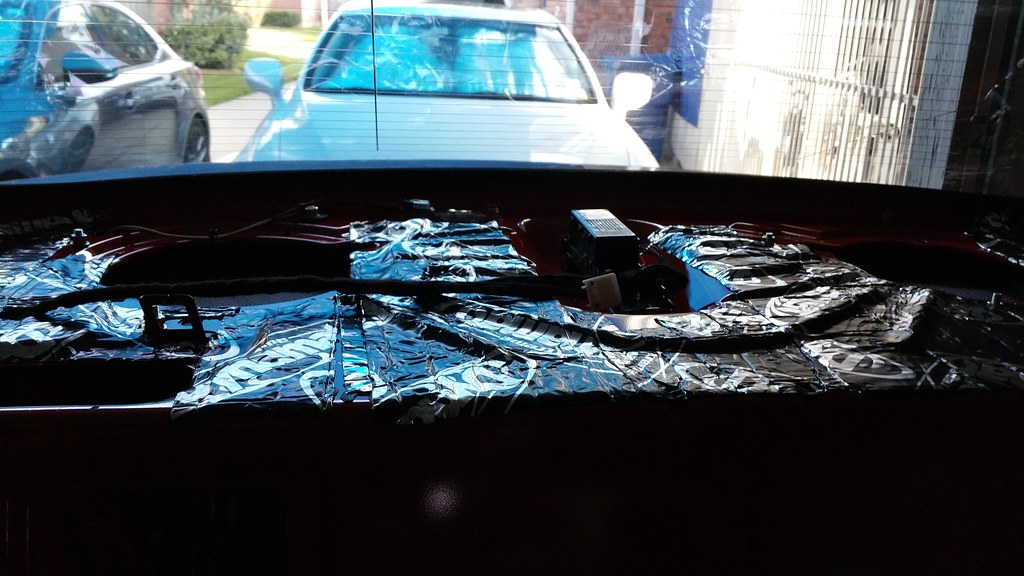
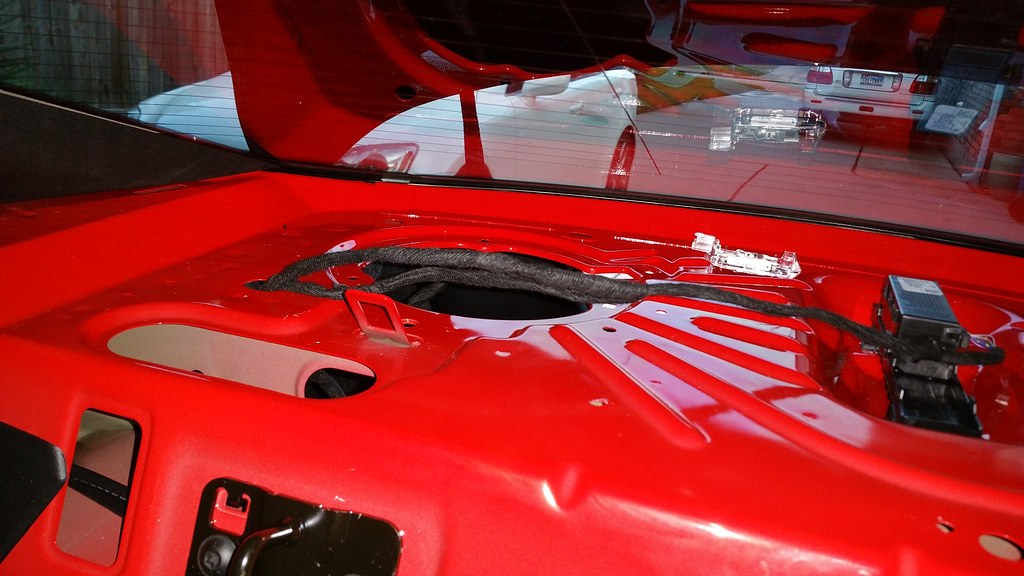
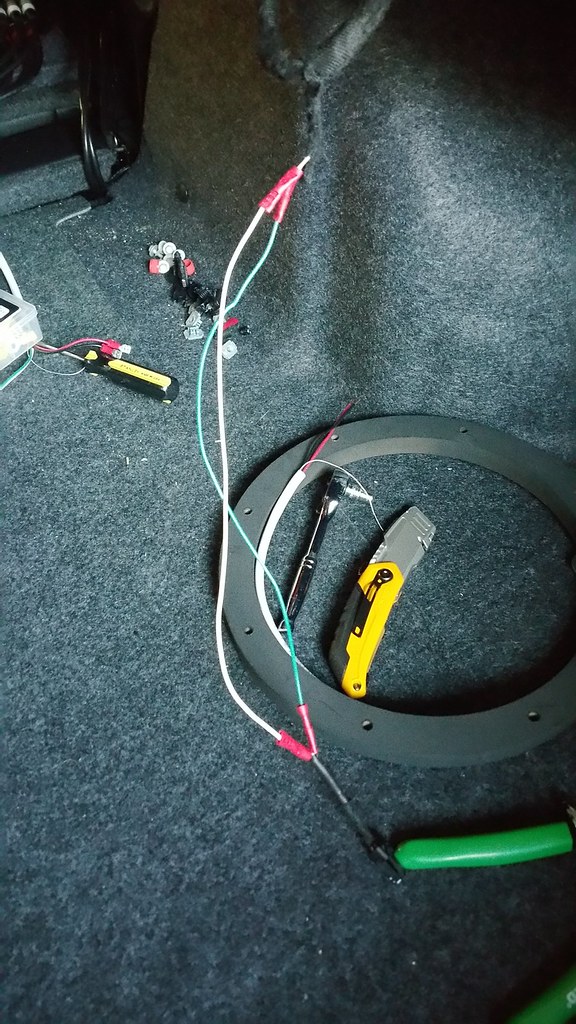
mounted the subwoofers under the rear deck. Had to relocate the wiring harness near the rear right speaker. Also had to splice in a longer wire for the trunk light for this relocation to work


Trunk light extension


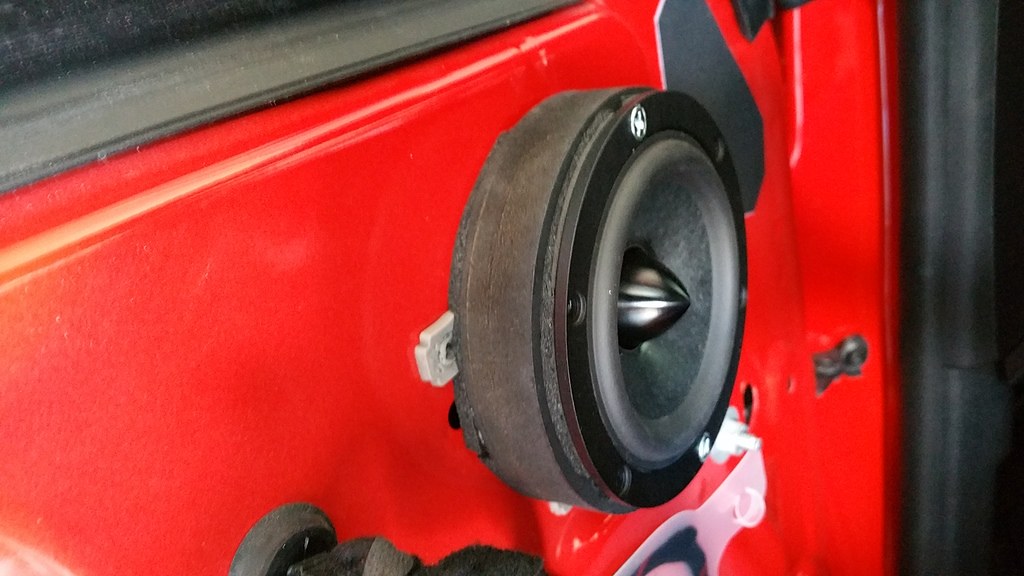
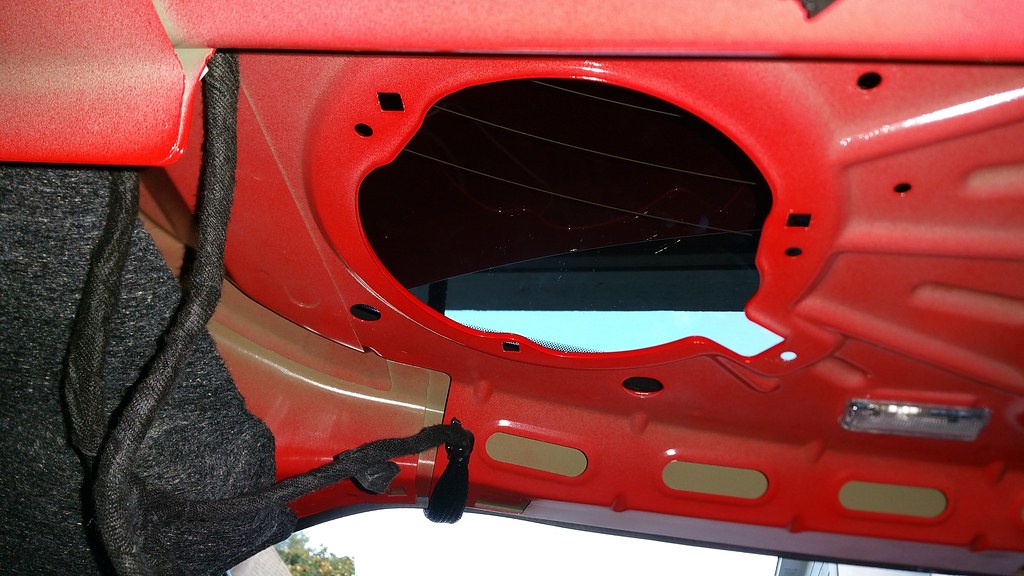
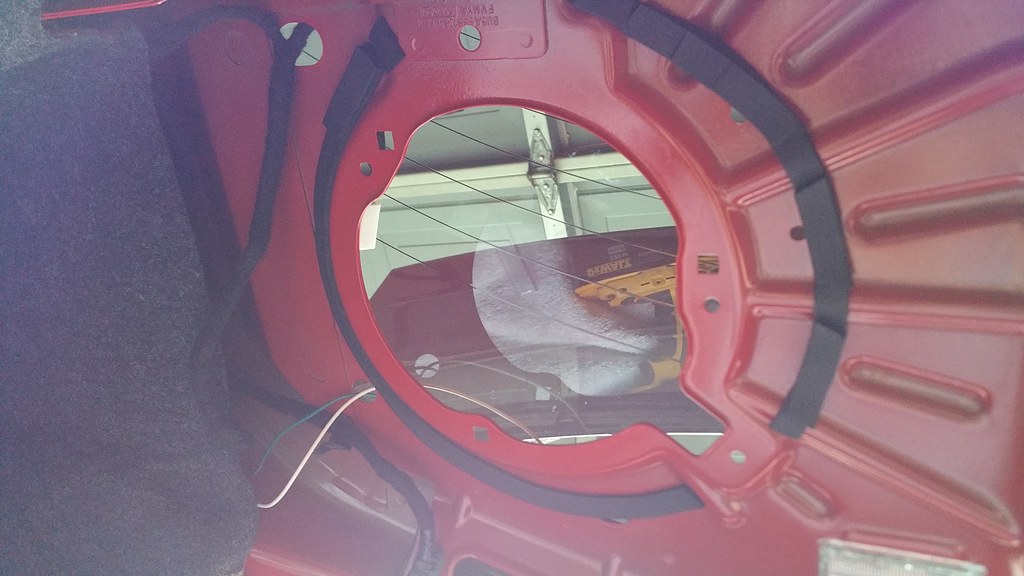
Add speaker gasket for the 10" speaker ring which already has gasket as well


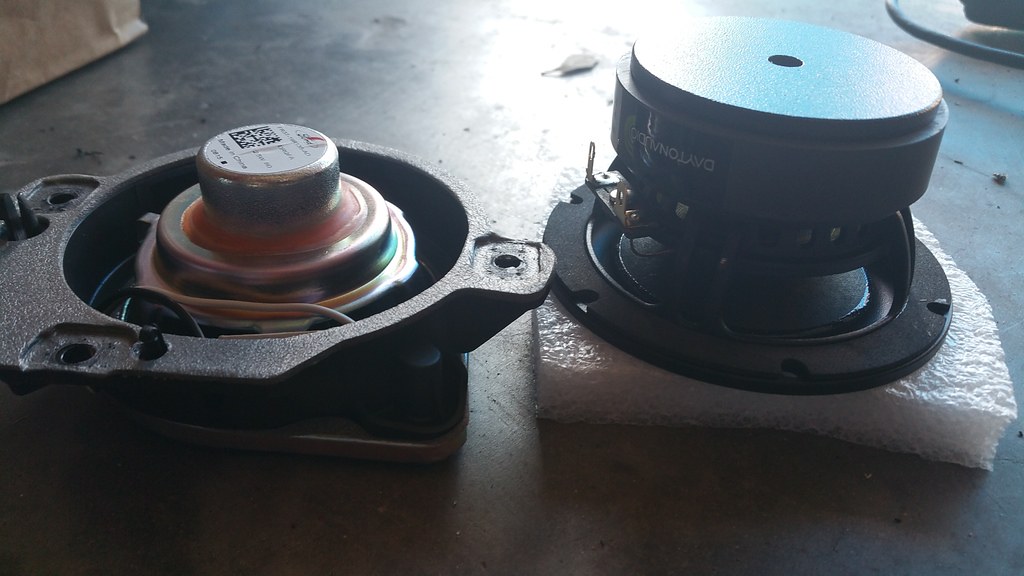
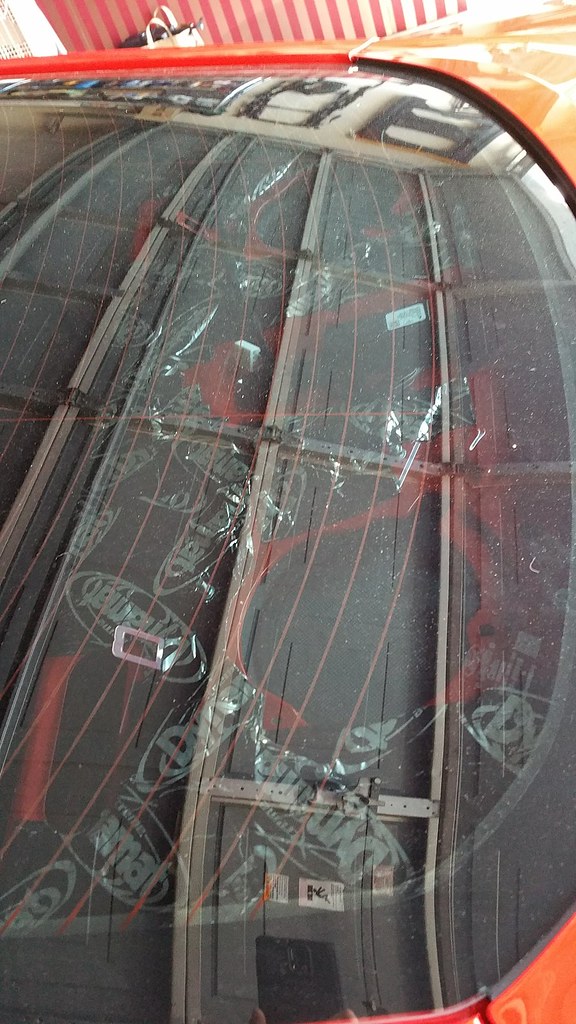
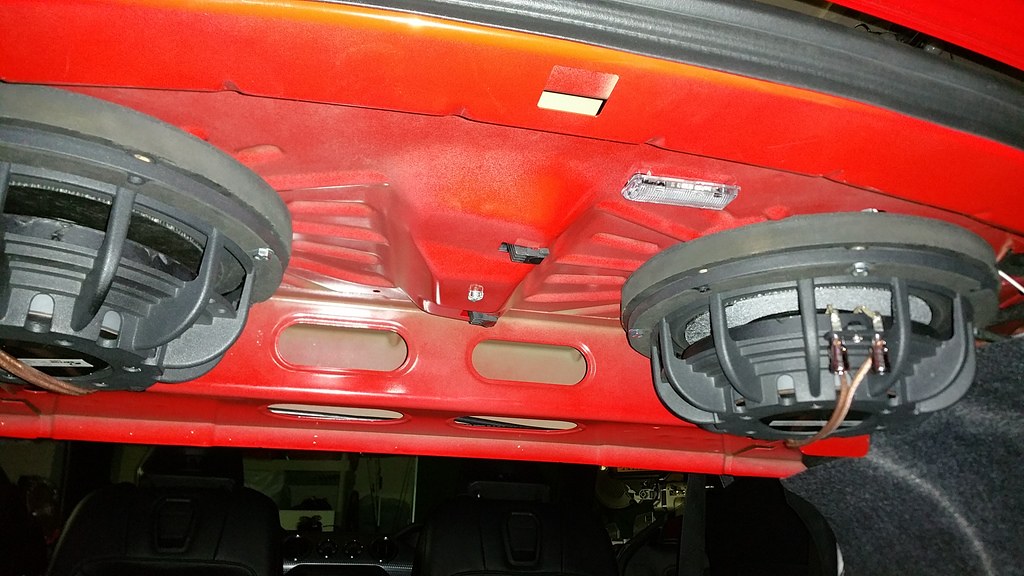
Both subs mounted. Low profile is nice for space savings
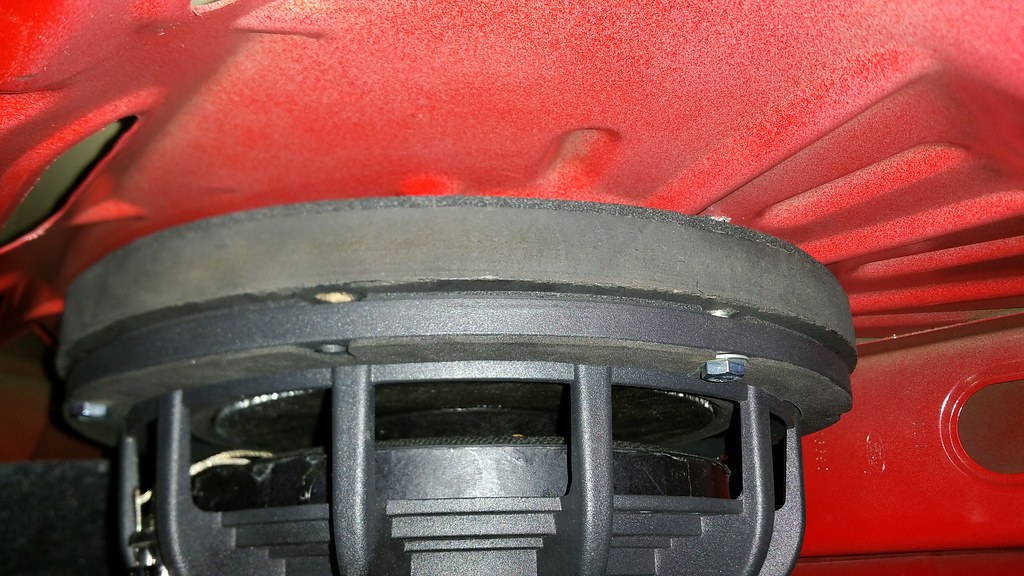


Closeup

Sponsored

 
Last edited:
OP
OP

ForTehNguyen

Well-Known Member
Joined
Apr 23, 2015
Threads
17
Messages
2,248
Reaction score
693
Location
Houston, Texas
Vehicle(s)
15 GT
Ran power to the amp today. Hid power cable in passenger door sill, through passenger side trim and behind backseat. Used the bolt thats right behind and between the rear seats for the ground.

modifying the A pillars to accept the SEAS tweeter. Stock tweeter is trash. Used a dremel to bore pretty all of it off. Fits great


Before and After:


Random messy garage pic

 
Last edited:

NewTekBuzz

Well-Known Member
Joined
Mar 21, 2015
Threads
110
Messages
1,140
Reaction score
159
Location
Flint, MI
First Name
Tim
Vehicle(s)
2015 Black GT 6M
That looks amazing! What a difference in tweets, stock magnet is right in line with the back speakers! Lol. I hope you do a full write up on this when your done! Thanks for the pics
 
OP
OP

ForTehNguyen

Well-Known Member
Joined
Apr 23, 2015
Threads
17
Messages
2,248
Reaction score
693
Location
Houston, Texas
Vehicle(s)
15 GT
loving that its so easy to hide wire in this car, panels come off easily too. Should be a very clean looking install when its done
 
OP
OP

ForTehNguyen

Well-Known Member
Joined
Apr 23, 2015
Threads
17
Messages
2,248
Reaction score
693
Location
Houston, Texas
Vehicle(s)
15 GT
subs and tweeter wiring terminated on both ends, all wiring is run. My woofers arrive monday, wish it was here for the weekend. MiniDC control circuit is working. For those unfamiliar with it, it is a delay circuit that is controlled by the remote in. It sends power to the minidsp first then 3 seconds later it sends a remote signal to the amp so things start up in the right order without strange noises.

Dayton Midrange vs Factory Midrange :headbonk: The midrange is by far the tightest fitting speaker. Literally have 1/8" on each side of the magnet for the mounting hole


MiniDC:


Amp Wiring. Used tech flex braiding on all wiring. The 18awg 4 conductor wires I used didnt come in black so the tech flex strengthens it and hides the white insulator.

 
Last edited:

Sponsored

OP
OP

ForTehNguyen

Well-Known Member
Joined
Apr 23, 2015
Threads
17
Messages
2,248
Reaction score
693
Location
Houston, Texas
Vehicle(s)
15 GT
Midranges were a pain to put in, very restrictive spacing. The mounting hole is 3"...the Dayton Audio 4" midranges have 2.75" magnets. There is a metal plate behind that really restricts fitment. Spacer is definately needed including a couple layers of speaker gasket. Had to dremel out a larger opening so the speaker terminals arent touching the body. That would be very bad when the amp turns on. My skinny arms and long fingers were extremely useful to reach into the woofer mounting hole, behind the midrange, for washers and nuts. Was only able to apply 2 screws/nuts. If you do not have skinny arms..find someone who does, or use self tapping screws.


Tweeters and A pillar reinstalled


had some rattling/resonance from the subs mounted under the rear deck. Some dynamat extreme took care of that


Last edited:

grumblin

Well-Known Member
Joined
Jan 26, 2015
Threads
12
Messages
196
Reaction score
72
Location
Carrollton, TX
Vehicle(s)
2015 Magnetic GT Premium
Have you had any second thoughts about using the Dayton components seeing that they weren't engineered for the harsh environment seen in car audio? Or am I wrong? I'm not familiar with them, but they seem to be sold/marketed as home audio drivers. I'm just thinking about the temperature and humidity extremes seen by our cars compared to the controlled environment in our homes.
 
OP
OP

ForTehNguyen

Well-Known Member
Joined
Apr 23, 2015
Threads
17
Messages
2,248
Reaction score
693
Location
Houston, Texas
Vehicle(s)
15 GT
stock components have really low quality contruction, those seem to hold up over time
 

grumblin

Well-Known Member
Joined
Jan 26, 2015
Threads
12
Messages
196
Reaction score
72
Location
Carrollton, TX
Vehicle(s)
2015 Magnetic GT Premium
stock components have really low quality contruction, those seem to hold up over time
I've since looked and found lots of threads on this. Interesting. I've got lots more reading to do :)
 
OP
OP

ForTehNguyen

Well-Known Member
Joined
Apr 23, 2015
Threads
17
Messages
2,248
Reaction score
693
Location
Houston, Texas
Vehicle(s)
15 GT
the speakers arent directly exposed to the outside either. Youd have to get past 2 levels of seals for the doors. Inside the door panels of cars stay clean even for years
 

Sponsored
OP
OP

ForTehNguyen

Well-Known Member
Joined
Apr 23, 2015
Threads
17
Messages
2,248
Reaction score
693
Location
Houston, Texas
Vehicle(s)
15 GT
finished everything up on Monday. Drove it to work on tuesday it sounded pretty unbalanced. After work, friend did crossovers and equalizing tuning and it was WAY WAY better. Still needs some tuning but it cant wait. Main thing I want tuned next is the seating position. Right now it sounds the best if you move your head to the center of the car. Before tuning I had to crank the volume to 80% to be a decent volume, after tuning 40-50% volume is good now. Bass isnt going to kick super hard without an enclosure but I didnt want one hogging trunk space.

Inside you cannot tell that it has been modified. Every wire is hidden. The only way you can tell something was done the SEAS tweeters. Even that closely matches the A pillar texture and color.

Some lessons learned. Using self tapping screws to install the speakers wouldve been a big time saver. I used self tapping on the woofers at the end. Sync works fine

Here's details of how I installed everything:
Amp Power: Bought 4AWG welding cable used for arc welding. Very beefy wire and they did not skimp out on conductors like some "amp wire" companies do. No CCA junk either, 100% copper. Red cable tied to the nut on the battery terminal. Had to drill a hole in the firewall which appears behind the glove box. I ran the power cable with a grommet and hid it undernear the passenger side door sill and rear seat trim to the amp. Negative cable was landed at the bolt in between the rear seats. Scrape off some paint for a good ground.

http://www.ebay.com/itm/351379432138?rmvSB=true

RCA Signal wiring: Used the molex connector that is stated in the sticky only soldering a RCA to speaker wire adapter to pins 3-4 and 7-8 for the front signals. Then used two 15 foot monoprice premium shielded RCA cables to run the signal to the MiniDSPs. Ran those two cables under the drivers side door sill and rear passenger trim and through the rear deck "cable tray" passage to the MiniDSPs. Length was perfect

Speaker Wiring: I used 18AWG 4 conductor cables from monoprice so I only have to do a single run to the woofer and mid in the door. I ran 2 cable runs on each side through the gap below the rear seats in the trunk, behind the rear passenger trim, then up to the headliner all the way to the A pillar. Be sure to tuck the wire behind the airbag. One cable stops at tweeter and the other continues down the A pillar and behind the door hinge. There is a rubber grommet on the door you can drill a hole through to feed the wire to the mids and woofer. This part of the cable that is exposed near the hinge was protected with Tech Flex braiding and heat shrink. Had some extra tech flex leftover and I braided the wiring on the amp side. Another thing was the 18/4 wire only came with a white insulator and it looked bad. The tech flex braiding hides it behind black braiding so it looks much better

Last pic before using all the dynamat before buttoning everything back up. I only used one 18x32" roll to do the rear deck and both doors like the picture below. The dynamat circle that was cutout for the woofers was applied to the panel behind the woofers magnet.


Last edited:

JayTea

Well-Known Member
Joined
Nov 10, 2014
Threads
5
Messages
155
Reaction score
35
Location
Houston, TX
Vehicle(s)
2015 Mustang GT PP
Nice build! How hard was it to get to the tweeters in the A-Pillar? how did you get the A-pillar off? I'll be tackling my speaker installation pretty soon.
 
OP
OP

ForTehNguyen

Well-Known Member
Joined
Apr 23, 2015
Threads
17
Messages
2,248
Reaction score
693
Location
Houston, Texas
Vehicle(s)
15 GT
A pillar is easy, just pull it and it pops right off. It has this cord like thing that is attached to the trim but thats easy to take off too. The tweeters I had to dremel out the factory mount and bore out some more so the SEAS could fit. Once it fit I used a hot glue gun to lock it in
 
OP
OP

ForTehNguyen

Well-Known Member
Joined
Apr 23, 2015
Threads
17
Messages
2,248
Reaction score
693
Location
Houston, Texas
Vehicle(s)
15 GT
got the delays tuned in for the driver position. Sounds even clearer now.
Sponsored


Top